In a previous thread on here I asked if anyone had done the job before so I could have some pointers in the correct method of setting up the reamer in the arms.
Not much response with that request, so today I bit the bullet and carried on regardless.
First off, it helps a great deal if the arms are cleaned and all excess gear is taken off. In my case the arms were stripped bare anyway, ready for a complete overhaul.
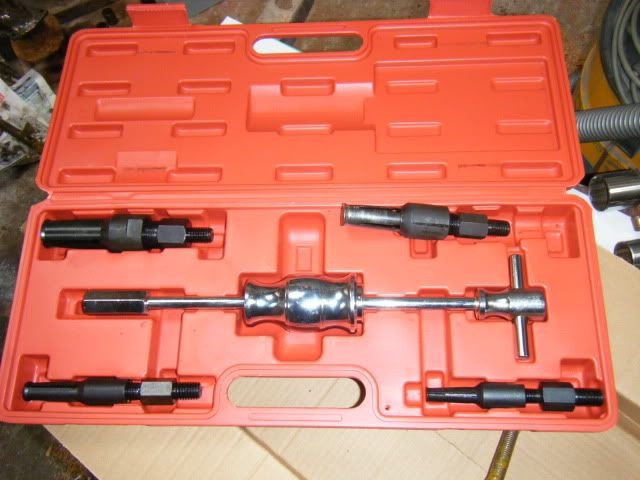
Secondly, I invested in a set of Blind Bearing pullers, the slide hammer type. Cheap at about £32 all in.
Yes, I know they're cheap and nasty knock off Chinese made tat, but for occasional
use they fit the bill perfectly
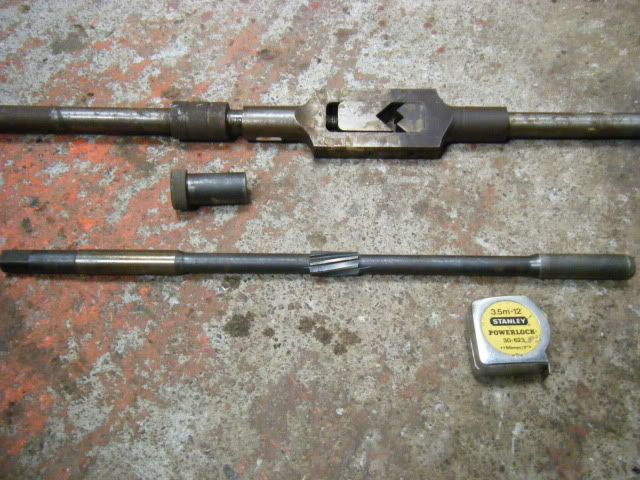
Other equipment needed is the reamer, reamer guide bush, tap wrench and maybe a hammer.
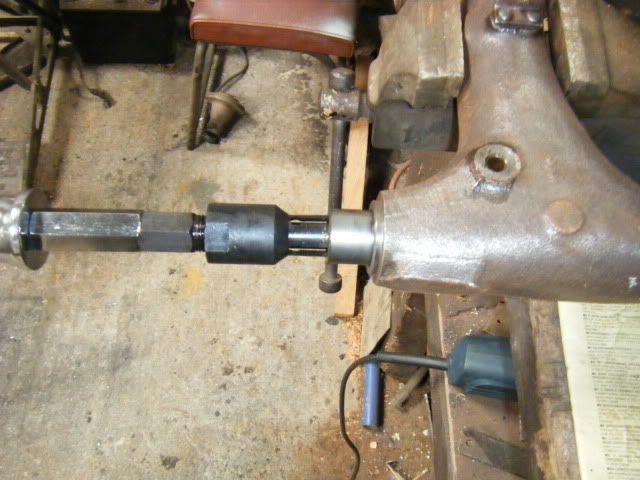
I started by removing the needle roller bearing first, probably because I knew it would be easier.
Pic shows the blind bearing puller attached and the bearing partially pulled out
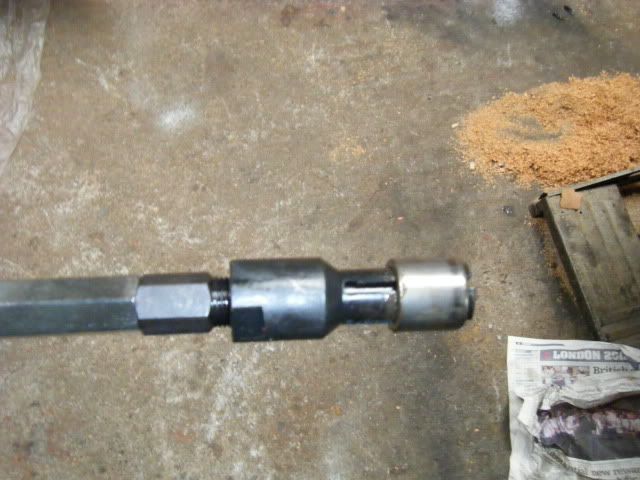
Bearing out and still attached to the puller.
I used a sharp pick tool to remove the plastic "grease tube". The earlier minis had a steel tube so will need a long thin drift or screwdriver to remove the tube.
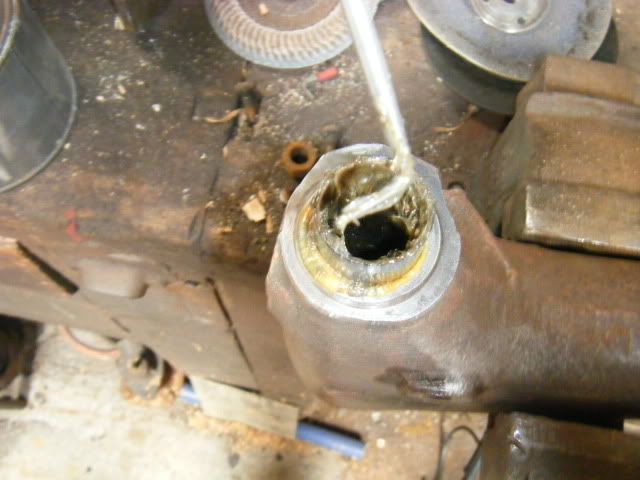
I set the puller up to remove the bronze bush next, but try as I could, the puller failed to shift the bush. I suppose I could have used extra brute force, but was mindful of the fact where these pullers were made.
So I resorted to the tried and tested method of making a cut in the bush with a hacksaw. That done, I set the puller up again and hey presto the old bush came out easily.
The cut was enough to release the tension / binding I suppose.
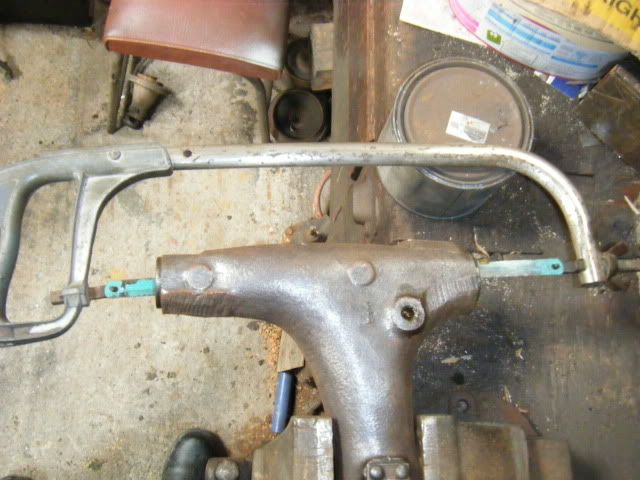
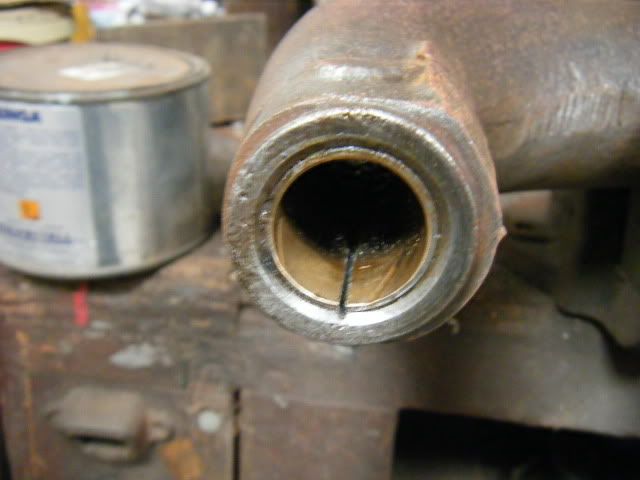
The bush on it's way out.
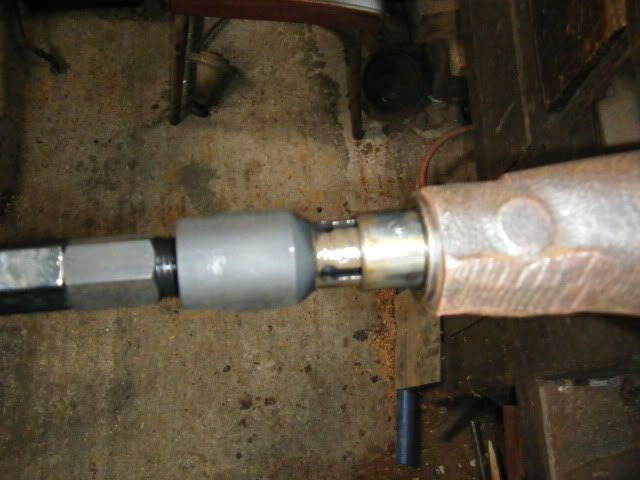
Cleaned the housing then inserted the new Bronze bush with my home made bush / bearing insertion tool. (A suitable length of M10 threaded rod, a nut welded on one end, 2 old radius arm thrust washers and another nut the other end)
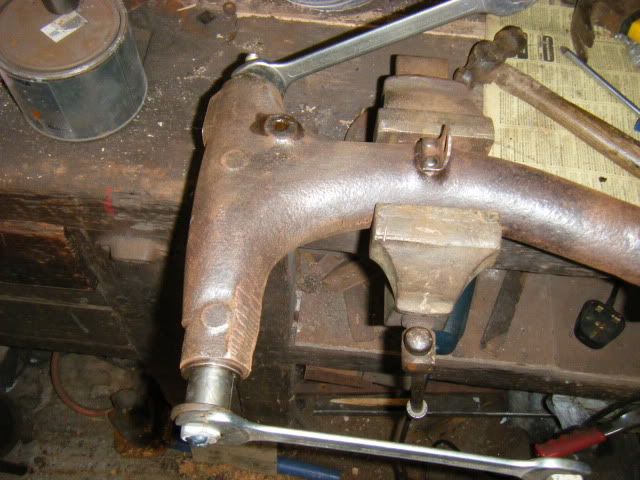
The Bronze bush in place. You may need to knock it fully home with a suitable tool. I used an old socket.
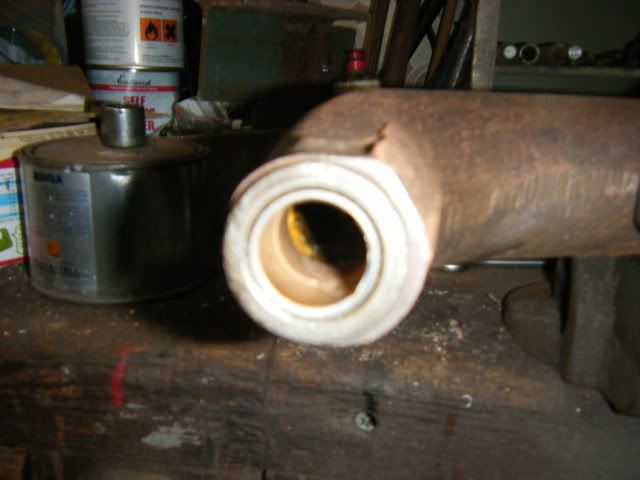
The next stage is to get the reamer set up. The guide bush sits in the bearing end housing. ( I tried the other end first and it didn't fit.
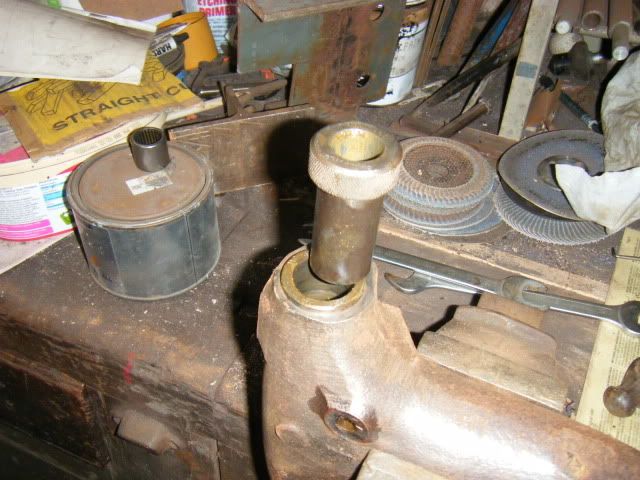
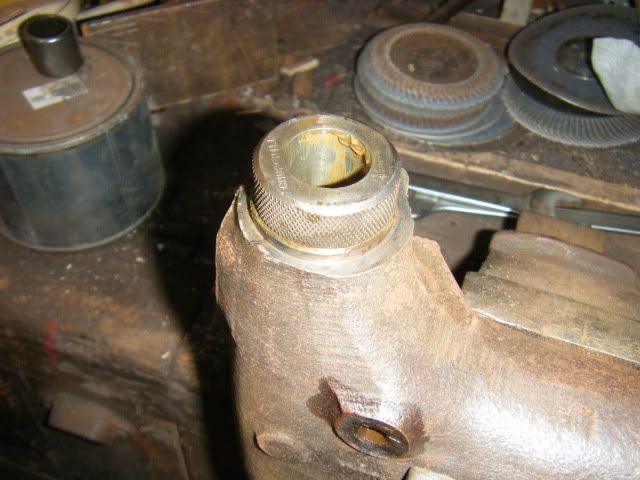
Reamer fitted and all set to do some damage, (to the bronze Bush).
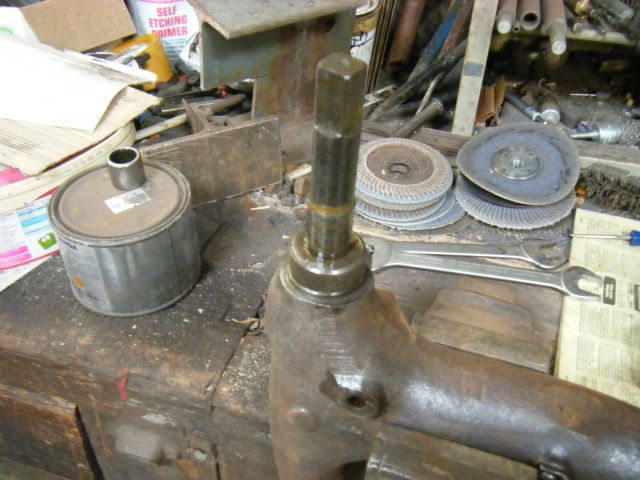
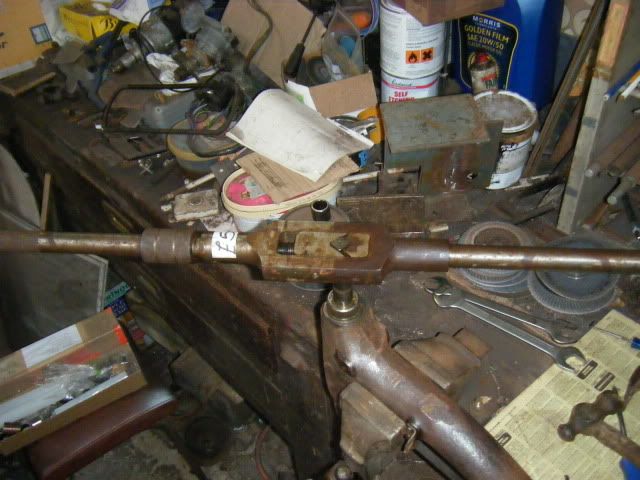
Overkill Tap wrench fitted and away we go. I turned the reamer clockwise by the way.
The end product of the reaming process.
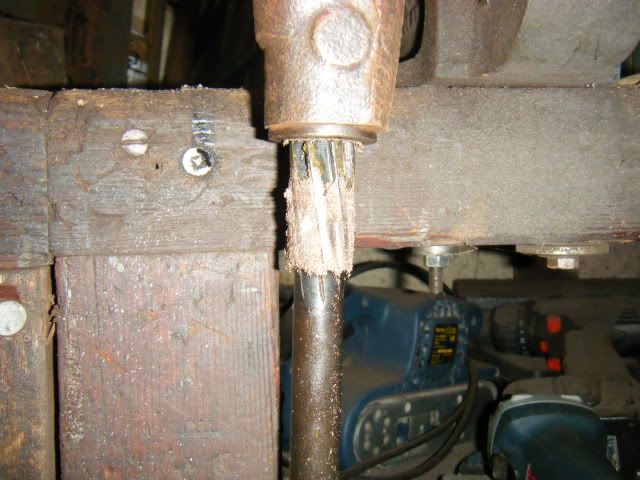
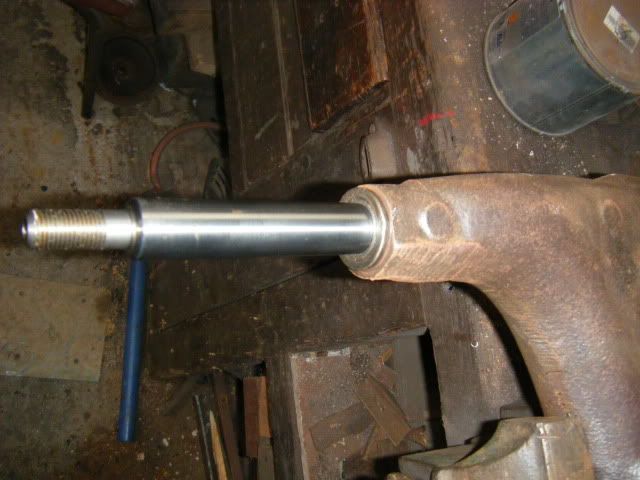
I read somewhere that the new pin should be trial fitted to check the fit because it may be necessary to do another cut with the reamer.
The new pin fitted snugly after the first cut so I left it at that. One cut and the job was done.
Next job is to fit a new grease tube, the narrower end goes in first from the bearing end.
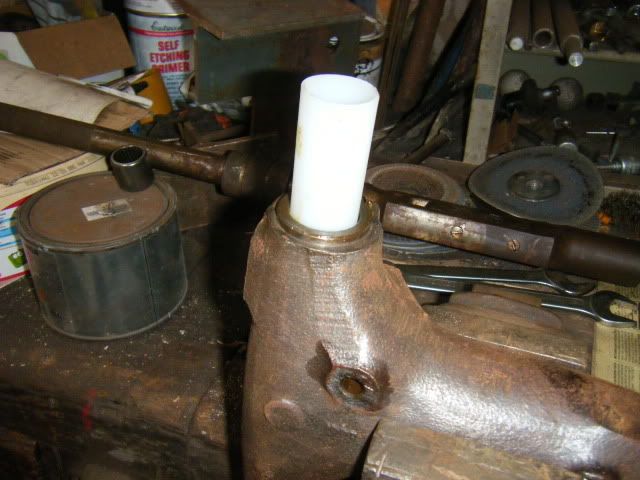
Then the new needle roller bearing goes in.
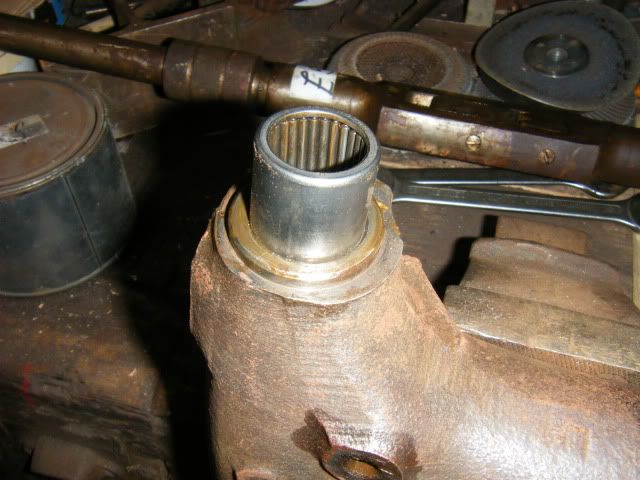
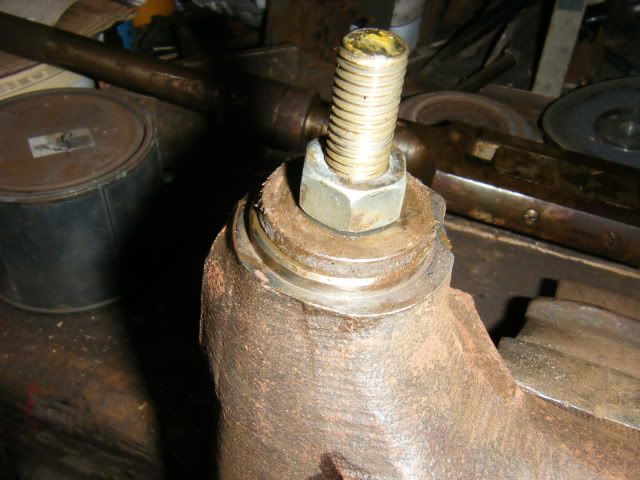
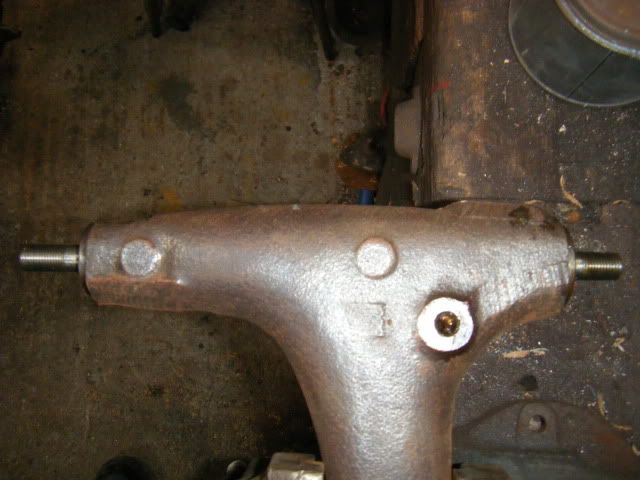
The end result. Ready for paint and assembly.
It is possible to ream new Bronze bushes by using other reamers, but it is best that some sort of guide bush is used otherwise things don't line up which in turn may cause the new bush and bearing to wear out prematurely.
I don't know if I have done the job correctly or not, so if not, please comment on here.
Thanks for reading and putting up with my drivel.

