Radius arm bush reaming. My way.

Post any technical questions or queries here.
Post Reply
InimiaD
1275 Cooper S
Posts: 1526
Joined: Thu Jul 01, 2010 11:20 pm
Location: West of Offas Dyke.

Radius arm bush reaming. My way.

Post by InimiaD »

I am fortunate enough to have my own Churchill reamer, so I thought it was about time I put it to good use.
In a previous thread on here I asked if anyone had done the job before so I could have some pointers in the correct method of setting up the reamer in the arms.
Not much response with that request, so today I bit the bullet and carried on regardless.

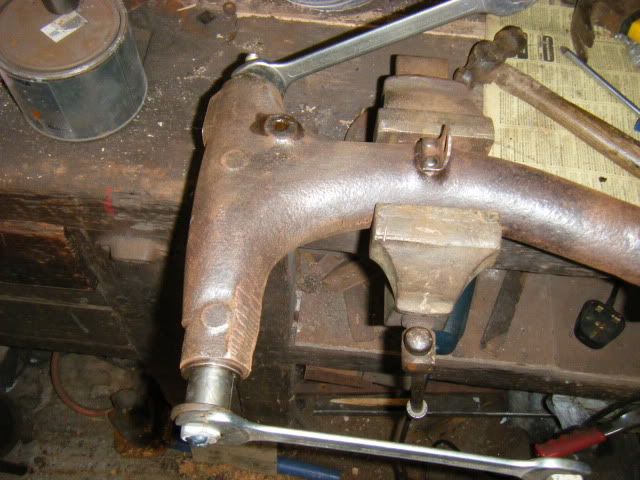
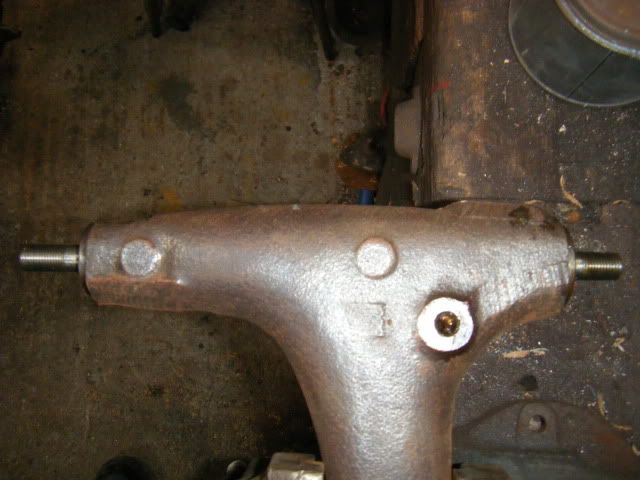
First off, it helps a great deal if the arms are cleaned and all excess gear is taken off. In my case the arms were stripped bare anyway, ready for a complete overhaul.

Secondly, I invested in a set of Blind Bearing pullers, the slide hammer type. Cheap at about £32 all in.
Yes, I know they're cheap and nasty knock off Chinese made tat, but for occasional
use they fit the bill perfectly

Image

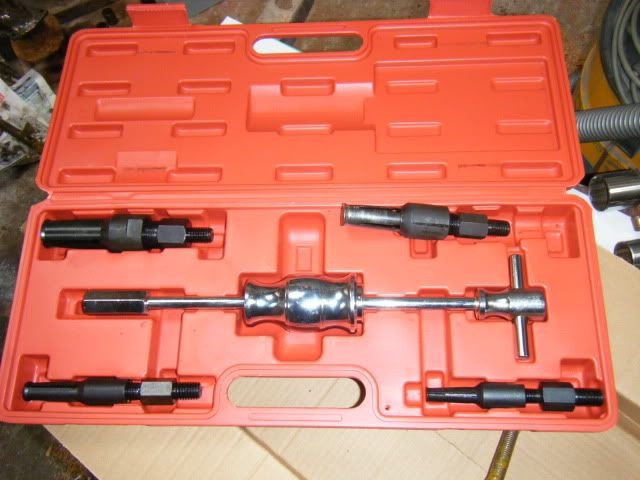
Other equipment needed is the reamer, reamer guide bush, tap wrench and maybe a hammer.

Image

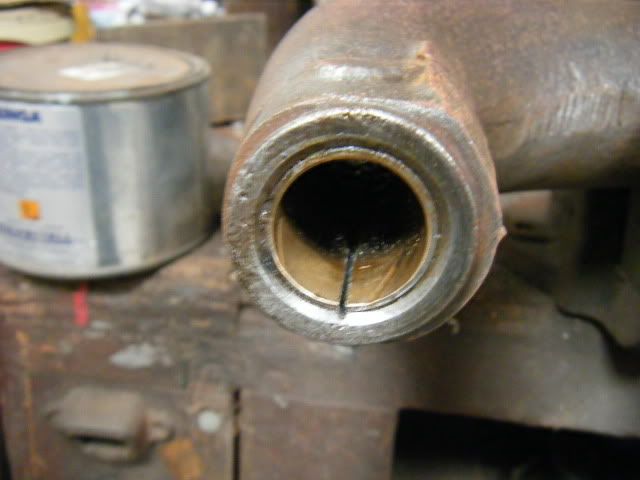
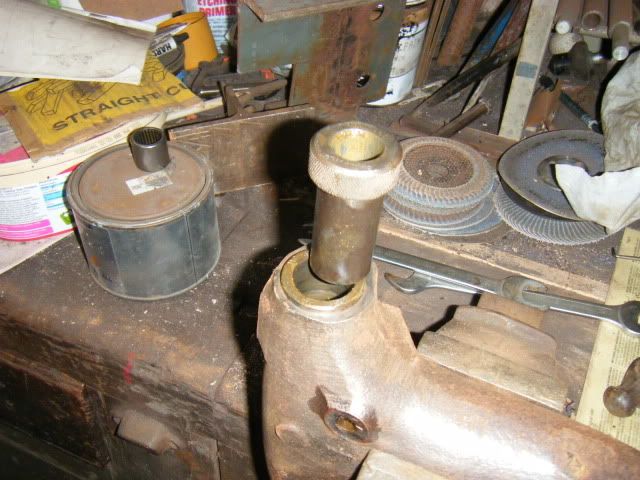
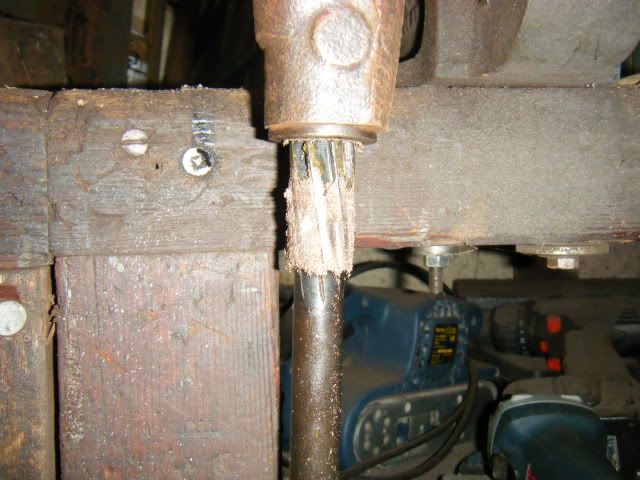
I started by removing the needle roller bearing first, probably because I knew it would be easier. :roll:
Pic shows the blind bearing puller attached and the bearing partially pulled out


Image

Bearing out and still attached to the puller.

Image

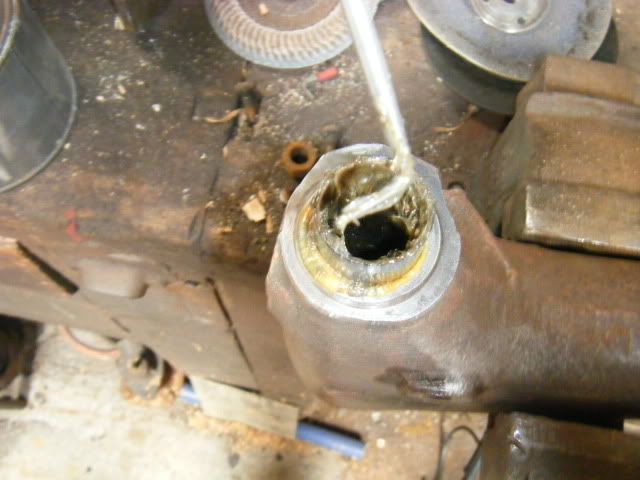
I used a sharp pick tool to remove the plastic "grease tube". The earlier minis had a steel tube so will need a long thin drift or screwdriver to remove the tube.

Image

I set the puller up to remove the bronze bush next, but try as I could, the puller failed to shift the bush. I suppose I could have used extra brute force, but was mindful of the fact where these pullers were made. :roll:
So I resorted to the tried and tested method of making a cut in the bush with a hacksaw. That done, I set the puller up again and hey presto the old bush came out easily.
The cut was enough to release the tension / binding I suppose.


Image

Image

The bush on it's way out.

Image

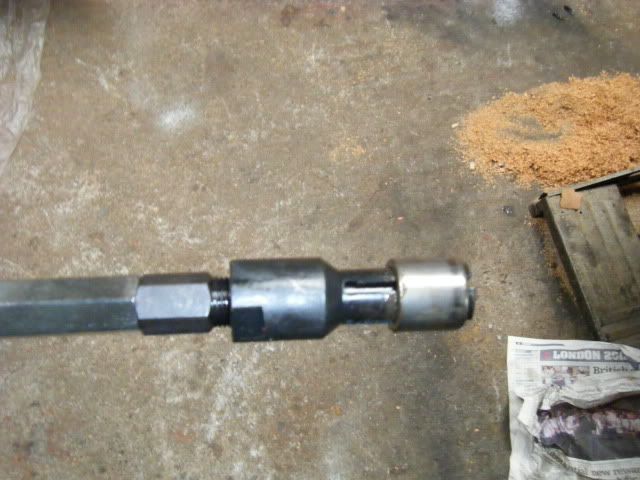
Cleaned the housing then inserted the new Bronze bush with my home made bush / bearing insertion tool. (A suitable length of M10 threaded rod, a nut welded on one end, 2 old radius arm thrust washers and another nut the other end)

Image

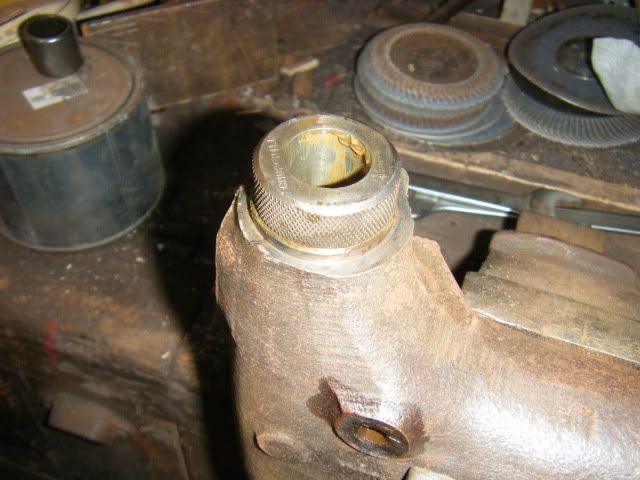
The Bronze bush in place. You may need to knock it fully home with a suitable tool. I used an old socket.

Image

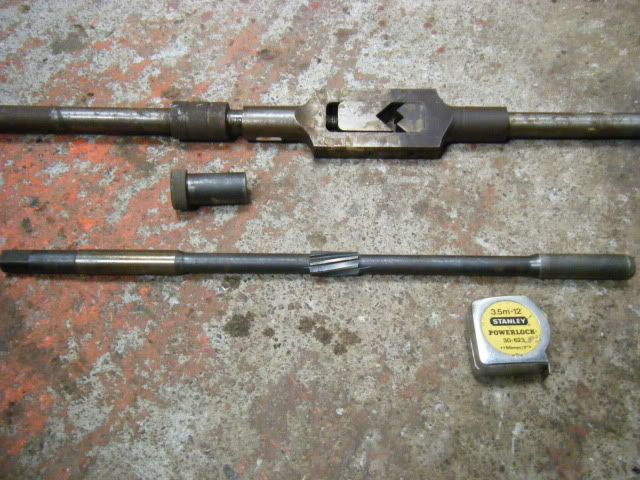
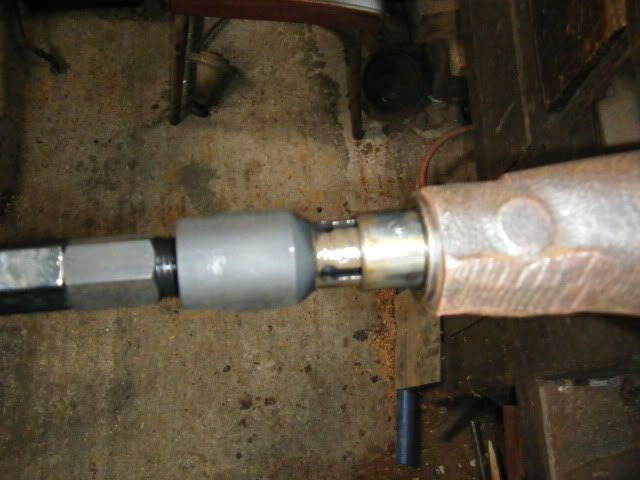
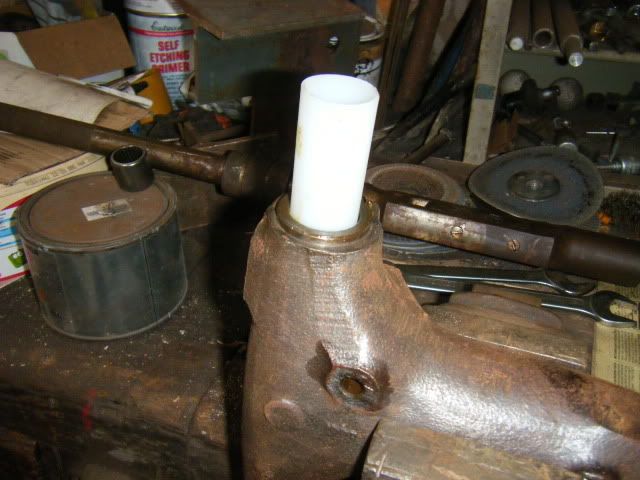
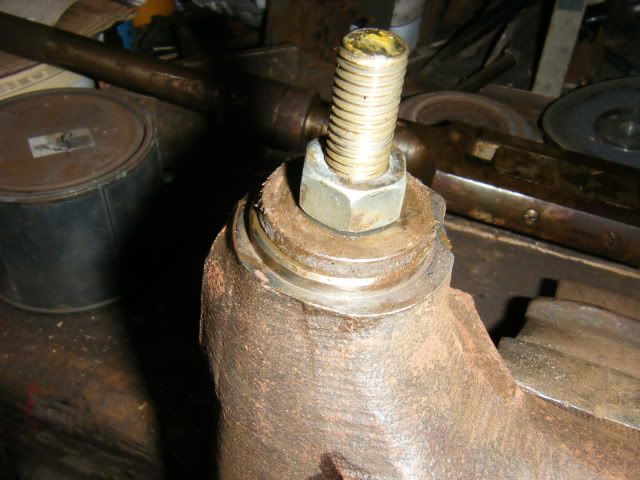
The next stage is to get the reamer set up. The guide bush sits in the bearing end housing. ( I tried the other end first and it didn't fit. :lol: )

Image

Image

Reamer fitted and all set to do some damage, (to the bronze Bush).

Image

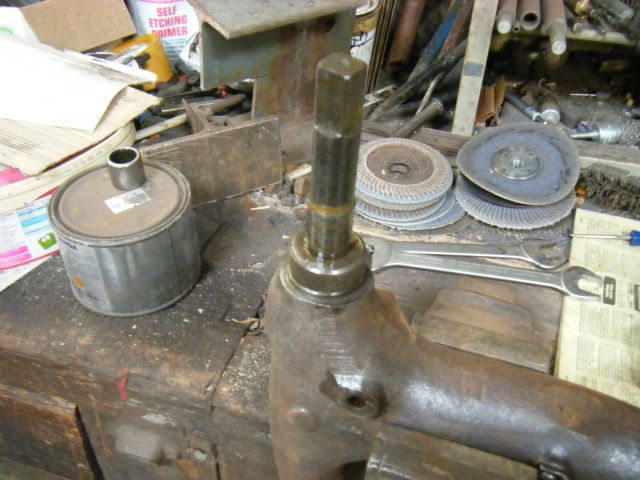
Overkill Tap wrench fitted and away we go. I turned the reamer clockwise by the way.

Image

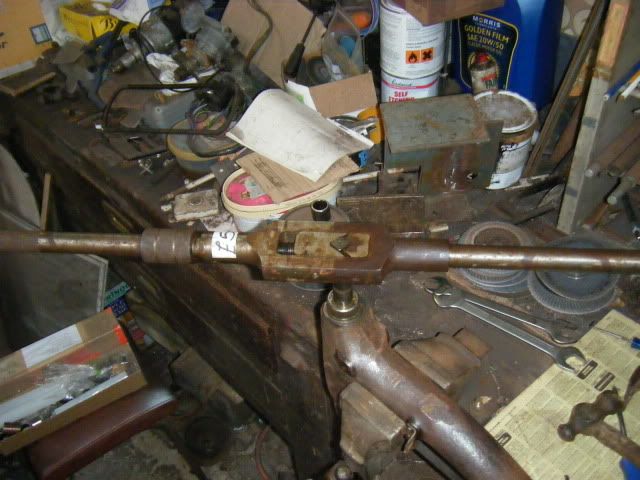
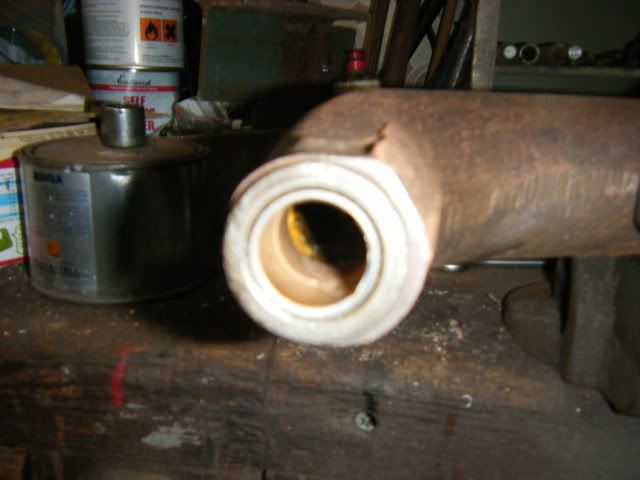
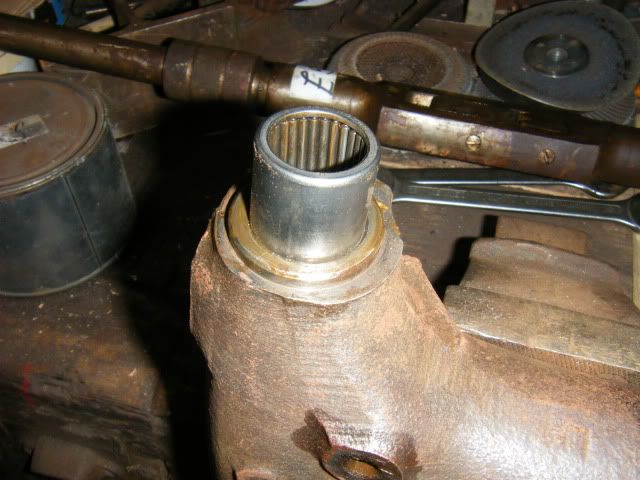
The end product of the reaming process.

Image

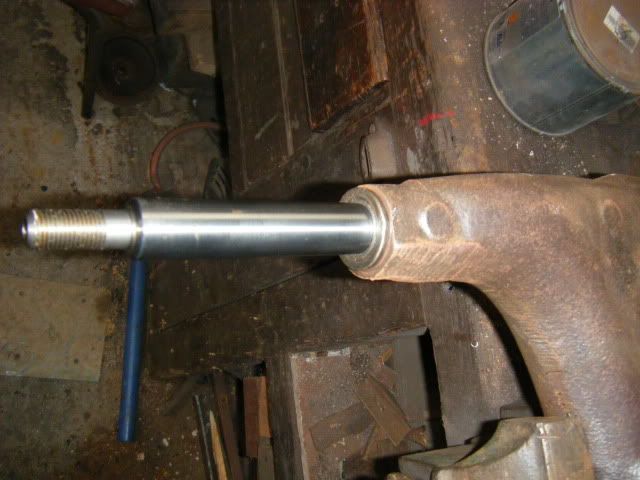
I read somewhere that the new pin should be trial fitted to check the fit because it may be necessary to do another cut with the reamer.
The new pin fitted snugly after the first cut so I left it at that. One cut and the job was done. 8-)

Image

Next job is to fit a new grease tube, the narrower end goes in first from the bearing end.

Image

Then the new needle roller bearing goes in.

Image

Image

The end result. Ready for paint and assembly.

Image

It is possible to ream new Bronze bushes by using other reamers, but it is best that some sort of guide bush is used otherwise things don't line up which in turn may cause the new bush and bearing to wear out prematurely.

I don't know if I have done the job correctly or not, so if not, please comment on here.
Thanks for reading and putting up with my drivel. :P
rolesyboy
1275 Cooper S
Posts: 2354
Joined: Fri Jun 25, 2010 10:57 am
Location: Colchester, Essex
Has thanked: 7 times
Been thanked: 6 times

Re: Radius arm bush reaming. My way.

Post by rolesyboy »

Thanks Dai. Not sure its right but what a great article. Been looking at doing this several times and always find something else to do instead. Hopefully somebody can confirm this is the correct way of going about the task. Cheers. Mark
Rolesyboy
sartine
Posts: 1
Joined: Sun Jul 08, 2012 12:34 pm

Re: Radius arm bush reaming. My way.

Post by sartine »

Actually this is the best method to cut the bronze bush inline with the baring, i can't see other ways to do the same at best.
It's always a correct tools job, if you have them, then it a piece of cake! The problem is that buy the correct reamer today needs a spare 80-100£, and this is a tool that you're going to use once and then forgot for another 40 years. That's why other have tried different ways to do this job, me too indeed!
Craig
998 Cooper
Posts: 427
Joined: Fri Jun 25, 2010 7:11 pm
Location: Langley BC Canada

Re: Radius arm bush reaming. My way.

Post by Craig »

Very well done !!

I have done quite a number of swingarms myself and would like to add the following comments if I may ,
The swingarms are quite hollow and fill up with a lot of grease , when I was doing them , I would strip the bearing,
bushing and grease tube .Then using a hot water pressure washer , would flush the old grease out from both ends.
I was surprised at the amount of "MucK " that came out.
Once cleaned , bushing , bearing , grease tube and shaft installed , I would grease them OFF the car and some would
take a whole tube of grease before oozing out the ends.
Once again , good write up !!!

Craig
User avatar
miniminor
1275 Cooper S
Posts: 814
Joined: Thu Sep 27, 2012 6:49 pm
Location: Upside down behind the TV
Been thanked: 2 times

Re: Radius arm bush reaming. My way.

Post by miniminor »

Brilliant, well written and photographed.
Always wondered why they ever used a bronze bush instead of another roller bearing at both ends?
"Get the wheels in line, Get the wheels in line with it! ..... and then slam your brakes on or we'll be in the cabin ! "

1963 Morris Mini Minor Superdeluxe
2014 Freelander 2 SD4
guru_1071
1275 Cooper S
Posts: 2109
Joined: Thu Jun 24, 2010 7:47 pm

Re: Radius arm bush reaming. My way.

Post by guru_1071 »

miniminor wrote:Brilliant, well written and photographed.
Always wondered why they ever used a bronze bush instead of another roller bearing at both ends?

because the water and grit that gets into the rollers chews through them in no time at all, the bronze bush is far more resiliant.

cheap arms have a roller at each end as they dont need reaming
please note, these are my own, individual sales, nothing whatsoever to do with my employer, minispares
User avatar
sandman
998 Cooper
Posts: 582
Joined: Thu Jun 24, 2010 7:24 pm
Location: Langhus, Norway

Re: Radius arm bush reaming. My way.

Post by sandman »

Great write up!

I have access to the original reamer, but i'm lacking the guiding bush.... any chance you could measure it and post a drawing or so?
Cheers,

Ed_
InimiaD
1275 Cooper S
Posts: 1526
Joined: Thu Jul 01, 2010 11:20 pm
Location: West of Offas Dyke.

Re: Radius arm bush reaming. My way.

Post by InimiaD »

sandman wrote:Great write up!

I have access to the original reamer, but i'm lacking the guiding bush.... any chance you could measure it and post a drawing or so?
Will do Ed, when I get a chance. ;)
Tim
1275 Cooper S
Posts: 1284
Joined: Thu Jun 24, 2010 11:55 pm
Location: Tasmania, Australia
Has thanked: 4 times
Been thanked: 17 times

Re: Radius arm bush reaming. My way.

Post by Tim »

guru_1071 wrote:
miniminor wrote:Brilliant, well written and photographed.
Always wondered why they ever used a bronze bush instead of another roller bearing at both ends?

because the water and grit that gets into the rollers chews through them in no time at all, the bronze bush is far more resiliant.

cheap arms have a roller at each end as they dont need reaming
Australian Mokes which had longer trailing arms use a roller bearing at both ends. I'm not certain why. They don't tend to last very well, but they are less work to replace.

Tim
1951 Morris Commercial J Type Van
1955 BSA C11G
1961 Morris Mini Traveller
1969 Triumph TR6R
1977 Leyland Moke Californian
User avatar
Spider
1275 Cooper S
Posts: 4805
Joined: Mon May 07, 2012 6:10 am
Location: Big Red, Australia
Has thanked: 125 times
Been thanked: 34 times

Re: Radius arm bush reaming. My way.

Post by Spider »

Tim wrote:
guru_1071 wrote:
miniminor wrote:Brilliant, well written and photographed.

Australian Mokes which had longer trailing arms use a roller bearing at both ends. I'm not certain why. They don't tend to last very well, but they are less work to replace.

Tim
Yes, that is spot on.

I actually do away with the stupid needle rollers and fit bronze bushes both side. They last considerable longer then (like 25 years + and still going :D ) The bushes as fitted in the mini's are, well, not much good and the idea of fitting the bearing :roll:

The bearing surface of bushes is too hard and brittle. The problem with using needle rollers is that they only have fine lines of contact. The other major problem these days is that all the new trailing arms pins I've come across are either not hardened (where the bearings / bush run) or the hardening is only wafer thin and flakes off. Try filing an original genuine pin, then try a new one. Tip: Bushes work much better on the new (soft) pins than bearings ;)

I have a reamer that I made up for doing the bushes, I'll try to remember to take a pic and post it up later.

Thanks to InimiaD for going to the trouble of putting together the original posting here, well done and I know how much work they are to do. If I may, I'd like to say that I use a Dremel to weaken the original bushes (if needed) and grind (slowly, slowly!) a groove in the old bush and stop just short of the casting, then with a small screw driver, tap that in between the two parts to collapse the bush. I just prefer to not mark the casting of the arm. Cheers ;)
User avatar
Spider
1275 Cooper S
Posts: 4805
Joined: Mon May 07, 2012 6:10 am
Location: Big Red, Australia
Has thanked: 125 times
Been thanked: 34 times

Re: Radius arm bush reaming. My way.

Post by Spider »

Here's the Reamer I have

Image

It is made up from an adjustable Reamer and an old (but OK) Radius Arm Pin. The Reamer has been bored and the RA Pin machine down to fit inside the Reamer. When I use it, I leave the old bearing in place - as long as it's half reasonable - to locate (pilot) the Reamer via the RA Pin. Hasn't failed me yet!

Just slightly OT, you can see here where I have tested this pin for hardness

Image

The steps are at successive 0,010" depths and the pop marks are from the Rockwell (HRc) Tester. It is a calibrated Instrument of course, however you can see on the pin where the pop marks don't change much in size at different depths. That is because this pin is still hard even at 0.030".
Post Reply