Page 3 of 10
Re: 1963 Super Deluxe Project
Posted: Tue Mar 08, 2011 9:44 am
by Vegard
That manifold will smell lovely in a while

Re: 1963 Super Deluxe Project
Posted: Tue Mar 08, 2011 9:54 am
by NotNormal

Yes not expecting it to last in all honesty
I did start off by spraying it with VHT high temp (900 degree stuff) paint and then a top coat of the green but maybe a futile effort.
Re: 1963 Super Deluxe Project
Posted: Tue Mar 08, 2011 5:20 pm
by surfblue63
That's progressing well and the engine looks great. Just one thing, shoould the water pump pulley be yellow? The one on my '63 is.

Re: 1963 Super Deluxe Project
Posted: Tue Mar 08, 2011 5:25 pm
by NotNormal
I did start a post about this very subject (
viewtopic.php?f=3&t=1725 ) and the response indicated they came in both yellow and black.
When stripping down the pulley its definately been black all its life as there was black paint straight onto the metal with no sign of yellow at all other than the fan which i'm still to sort out.
Re: 1963 Super Deluxe Project
Posted: Tue Mar 08, 2011 5:42 pm
by surfblue63
I must have missed that post, or more likely forgotten that I had read it.
Re: 1963 Super Deluxe Project
Posted: Tue Mar 08, 2011 6:43 pm
by NotNormal
Can still change to yellow if its deemed thats best as plenty of time before it gets fitted but also keen to try and remain true to how the car was from new. Would it have anything to do with being a Morris as opposed to the Austin maybe

Re: 1963 Super Deluxe Project
Posted: Sun Mar 13, 2011 6:56 pm
by NotNormal
Re: 1963 Super Deluxe Project
Posted: Sun Mar 13, 2011 7:13 pm
by guru_1071
the water pump pulley on the 'tc' is yellow (under the rusty grime!) if that helps
Re: 1963 Super Deluxe Project
Posted: Sun Mar 13, 2011 7:56 pm
by NotNormal
Helps my indecisiveness on the issue

In all seriousness, cheers for the info as that rules out the Morris thing

Re: 1963 Super Deluxe Project
Posted: Wed Apr 20, 2011 9:57 am
by NotNormal
Bit of a small update
Progress has slowed as Dad has a few customer cars to sort out and i've been manic with one thing or another however its still ticking along.
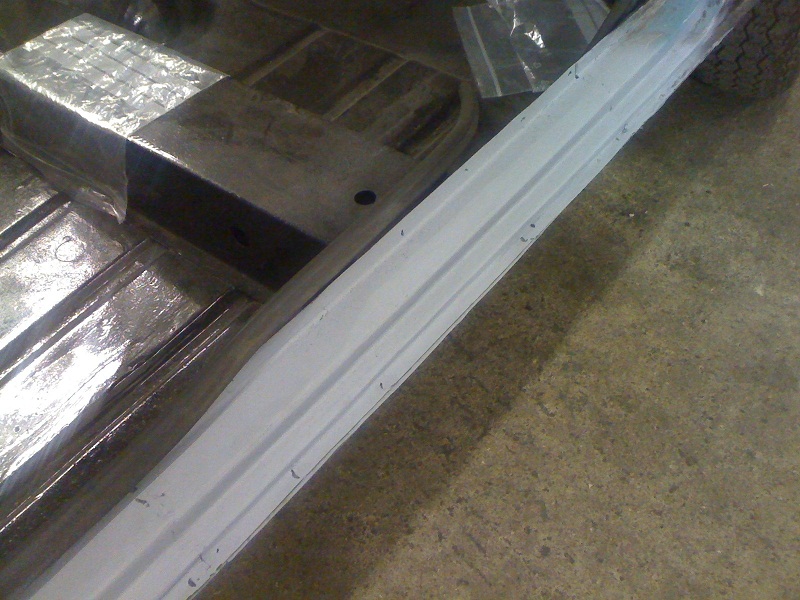
We found the the drivers door sill was very thin so rather than fill holes we chopped the section out and welded in a new section
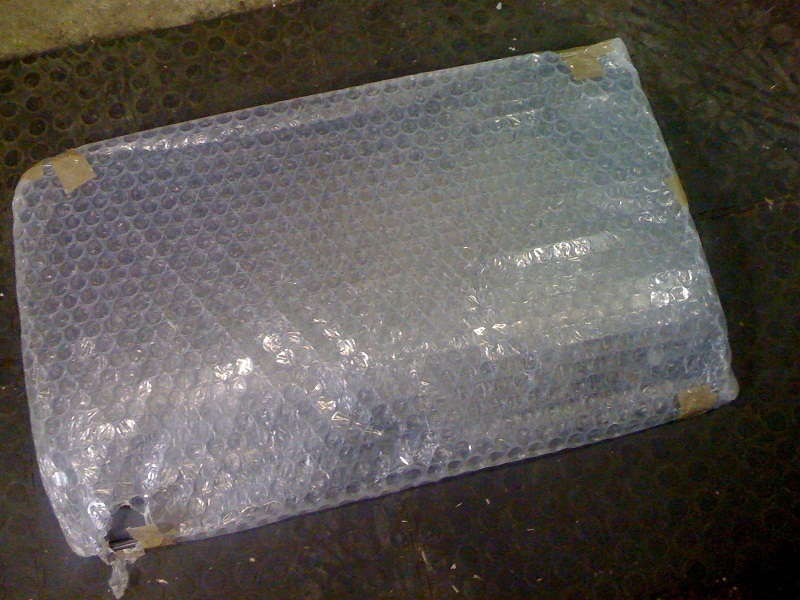
Moving onto the doors, one is in really good nick and needs hardly any work, however the other is very thin towards the bottom with a few rust pin holes being apparent so again in order to do it properly so that it will last in the long term we've bitten the bullet and ordered a new heritage skin which will get grafted on.
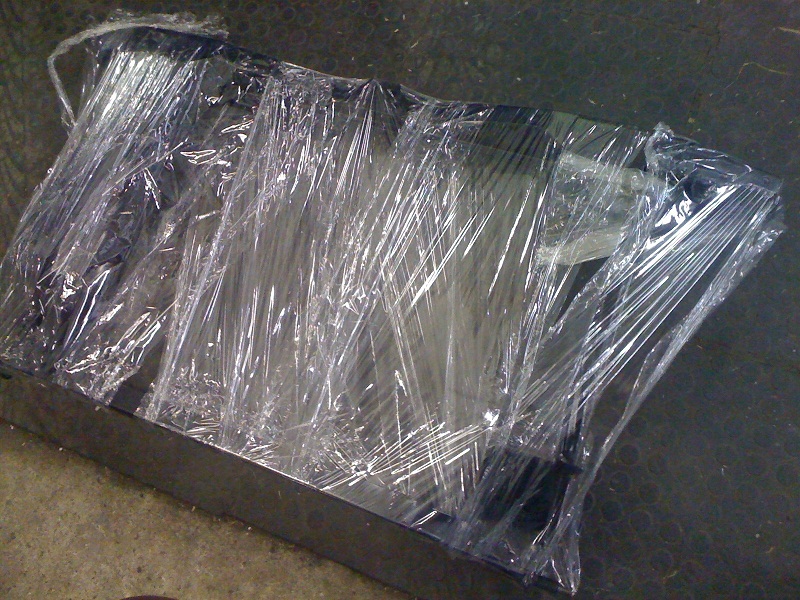
We've also sent some stuff off to the powder coaters, the fan and the pulley will now both be yellow and here is the new rear subframe fresh from the coaters which can start to be assembled once bushes etc arrive (still need to place the order

)
and finally some of you may have noticed my post in the wanted section for a bootlid, well alas there was no responce so i've put in a fair amount of time ringing around trying to locate one but these seem very tricky to find indeed. So in the end eBay came to the rescue and a successfull bid means I picked this up last night. Really excellent condition and glad to have this piece of the jigsaw puzzle.
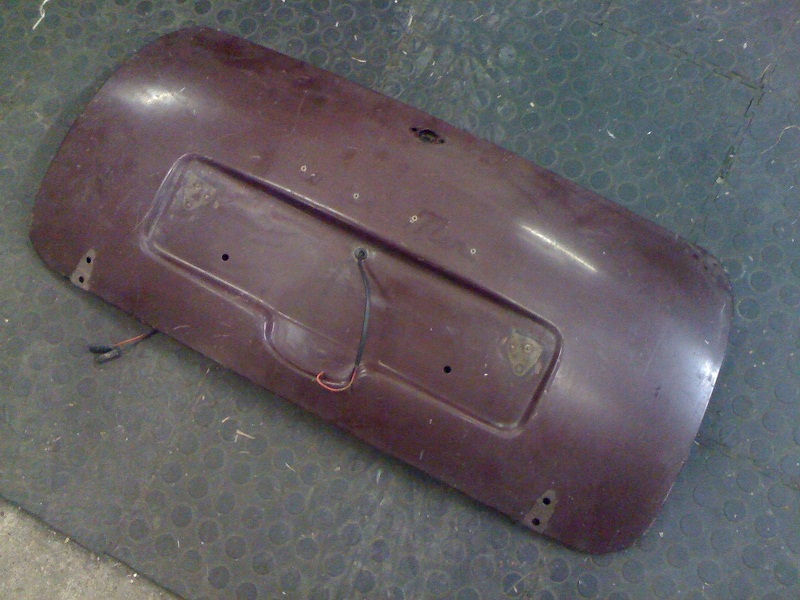
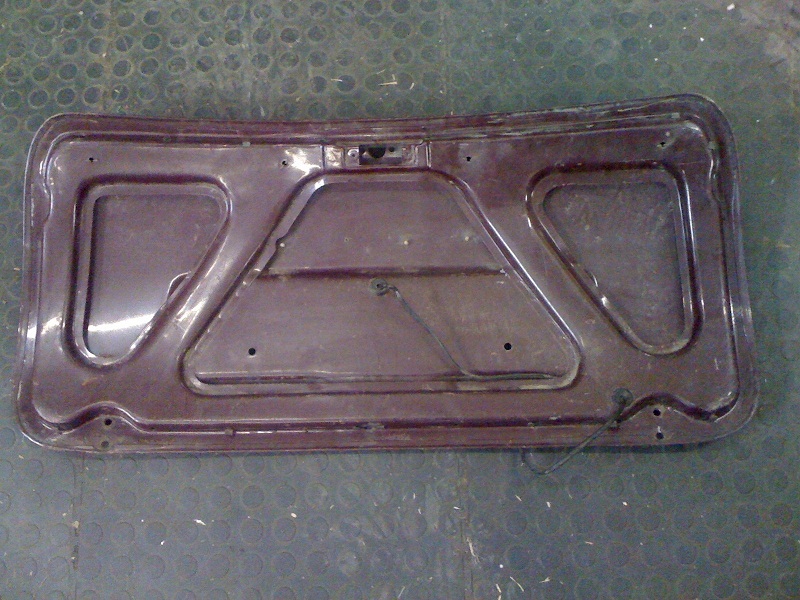
You maybe thinking why did we need one, well in the early 70's the car got hit from behind and the bootlid was replaced with a Mk2 item when it was repaired.
Glad to now have the correct item to put back on

The journey continues....
Re: 1963 Super Deluxe Project
Posted: Wed Apr 20, 2011 10:09 am
by mk1
That is a really fine boot lid!
I am glad to see that your restoration is continuing & take a little consolation as my own is currently going so slowly

Keep up the good work.
Re: 1963 Super Deluxe Project
Posted: Thu Apr 21, 2011 10:11 pm
by surfblue63
Good to see your progress

Re: 1963 Super Deluxe Project
Posted: Fri May 06, 2011 9:55 am
by sclemow
Looking great. Is the bootlid that you've taken off one of the late mk1/mk2 solid ones?
If so I may be interested in it.
Cheers
Simon
Re: 1963 Super Deluxe Project
Posted: Fri May 06, 2011 10:26 am
by JC T ONE
Great stuff

keep up the nice work

Re: 1963 Super Deluxe Project
Posted: Thu May 12, 2011 10:27 am
by NotNormal
Cheers guys, apologies for the delay in replying but just returned from a holiday in the sun so alas little progress to report. But to answer some questions.
sclemow wrote:Looking great. Is the bootlid that you've taken off one of the late mk1/mk2 solid ones?
If so I may be interested in it.
Cheers
Simon
The bootlid that we've taken off is an open frame item.
brook shaw wrote:my eyes are bad,i may have missed it but your engine needs a breather on tappet cover or you will have probs..get the proper one with the small pipe type spout
Interesting point, the reason for taking off the breather at the rear was based on two things:-
a) Dad remembers the original being replaced with the canister breather seen in the earlier pics as it was a scrap yard find manay many years ago
b) to that end I did some research and found the following on the Somerford Mini site regarding engine numbers and breather types
____________________________________
848 and 997cc Engine Serial Number Prefix Codes 1959-69
8A/ 848cc Austin manual gearbox engines only up to engine no. 25000 (1959-60)
8MB/ 848cc Morris manual gearbox engines only up to engine no. 25000 (1959-60)
8MB/ 848cc Morris manual gearbox engines only up to engine no. 25000 (1959-60)
8AM/ 848cc Austin and Morris manual gearbox engines without closed circuit breathing from engine no. 25001 (1960-69)
8AH/ 848cc Austin and Morris automatic gearbox engines without closed circuit breathing (1964-69)
8AJ/ 848cc Austin and Morris manual gearbox engines with closed circuit breathing (1964-69)
8AK/ 848cc Austin and Morris automatic gearbox engines with closed circuit breathing (1964-69)
8WR/ 848cc Wolseley and Riley manual gearbox engines (1961-63)
9F/SA 997cc Austin and Morris Cooper manual gearbox engines (1961-63)
848cc Engine Serial Number Prefix Codes 1969-84
85H/ Engines from 1969 onwards
Web link -
http://www.somerfordmini.co.uk/eshop/in ... age&id=107
____________________________________
The engine number on the block in this car is an 8AM so I take it this should have two closed breather covers with no spout - as seen in the build pics.
So is this correct or should it have a breather spout ?

Re: 1963 Super Deluxe Project
Posted: Thu May 12, 2011 4:59 pm
by Toby
As stated on the list the vent your engine ought to not with circuit breathing, this means it would have had the spout on the rear of the block to breath form the engine bay.
Usually the spouts get replaced as they tend to leak oil on the rear of the block.
Re: 1963 Super Deluxe Project
Posted: Thu May 12, 2011 5:08 pm
by NotNormal
Ahh ok, now I understand. So basically it should have the pipe coming out the back but should just vent to atmosphere.
Cool, cheers for pointing that one out guys, I think I have the one I need in the box of parts we have so will swap over.
Its little things like this that make me glad I signed up on this site.

Re: 1963 Super Deluxe Project
Posted: Mon May 16, 2011 11:05 am
by NotNormal
Update time again.
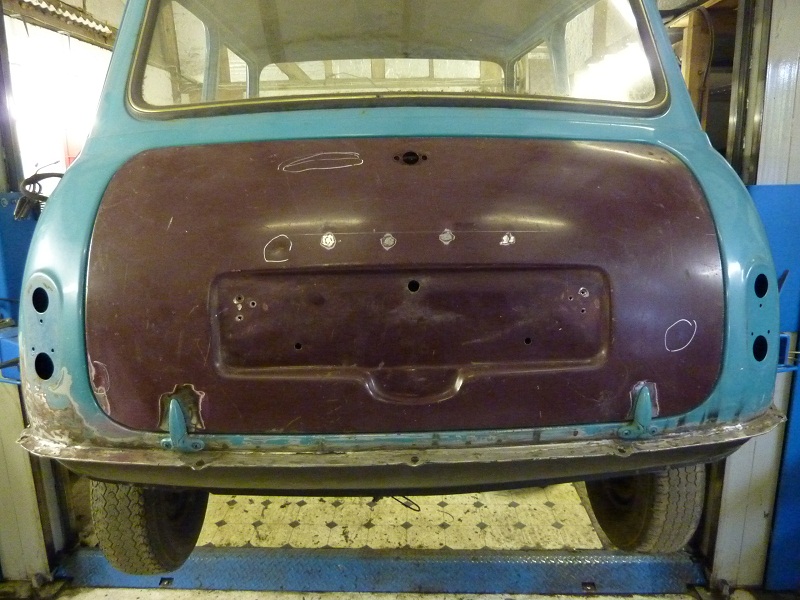
Well after myself and Dad made a trip down to Brighton yesterday to have a look at some Mk1 Mini's as part of the Mini run I stopped off on the way home to get some latest pics as Dad had said he had some time this week to crack on.
So here we are with the bootlid fitted and lined up on the car
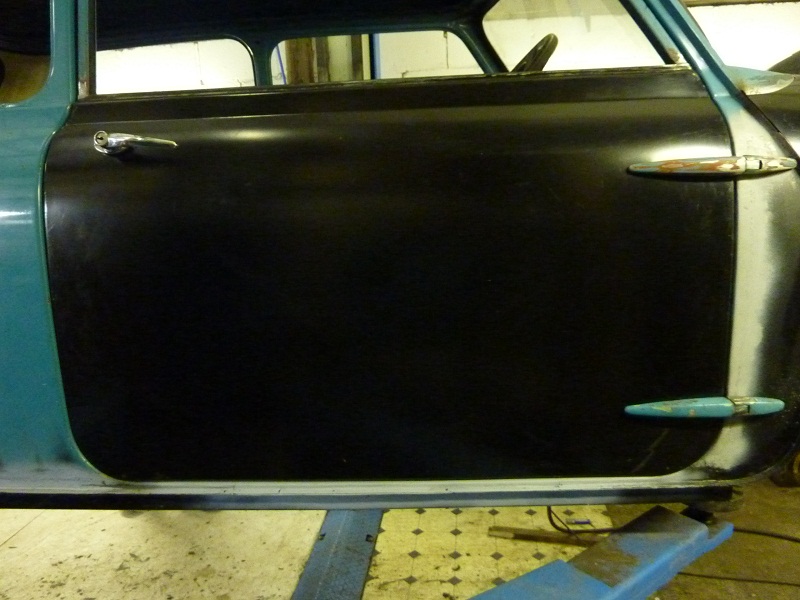
Then we have the newly skinned drivers door which he's done
and the return lip of the door skin
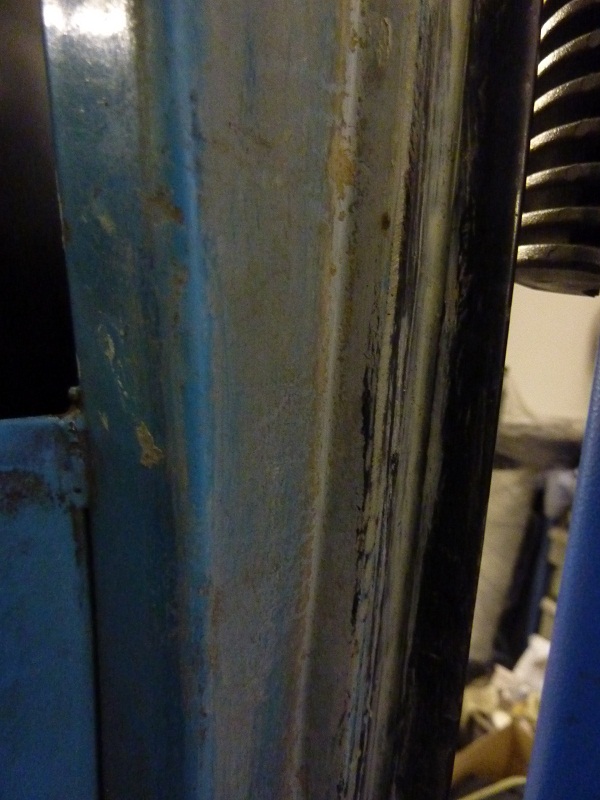
So with new door pins made and fitted he managed to get the doors fitting really well gap wise and not kicking out etc but then we had a discussion about the door rubbers. The reason for this is because the new Mk1 items we have from Somerford seem to be very stiff and don't allow the doors to sit snug at all. After looking at Mini's yesterday the current options are either cut the rubber triangle section to allow it to fold more or ignore the Mk1 specific stuff altogether and put the Mk2 rubbers on as these seem to be more maleable. If anyone has any handy info on this subject would be interested to hear thoughts....
So then were onto the front end, (which is till being worked on) but coming out really well panel gap wise
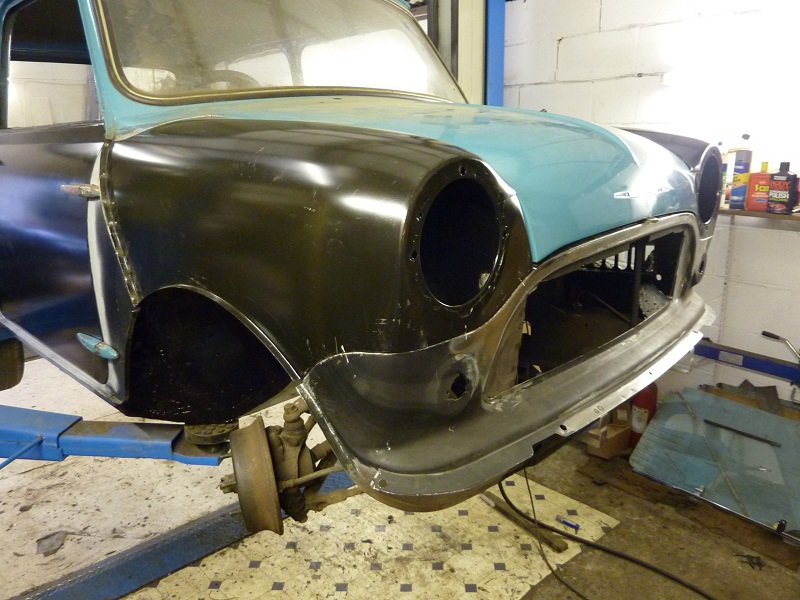
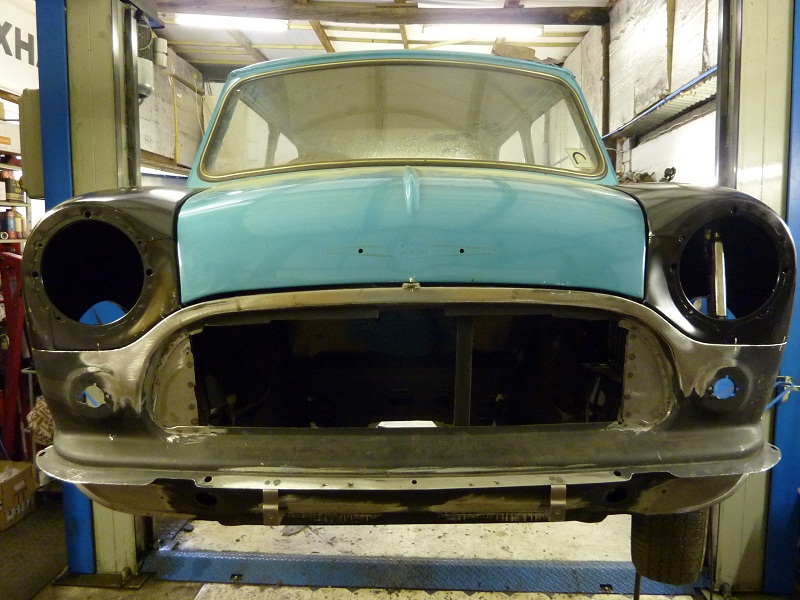
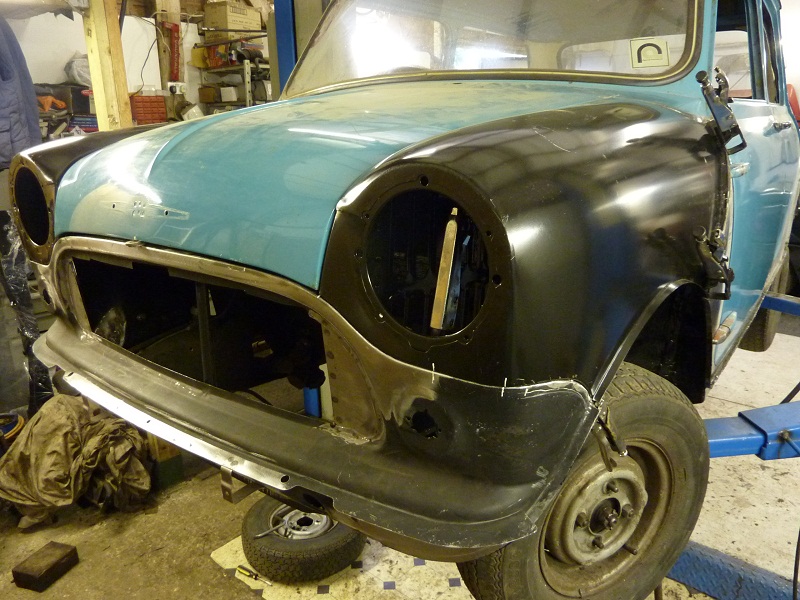
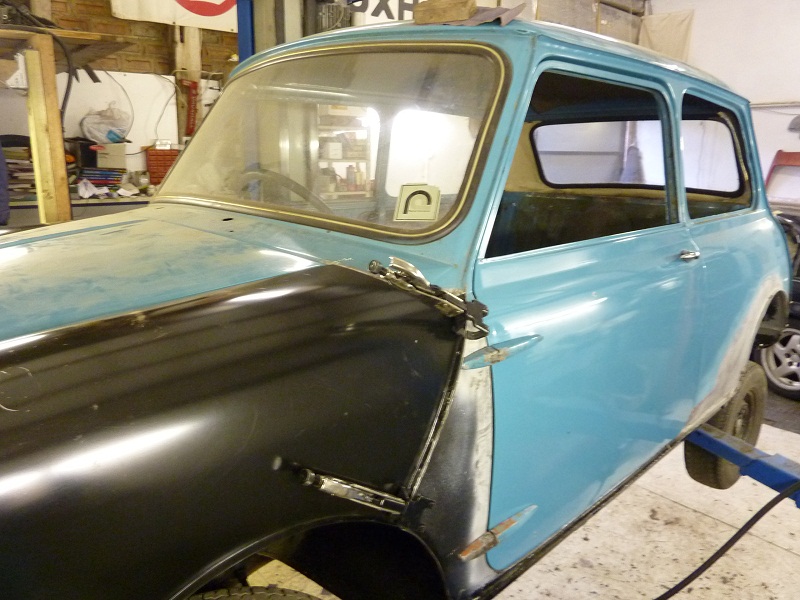
Getting exciting now as it starts to look more like it should what with panels going back on, but still aware theres a long way to go

Re: 1963 Super Deluxe Project
Posted: Mon May 16, 2011 11:26 am
by 36inter
Gaps look great, hope mine get to be that good (when I get started). Your Dad is doing a great job, looks like you are on the home run now, keep the pics coming.
Pete
Re: 1963 Super Deluxe Project
Posted: Tue May 17, 2011 8:41 pm
by tomkidd
Looks great! Is that a wheel off a lotus carlton in the background?


