1963 Super Deluxe Project
- NotNormal
- 850 Super
- Posts: 246
- Joined: Thu Nov 18, 2010 12:57 pm
- Location: Surrey
- Contact:
1963 Super Deluxe Project
Well here's the first pics of the new project following on from my intro thread viewtopic.php?f=5&t=1223.
Grandfathers car purchased from new but now in need of attention to keep it going for another 47 years we hope.
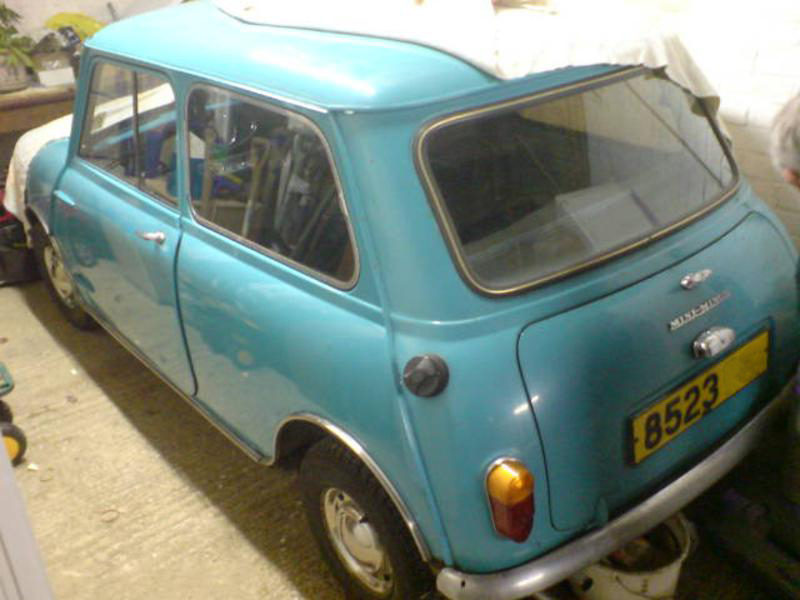
Edit to add, found a pic of the car before work started on the car
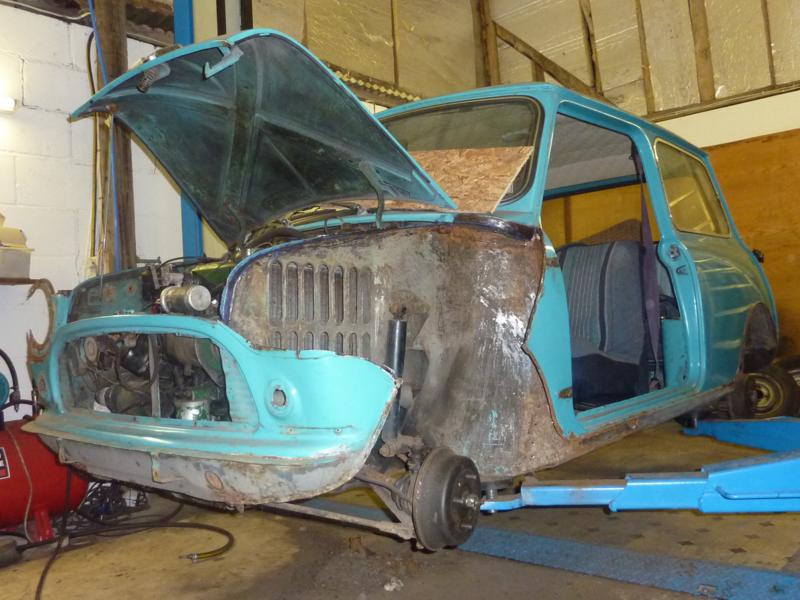
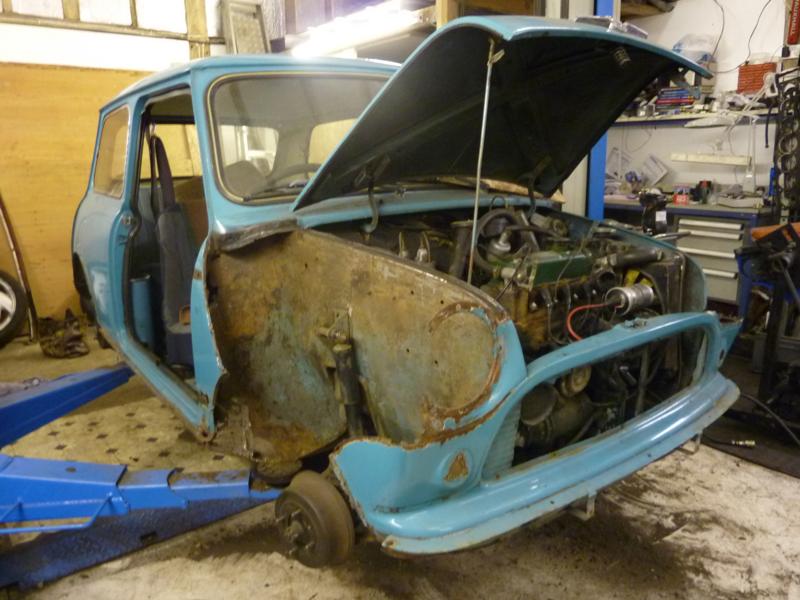
Work already commenced by removing some trim and the front arches. So these are the pics I took last night. Work is starting on the body (front to back)
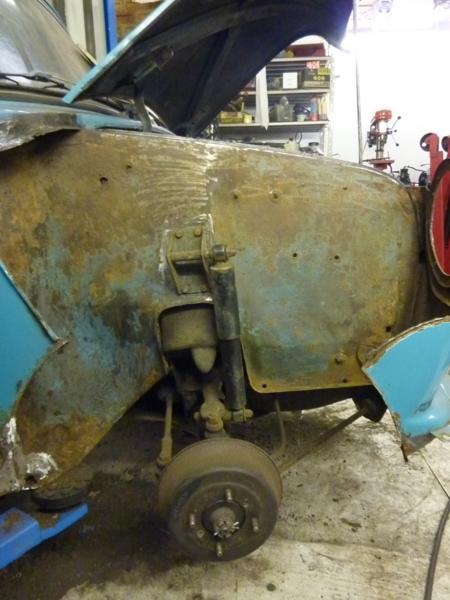
Drivers/Passengers Front Arch Area (looking to get Heratige replacements)
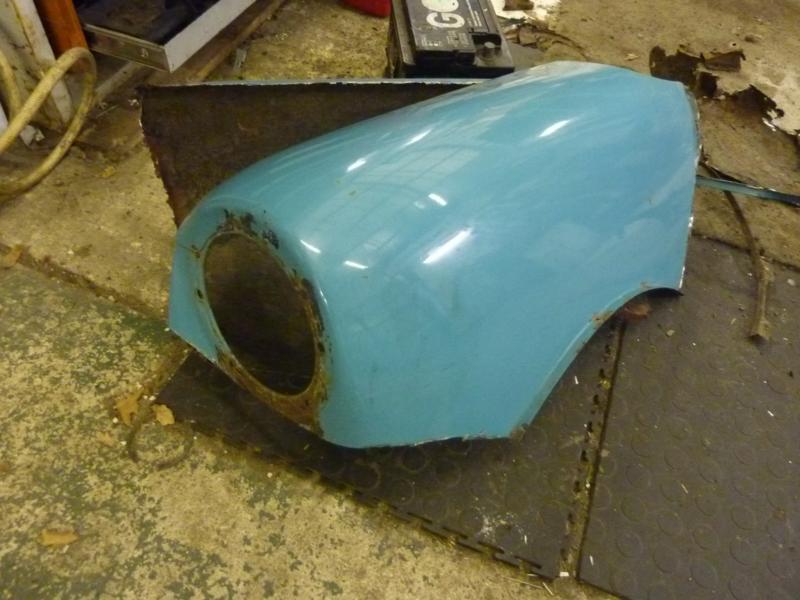
Removed Items
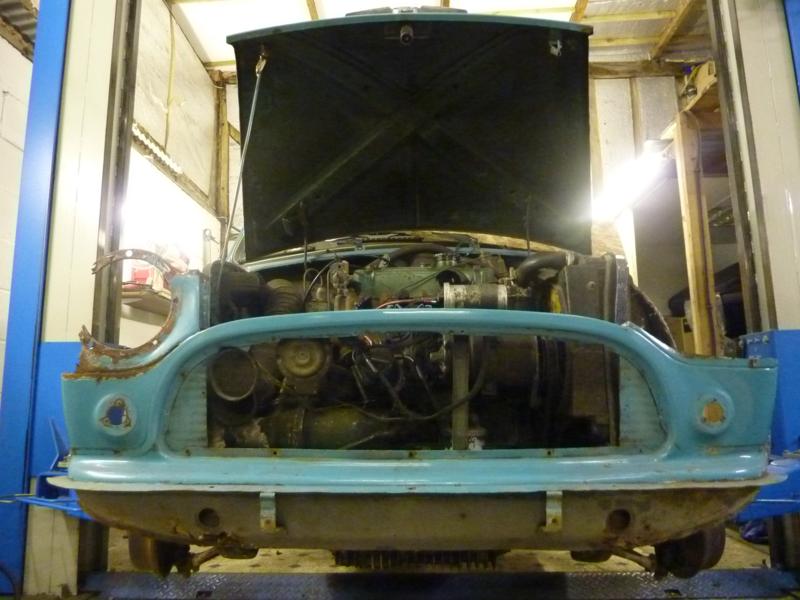
Front Panel (looking to get an M-Machine replacement)
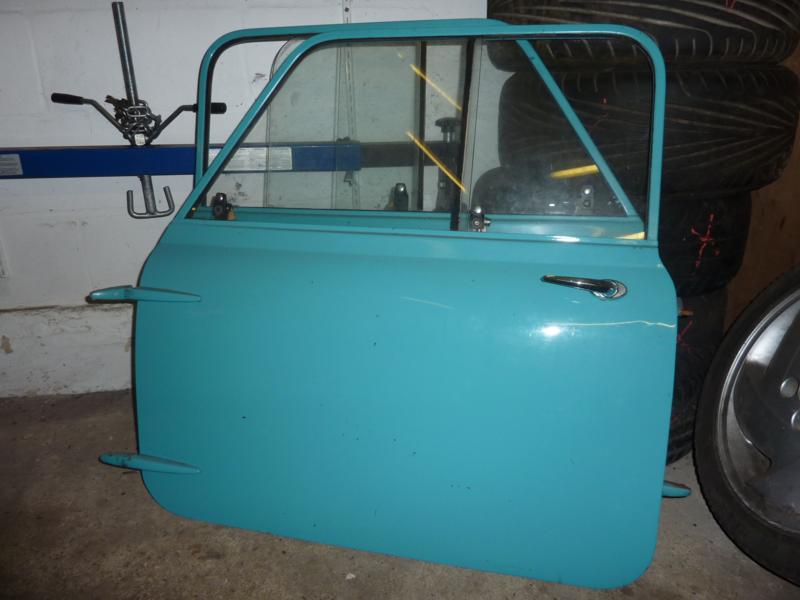
Doors
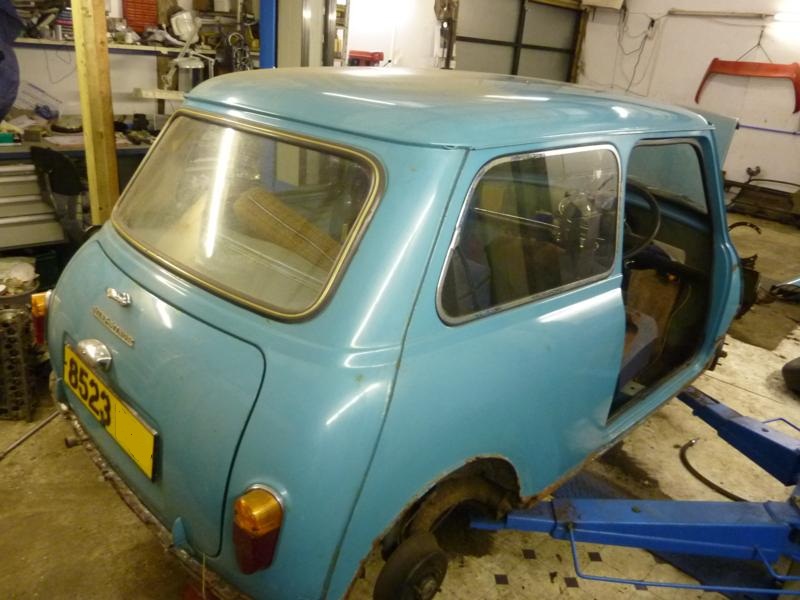
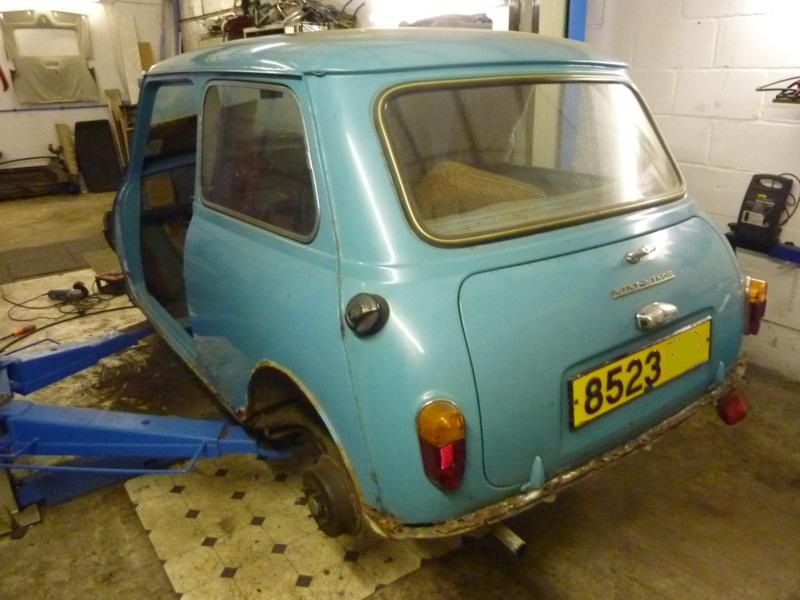
Rear of the car
Rear bootlid was changed in its life so this needs reverting, as does fuel cap I believe. We still have the black/white plates with the car which will go back.
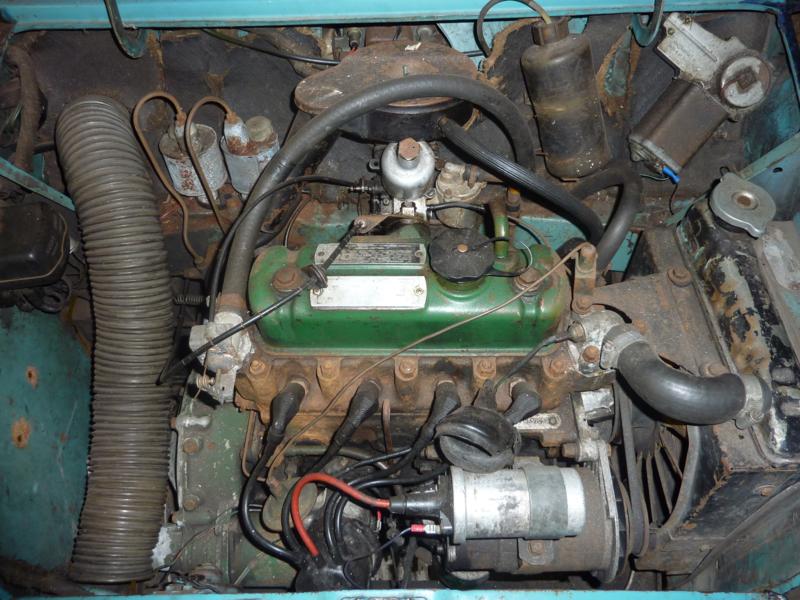
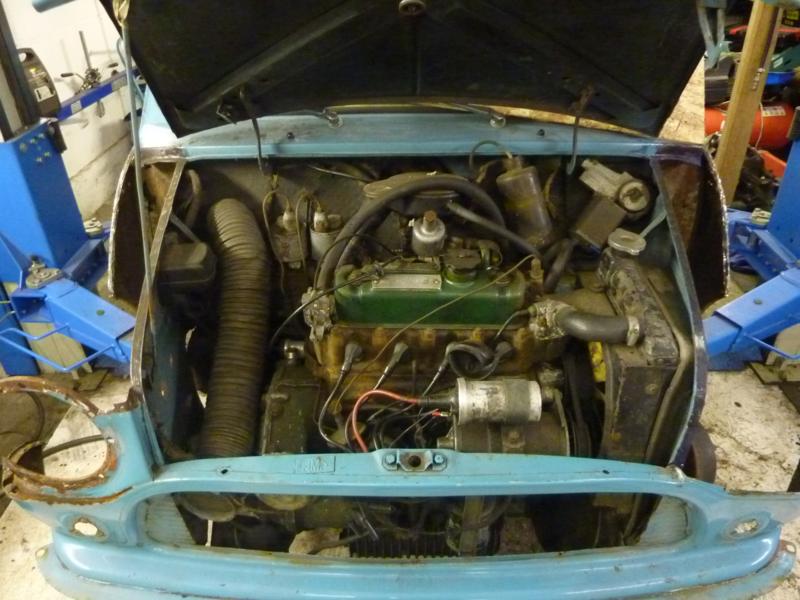
Engine Bay
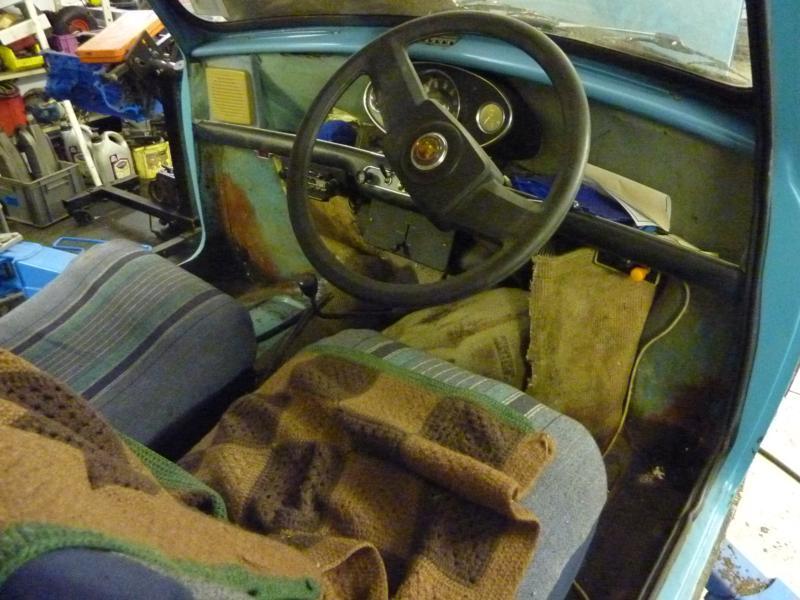
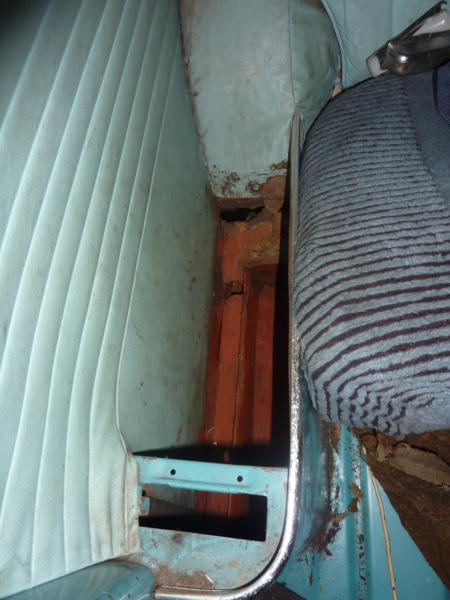
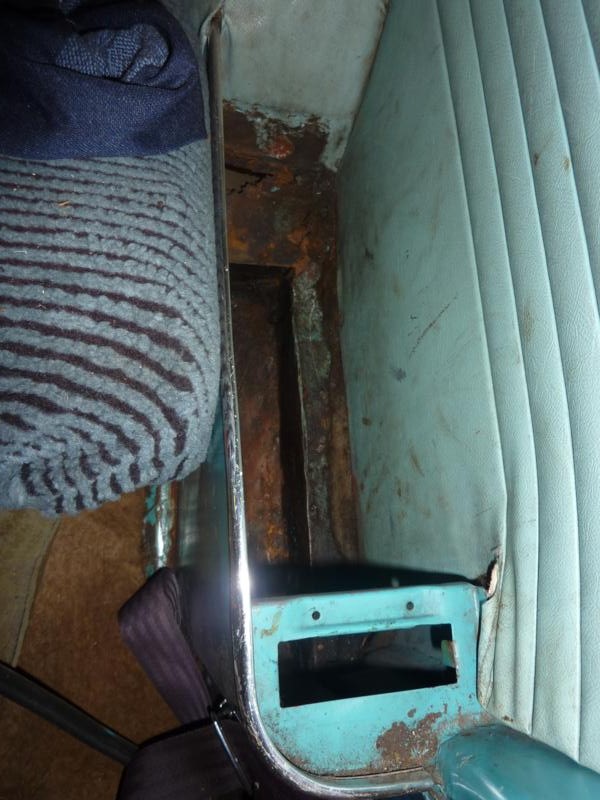
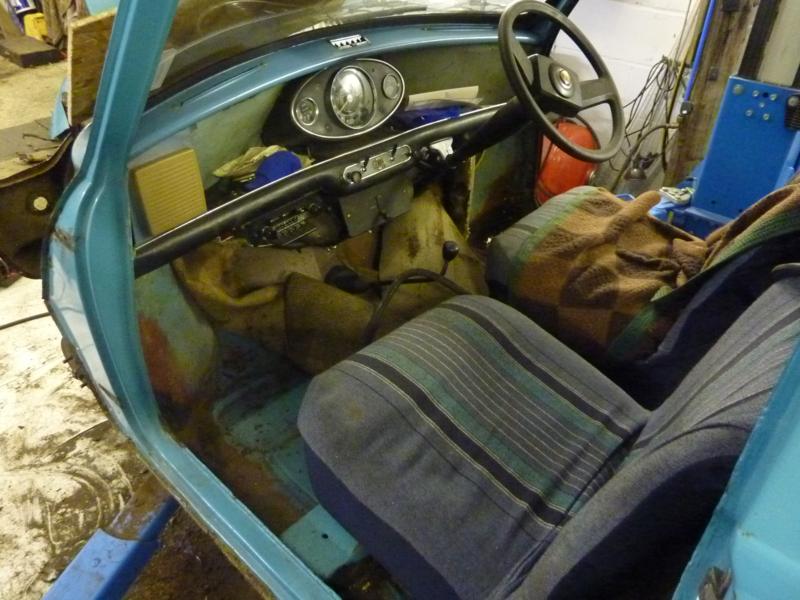
Interior
Original seats all still intact under the seat covers. All a bit scraggy and not convined it will clean up so may have to get new covers etc but we'll see. Radio and speaker will be removed though as will the steering wheel which I need to locate an original at some point.
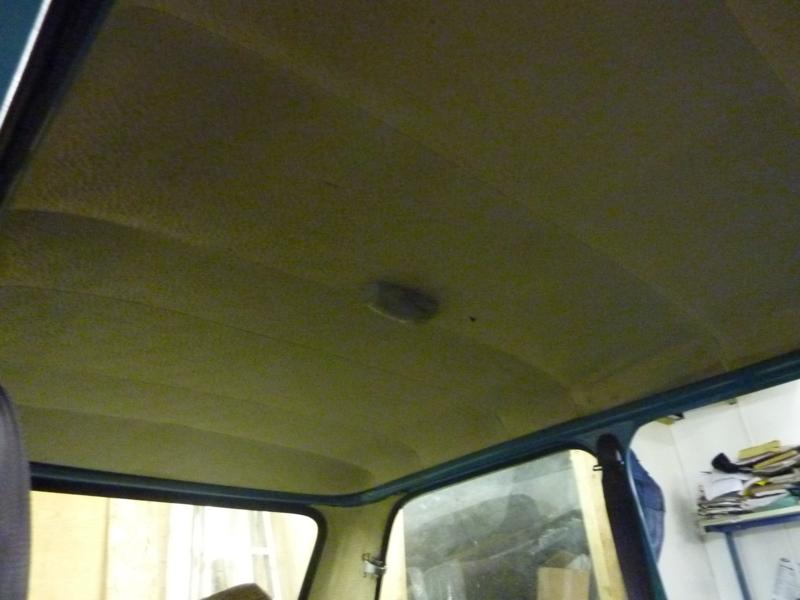
Head Lining, I belive it has the wrong interior light so that will get swapped.
Instrument Panel
Rear Seat Area's
Hub Cap
So thats as it stands now
Grandfathers car purchased from new but now in need of attention to keep it going for another 47 years we hope.
Edit to add, found a pic of the car before work started on the car
Work already commenced by removing some trim and the front arches. So these are the pics I took last night. Work is starting on the body (front to back)
Drivers/Passengers Front Arch Area (looking to get Heratige replacements)
Removed Items
Front Panel (looking to get an M-Machine replacement)
Doors
Rear of the car
Rear bootlid was changed in its life so this needs reverting, as does fuel cap I believe. We still have the black/white plates with the car which will go back.
Engine Bay
Interior
Original seats all still intact under the seat covers. All a bit scraggy and not convined it will clean up so may have to get new covers etc but we'll see. Radio and speaker will be removed though as will the steering wheel which I need to locate an original at some point.
Head Lining, I belive it has the wrong interior light so that will get swapped.
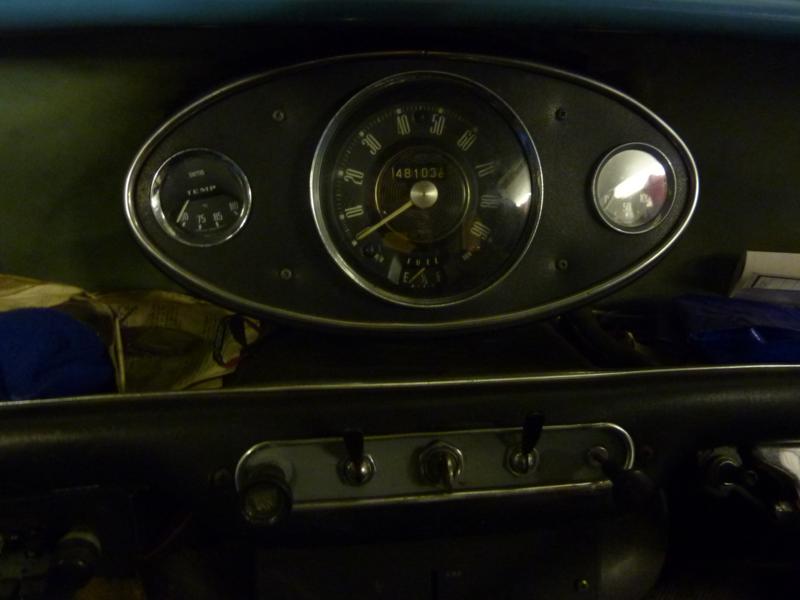
Instrument Panel
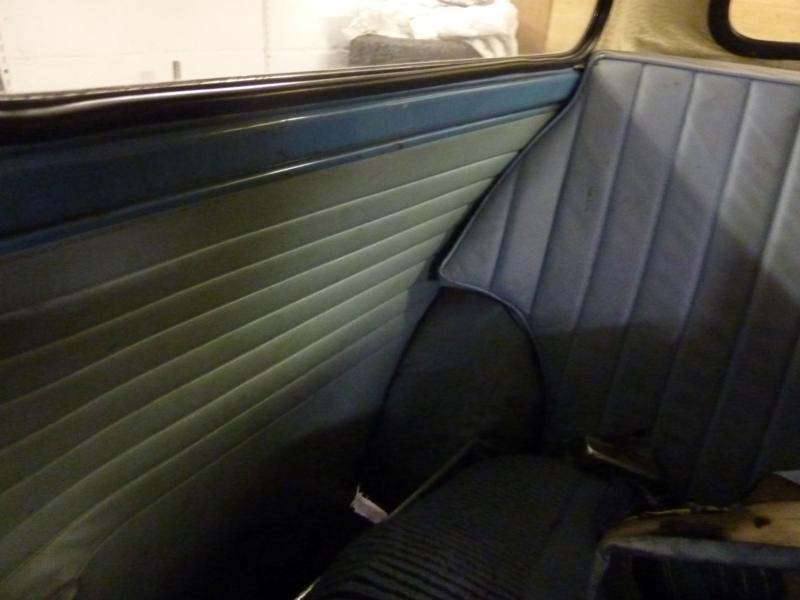
Rear Seat Area's
Hub Cap
So thats as it stands now
Last edited by NotNormal on Mon Apr 30, 2012 9:52 am, edited 2 times in total.
- sclemow
- 998 Cooper
- Posts: 337
- Joined: Thu Jun 24, 2010 1:02 pm
- Location: Bristol, UK
Re: 1963 Super Deluxe Project
Looks like a great project, with very little bodywork to do!
Great stuff, look forward to seeing it progress.
-
- 1275 Cooper S
- Posts: 2109
- Joined: Thu Jun 24, 2010 7:47 pm
Re: 1963 Super Deluxe Project
that looks to be a great little project, the best colour as well!!
please note, these are my own, individual sales, nothing whatsoever to do with my employer, minispares
-
- Site Admin
- Posts: 19842
- Joined: Thu Jun 24, 2010 11:30 am
- Location: Away with the Faries
- Has thanked: 2 times
- Been thanked: 3 times
Re: 1963 Super Deluxe Project
What a FANTASTIC PROJECT!
Your Grandfather obviously looked after his car very well & left you with a beautiful little car that requires minimal surgery.
I see you are doing the front wings, when you weld these back on, make sure you have the bonnet bolted into position, and all new panels clamped or screwed into position BEFORE YOU WELD ANYTHING. One of the most commpn mistakes is to weld the new wings into position without checking the shut lines of the bonnet. Thios leads to all sorts of HORRIBLE PROBLEMS that are very difficult to fix.
- Matty
- 998 Cooper
- Posts: 288
- Joined: Sun Aug 08, 2010 9:09 pm
-
- Site Admin
- Posts: 19842
- Joined: Thu Jun 24, 2010 11:30 am
- Location: Away with the Faries
- Has thanked: 2 times
- Been thanked: 3 times
Re: 1963 Super Deluxe Project
looks surprisingly solid too!
Matty,
Compared to your project a cullender looks pretty solid
Matty,
Compared to your project a cullender looks pretty solid
- NotNormal
- 850 Super
- Posts: 246
- Joined: Thu Nov 18, 2010 12:57 pm
- Location: Surrey
- Contact:
Re: 1963 Super Deluxe Project
Cheers guys, at the cullender comment. Fortunately were not that bad on this one
I hear what you say about the panel fit, hence not chopping everything out in one swoop. One bit at a time is the plan so it can all still be lined up with whats already there before we move onto the next panel etc.
- coopertim
- 1275 Cooper S
- Posts: 1867
- Joined: Thu Jun 24, 2010 8:45 pm
- Location: In the garage spending far more time and money than my wife agreed to! Lincolnshire UK
- Has thanked: 2 times
- Been thanked: 4 times
- Contact:
Re: 1963 Super Deluxe Project
Wow!! what a solid looking little car! I have a Cooper 'S' 1071 in Surf Blue which is a fantastic colour. My car is unfortunately full of the dreaded rot but we will get there! Welcome to this really friendly forum which is full of great knowledgeable people who I'm sure will help you every step of the way.
Cheers. Tim.
Cheers. Tim.
-
- 1275 Cooper S
- Posts: 1526
- Joined: Thu Jul 01, 2010 11:20 pm
- Location: West of Offas Dyke.
Re: 1963 Super Deluxe Project
I'm looking forward to this build thread.
Nice to see a mini with so much family history.
- tomkidd
- 998 Cooper
- Posts: 727
- Joined: Thu Jun 24, 2010 6:44 pm
- Location: Lancaster
- Contact:
Re: 1963 Super Deluxe Project
As above, what a great car. Looking forward to seeing progress
Classic Mini Steering Drop Brackets here Kiddspeed
- NotNormal
- 850 Super
- Posts: 246
- Joined: Thu Nov 18, 2010 12:57 pm
- Location: Surrey
- Contact:
Re: 1963 Super Deluxe Project
Morning chaps, next update on the car.
Well next up was the removal of the front panel, exposing the underside of the front end
New panels have arrived which include front panel, 2 new wings, inner and outer front rear arch panels and side sills
And here's the sills before work commences
So works commenced on sorting out the rear front arch panels. First we removed the inner skin so that the original door fixing holes could still be used as a guide from the original outer panel. Once these were in place (along with panel to retain strength from pillar to inner arch) the outer's we trimed back. The new outer panels didn't seem to follow the same curve and they also looked like they would finish on the door shut line but we didn't like this. So as the pillar's are good we've left the original door shut so that the door appature remains as it should be and it gave us a better chance to get the panel curve correct as well. Before the outer panels get welded were also going to make sure there is metal packing between the inner and outer skins where the hinge sits. The reason for this is to stop the hinge indentation on the outer panels that can occure as there is no support between the two. Once all done welds will be ground down flush.
Passenger Side
Drivers Side
Next up is engine removal. Craned it out the front as we wanted to leave the subframe in place as its a good guide for re-attaching the front panel. Notice the head is off as this has been sent away to have new valve seats fitted so that we can run on unleaded.
Then we set above removing the interior, removed the seat covers and the seats aren't to bad undernieth. The front seats have some tears in them which is a shame but the rears look good all be it everything is extremely dirty.
And this is where its at so far with trim and engine bay ancillaries removed
Mk1 Steering Wheel turned up in the post today so that one item ticked off.
All in all really getting into it now and loving every minute.
-
- 1275 Cooper S
- Posts: 2109
- Joined: Thu Jun 24, 2010 7:47 pm
Re: 1963 Super Deluxe Project
those mini machine inner sills combos are great - ive just fitted one! be warned, theres a lot of chopping to get it in and to be able to weld it in all the places - your car does look a lot better than mine tho'!
you need to fit your door before you fit the outer a panel - to make sure the door fits and the gaps are good - anything forwards of the door to a panel gap can be worked around
looking good though
you need to fit your door before you fit the outer a panel - to make sure the door fits and the gaps are good - anything forwards of the door to a panel gap can be worked around
looking good though
please note, these are my own, individual sales, nothing whatsoever to do with my employer, minispares
-
- Site Admin
- Posts: 19842
- Joined: Thu Jun 24, 2010 11:30 am
- Location: Away with the Faries
- Has thanked: 2 times
- Been thanked: 3 times
Re: 1963 Super Deluxe Project
Looking very good!
As Rich says though, fit the door to double check the clearance & shut lines BEFORE welding.
Looks like you had a good weekend though.
As Rich says though, fit the door to double check the clearance & shut lines BEFORE welding.
Looks like you had a good weekend though.
- NotNormal
- 850 Super
- Posts: 246
- Joined: Thu Nov 18, 2010 12:57 pm
- Location: Surrey
- Contact:
Re: 1963 Super Deluxe Project
Agreed, they are very good. I'm sure we'll find out what you mean when it comes to fitting themguru_1071 wrote:those mini machine inner sills combos are great - ive just fitted one! be warned, theres a lot of chopping to get it in and to be able to weld it in all the places - your car does look a lot better than mine tho'!
There will be no more chopping of the outer A panel area from you can see in the pics. We've cut about 1/2 inch away from the door shut line as this will remain to keep the right lines as you say. The outer panel pieces are cut to fill the gap you can see in the pic but havn't got a pic yet but will take some once its fitted.guru_1071 wrote:you need to fit your door before you fit the outer a panel - to make sure the door fits and the gaps are good - anything forwards of the door to a panel gap can be worked around
Cheersguru_1071 wrote:looking good though
-
- 1275 Cooper S
- Posts: 2109
- Joined: Thu Jun 24, 2010 7:47 pm
Re: 1963 Super Deluxe Project
NotNormal wrote:There will be no more chopping of the outer A panel area from you can see in the pics. We've cut about 1/2 inch away from the door shut line as this will remain to keep the right lines as you say. The outer panel pieces are cut to fill the gap you can see in the pic but havn't got a pic yet but will take some once its fitted.
ive never seen anyone do the outer a panels this way, on paper it looks like a neat solution to keeping the door gap original, however i think that once its done, filled and painted you will have problems with the filler cracking - a lot of load goes through the a panels and the door hinges have to be really nipped up tight (on factory cars the a panels will deform around the mounting holes) - i do wonder that, in trying to save work, your going to make more work later?
lead loading may work, i dont know?
please note, these are my own, individual sales, nothing whatsoever to do with my employer, minispares
- NotNormal
- 850 Super
- Posts: 246
- Joined: Thu Nov 18, 2010 12:57 pm
- Location: Surrey
- Contact:
Re: 1963 Super Deluxe Project
Yup take on board the concerns, it will be welded along the whole join and then ground down flat so in theory it will remain all metal with little need to use filler which as you say isn't ideal in load bearing area's.
As mentioned in the picture post, hopefully we'll try and avoid the panel deformation by keeping it solid underneath the whole hinge area.
-
- Site Admin
- Posts: 19842
- Joined: Thu Jun 24, 2010 11:30 am
- Location: Away with the Faries
- Has thanked: 2 times
- Been thanked: 3 times
Re: 1963 Super Deluxe Project
Notnormal,
I for one will be very interested to follow the progress of the A panel repair. I haven't seen your method before but it looks like it could be a very elegant solution to a tricky problem.
- NotNormal
- 850 Super
- Posts: 246
- Joined: Thu Nov 18, 2010 12:57 pm
- Location: Surrey
- Contact:
Re: 1963 Super Deluxe Project
If its a recent purchase, would it be the green one on ebay that finished yesterday?mk1 wrote:got a very similar car myself
Have you been buying again Peter?