Page 2 of 13
Re: Mk1 restoration-race car to road car
Posted: Tue Sep 21, 2010 10:13 pm
by Matty
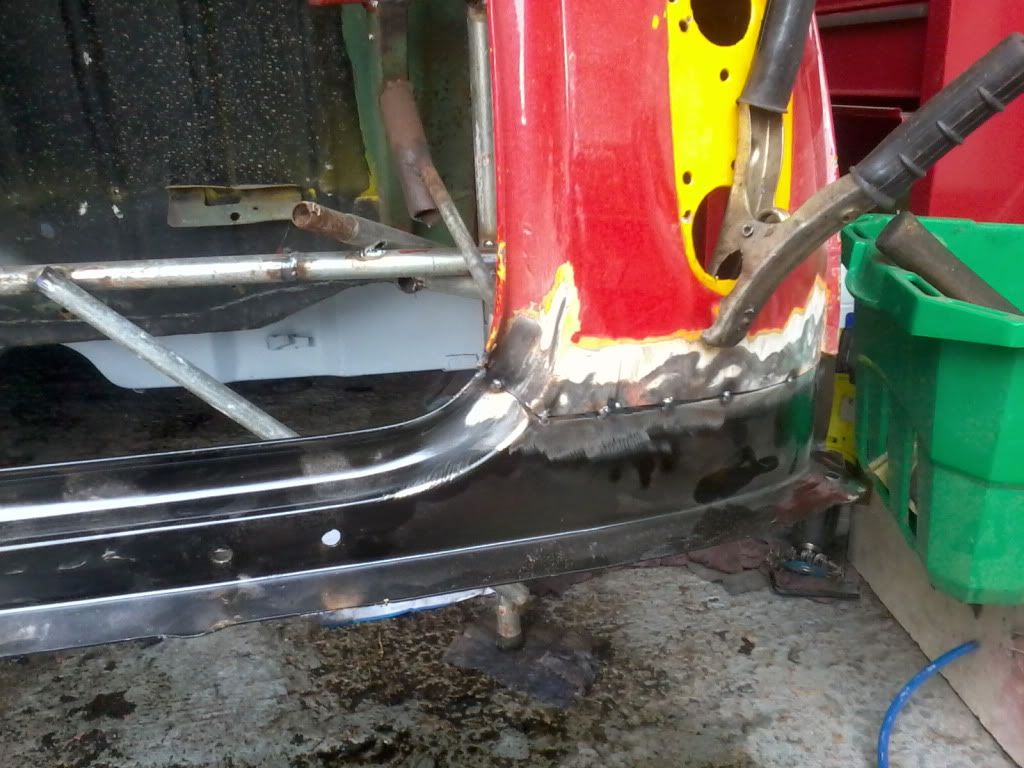
If I measure accross the inner sills, the floor pan measures 1270mm (same as my other 2 shells) so I can trust that the floor is square/right. If I measure accross the steps it measures 1270mm at the back then 1280mm at the front. The drivers side is completely parallel all the way along, so I can only assume it is the passenger side that is the one that is out.
I was hoping to keep the doorstep panel in place, as im struggling to find a datum point to work from a everything has been patched so much.

If I remove them the only panel I have left to weld the floor to will be the bulkhead for now....all kind of chicken and the egg!
Im thinking of cutting a vertical section 10-15mm wide out of the inner A panel so I can bring the step panel in?
Would someone be able to measure the distance between the A panel lip at the top and bottom for me, so I can compare?
Re: Mk1 restoration-race car to road car
Posted: Wed Sep 22, 2010 9:10 am
by IAIN
If you think that the o/s is fine thats a start. As for the n/s you may as well chop off the A panel, then you might get the door step to move. Looking at your photo the step's had a hard life as well, its twisted and out of shape.
When they are removed you could use the door with it's hinges on, to position the new A panel and door step.
Please dont take my next comment the wrong way, but if you are going to the expense of that new floor you would be better off with any shell rather than that one. If you are wanting a respectable road car this job will cost you a fortune in panels and never be perfect.
Thats only my view it's your project.
Re: Mk1 restoration-race car to road car
Posted: Wed Sep 22, 2010 10:14 pm
by Matty
I had another look today and you can see where the inner wing starts to bend out...easy fix with a new A panel and inner wing.
Don't worry I know exactly where your coming from...I have to say when I bought the shell, I didn't expect it to need as much work as it does. I looked at other shells/cars and they were going for alot of money and were an unknown quantity with regards to rot/quality of previous repairs. Ive learned over the past few years, if you want a job doing well do it yourself.

Ive never done any body work before, and thought this little project would give me a good taster! Im doing it more for the satisfaction than anything to be honest. I think panels work out to be £1300 (floor is a lot of that) , but then its near enough a new shell, rot free, and should last for years.
Floor it spot welded in place now, took a few hours to line up and triple check everything.

Re: Mk1 restoration-race car to road car
Posted: Wed Sep 29, 2010 12:44 pm
by AustinSuperSeven
Well done Matty
It's so good to see someone putting effort into an original shell and keeping it, rather than re-shelling it and putting another fake on the road!
Keep up the good work

Re: Mk1 restoration-race car to road car
Posted: Thu Sep 30, 2010 4:46 pm
by Matty
Re: Mk1 restoration-race car to road car
Posted: Thu Sep 30, 2010 4:50 pm
by Matty
Oop double post.
Re: Mk1 restoration-race car to road car
Posted: Thu Sep 30, 2010 10:34 pm
by JC T ONE
Matty wrote:Cheers, I was beggining to think ive made the wrong decision, and should start over with a better shell.
Its great stuff you afre doing there, the only thing now, is that you need to make new
holes in the bootlid

as the body is a real Cooper item,
so now you can fit the badges too

Re: Mk1 restoration-race car to road car
Posted: Fri Oct 01, 2010 9:17 am
by tomkidd
Looking good Matty, your a brave man
Re: Mk1 restoration-race car to road car
Posted: Sat Oct 02, 2010 7:38 pm
by ferret
looking really good. When you come to put the boot floor in check the rear subframe mounting holes are in the right place before you do any mods to it, as mine (heritage) were punched in the wrong place and 38 1/4 in apart instead of 38 1/2in This has caused loads of hassle and have just got it about sorted now.
Re: Mk1 restoration-race car to road car
Posted: Sun Oct 03, 2010 11:08 am
by Matty
Ferret - Someone else on the TM forum has had the same problem, they reckon it was 13mm out on theres. Ive spoken to a guy at minispares, and they sent all there incorrect ones back and I picked up a correctly punched one yesterday.
Did you modify yours to be 'correct' to a mk1. e.g. fuel hose cut out, and seat pan recess?
Re: Mk1 restoration-race car to road car
Posted: Sun Oct 03, 2010 8:39 pm
by ferret
Yes I did change it to mk1 spec. Its not that hard as long as you take your time, I cut the fuel hose part out of the old one on the curves in the wheel well so when you weld it into the new one the welds are easier to hide and did the seat well in 3 parts instead of trying to
do it in one as this was also easier to get it to match the other side, all I have to do now is to put the tags on.
http://flic.kr/p/8G7CGQ
http://flic.kr/p/8G7CGY
http://flic.kr/p/8G7CGq
Re: Mk1 restoration-race car to road car
Posted: Mon Oct 04, 2010 8:36 pm
by Matty
Re: Mk1 restoration-race car to road car
Posted: Mon Oct 04, 2010 9:44 pm
by InimiaD
Nothing wrong with being "picky".
Neat work and making good progress.
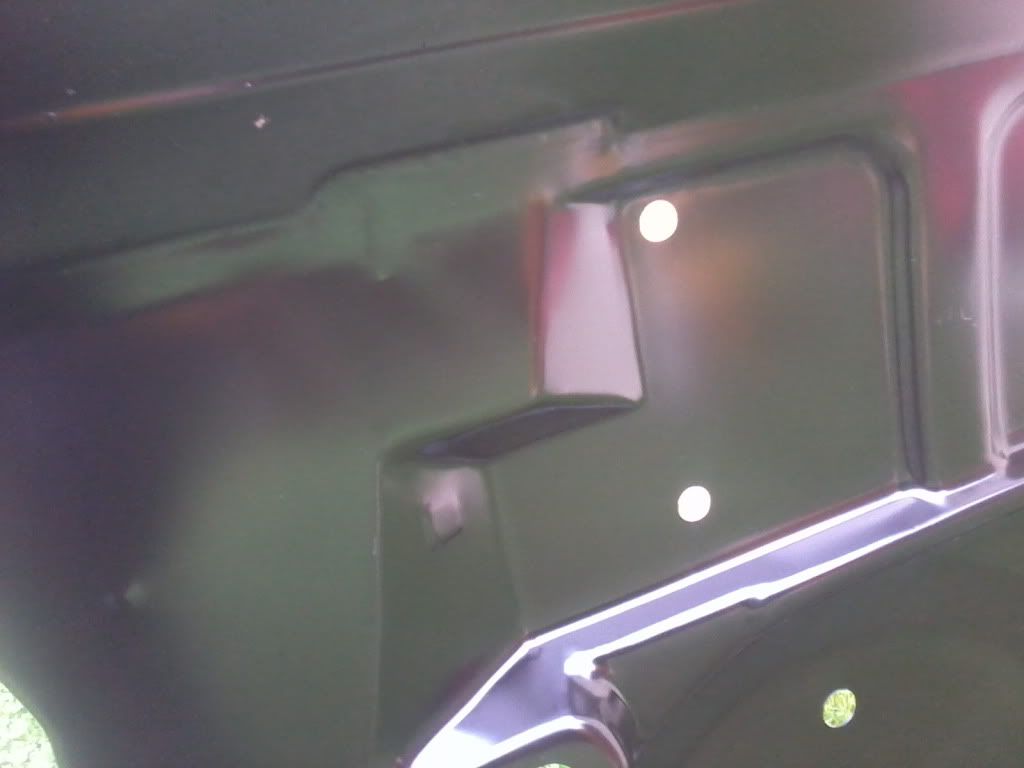
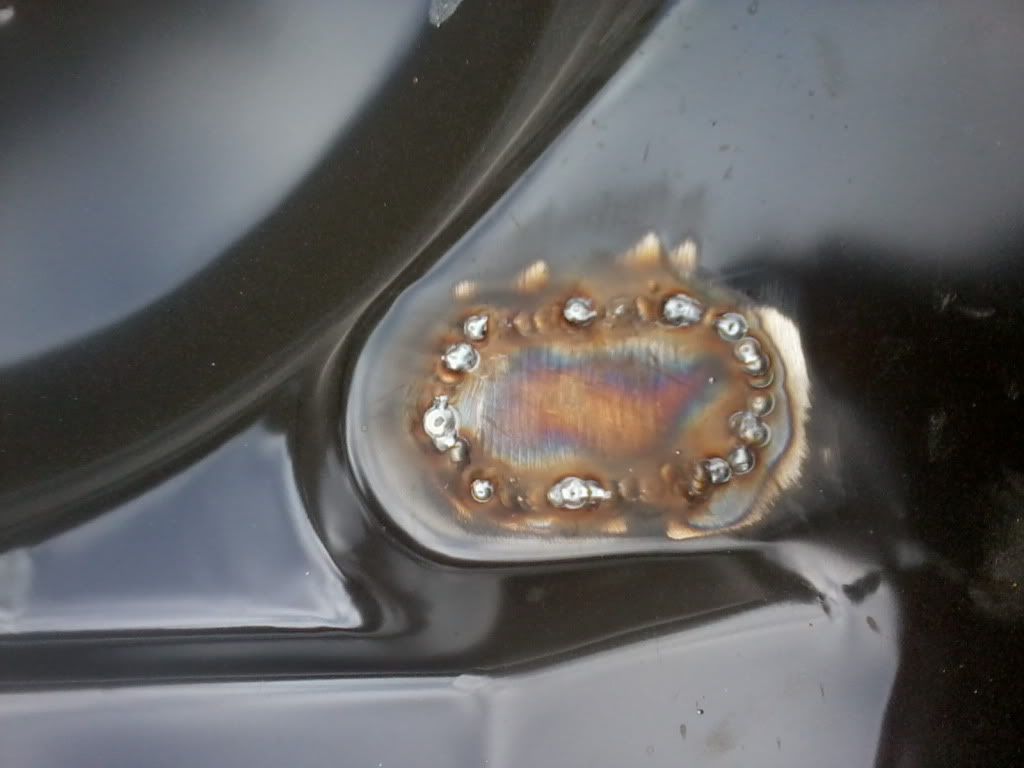
How many layers are on that heelboard.??

Re: Mk1 restoration-race car to road car
Posted: Tue Oct 05, 2010 3:06 am
by JC T ONE
Great stuff
really making progress.
I have made those flares before, you make a piece of "tool" with a piece -
of thick walled pipe, mesuring app 17,5mm (inside diameter) and then use a round headed -
hammer to create the edge, it can be done very well.
There were many layers, in that heelboard

J C
Re: Mk1 restoration-race car to road car
Posted: Tue Oct 05, 2010 8:26 am
by guru_1071
matt
its looking good, and im really pleased to see the old beast been given a new lease of life.
to make you feel a bit better i will put some photos up of the rot issues im currently dealing with!!!!
Re: Mk1 restoration-race car to road car
Posted: Tue Oct 05, 2010 8:40 am
by mk1
Matt,
How much body work have you done before. The quality of the job you are doing on your shell is exemplary!
I find it hard to believe that you have made such fast progress so far & look forward to the next instalment.
Re: Mk1 restoration-race car to road car
Posted: Tue Oct 05, 2010 8:15 pm
by Matty
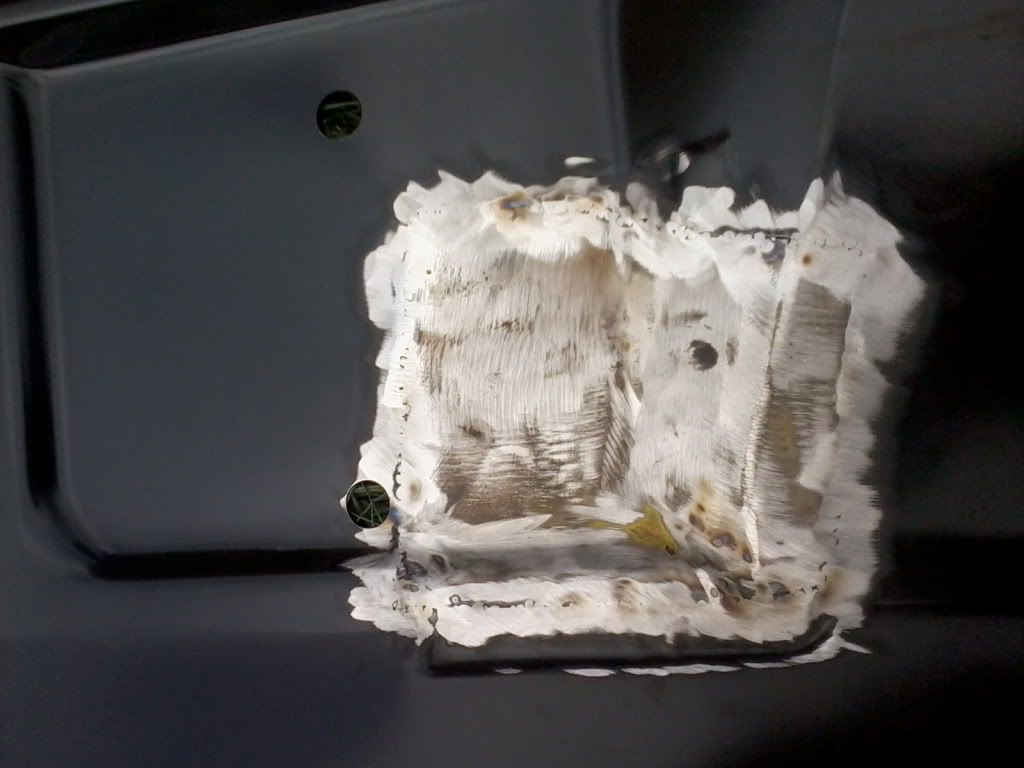
JC T ONE - I machined a flaring tool up for a mate last week but that was for a 1" hole. Im temped to machine up a taper then use a pipe like you say...at least it could be used for lots of different sizes then. Did mk1's only have 1 hole for the fuel hose? I read somewhere there was a drain hose on some or something?
Guru - have you got a thread of your rot box?
MK1 - Urm this is my first attempt at bodywork, apart from cutting the bins and rear bench out of my other mini. The roof was the first panel ive ever swapped. Ive spent most of my time messing about making/breaking engines.
Fingers crossed it all goes well, the back end is very floppy now, it must have 2-3" of sideways play, I'll be able to relax a bit when some strength is back into the shell.
Re: Mk1 restoration-race car to road car
Posted: Tue Oct 05, 2010 9:32 pm
by JC T ONE
Matty wrote:I read somewhere there was a drain hose on some or something?
MK1 - Urm this is my first attempt at bodywork, the back end is very floppy now, it must have 2-3" of sideways play, I'll be able to relax a bit when some strength is back into the shell.
I have a original 1966/67, MK I body, and I am pretty shure it also has a hole for the -
tank vent pipe

can check it, but someone inhere must know this
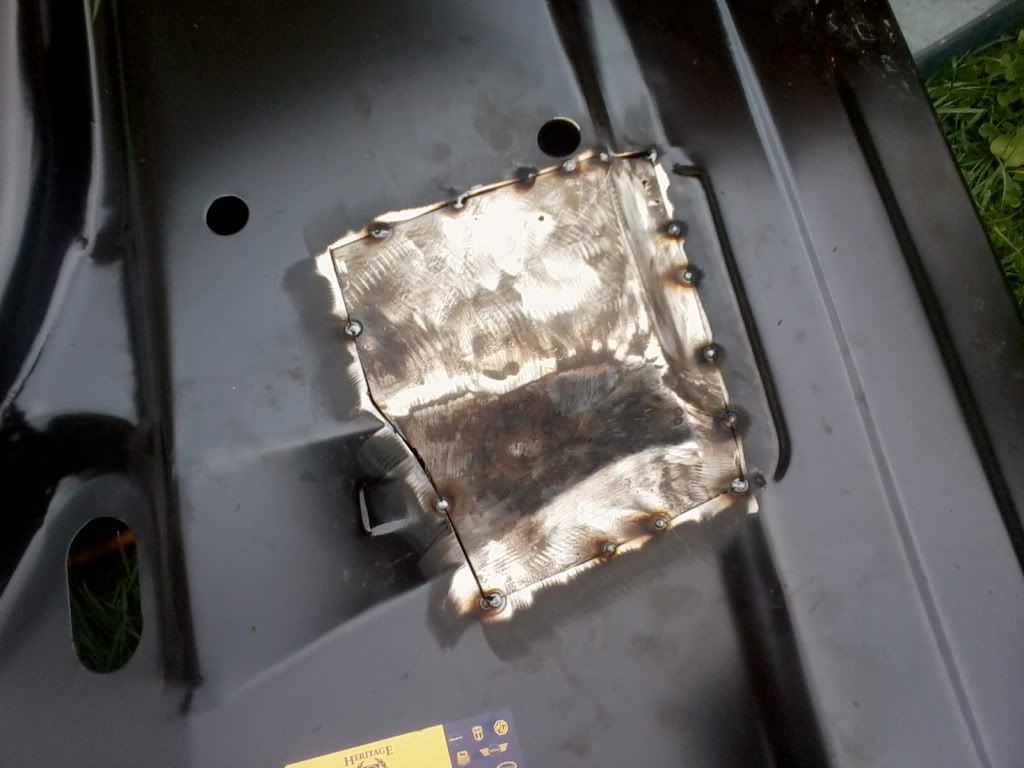
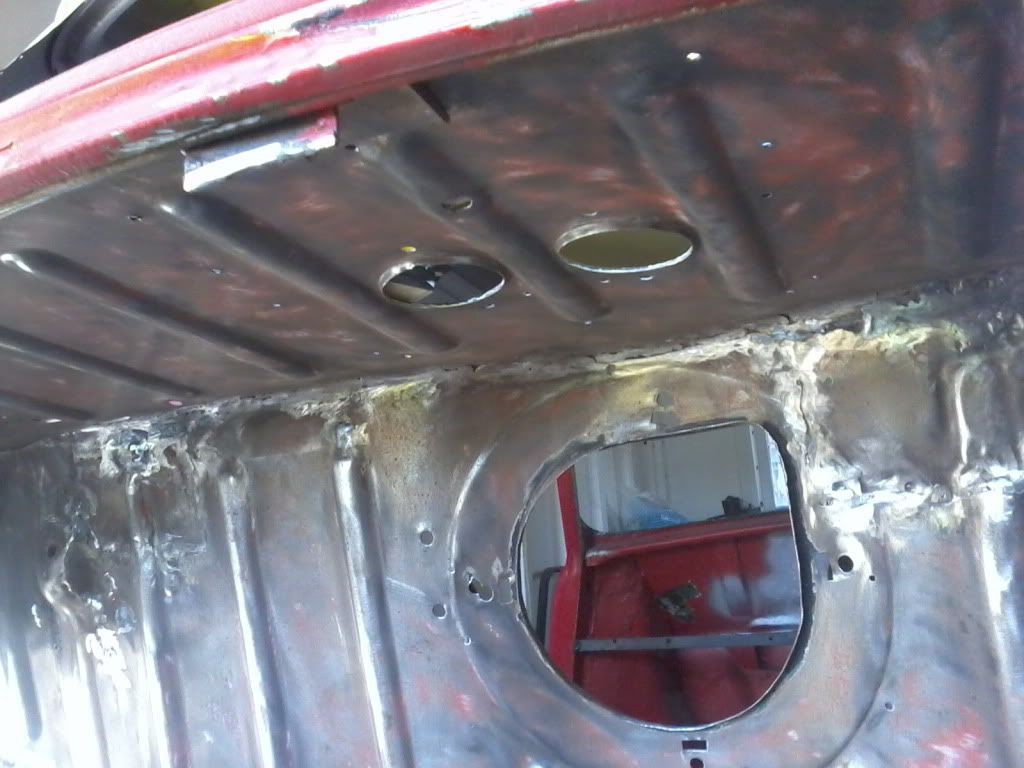
dont know if the floor came with the sparewheel holder? but dont forget that one.
When we changed the innerstrenghtening plate, for the door hinges, on the A post(MK III)
and complete innerwing, plus floor, the whole side of the car was extremely "floopy"
we used 2 jacks, and lots of patiance, and the door fits, and shuts better than it ever did from BL

You are doing a VERY nice job, if this is your 1st attempt
I had help, from a Mini friend I know.
keep up the good work
Re: Mk1 restoration-race car to road car
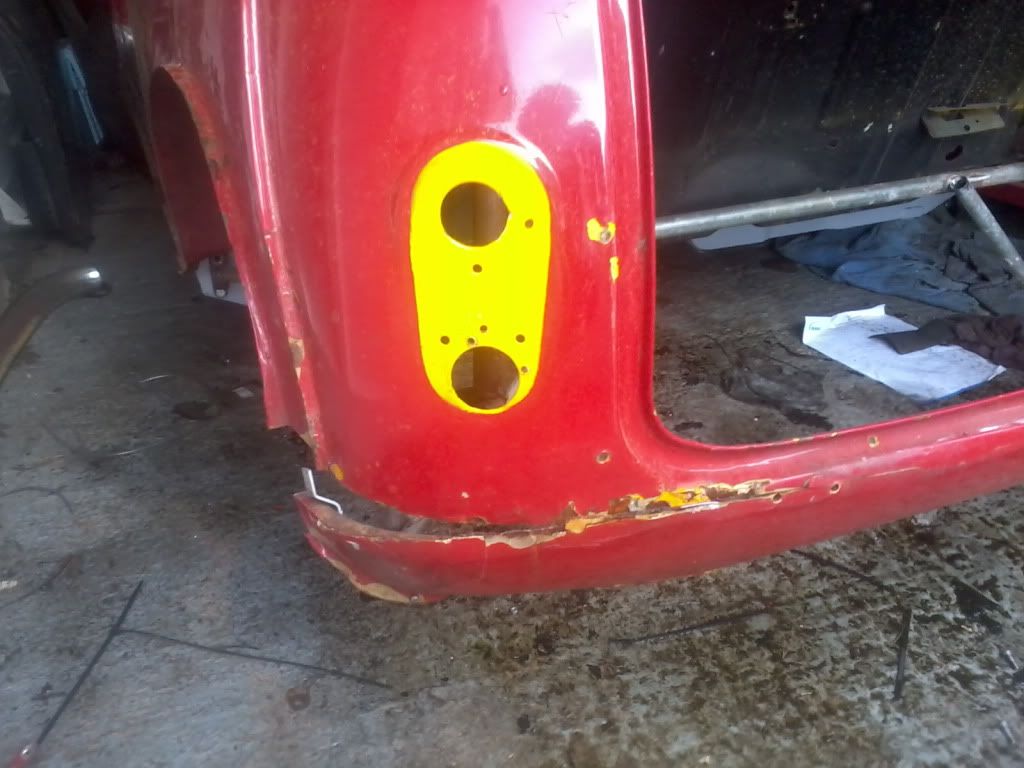
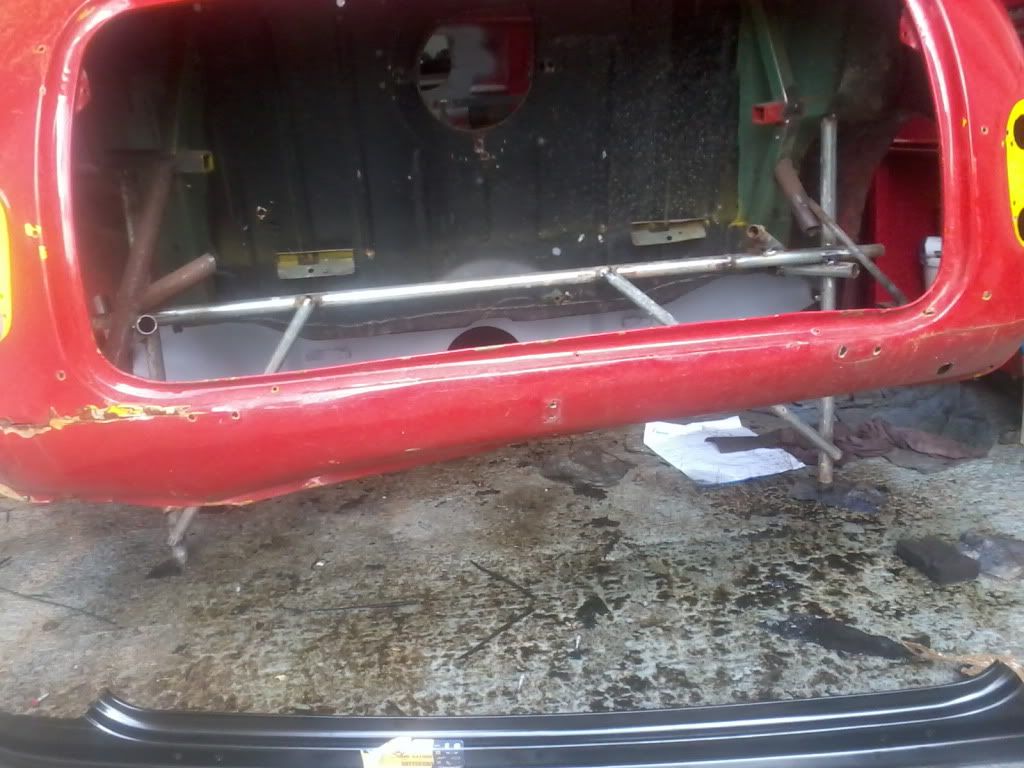
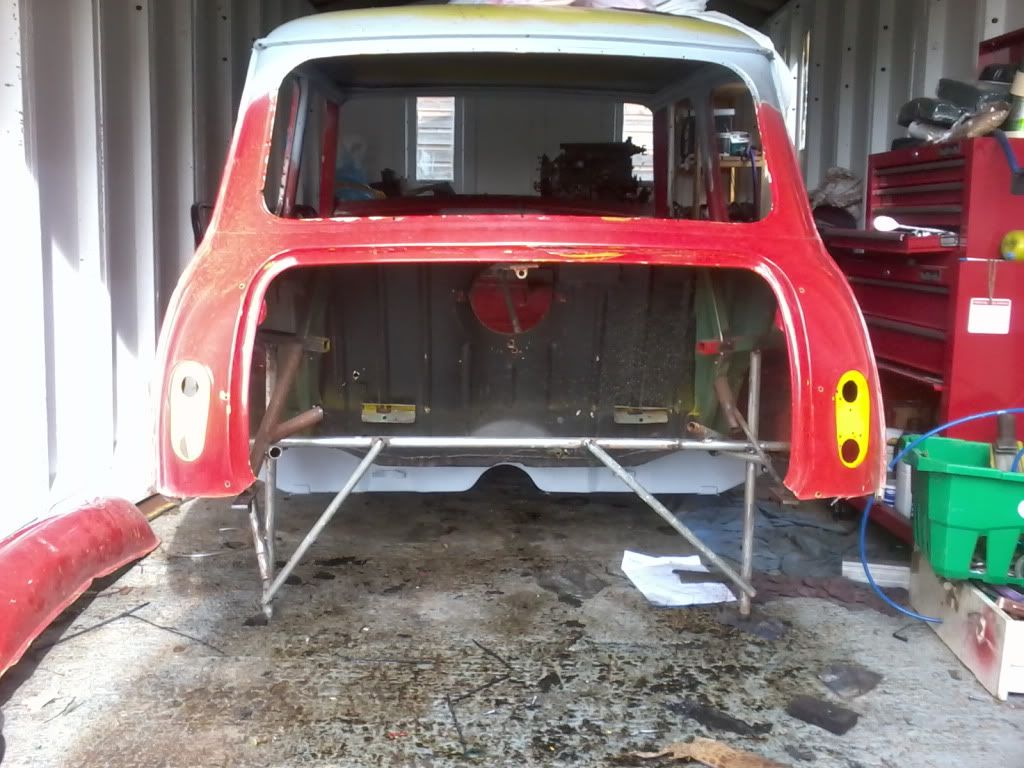
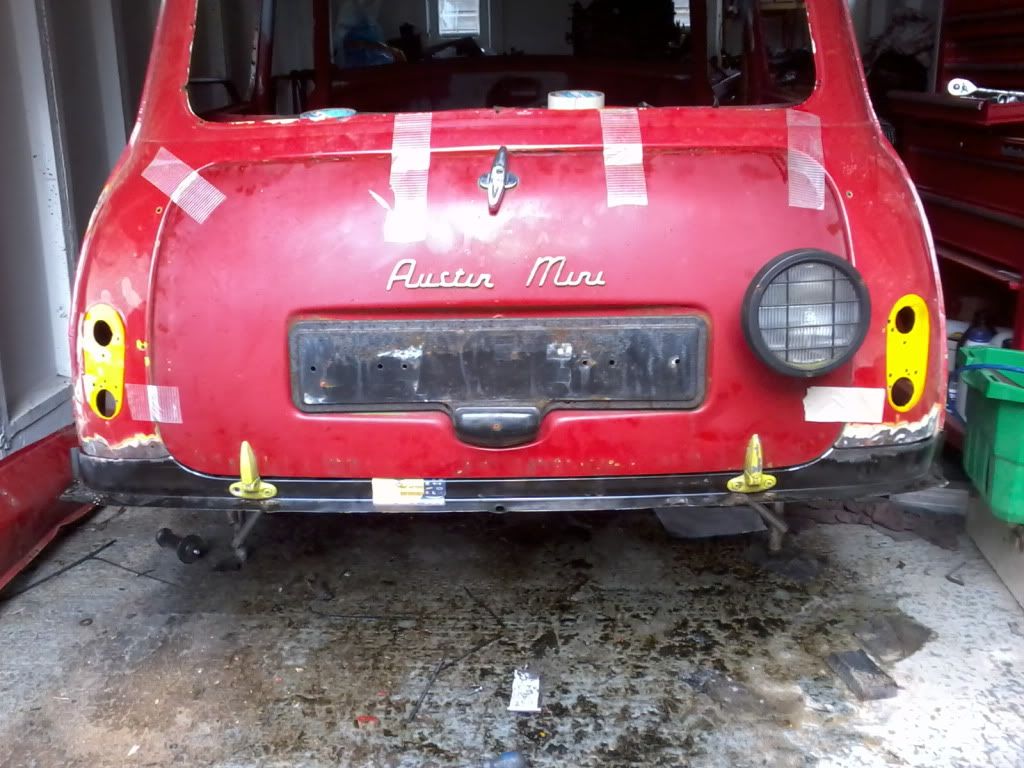
Posted: Sun Oct 10, 2010 8:06 pm
by Matty
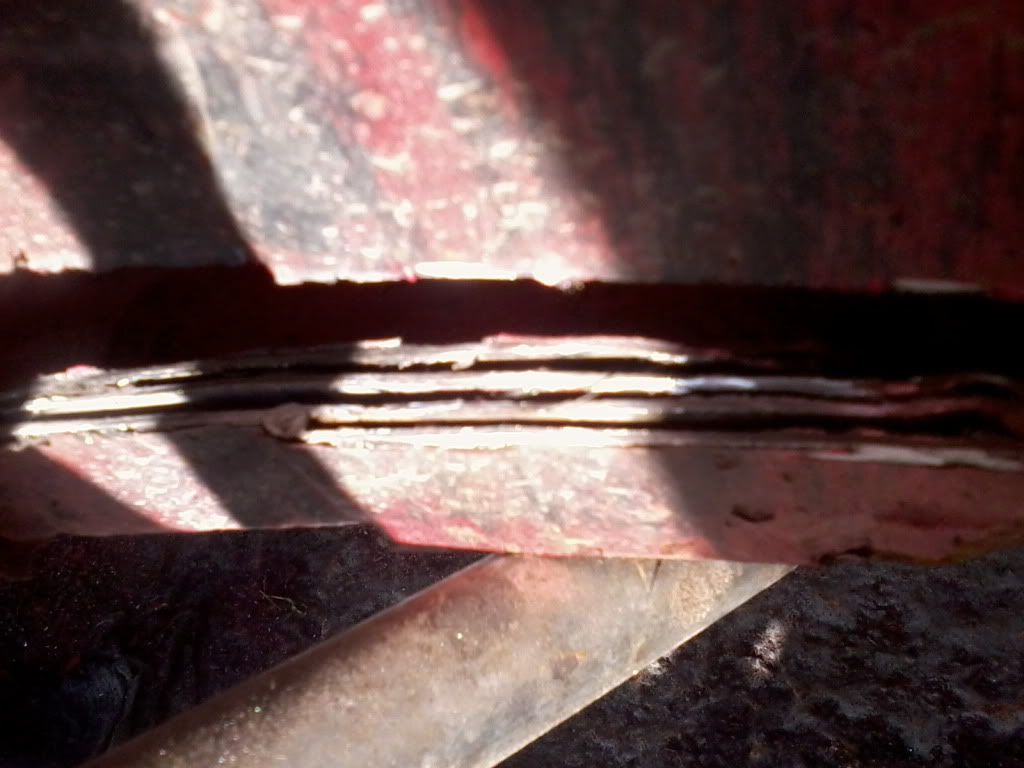
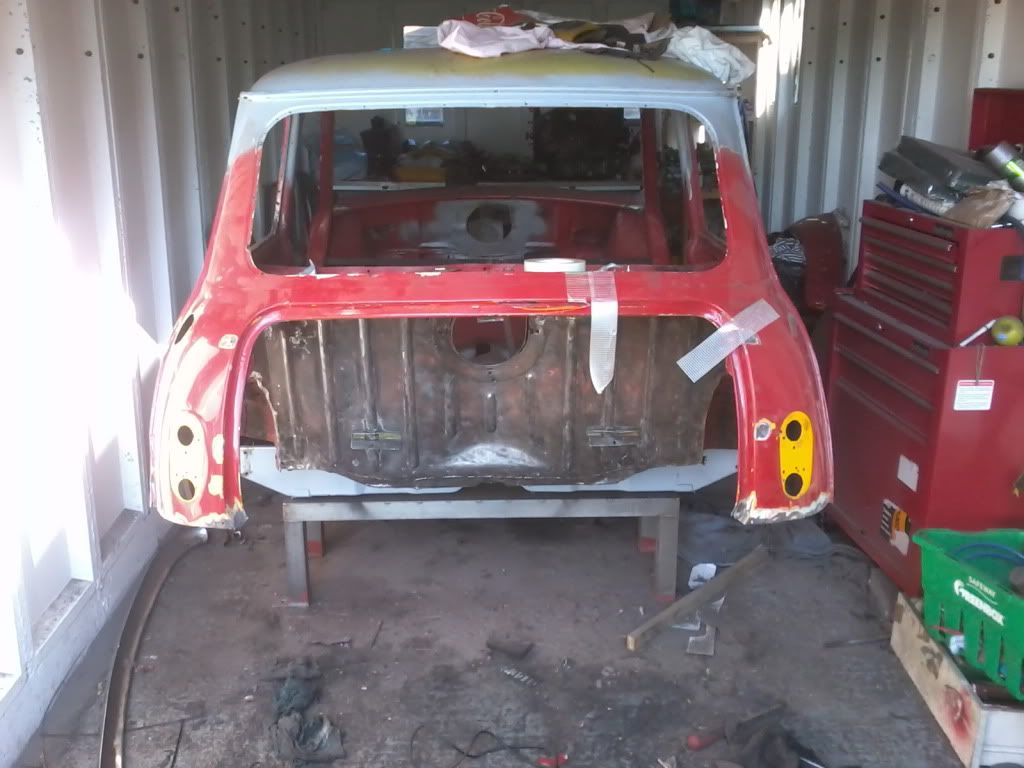
About 15 hours of grinding, 1 broken angle grinder, and lots of frustration it now looks like this...not much different! lol
Only a few hours work now, and the boot floor can be welded in, along with the wheel arches. The rear panel was 5mm to low so I cut the tacks off and rewelded it back on in the right place.
Unfortunately the rear bulkhead it is never going to be perfect, and as that panel is longer available it'll have to be left with a few historic battle scars.
Hopefully the next update it will look considerably different and possibly back on all 4 wheels.
Re: Mk1 restoration-race car to road car
Posted: Mon Oct 11, 2010 9:14 am
by guru_1071
matty
you say 'battle scars'
i say 'racing heritage'