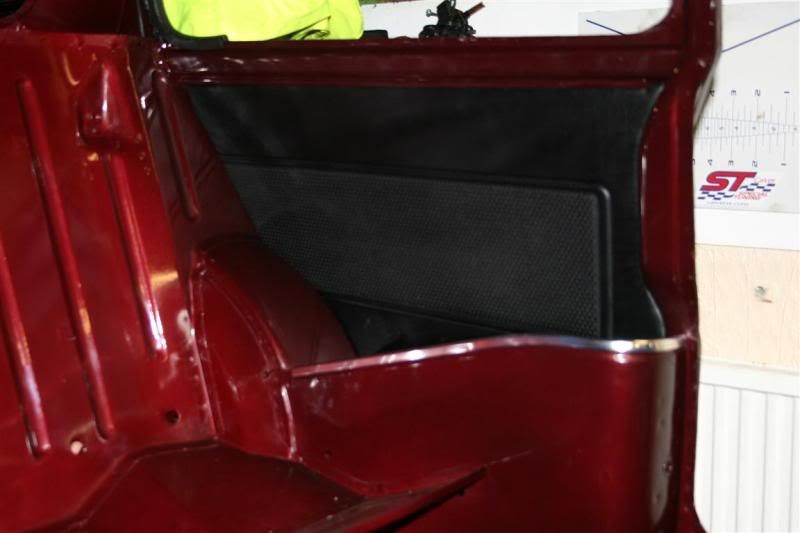
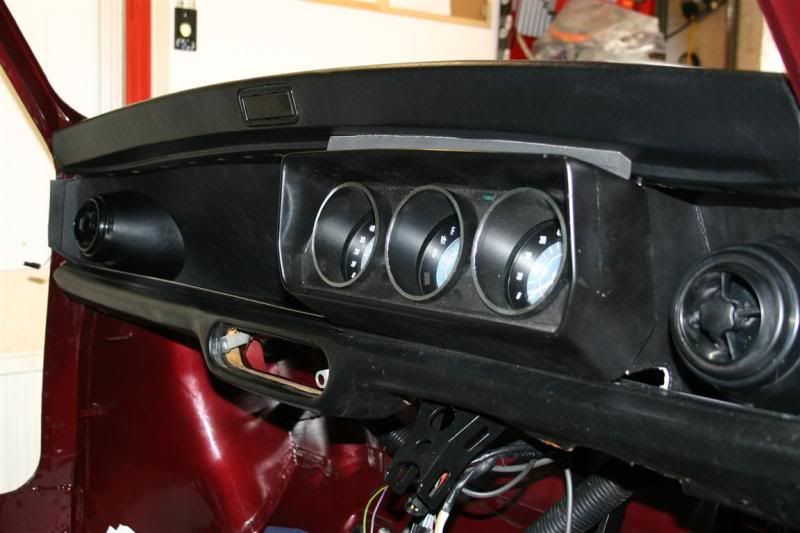
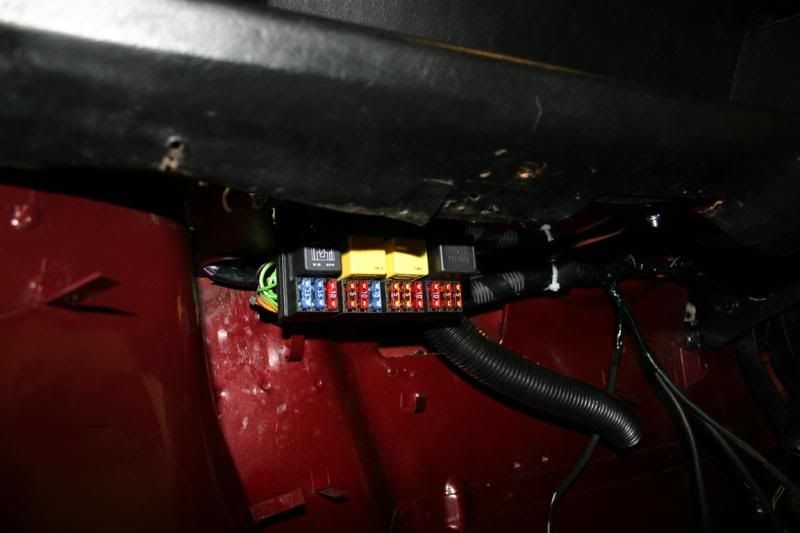
1275GT 'Custom'
Posted: Thu Jun 24, 2010 1:15 pm
Copied over from old forum and then an update to follow........
It is about time I made a project thread for this car now it is moving forward. I know it isn't a Mk1 but hopefully it will be of interest to some.
I bought the car a little over 2 years ago as a mostly complete 1275GT that needed some cosmetic touches and finishing off before being put back on the road. As it was intended to be a suprise wedding present for the other half it was stashed away in a friends garage.
On getting to grips with the car it was soon found that the shell was very, very good but the paint work let it down somewhat - definitely a 10 footer! The outer paint chipped easily and badly as it was so thick; whereas under the bonnet and boot was so thin it flaked off. What that did reveal was the factory applied e-coat that had kept the shell so good.
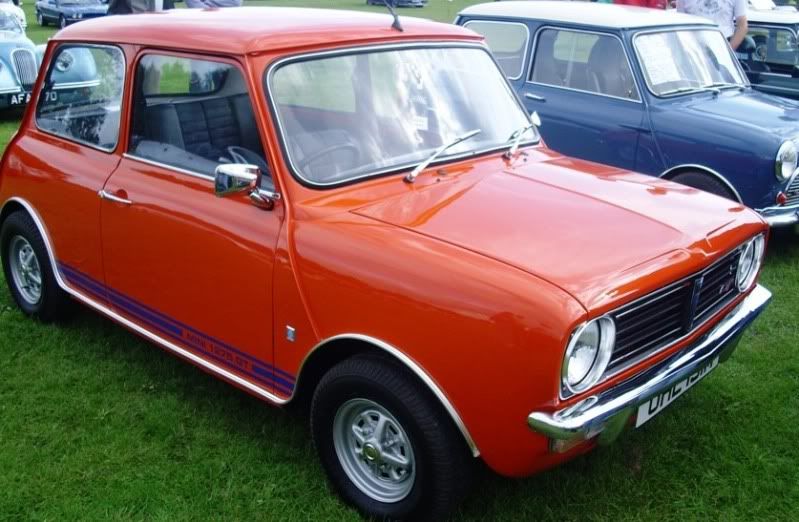
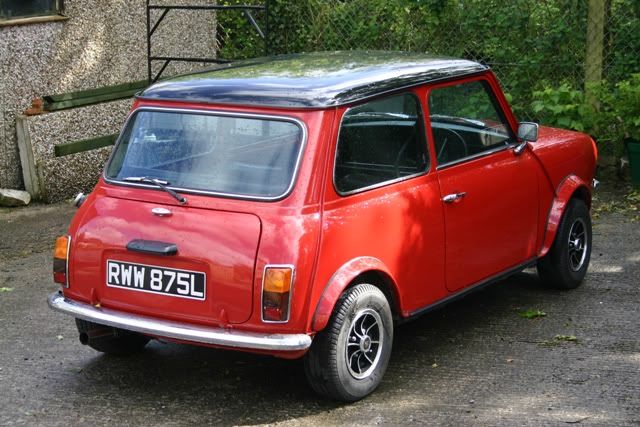
However with no time for paint work eveything was tidied up as best as possible, all the chrome work was replaced as it had been painted black, new budget carpets, cleaned seats and a few MoT niggles sorted. Some shiny Dunlop replica wheels (and the nightmare they are) and we soon had this:
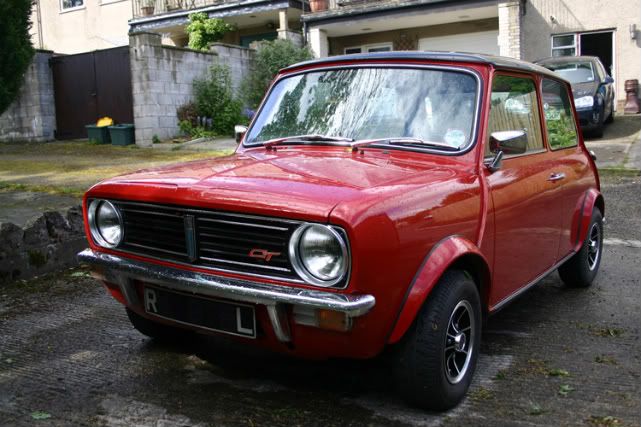
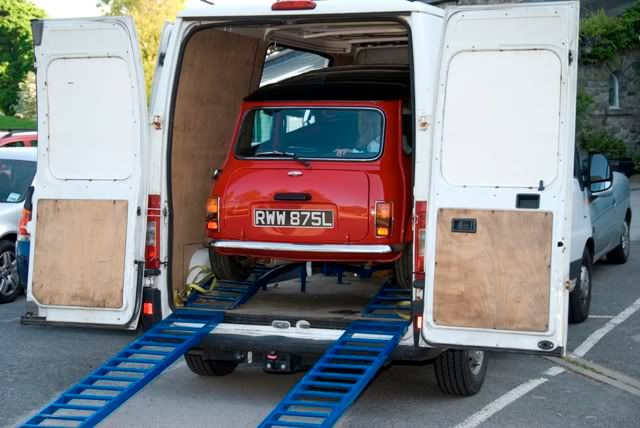
Next step was to get it to the wedding reception without being seen (actually there were a few close calls along the way!). So into a van it was:
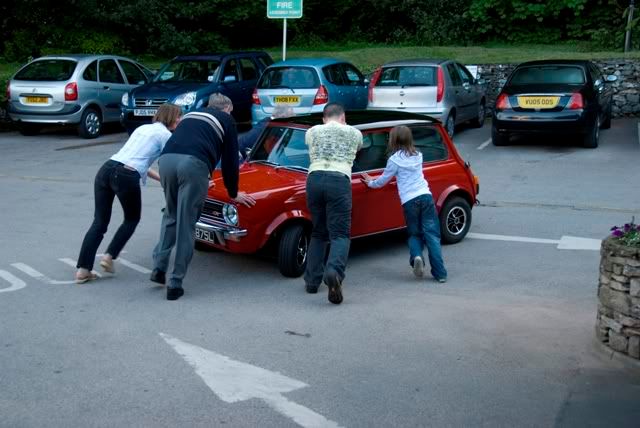
Of course being a Mini it decided it wouldn't start when needed!
So with a few ribbons, baloons and a refixed front plate...
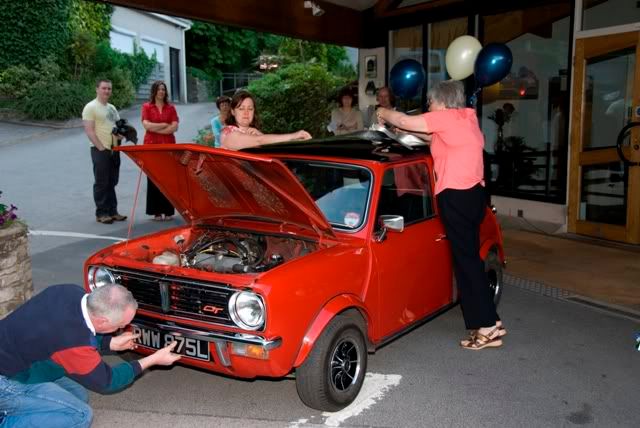
...we had it ready (well I say we - I kept well out of the way whilst all this was going on!):
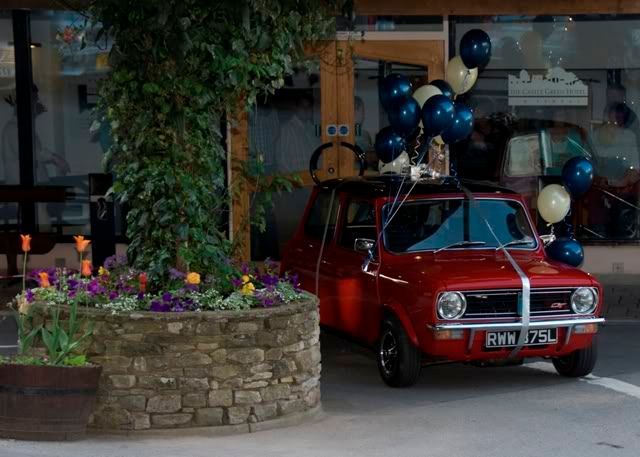
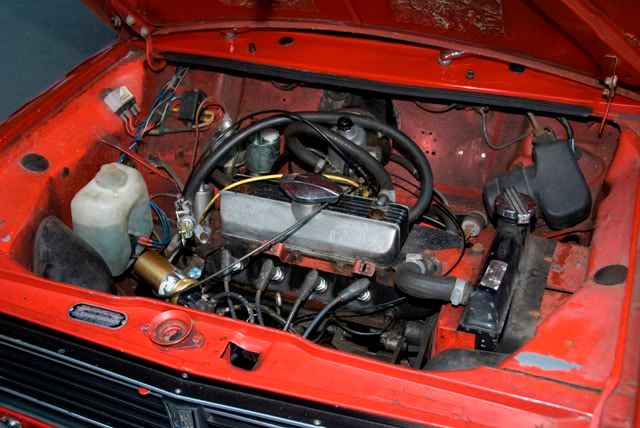
Then for the following two years the car was enjoyed, niggles sorted and a new engine built and dropped in. The plan was always to do something about the paint once funds (and time) allowed.
Some of the cars history also started to come to light. Slowboy knew the car and it turns out that Smoke_Grey had previously owned it and could fill in some of its past.
The shell was bought from a Rover dealership in the early 80s and an expensive re-shell excercise was undertaken. There is a bit of a 'Trigger's Broom' feel to the car's past and the shell isn't a true GT one - but that just gives us the excuse to make it what we want rather than a concours GT
So two years on, a bit of cash saved and we are ready to start on the car properly. First off into the garage and strip down.
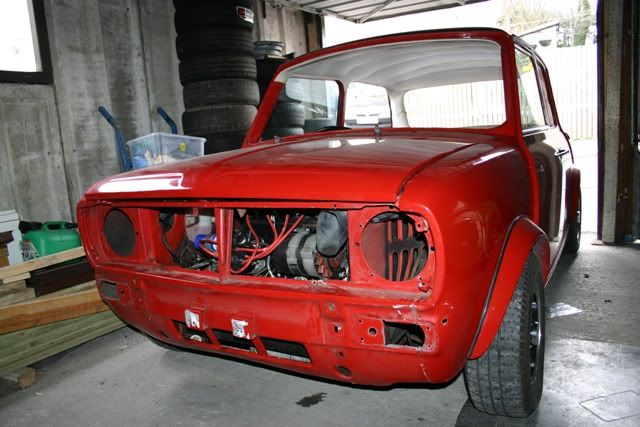
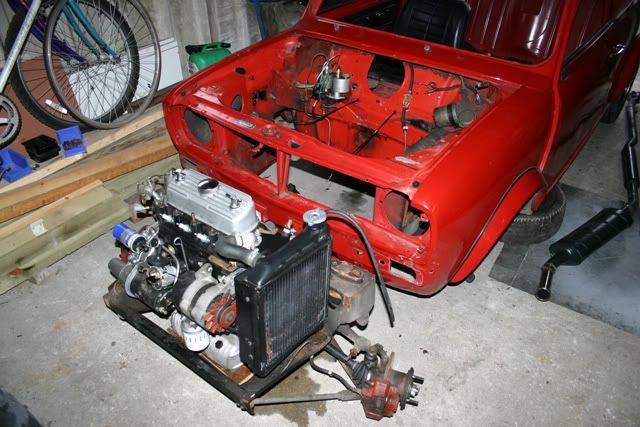
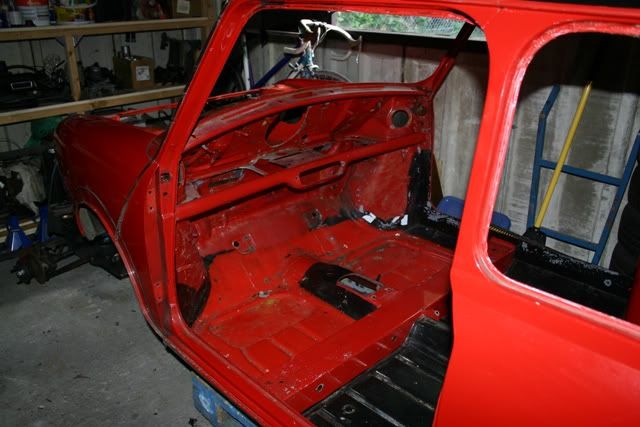
Then assess the metalwork. These were honeslty the worst bits I could find:
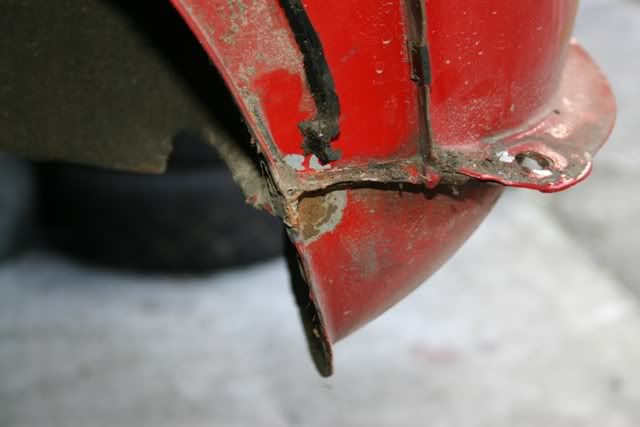
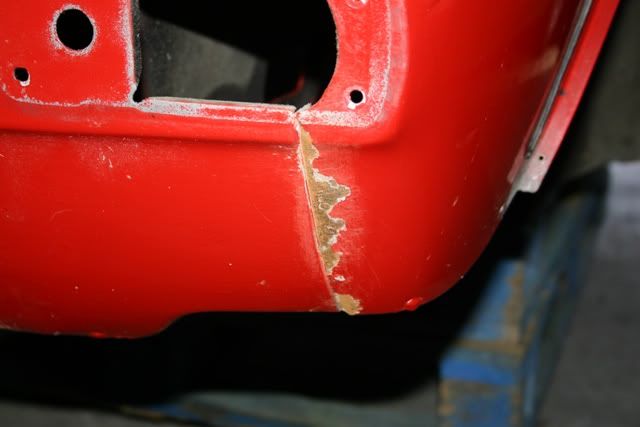
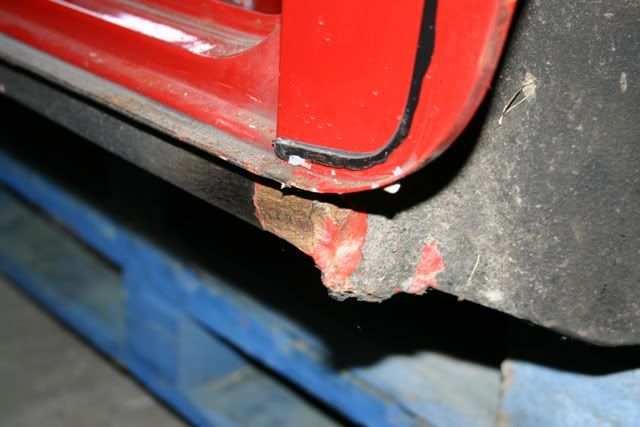
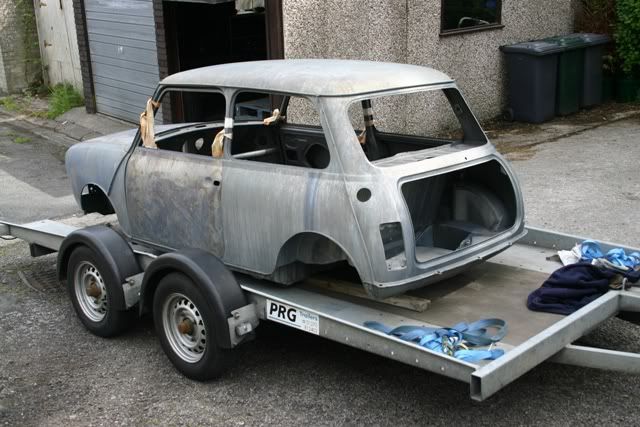
After long and hard deliberating, it was decided the car would be sent for dipping rather than soda blasting or manual paint stripping.
It is interesting to compare some of the next pictures with those of Stinky Pete. This work was a shade over £500 compared to Rich's £350ish (if I remember right) - I don't know how much Rich had done but mine included doors, bonnet, boot and a few odds and ends and was done in a little over a week.
I know there are people in both camps for this type of stripping, but given the shell condition, and the poor adhesion of the paint that was on it, this seemed the best way to go.
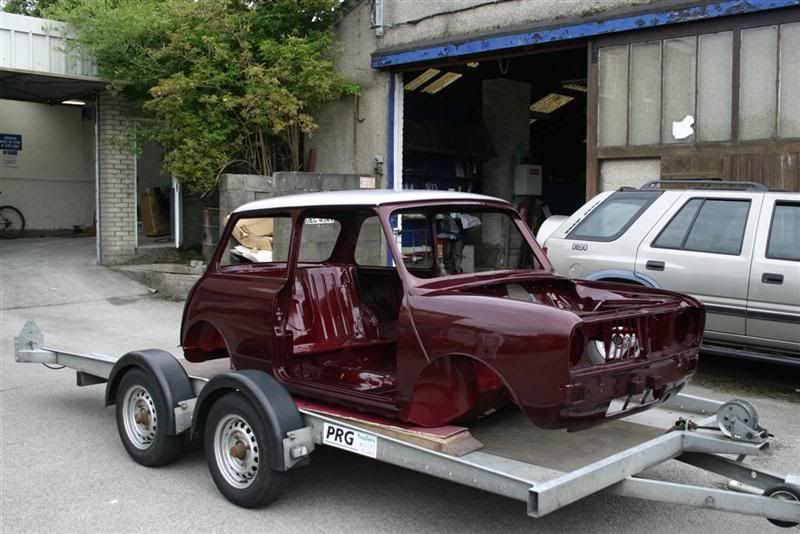
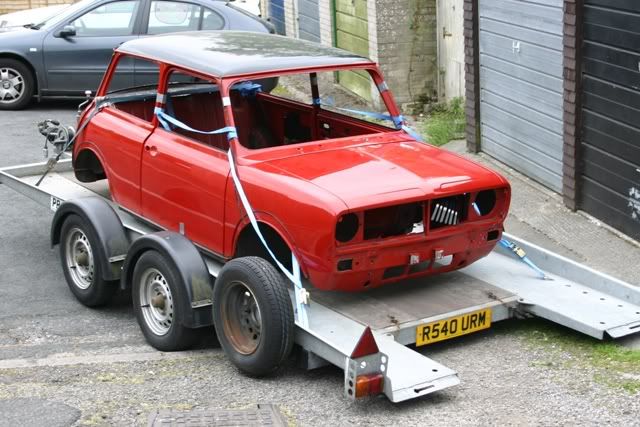
So off it went:
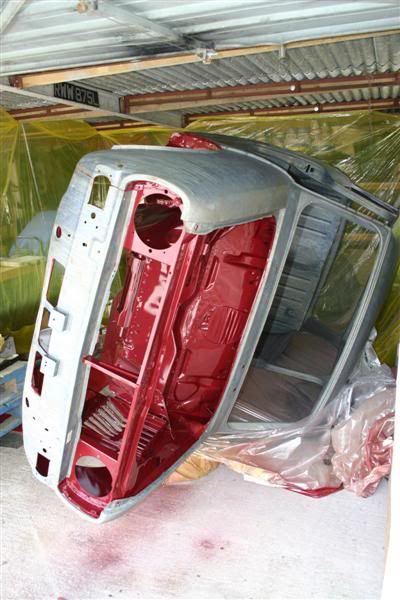
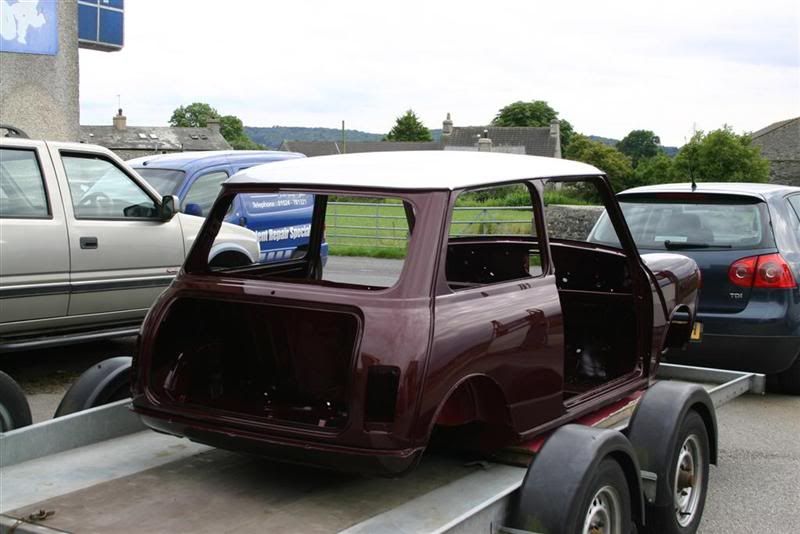
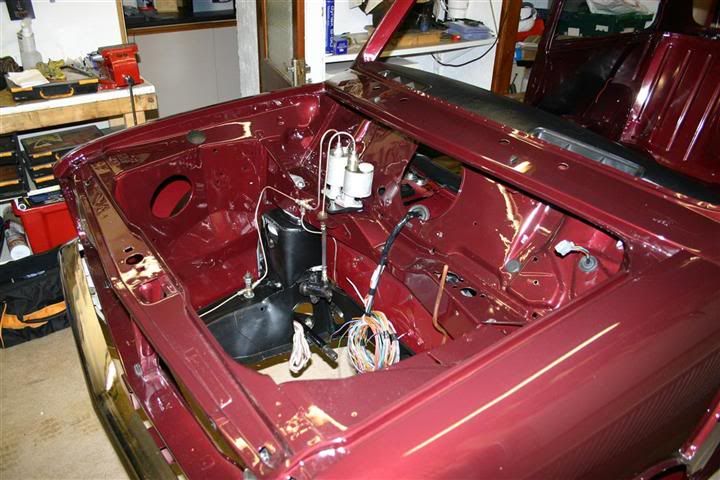
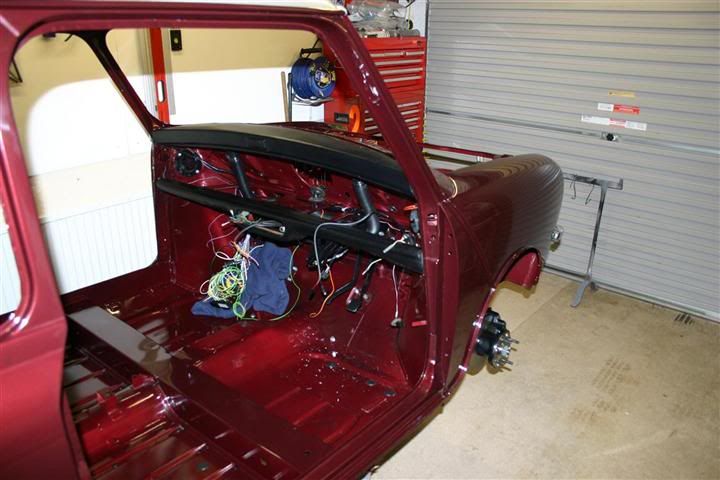
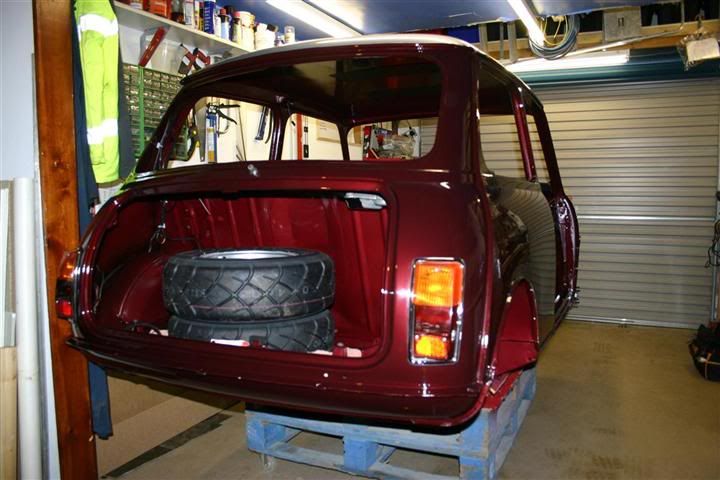
And as if by magic......
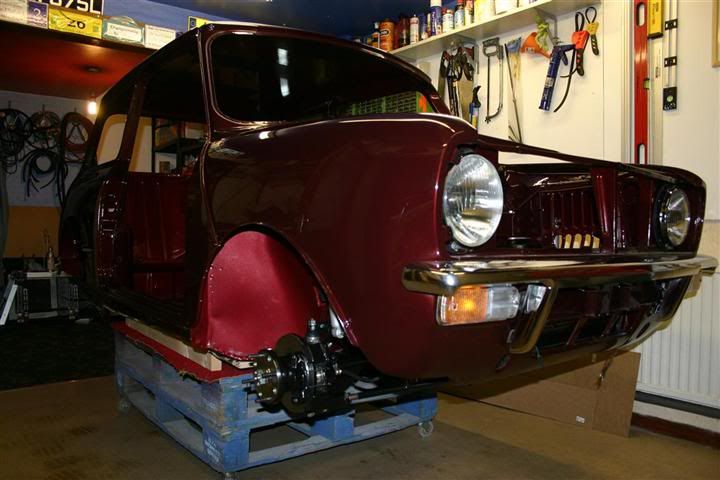
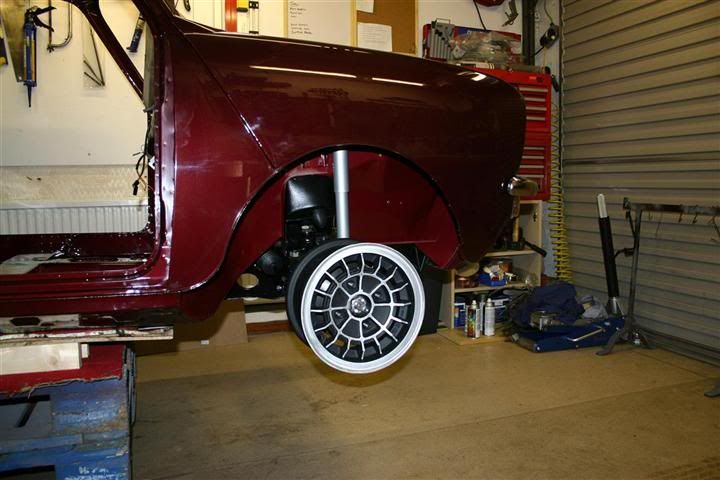
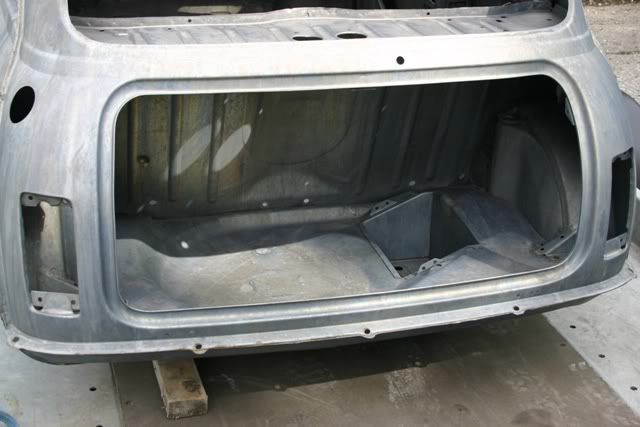
A few close ups:
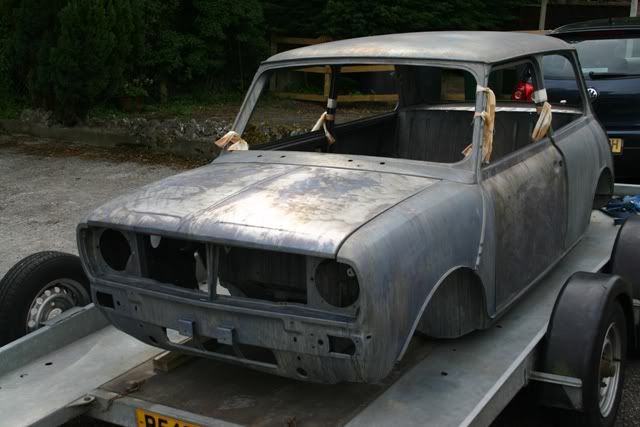
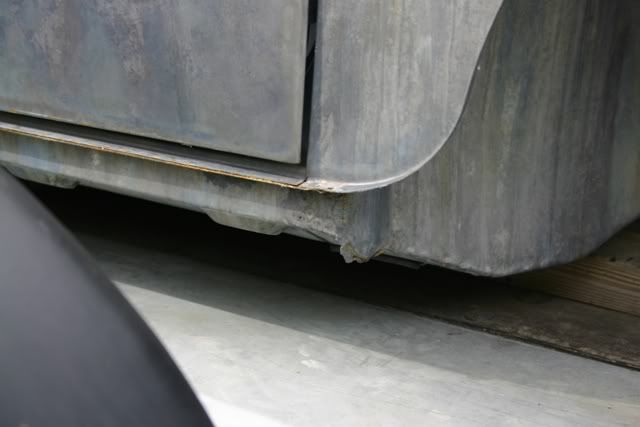
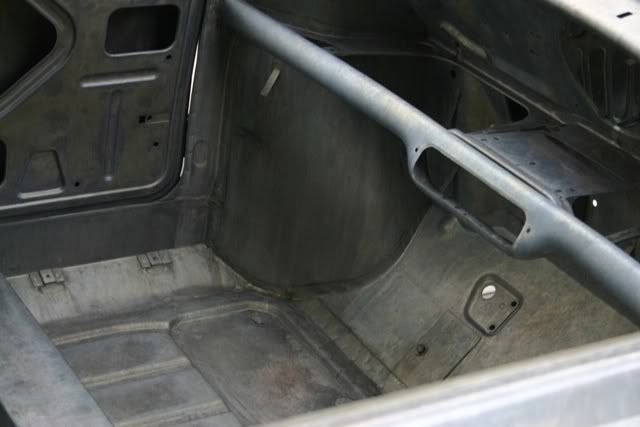
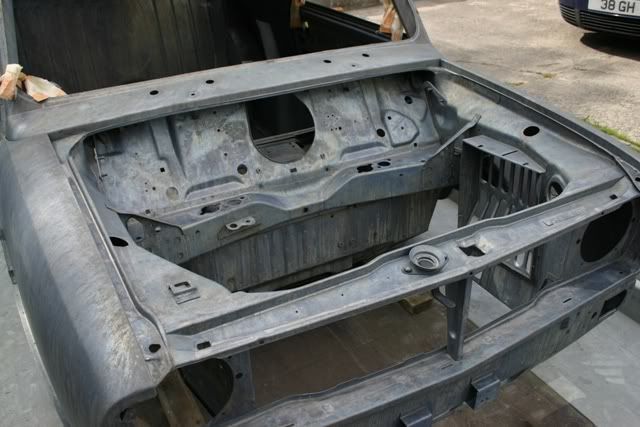
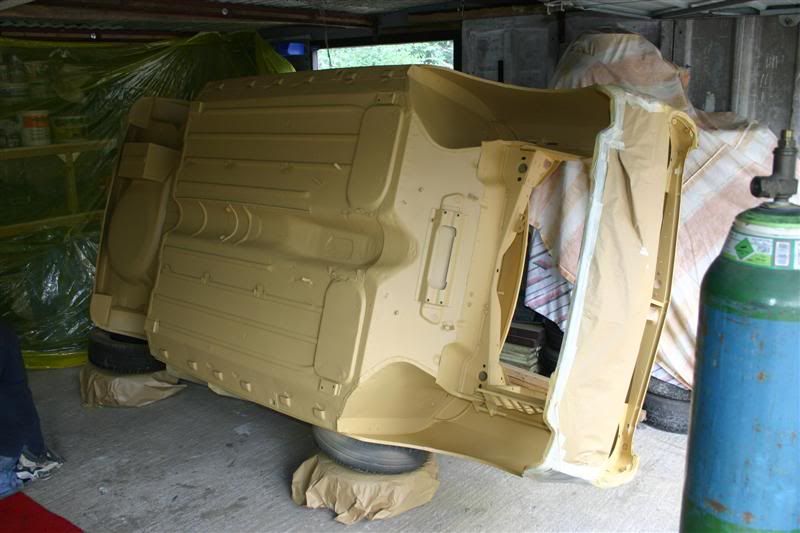
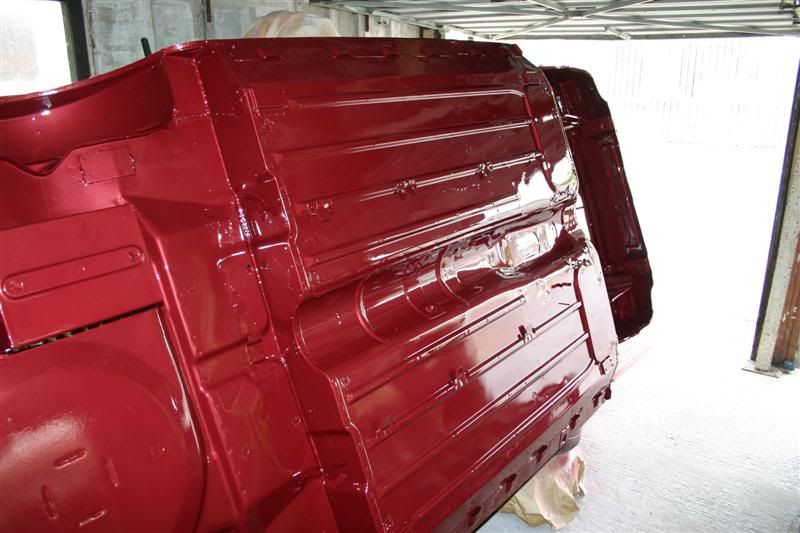
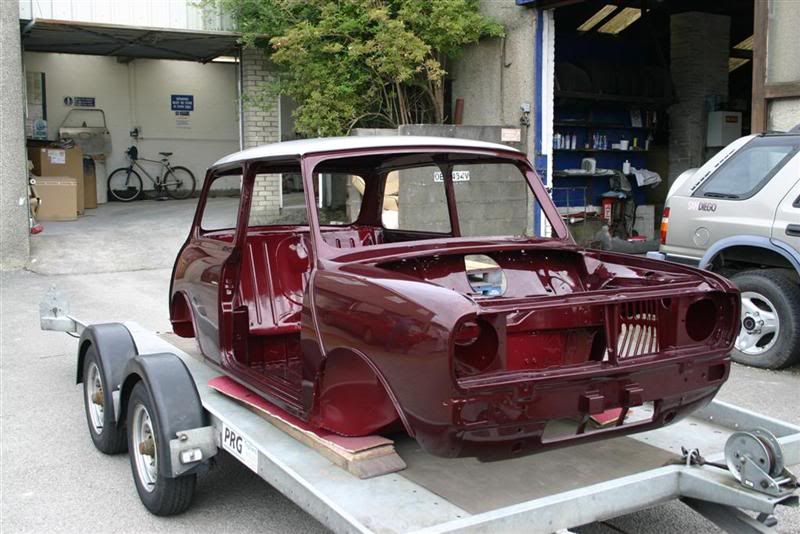
....and that brings us up to date. Next on the list is to repair that drive's side sill then seam seal and stone chip. 8)
It is about time I made a project thread for this car now it is moving forward. I know it isn't a Mk1 but hopefully it will be of interest to some.
I bought the car a little over 2 years ago as a mostly complete 1275GT that needed some cosmetic touches and finishing off before being put back on the road. As it was intended to be a suprise wedding present for the other half it was stashed away in a friends garage.
On getting to grips with the car it was soon found that the shell was very, very good but the paint work let it down somewhat - definitely a 10 footer! The outer paint chipped easily and badly as it was so thick; whereas under the bonnet and boot was so thin it flaked off. What that did reveal was the factory applied e-coat that had kept the shell so good.
However with no time for paint work eveything was tidied up as best as possible, all the chrome work was replaced as it had been painted black, new budget carpets, cleaned seats and a few MoT niggles sorted. Some shiny Dunlop replica wheels (and the nightmare they are) and we soon had this:


Next step was to get it to the wedding reception without being seen (actually there were a few close calls along the way!). So into a van it was:

Of course being a Mini it decided it wouldn't start when needed!

So with a few ribbons, baloons and a refixed front plate...

...we had it ready (well I say we - I kept well out of the way whilst all this was going on!):

Then for the following two years the car was enjoyed, niggles sorted and a new engine built and dropped in. The plan was always to do something about the paint once funds (and time) allowed.
Some of the cars history also started to come to light. Slowboy knew the car and it turns out that Smoke_Grey had previously owned it and could fill in some of its past.
The shell was bought from a Rover dealership in the early 80s and an expensive re-shell excercise was undertaken. There is a bit of a 'Trigger's Broom' feel to the car's past and the shell isn't a true GT one - but that just gives us the excuse to make it what we want rather than a concours GT
So two years on, a bit of cash saved and we are ready to start on the car properly. First off into the garage and strip down.


Then assess the metalwork. These were honeslty the worst bits I could find:


After long and hard deliberating, it was decided the car would be sent for dipping rather than soda blasting or manual paint stripping.
It is interesting to compare some of the next pictures with those of Stinky Pete. This work was a shade over £500 compared to Rich's £350ish (if I remember right) - I don't know how much Rich had done but mine included doors, bonnet, boot and a few odds and ends and was done in a little over a week.
I know there are people in both camps for this type of stripping, but given the shell condition, and the poor adhesion of the paint that was on it, this seemed the best way to go.
So off it went:

And as if by magic......

A few close ups:


....and that brings us up to date. Next on the list is to repair that drive's side sill then seam seal and stone chip. 8)
