Page 1 of 13
Mhuffy The Traveller.
Posted: Sun Dec 26, 2010 3:02 pm
by InimiaD
Re: Mhuffy The Traveller.
Posted: Sun Dec 26, 2010 10:47 pm
by Matty
That looks like it will keep you busy for a while!
Looking good so far though.
Re: Mhuffy The Traveller.
Posted: Mon Dec 27, 2010 11:31 am
by tomkidd
Looking good! As Matty said, should keep you busy for a while... ps that Rover SD1 looks bright!
Re: Mhuffy The Traveller.
Posted: Tue Dec 28, 2010 11:28 pm
by InimiaD
Re: Mhuffy The Traveller.
Posted: Wed Dec 29, 2010 1:27 am
by JC T ONE
Well done
good of you to save this little "woodie"
keep up the good work (and pics coming)
Re: Mhuffy The Traveller.
Posted: Wed Dec 29, 2010 8:40 am
by guru_1071
Re: Mhuffy The Traveller.
Posted: Wed Dec 29, 2010 11:33 pm
by InimiaD
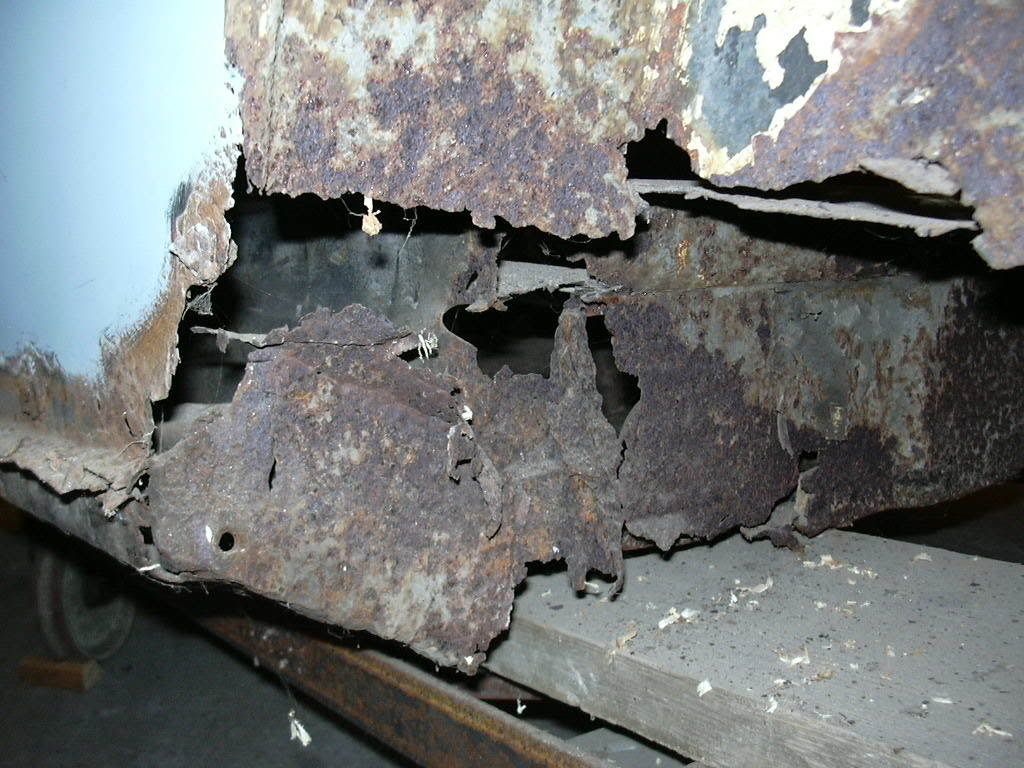
The phrase "Rose tinted spectacles" comes to mind and a lot of classic Mini owners seem to suffer from that syndrome.
I'd rather see another classic back on the road and not being on that slow boat to China to be made into whatever.
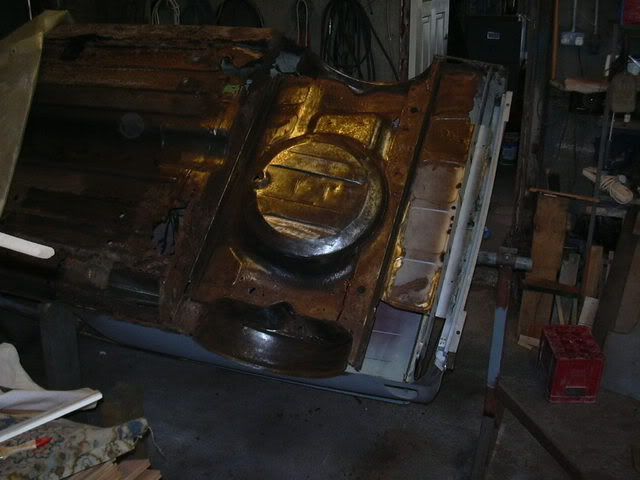
Anyway, o/side floorpan replacement.
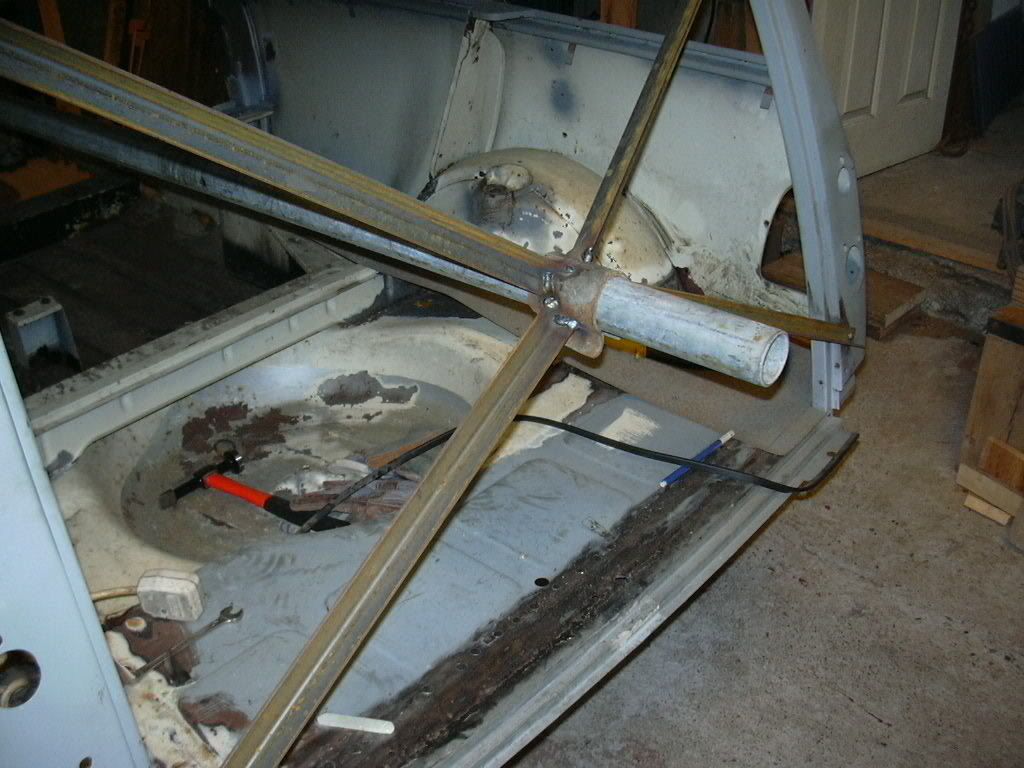
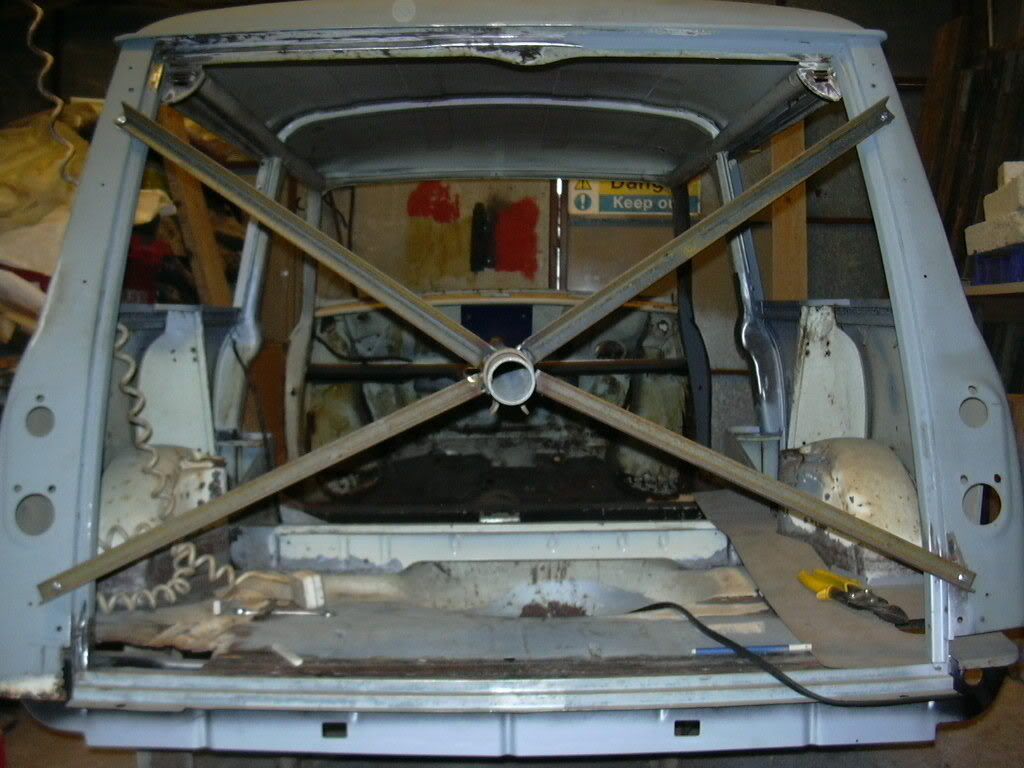
When I changed the floorpans on my MK2 S when I went to fit the heelboard I encountered problems with it not fitting well over the tunnel. After a lot of head scratching it seems that the tunnel had sprung, ie; opened out. I made a cramp out of angle and lengths of studding welded it to the rear of the tunnel and tightened the "cramp" up. Hey presto, the end of the tunnel closed up enough to get the heelboard in place. PHEW.
So, with that cock up still in my mind I was determined that the same problem would not happen on the Woodys floor surgery.
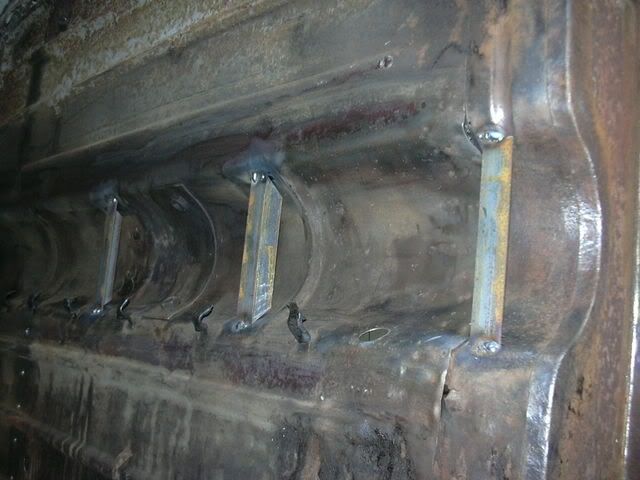
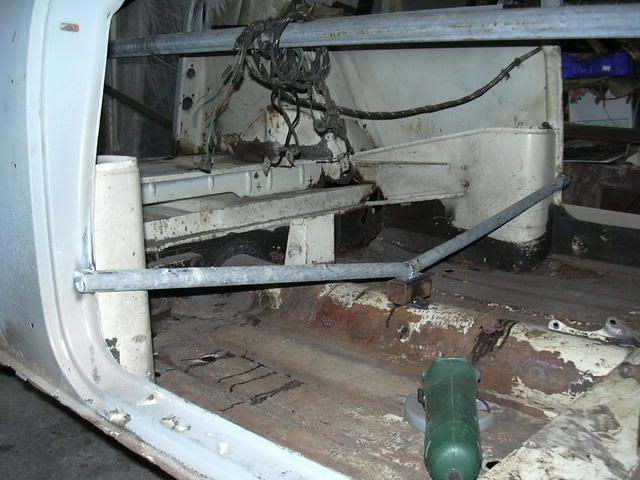
So I cut some angle to size and welded to the inside of the tunnel.
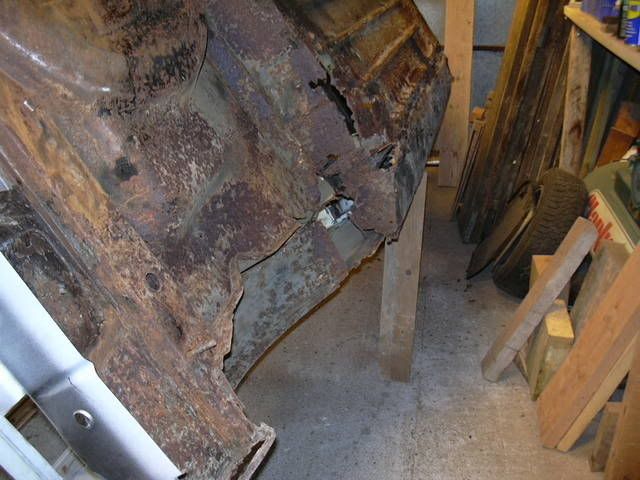
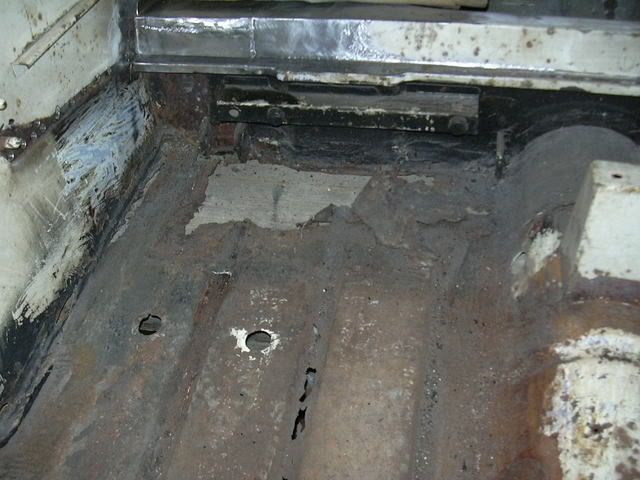
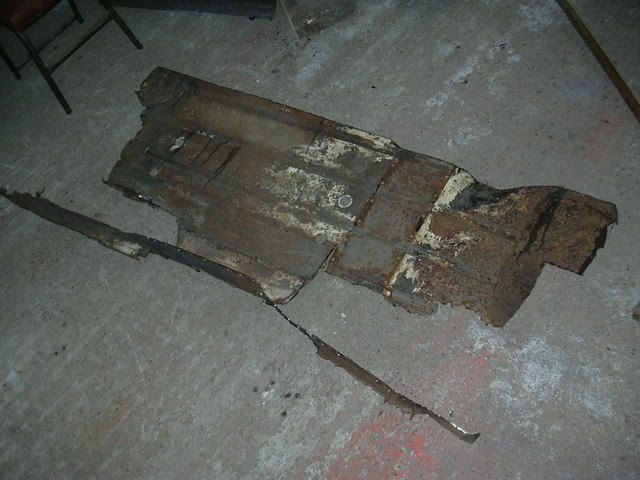
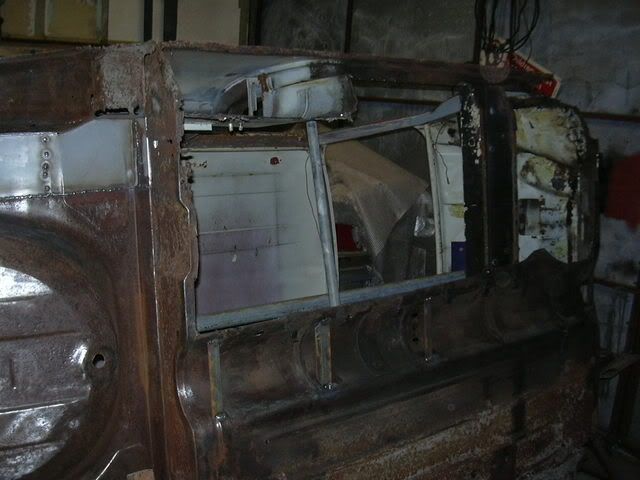
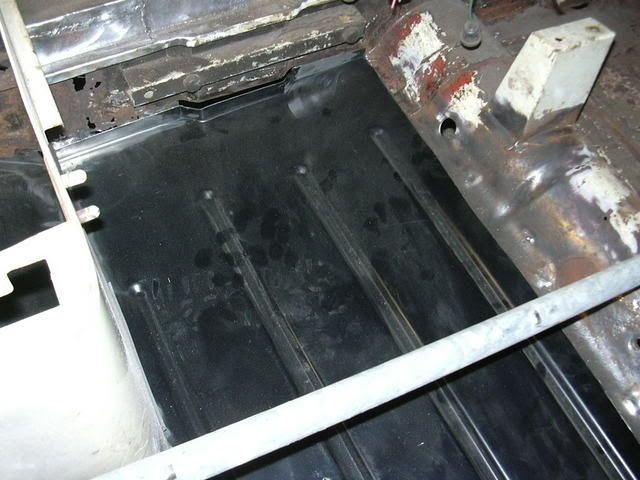
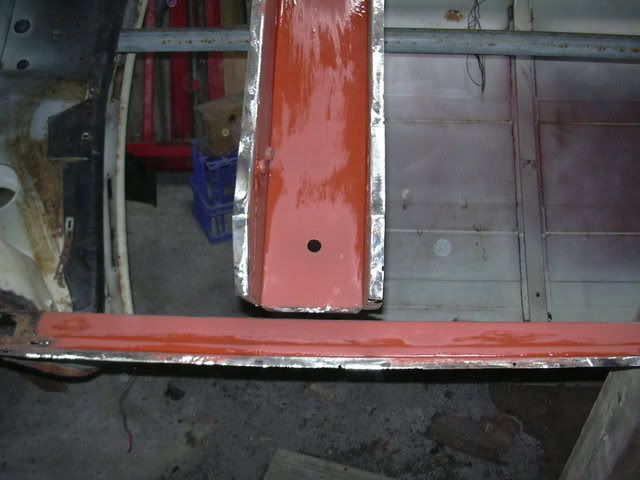
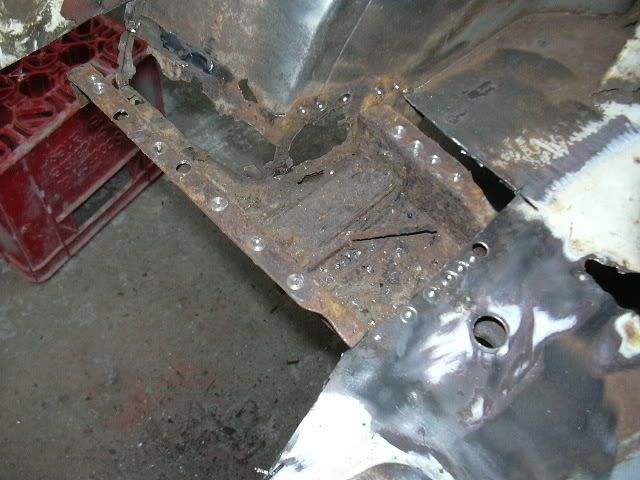
Old 1/2 floorpan.
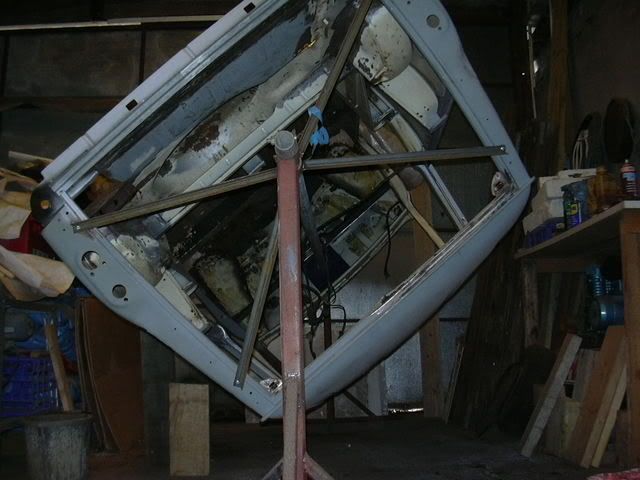
Braced ready for the chop.
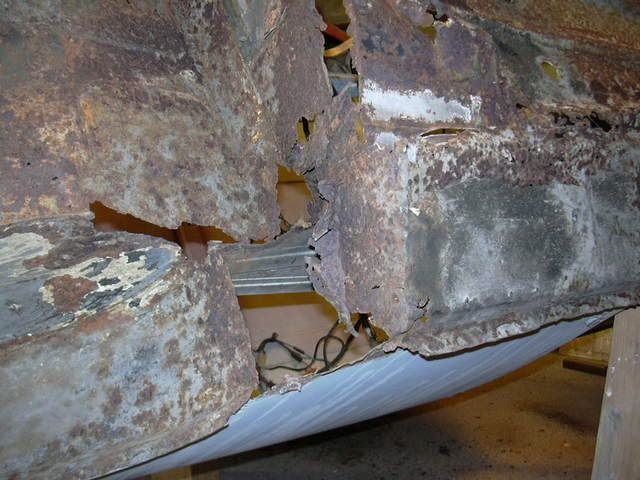
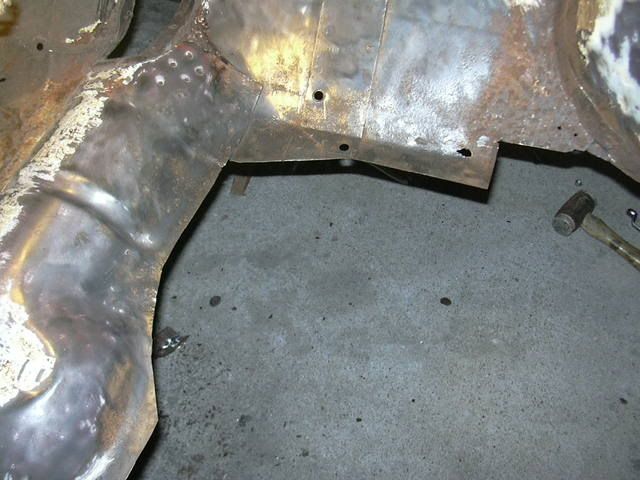
The offending floor section.
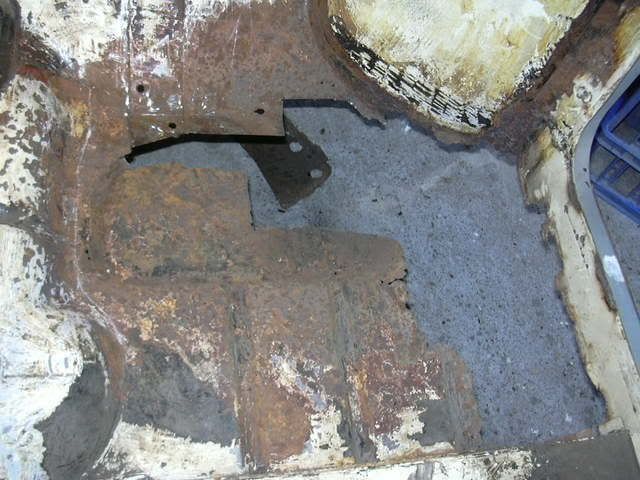
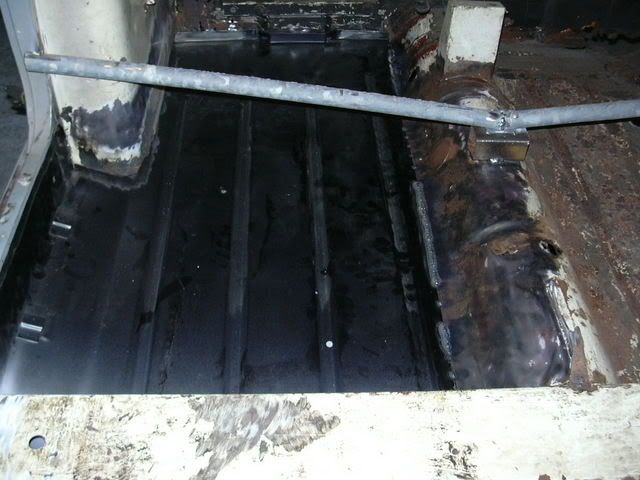
The hole that was ready for filling with fresh steel.
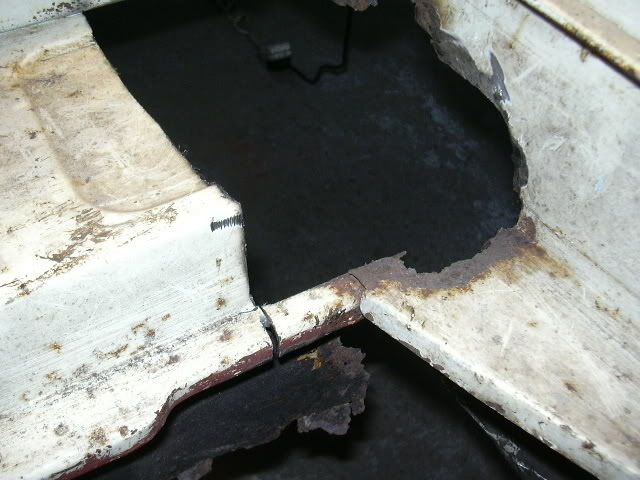
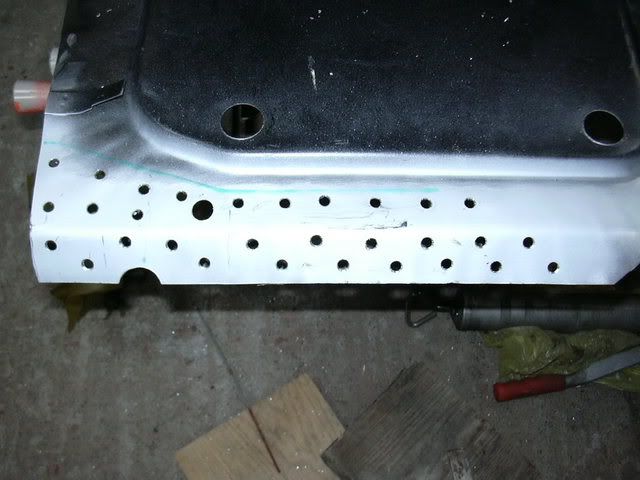
Prepping the areas that were going to be mated together.
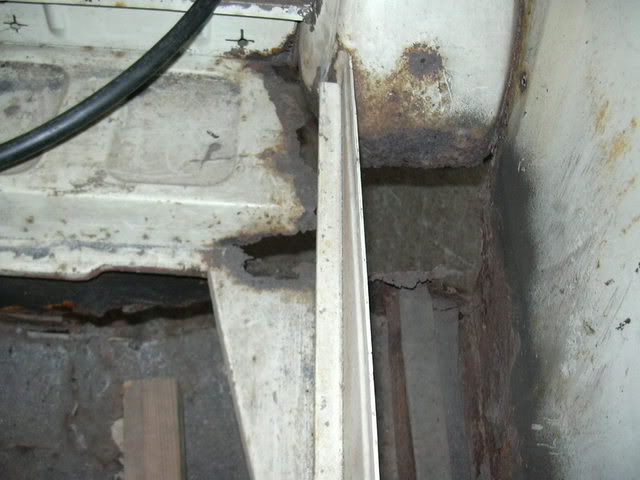
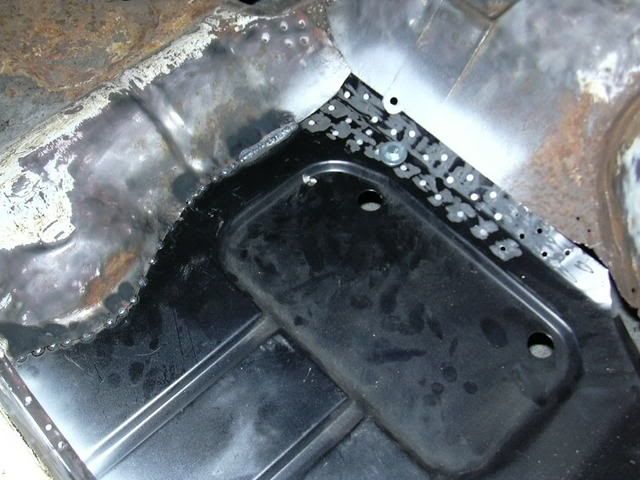
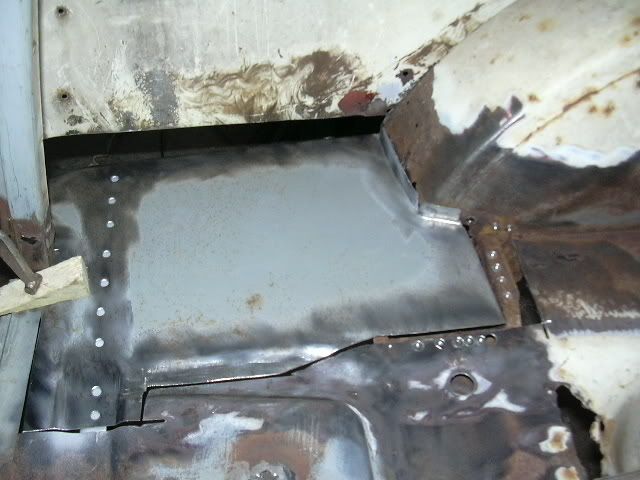
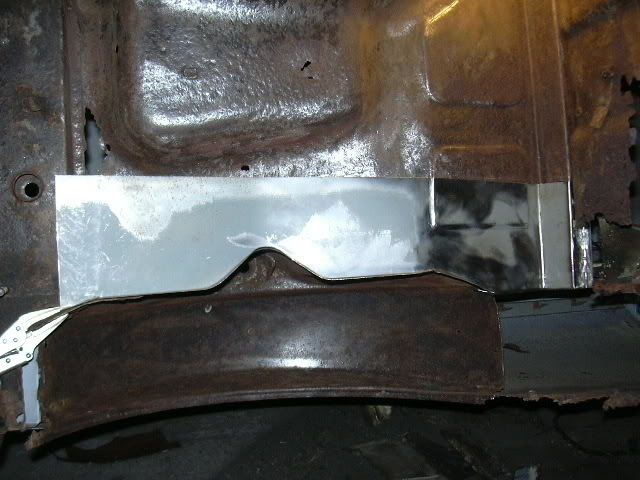
The floor insitu.
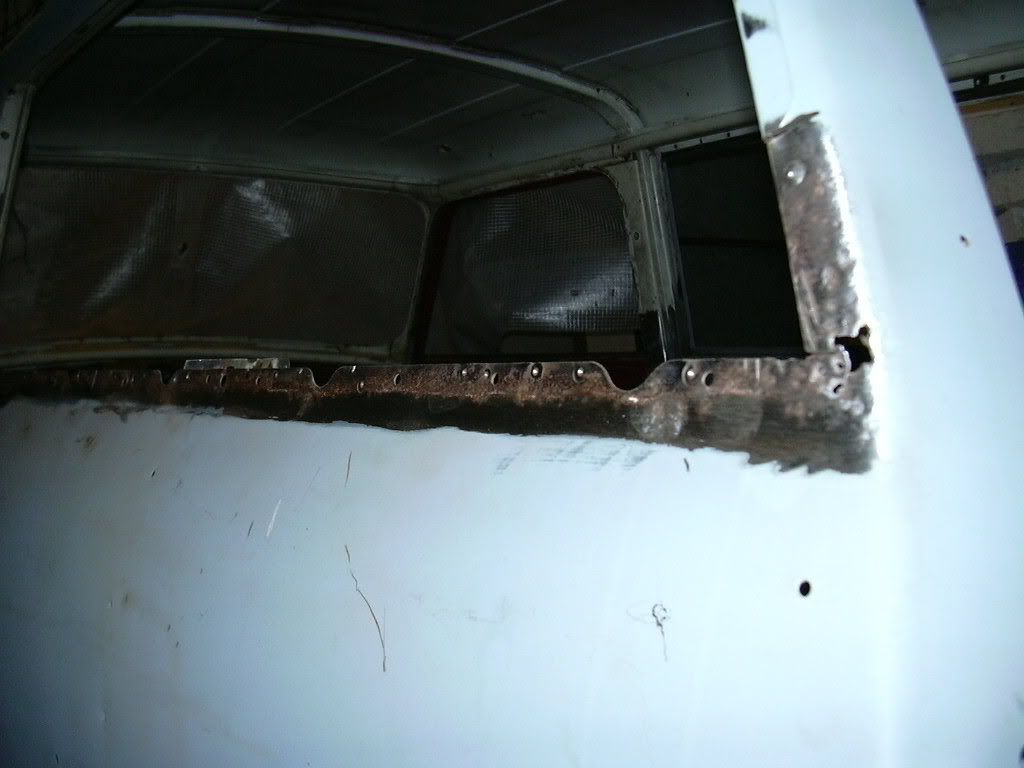
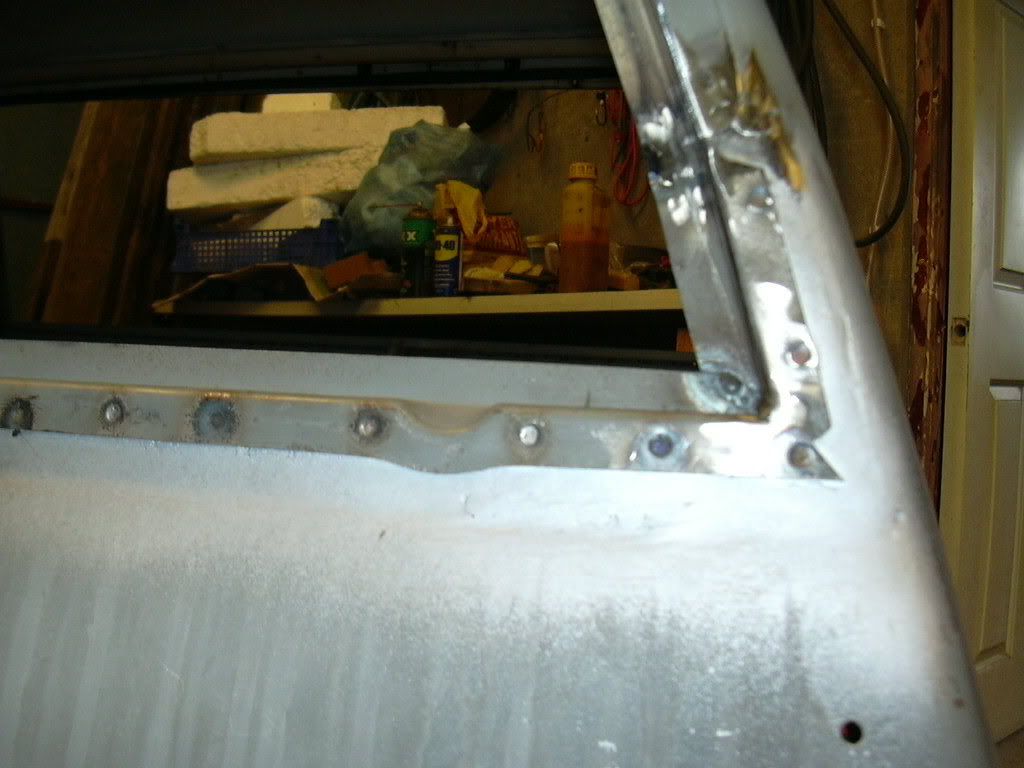
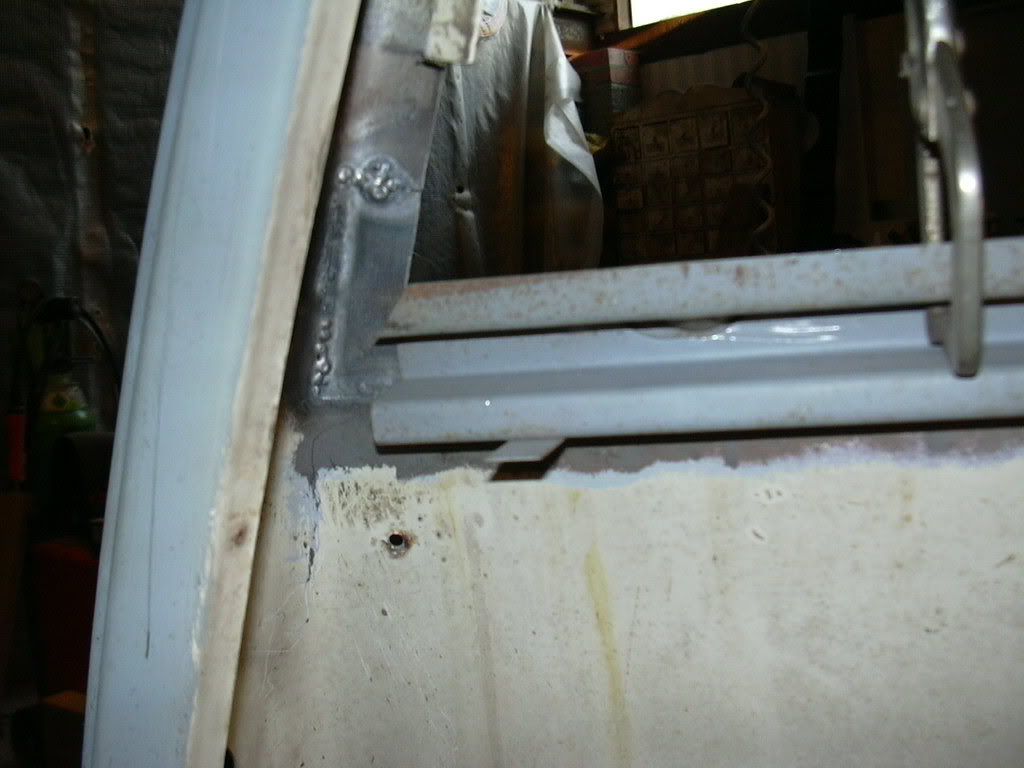
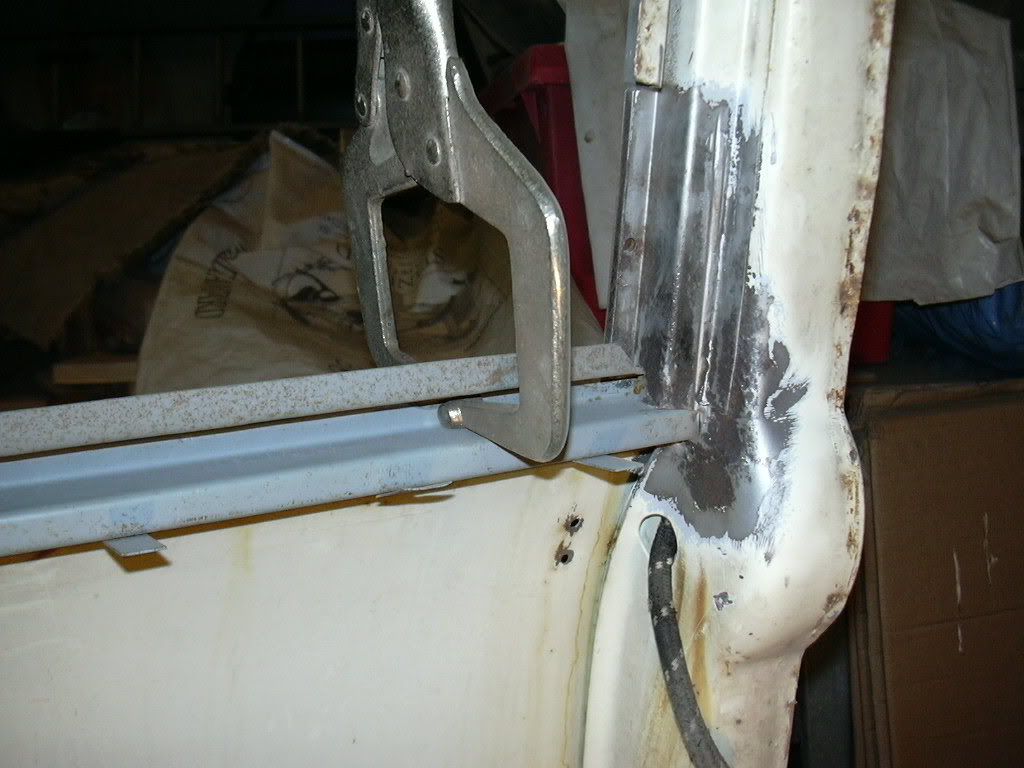
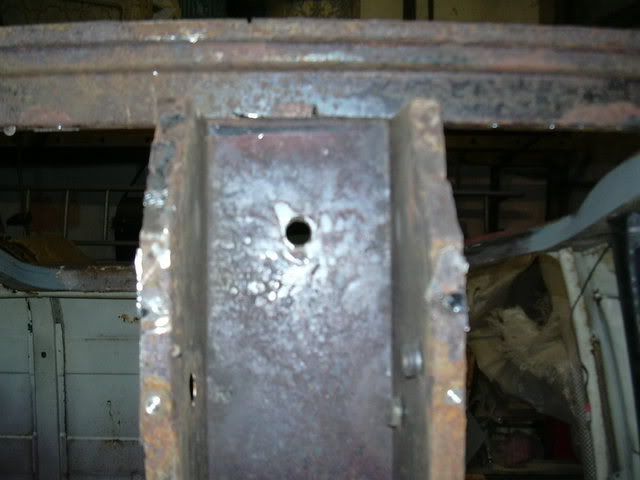
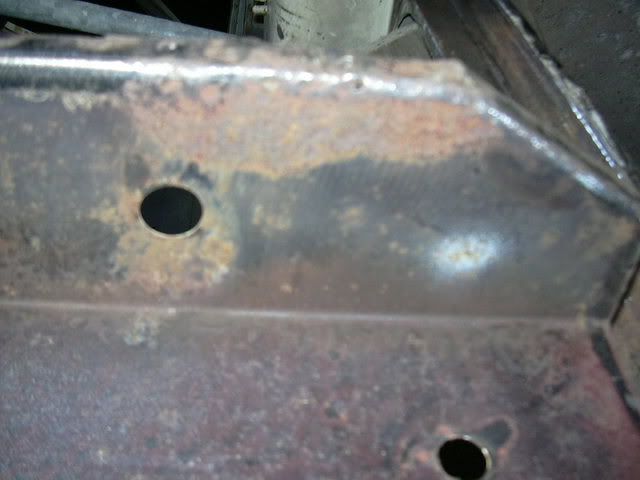
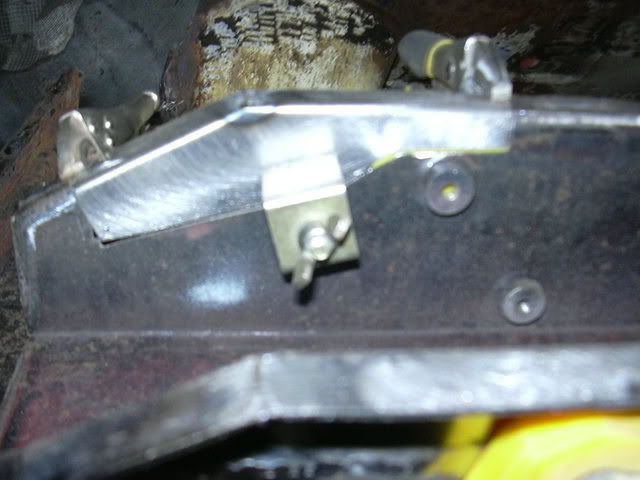
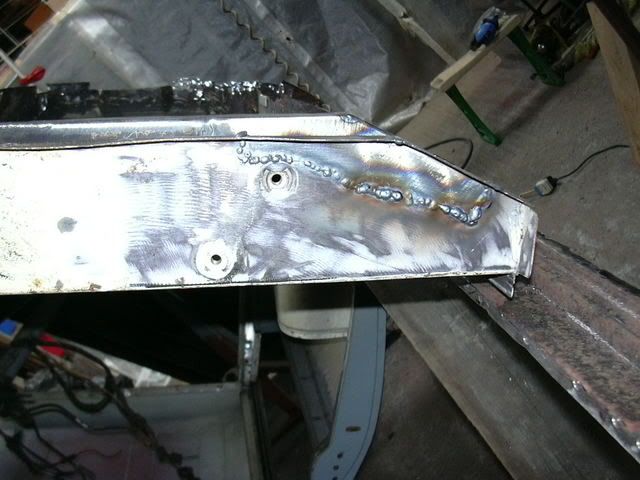
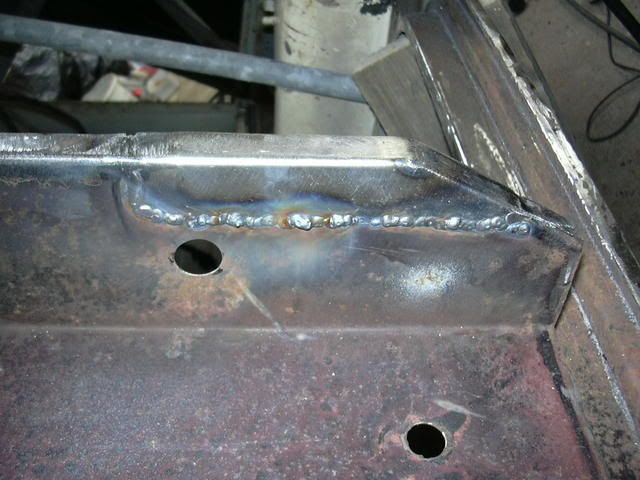
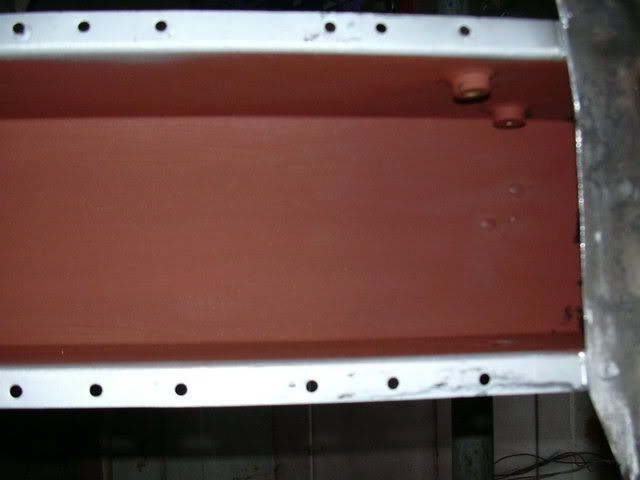
The seat crossmember wasn't replaced. There was some repair work to do though, pics to follow.
Re: Mhuffy The Traveller.
Posted: Fri Dec 31, 2010 12:20 pm
by InimiaD
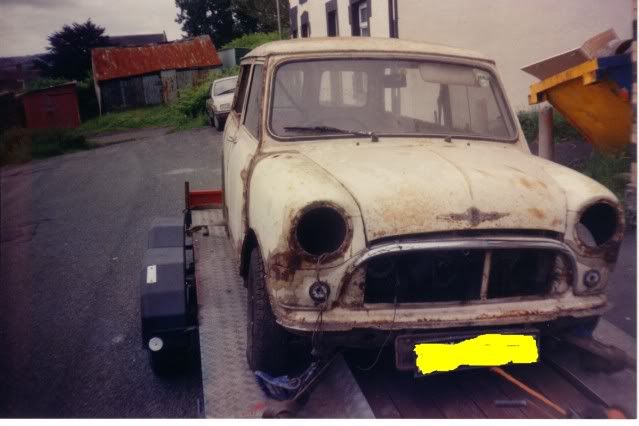
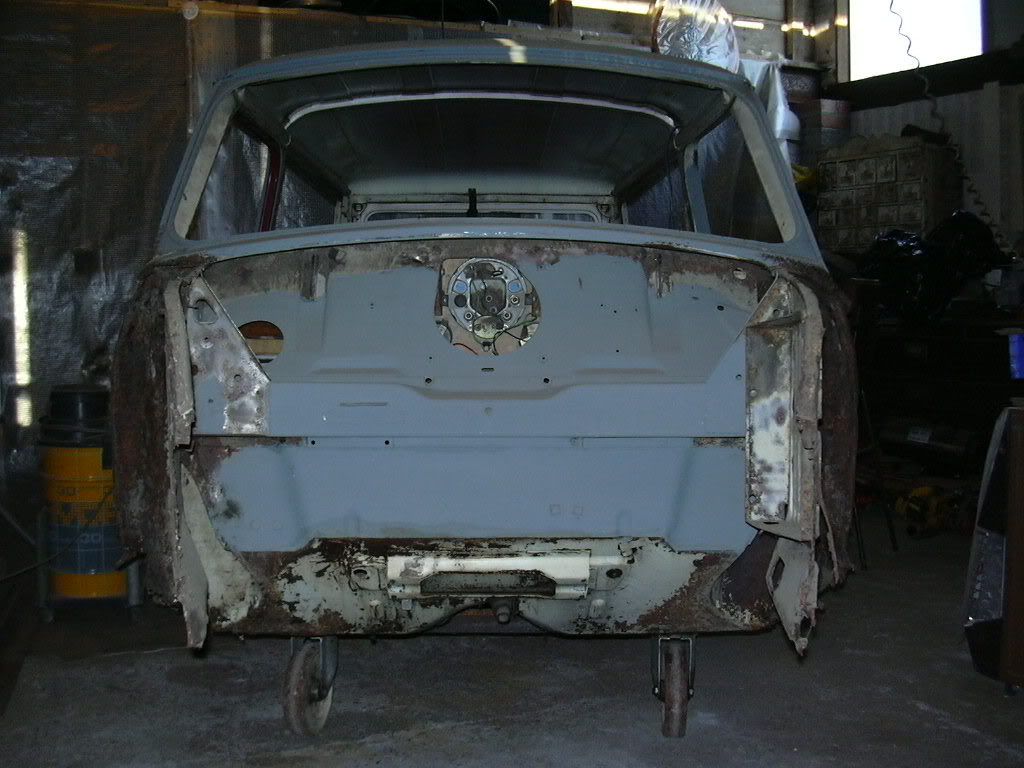
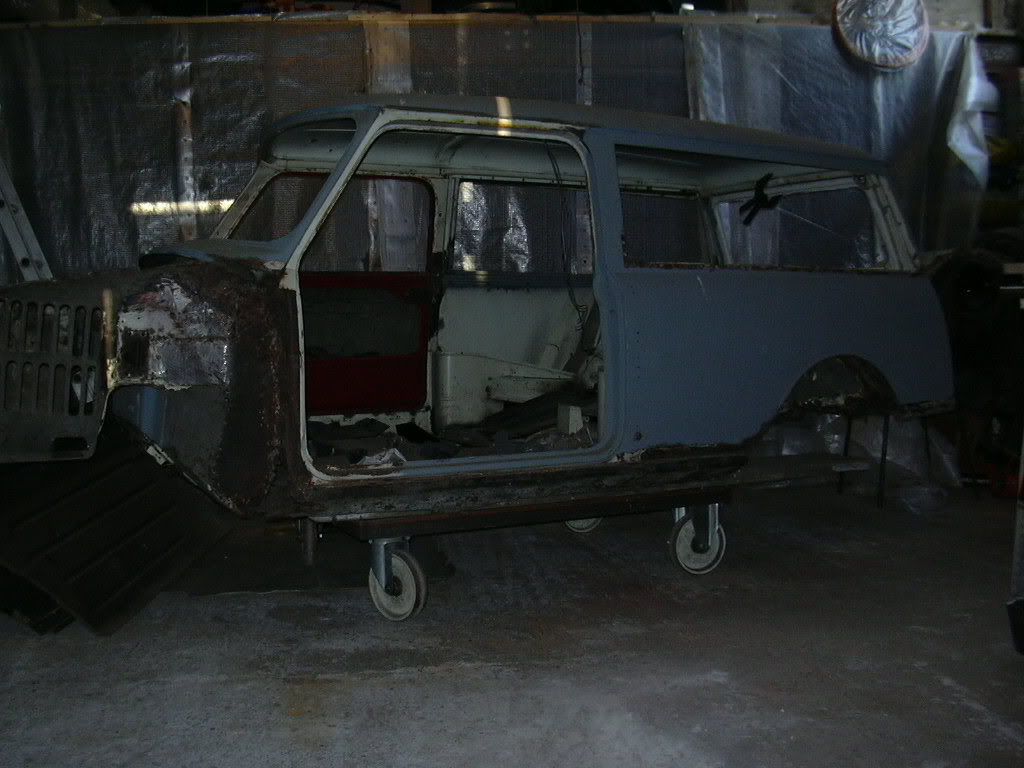
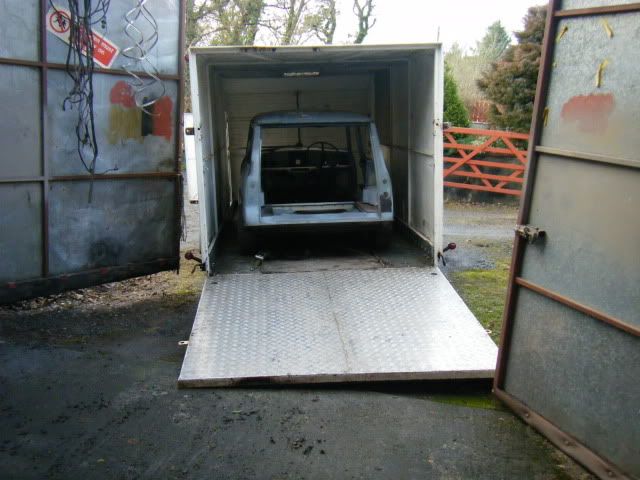
A milestone was reached yesterday and a major leap forward in Mhuffys restoration.
I loaded it into a trailer and took it to the sprayer.
Only 13 months late.
Ah well, what's the rush.?
Re: Mhuffy The Traveller.
Posted: Mon Jan 03, 2011 5:32 pm
by InimiaD
Re: Mhuffy The Traveller.
Posted: Mon Jan 03, 2011 9:49 pm
by JC T ONE
Welldone
great work .
Jens Christian
Re: Mhuffy The Traveller.
Posted: Sun Jan 09, 2011 9:08 pm
by InimiaD
Re: Mhuffy The Traveller.
Posted: Sun Jan 09, 2011 10:39 pm
by IAIN
[quote="InimiaD"]Thanks guys, and yes, that SD1 is bright, or should I say, was bright.
The plan with this Woody is to have a rot free, fun, useable everyday car with a few modern (sic) touches while trying to keep it reasonably original to look at and any mods could be easily reversed. (famous last words
).
Thats what I have done with my woody. ie modernised but with standard looks. Its great to have that little extra power and better brakes and no one expects it.
Last summer we came out from a show following a triumph spitfire. After winding through the small roads, got to the motorway still following the spitfire sitting at about 50 mph, I pulled out and sailed past it over the limit he looked a bit surprised. Great fun.
Well done in getting to this stage. At times it must have seemed like it would never end.
Re: Mhuffy The Traveller.
Posted: Sun Jan 16, 2011 5:43 pm
by InimiaD
That's the way to do it.
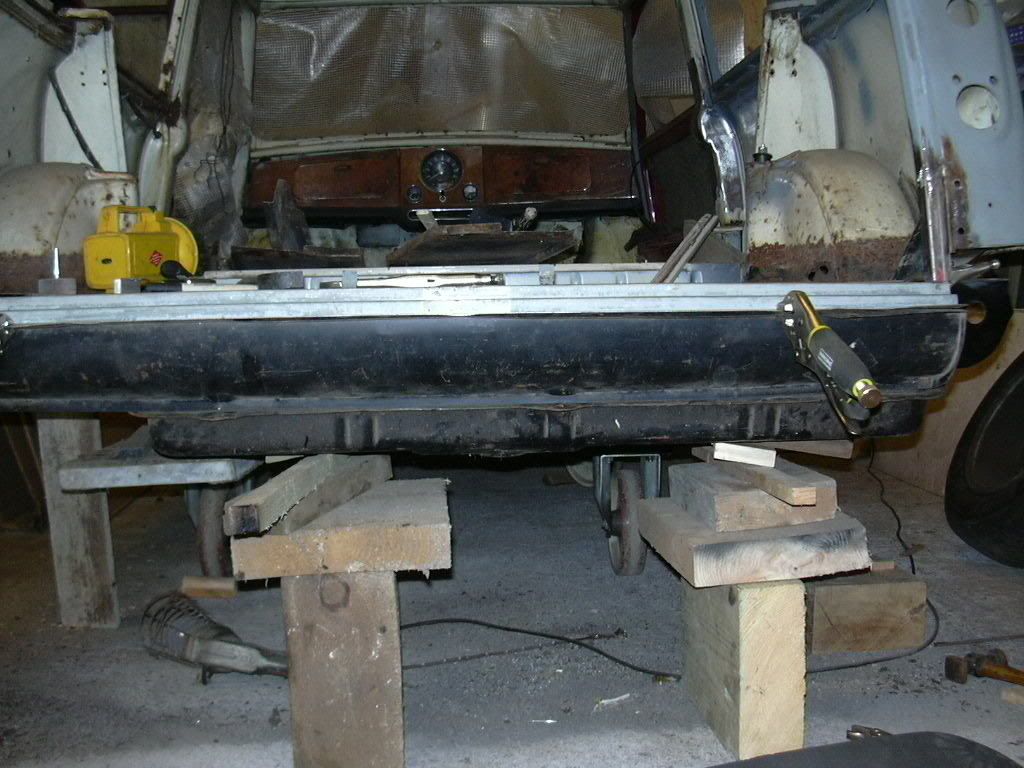
Carrying on from the last update.
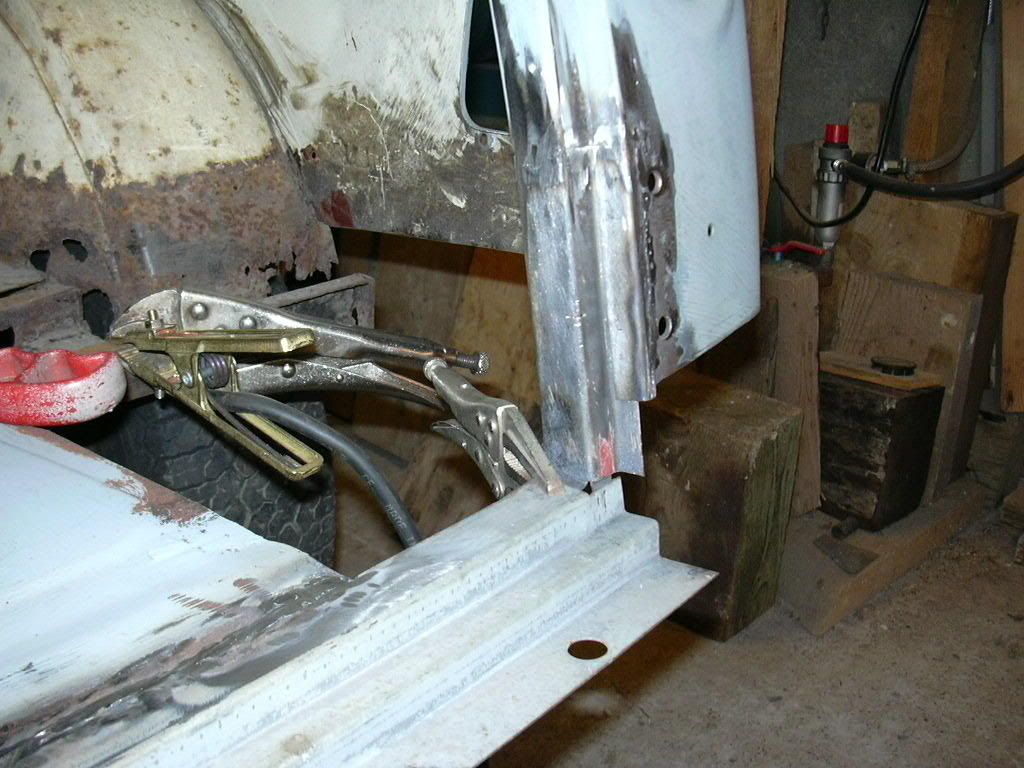
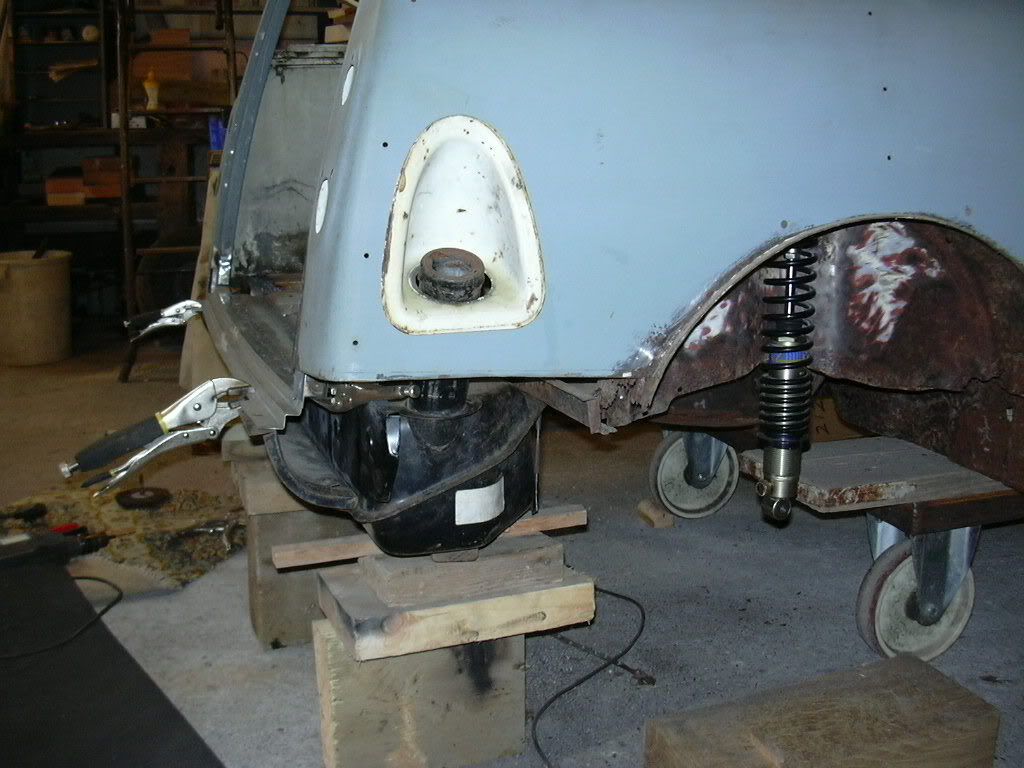
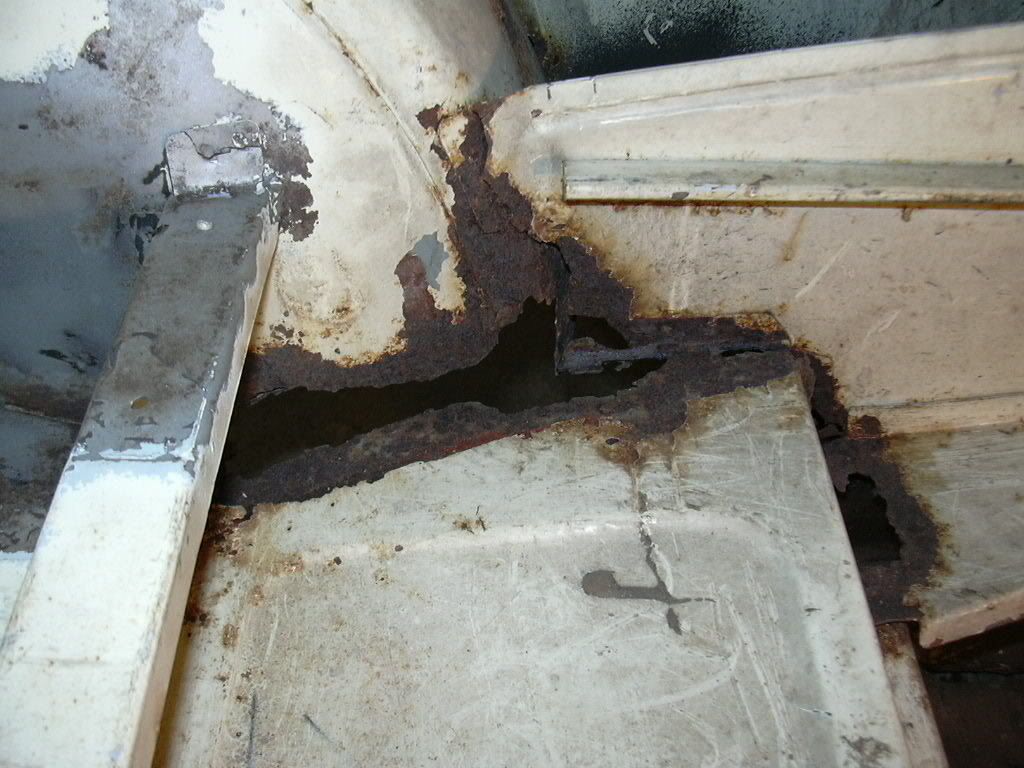
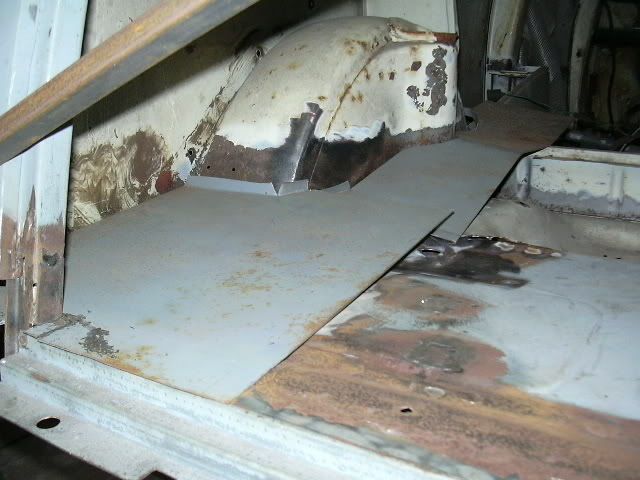
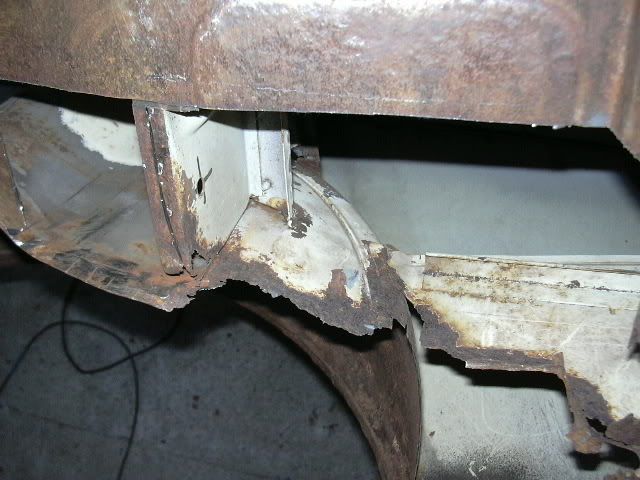
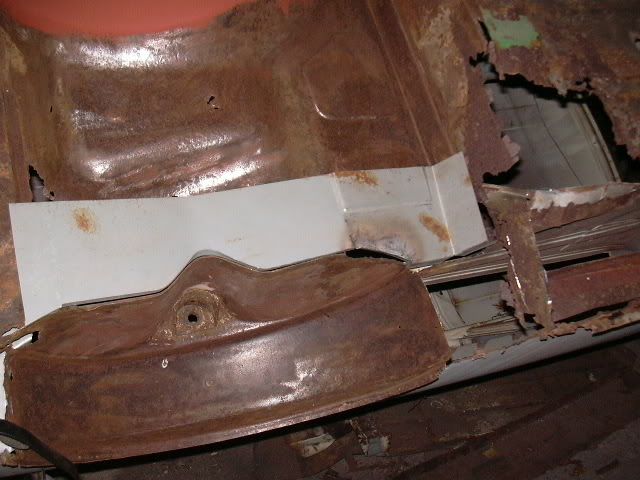
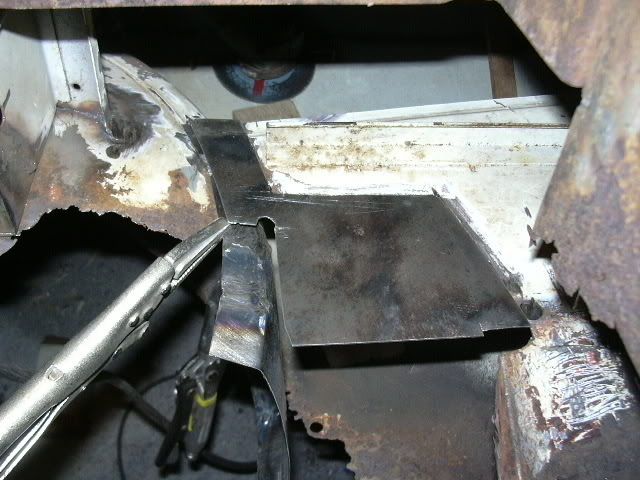
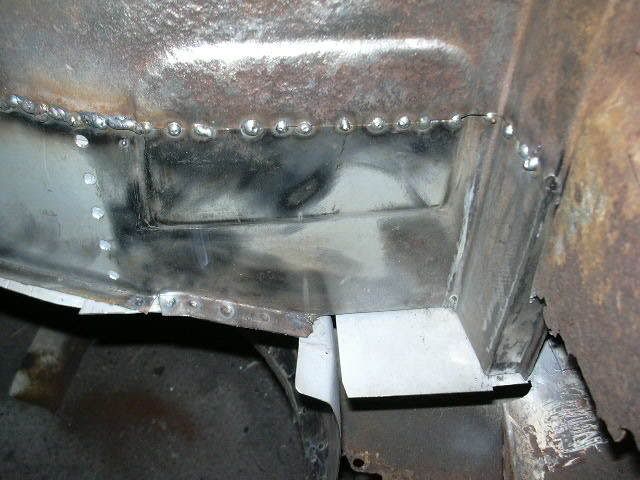
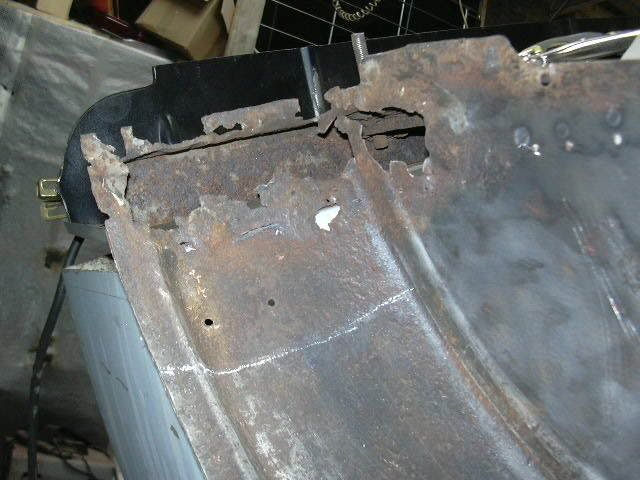
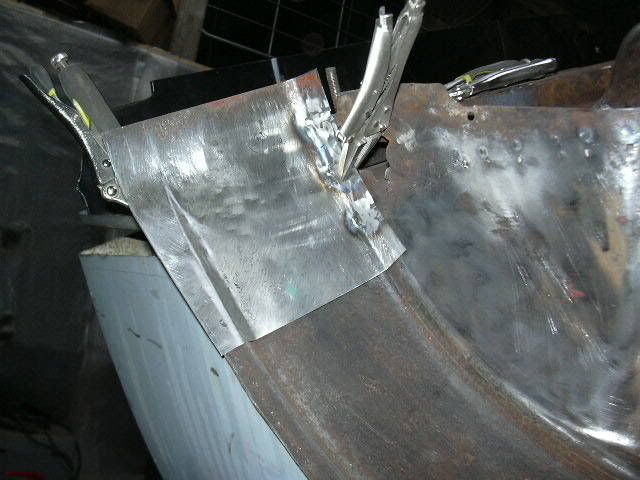
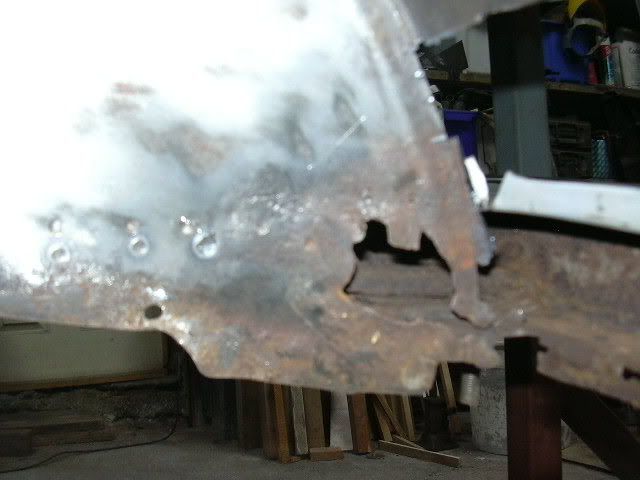
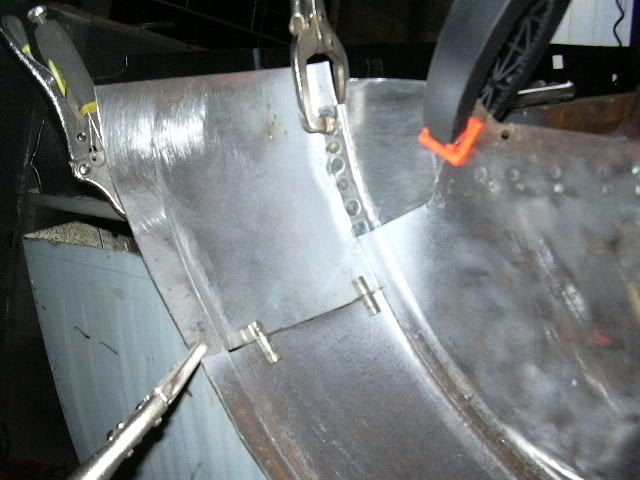
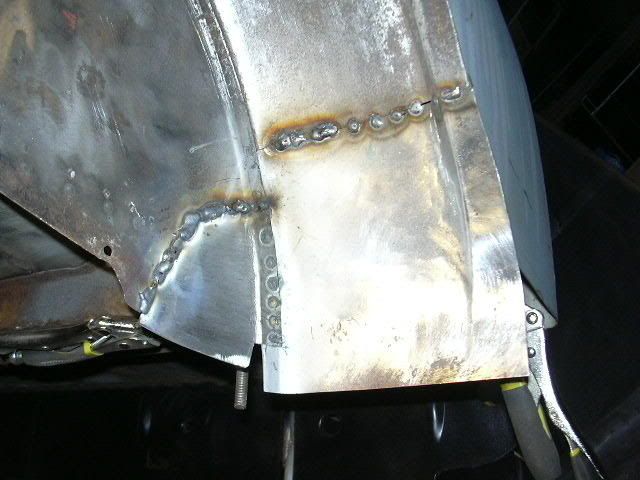
Repair section for the back of the companion bin where it meets the, ahem, wheelarch.
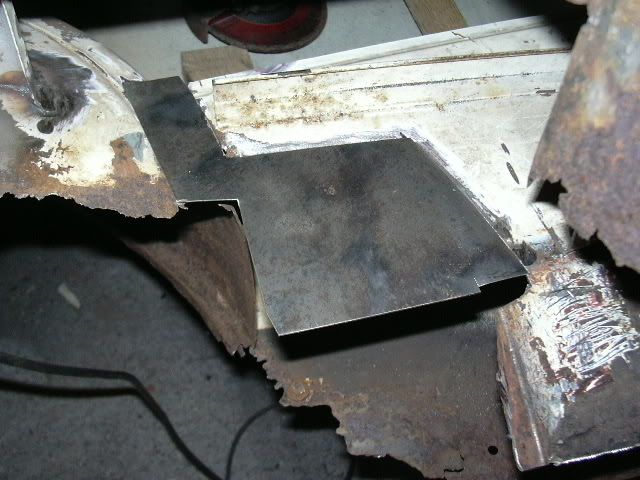
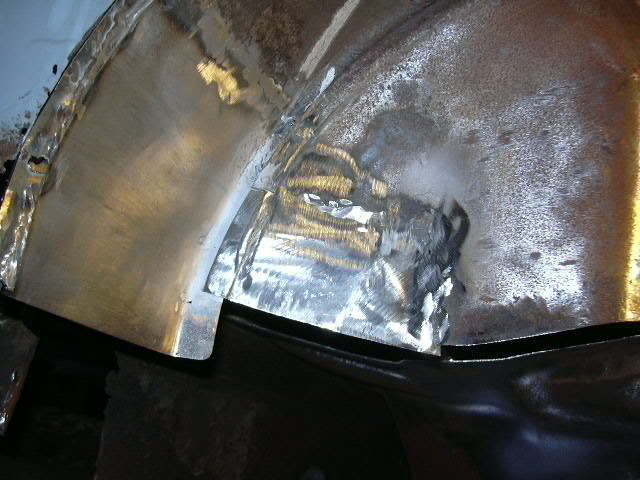
wheelarch repair.
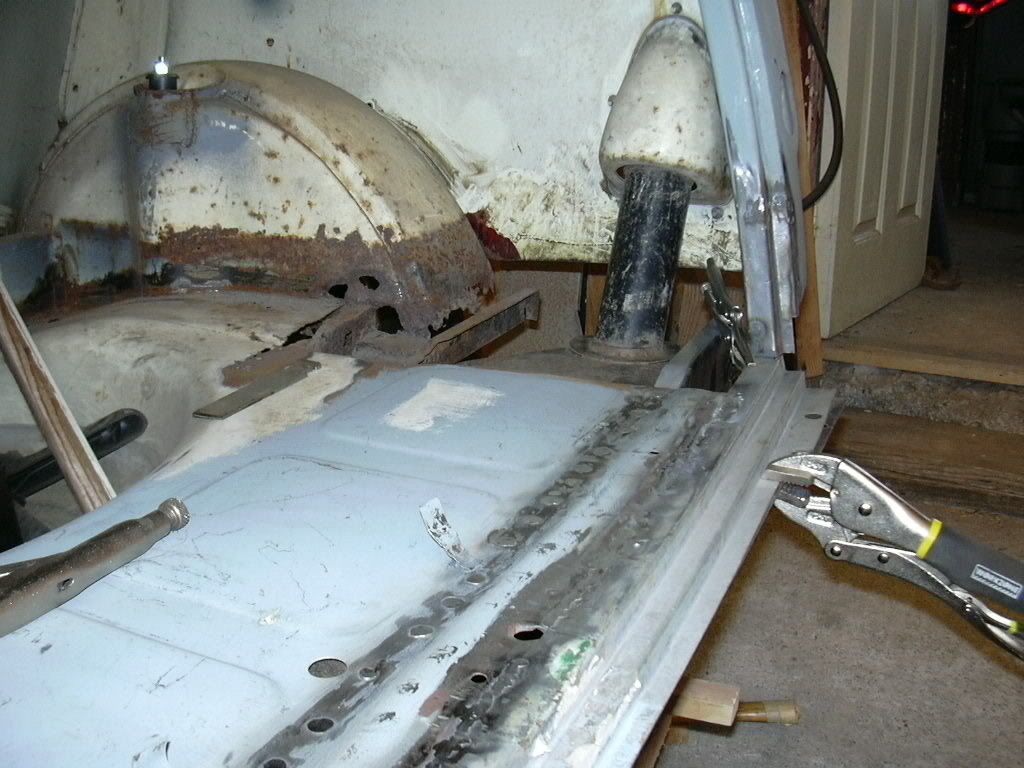
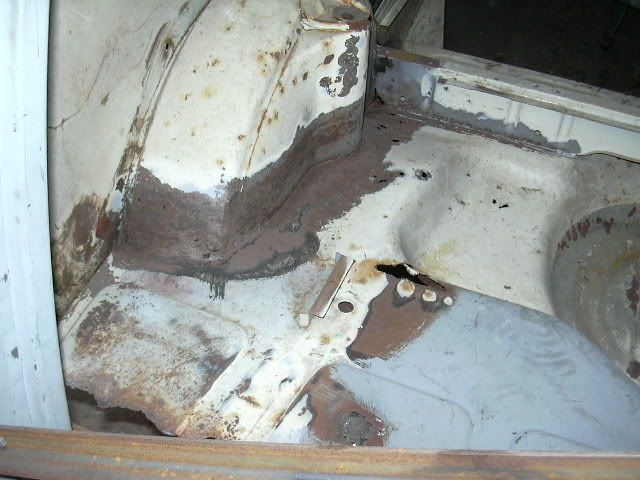
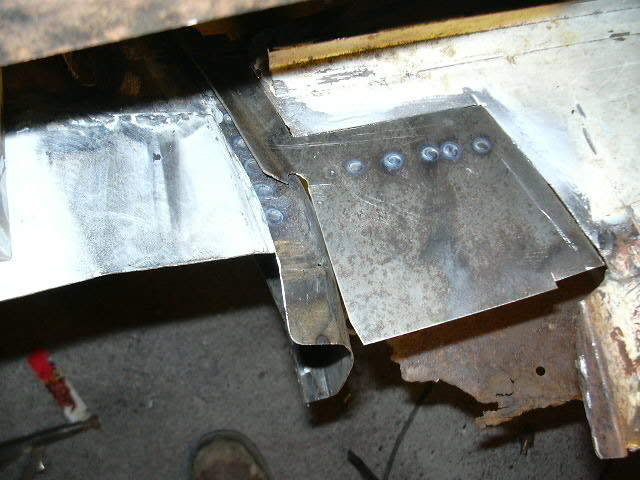
Wheelarch meets companion bin repair.
Inner wheelarch repair.
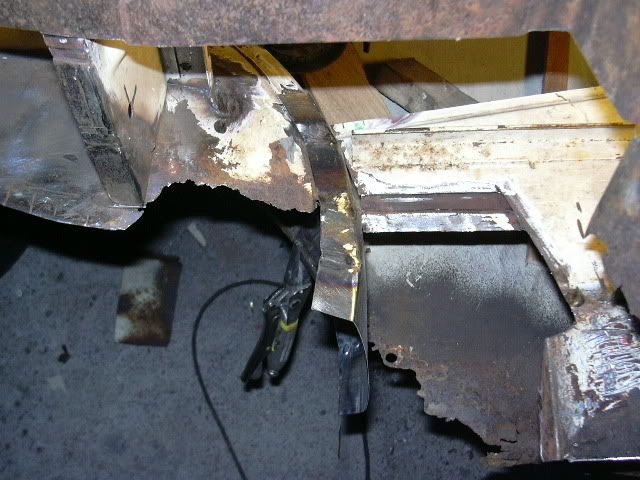
Nearly there.
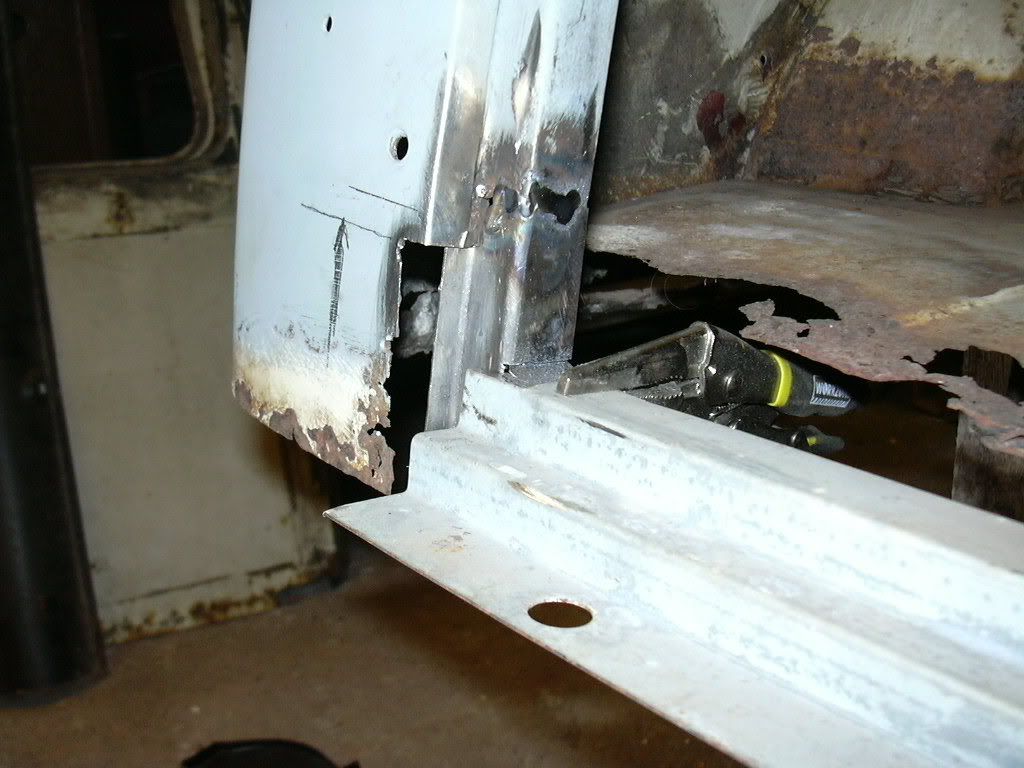
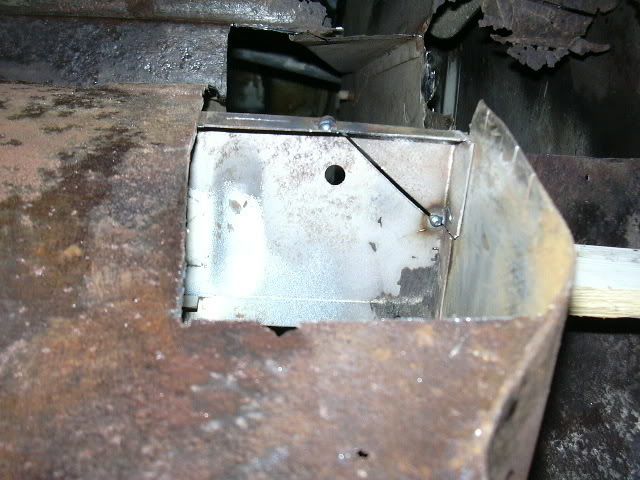
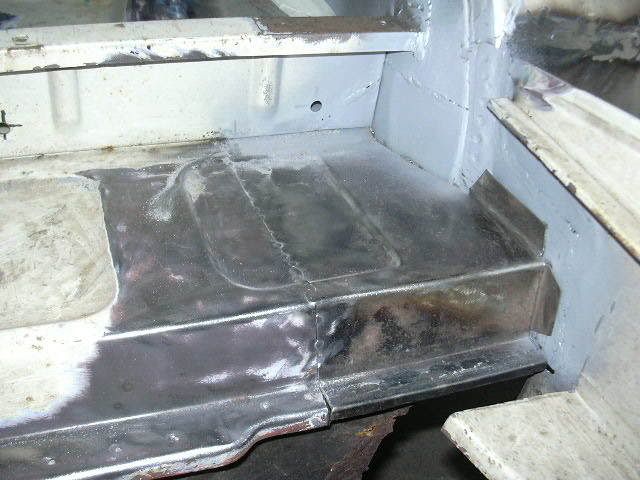
Seat base end repair.
Re: Mhuffy The Traveller.
Posted: Mon Jan 17, 2011 9:35 am
by dhenry
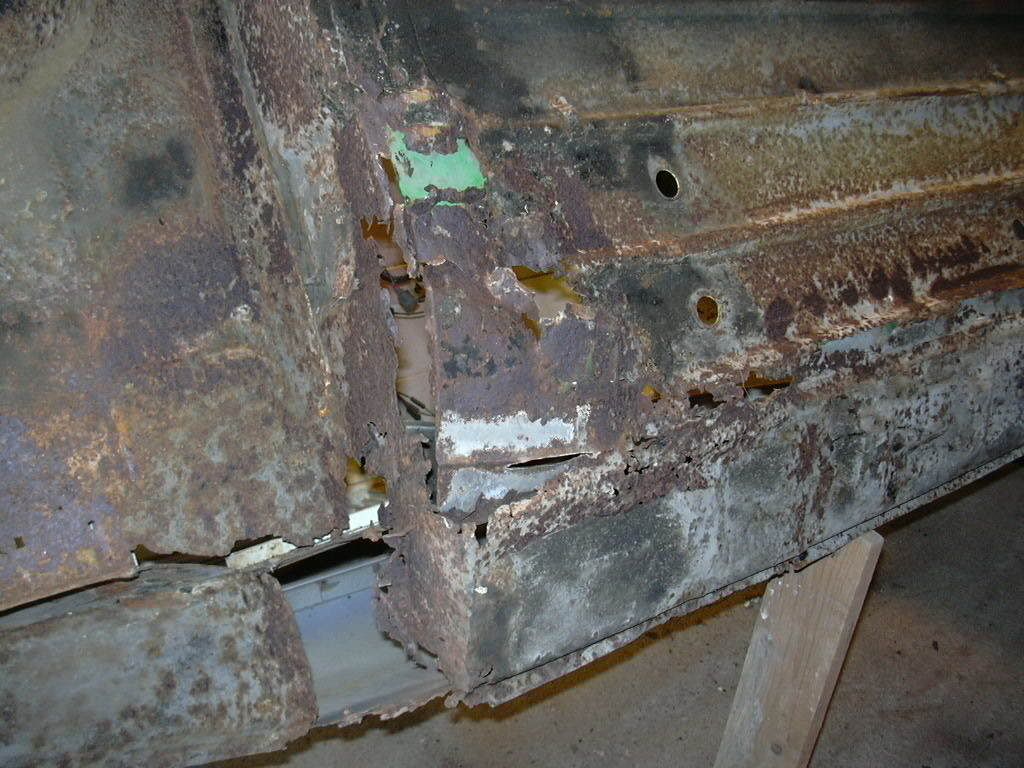
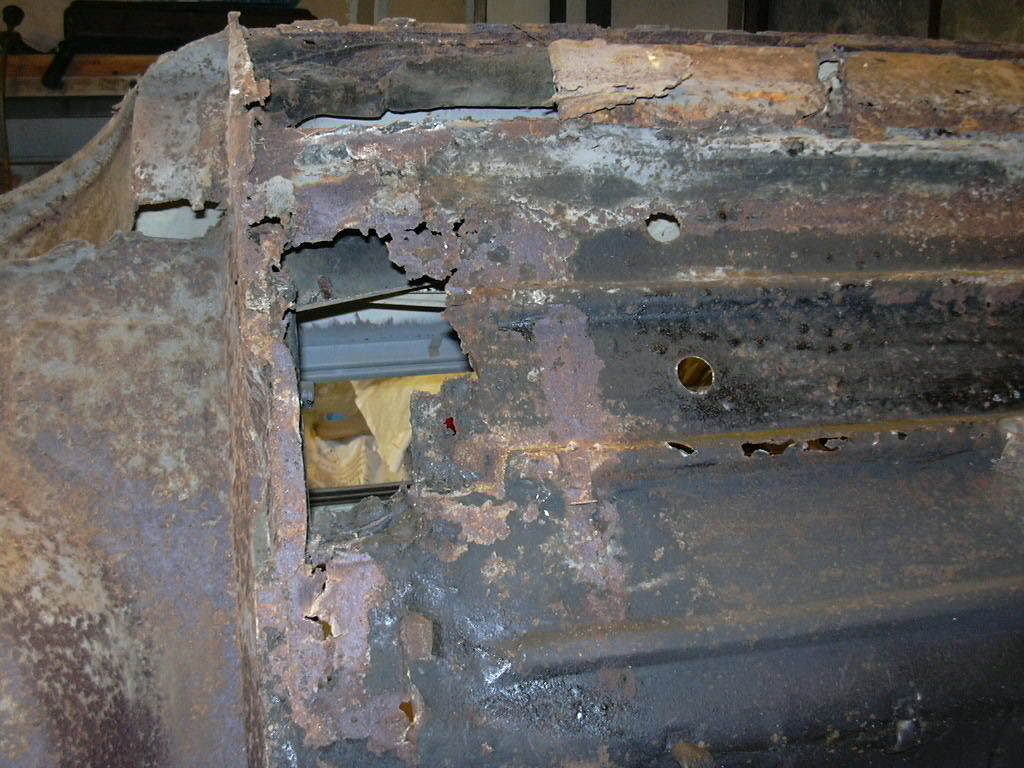
you are truly mad. this car barely still existed before you started. I think there is more car missing due to rust than there is car left. I much braver man than I. bravo, and really nice looking work. You seem to have a good eye for detail.
Re: Mhuffy The Traveller.
Posted: Thu Jan 20, 2011 10:09 pm
by InimiaD
Re: Mhuffy The Traveller.
Posted: Fri Jan 21, 2011 7:36 am
by vulcanbb18
That is a truly amazing repair, in Oz that shell would have been stripped of anything useful and sent to the crushers!
Cheers
Jacob
Re: Mhuffy The Traveller.
Posted: Fri Jan 21, 2011 8:40 am
by chris-pilling
nice bit of fabrication there!
Re: Mhuffy The Traveller.
Posted: Fri Jan 21, 2011 10:43 am
by Tim
vulcanbb18 wrote:That is a truly amazing repair, in Oz that shell would have been stripped of anything useful and sent to the crushers!
Maybe, but it is a Traveller so is much rarer than a sedan.
Tim
Re: Mhuffy The Traveller.
Posted: Fri Jan 21, 2011 11:51 am
by 36inter
Can I ask what you used to form those sections of wheel arch or were they bought in replacements, nice work though. We have a lot of rebuilds going on at the moment on this site and as I cannot start mine in earnest yet it is all good information for future use, keep going men.
Pete
Re: Mhuffy The Traveller.
Posted: Mon Jan 24, 2011 9:12 pm
by InimiaD
Thanks for the kind comments guys.
@ Pete, I formed the arch repairs from a flat sheet of steel. A piece of thick card (template) was cut to the same curve / contour of the piece of arch to be replaced.
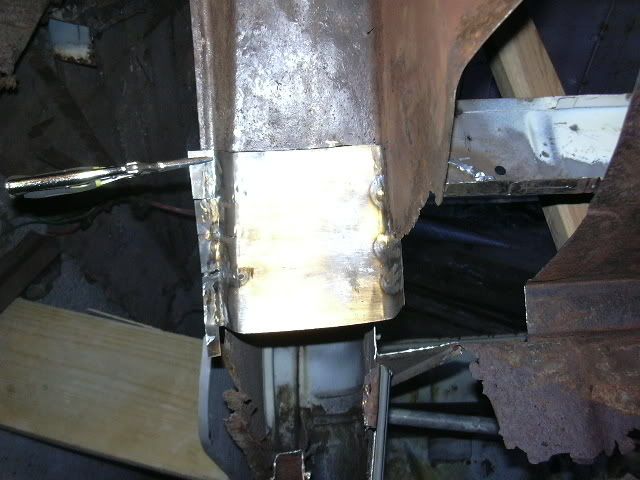
The edges were a little bit harder to form but i got round that problem by cutting Vs on the outer edge then bent the arch to the shape I wanted and migged the Vs up.
With a bit more patience the repair could have been a lot neater, but it is certainly passable. (for me)
If the arch was any more rotten then I would have replaced the whole thing with a new one.