Page 5 of 9
Re: My Austin Countryman Project
Posted: Mon Oct 17, 2016 10:28 pm
by swindrum
This weekend also included the left side sill panel. I had been trying to find a 4 flute estate sill, but was having zero luck (after many months...). I had a 4 flute saloon sill, and did some measuring. Turns out the flutes are in the same place, but the Estate sill is longer, a bit of bending and welding later, I had a correct length sill.
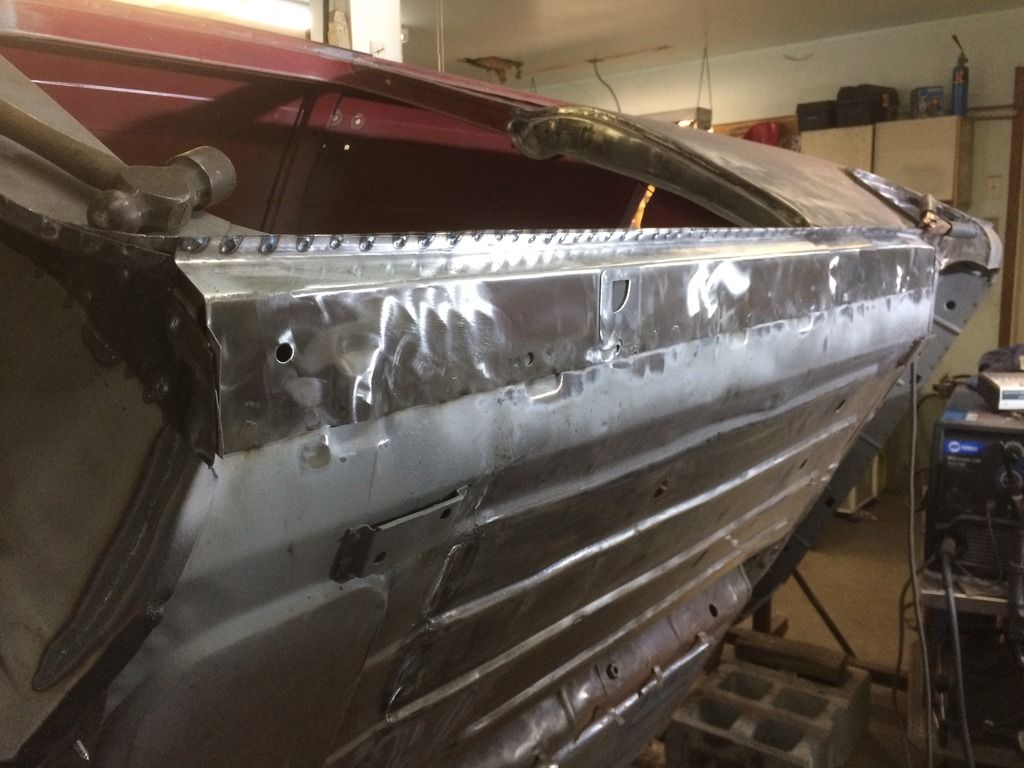
I was hoping to have all of the welding finished this weekend, I had a few extra days off and was able to dedicate some real time out in the shop. There is still a bit of welding left to do, but all of the heavy lifting and panel work is (Hopefully!) done.
The plan is to get some primer and stonechip on the bottom this week, and maybe a bit of primer on the inside. Then the bodywork can start in earnest!
Fingers crossed.
Re: My Austin Countryman Project
Posted: Tue Oct 18, 2016 5:50 am
by Craig
Sean, nice to see your back at it !
Looking good !!!!

Craig
Re: My Austin Countryman Project
Posted: Tue Oct 18, 2016 5:22 pm
by swindrum
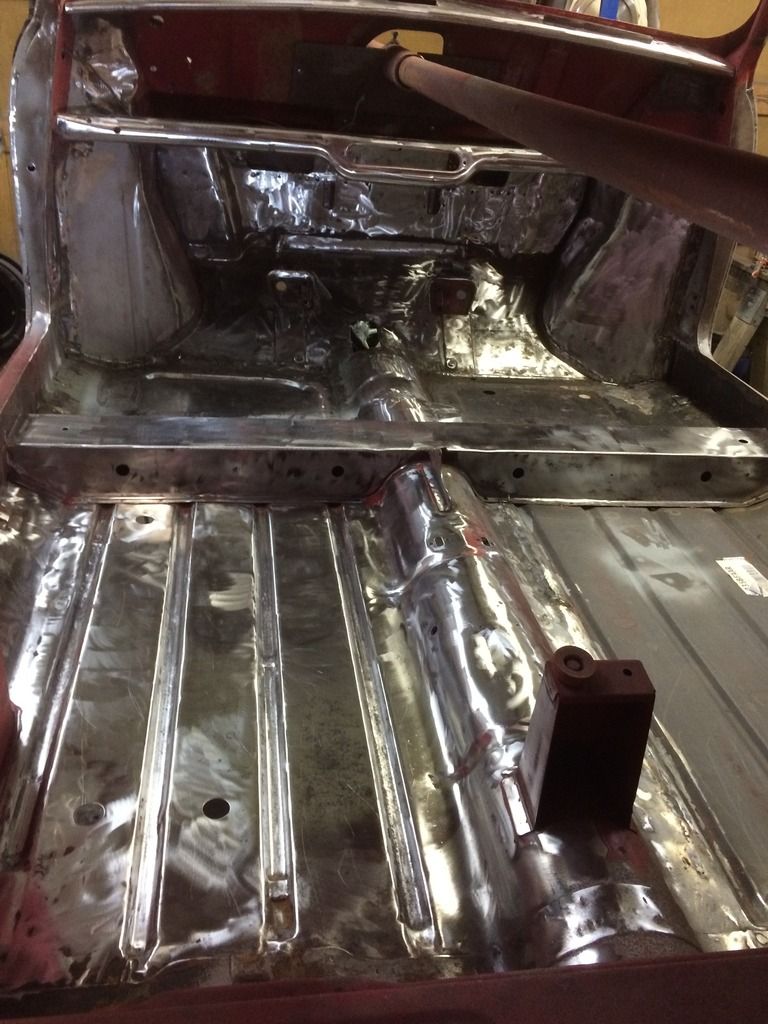
Spent a couple hours making a huge mess in the shop, took all of the scotch-brite pads I had and used them up. Cleaned all of the old seam sealer with a chisel, then some lacquer thinners, then hit the bulkhead/floors with the scotch-brite. Also cleaned up the upper and lower dash rails
Re: My Austin Countryman Project
Posted: Thu Oct 27, 2016 8:10 pm
by Hunter2
Good to see that the right rear corner bit was helpful!
The left corner bit went into my Countryman build.
Still have a good smooth roof & one barn door left from the rotted Traveller that I took apart.
Re: My Austin Countryman Project
Posted: Mon Oct 31, 2016 6:40 pm
by swindrum
Been at it fairly steadily for the past while, mostly cleaning and removing the last remnants of paint. If I ever mention that I am going to re-do a mini without media blasting it first, I invite all forum members to my house to punch me in the face. After gallons of paint stripper, countless sanding disks and scotchbrite pads, I have spent far more time and likely as much money getting the paint and rust off of this car... What a dope.
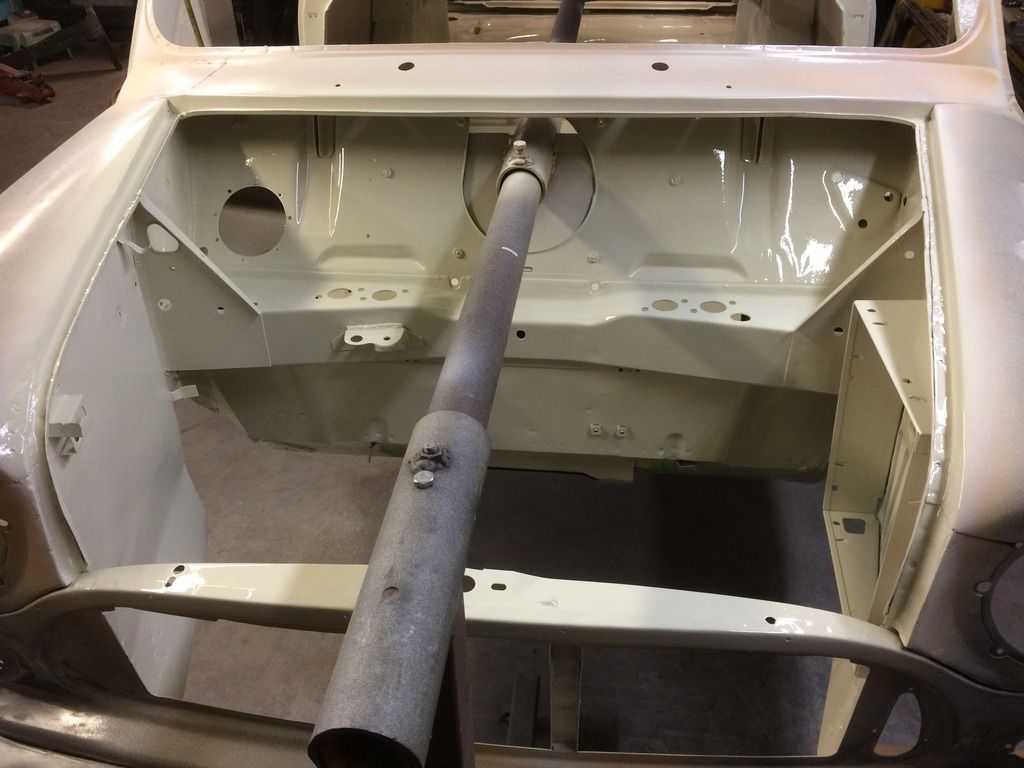
Anyhow, I did manage to get some DTM (Direct To Metal) primer sprayed on the underside of the car.
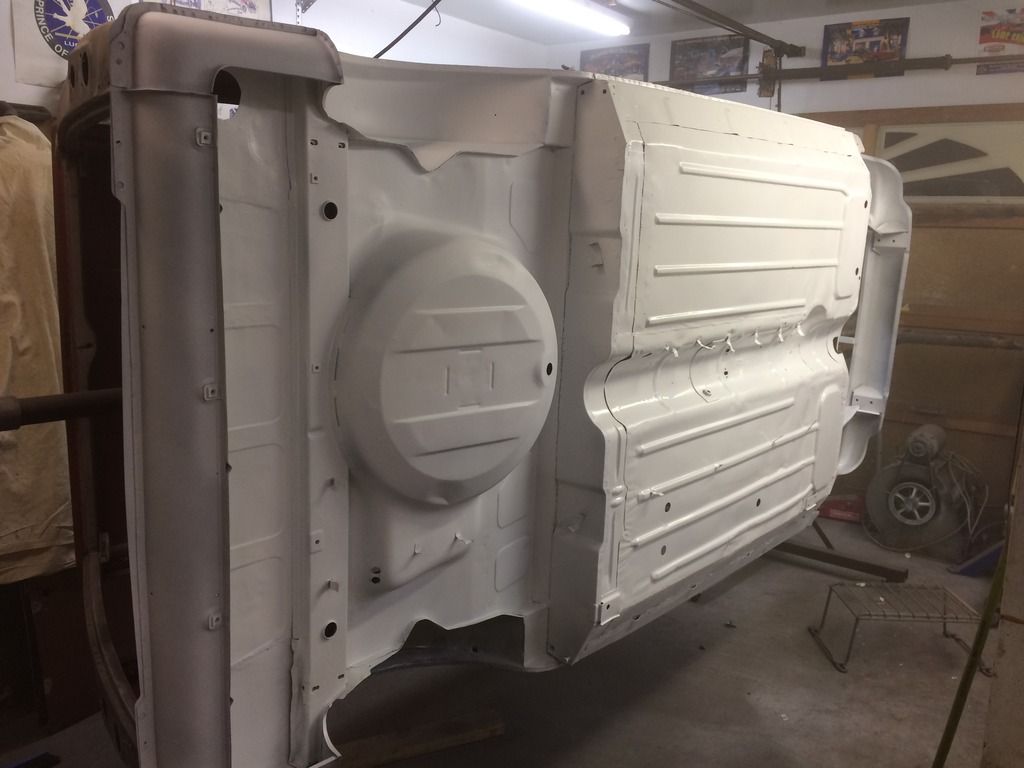
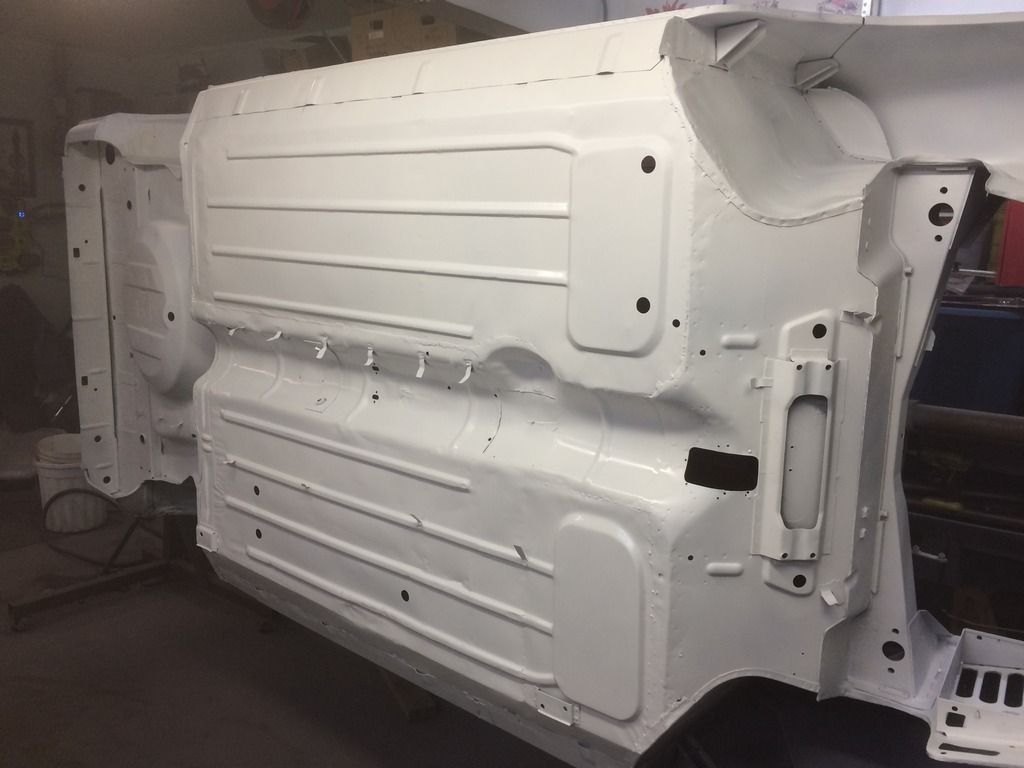
I also had to make an engine steady for the firewall, the old one was long gone.
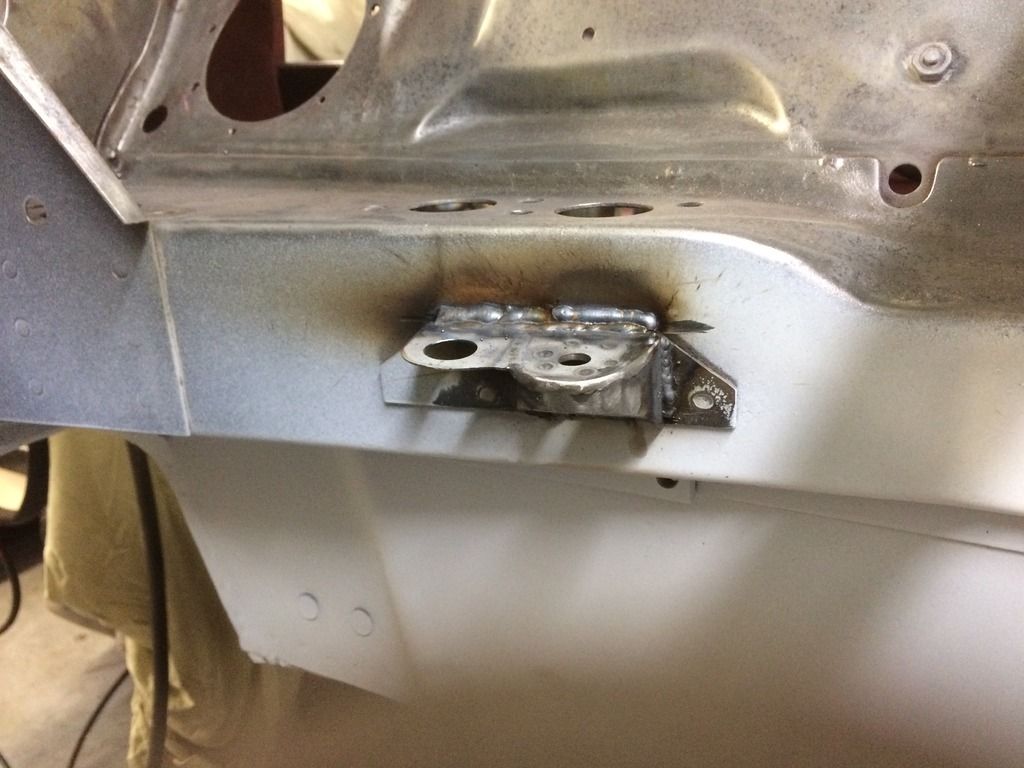
The past weekend was a bust, family birthdays took up all of my time, so hopefully I will get out there for a few evenings this week.
Next up, seam sealer, them some high build primer, then stone chip, then colour!
Re: My Austin Countryman Project
Posted: Mon Oct 31, 2016 10:29 pm
by java gt
That is a sight for sore eyes,a rust free floor pan photo.I look forward to more updates.
Re: My Austin Countryman Project
Posted: Tue Nov 01, 2016 12:04 am
by swindrum
java gt wrote:That is a sight for sore eyes,a rust free floor pan photo.I look forward to more updates.
It was a tough call, the floor was only rusty in spots, but the sills were needing replacement. I debated whether to repair what I had, or replace the whole shebang. I think a complete floorpan is the best way to go next time... Live and learn, right?
Re: My Austin Countryman Project
Posted: Fri Nov 11, 2016 12:15 am
by swindrum
Been off this week on holidays and have made some progress.
Seam sealed and Stonechipped the bottom
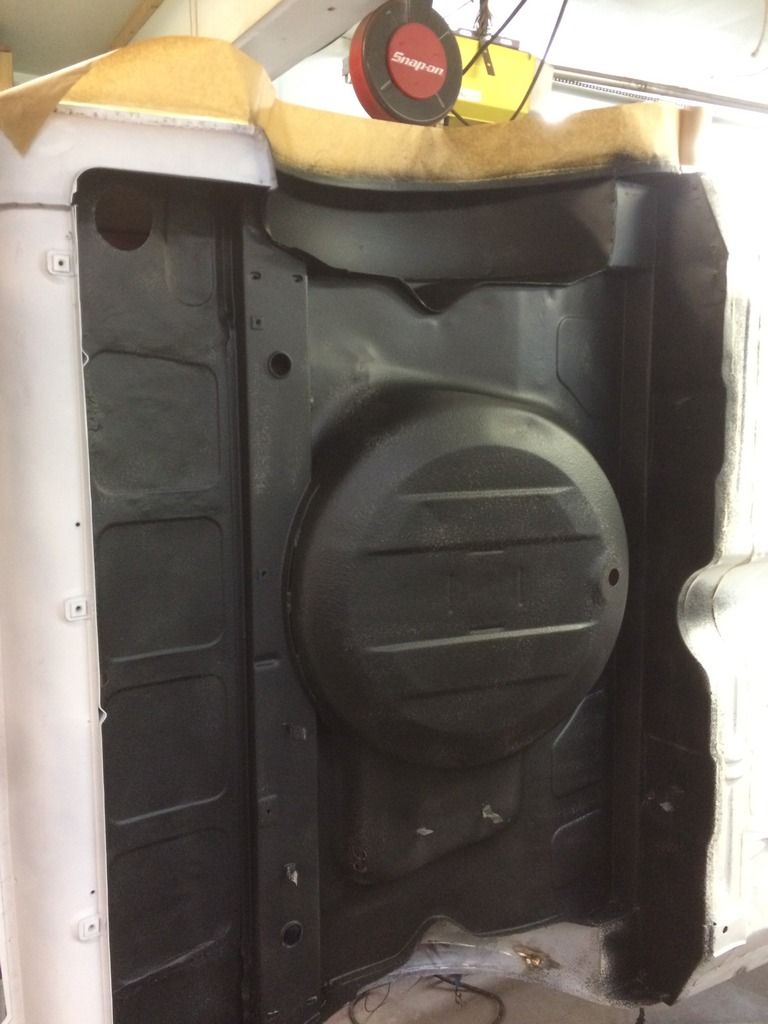
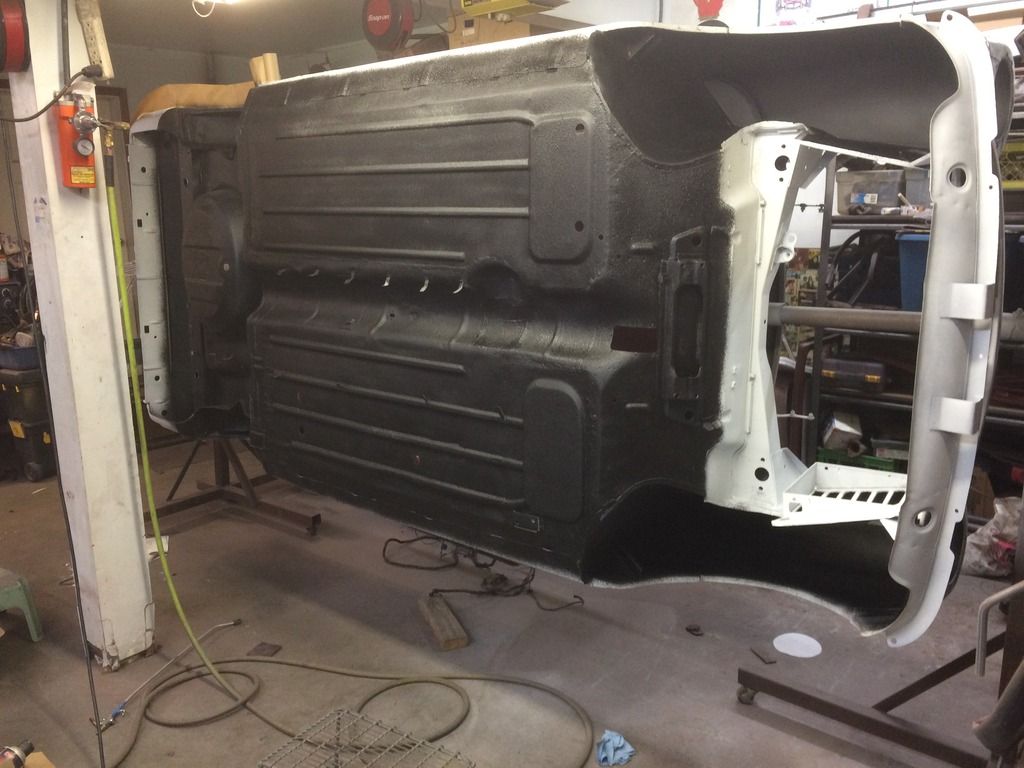
When that was all dry, gave it 2 coats of industrial polyurethane in Olde English White, this stuff is allegedly tough as nails.
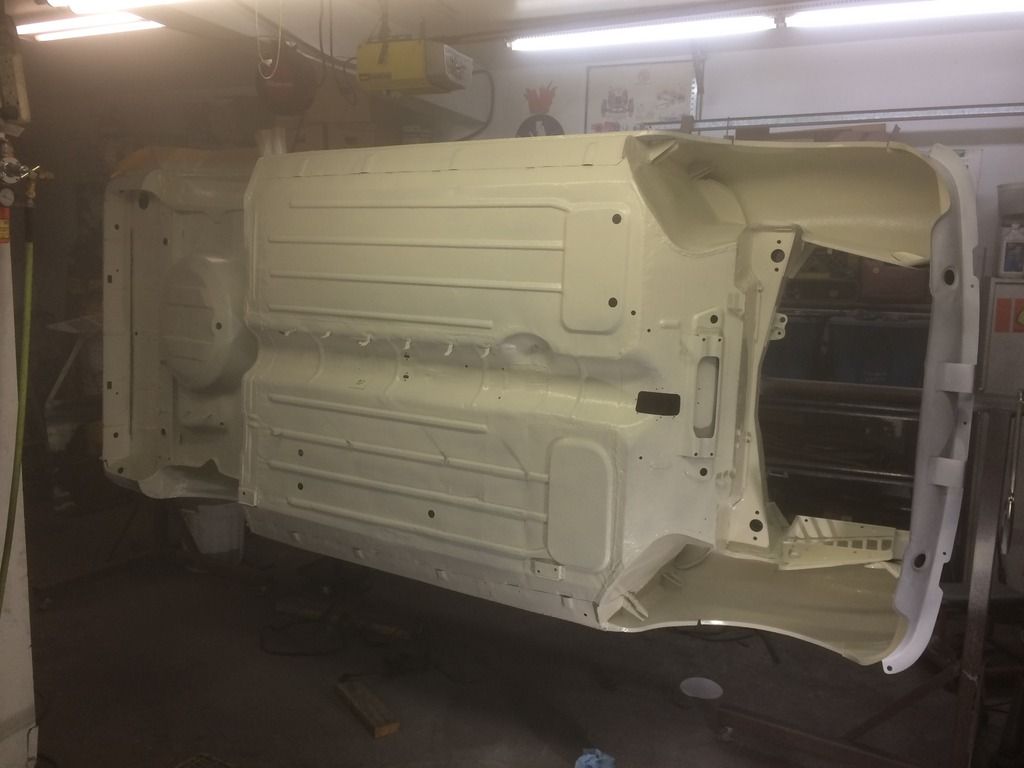
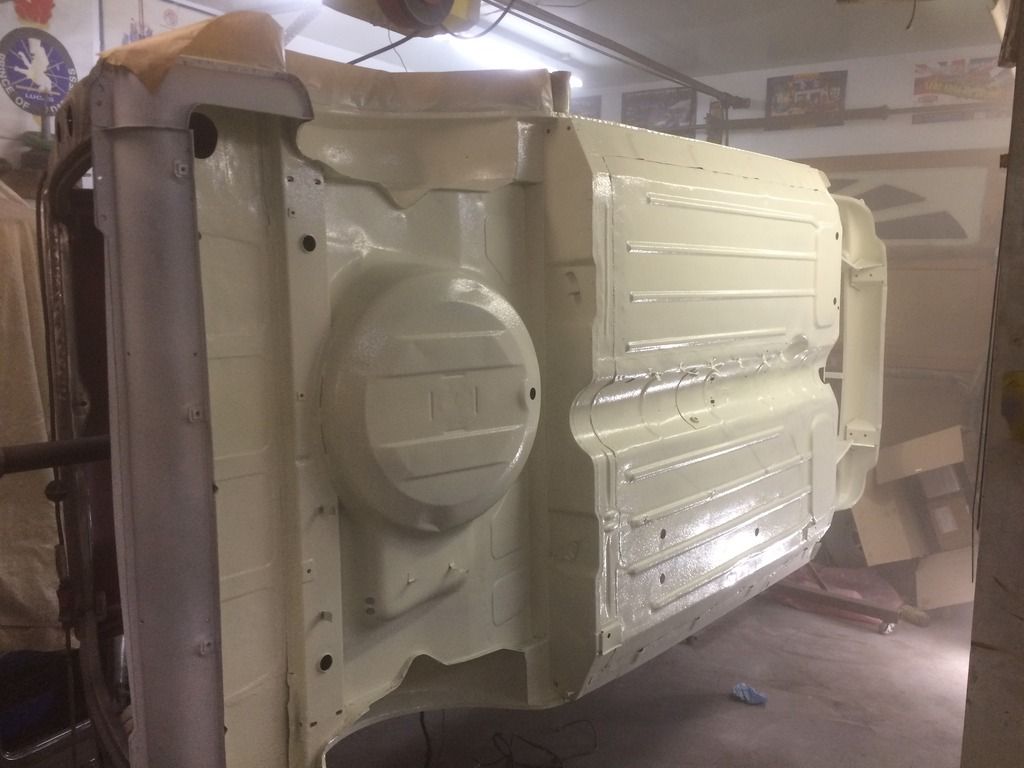
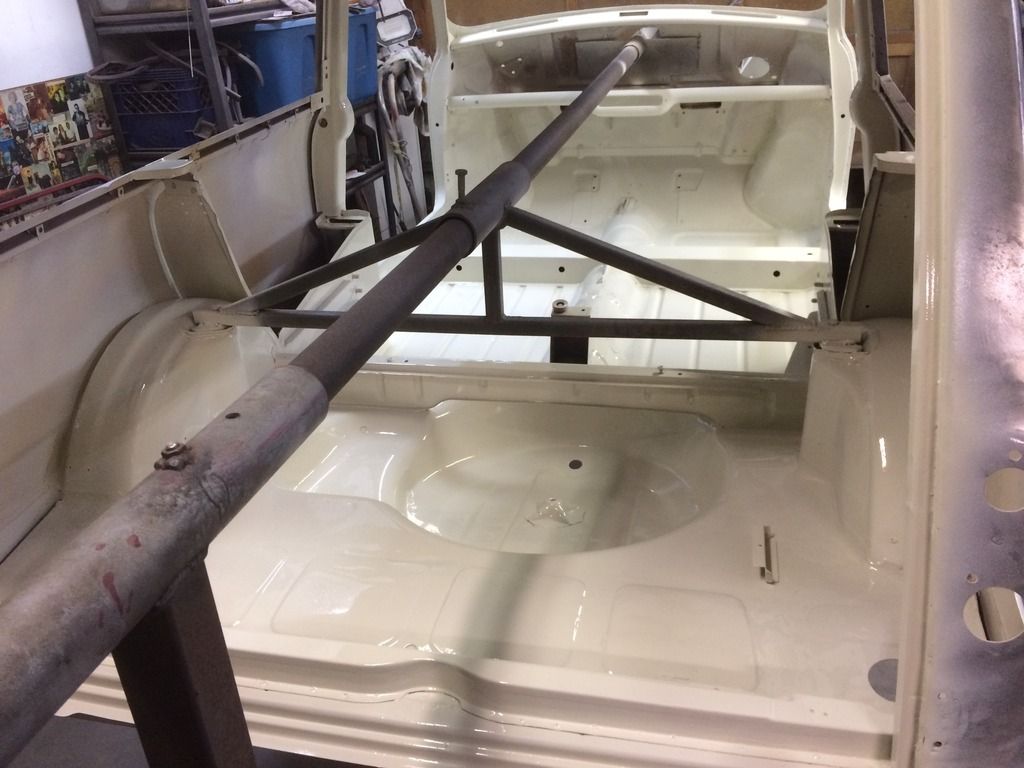
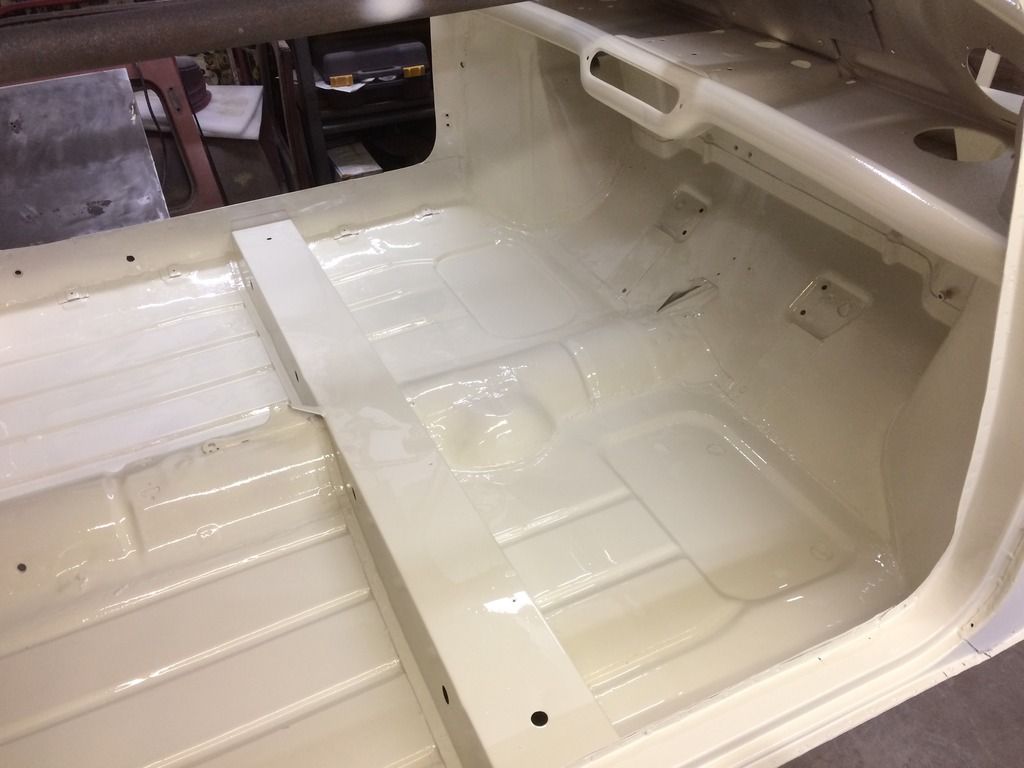
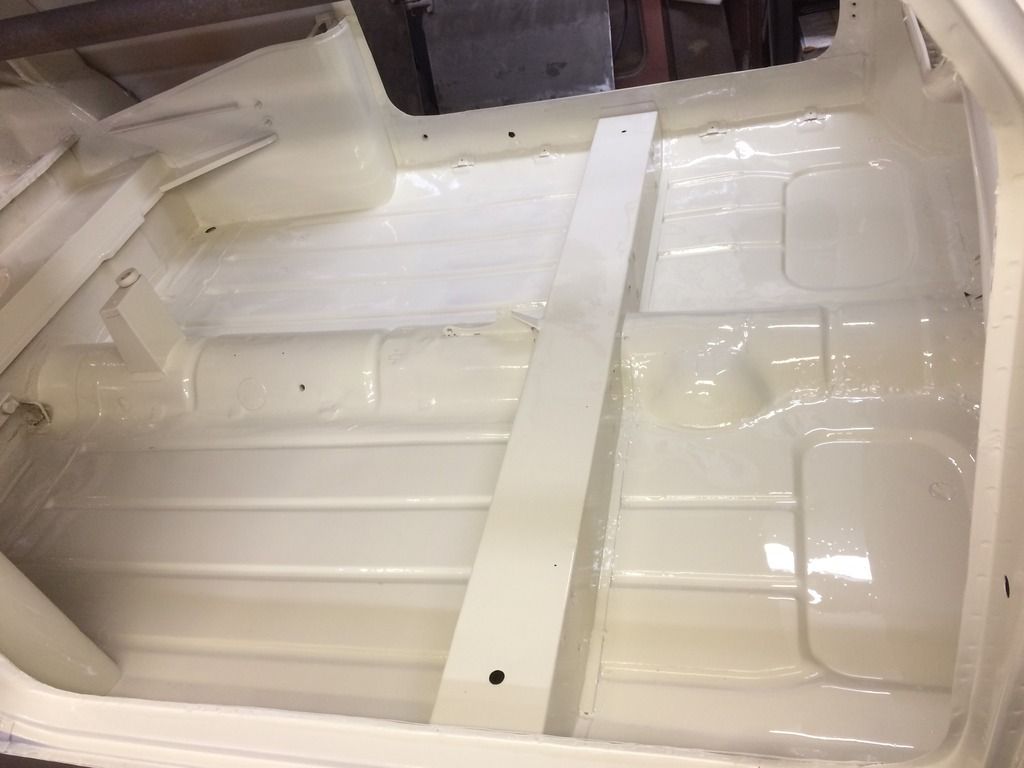
Rolled her back upright and gave the inside the same treatment with the Direct to Metal primer
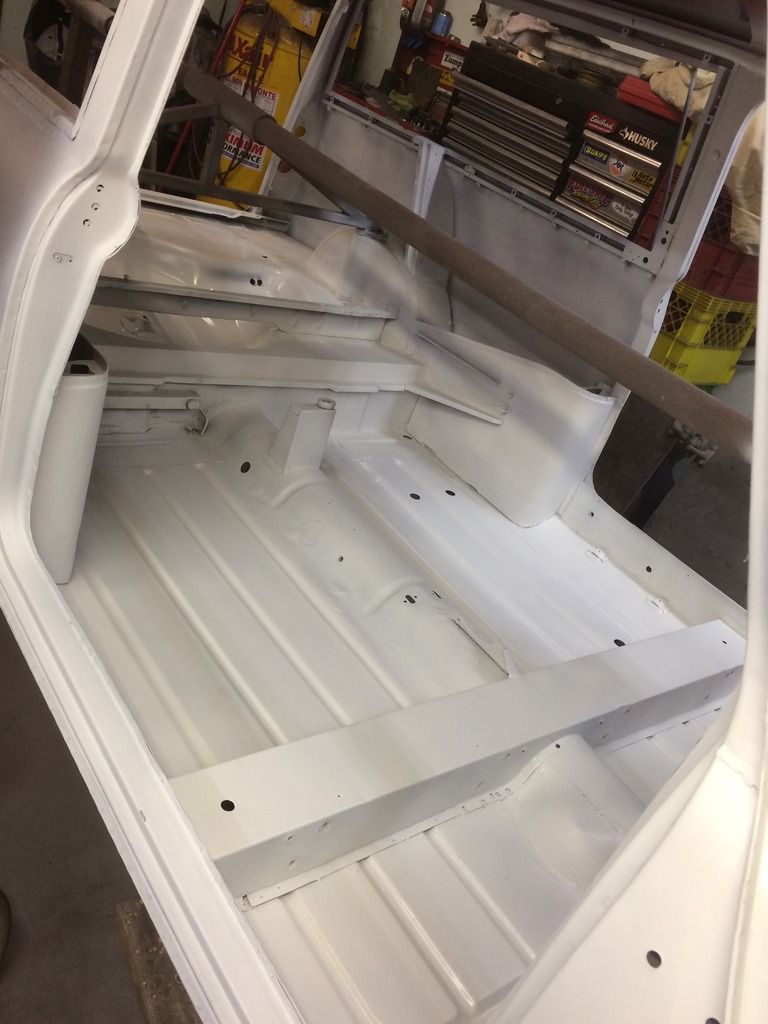
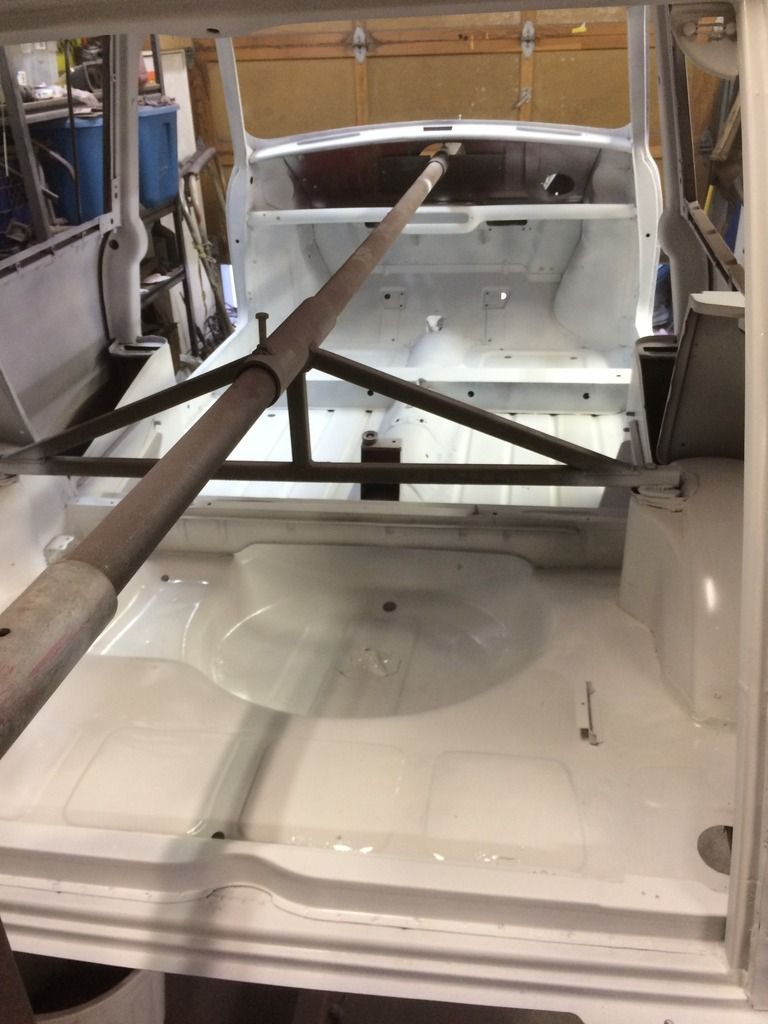
In anticipation of getting her off of the rotisserie and onto her subframes, I bent up some brake and fuel line. You don't want to get the subbies back in and realize you forgot them. I am waiting on the brake line fittings before I can get them fitted for good.
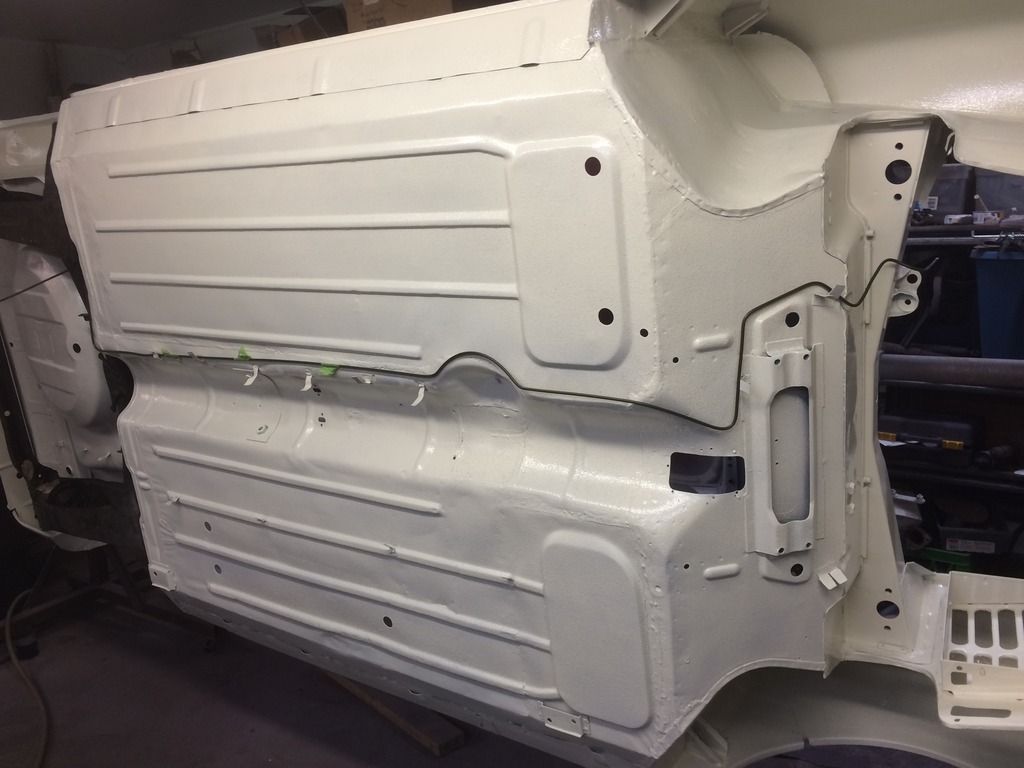
The inside is all seam sealed as well
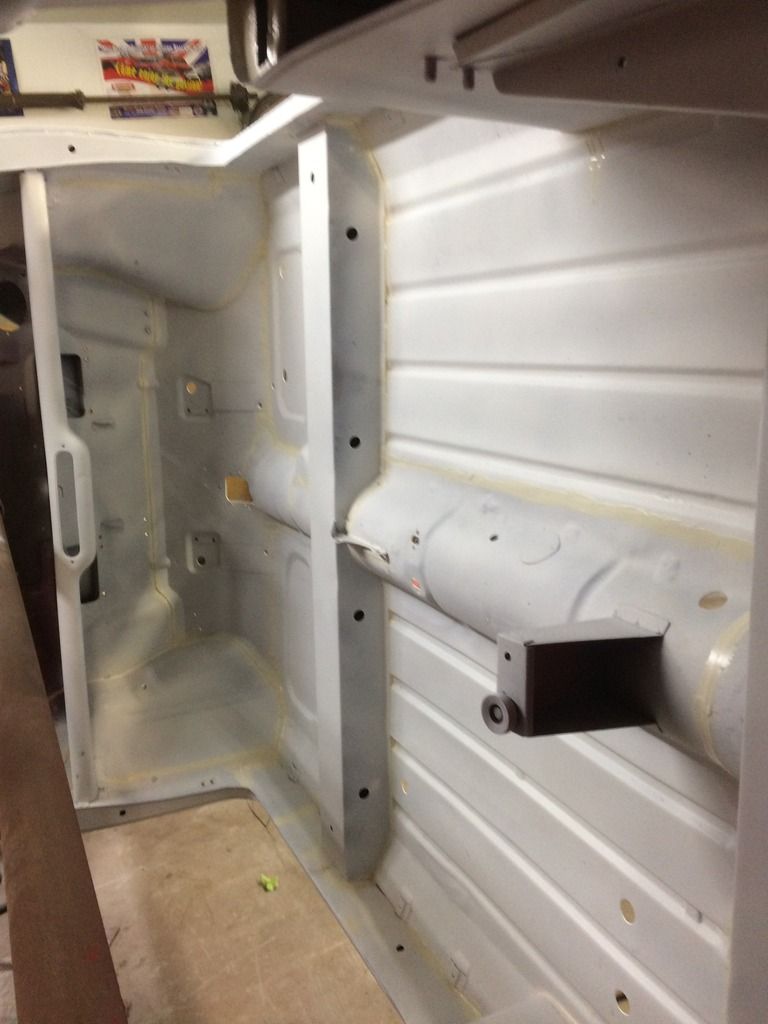
Then a couple good coats of high build primer
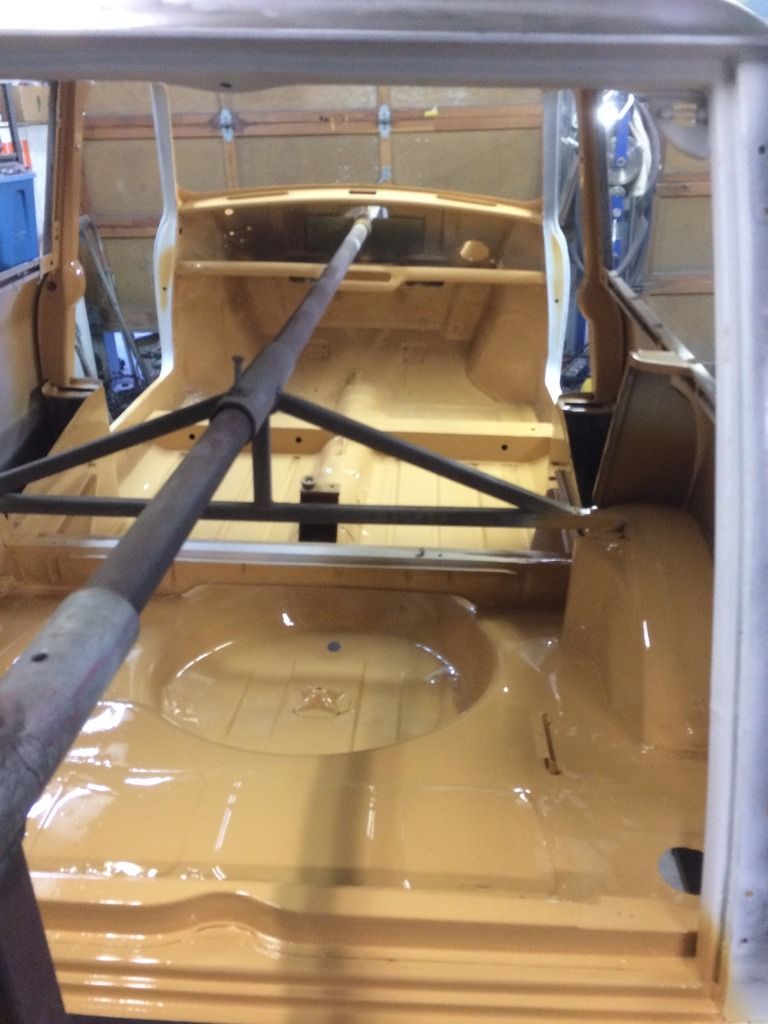
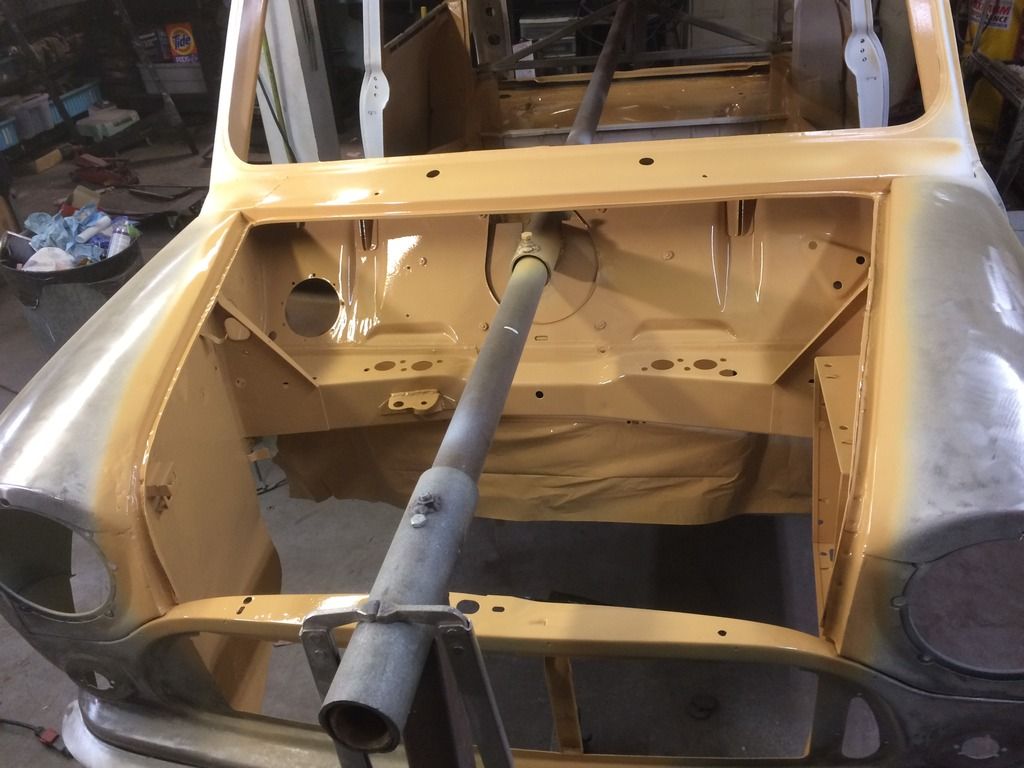
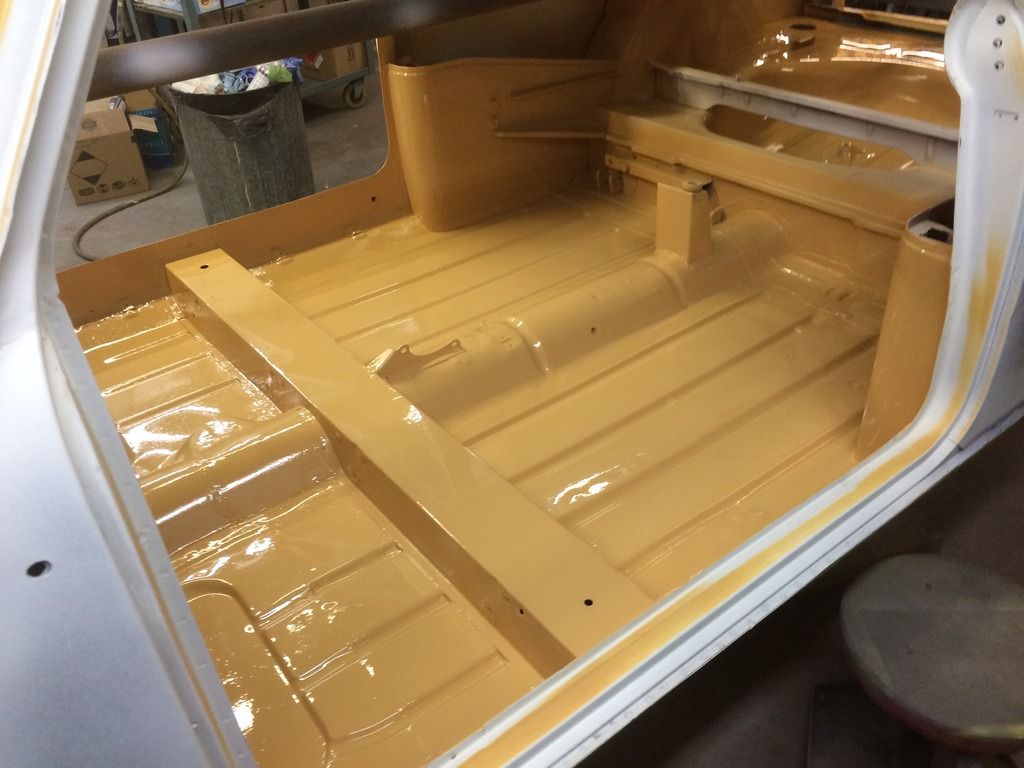
Tonight and tomorrow will be spent sanding the high build and adding a white sealer coat. Hopefully by the end of the weekend there will be paint on the inside!
Re: My Austin Countryman Project
Posted: Mon Nov 14, 2016 5:37 pm
by swindrum
Re: My Austin Countryman Project
Posted: Mon Nov 14, 2016 5:40 pm
by swindrum
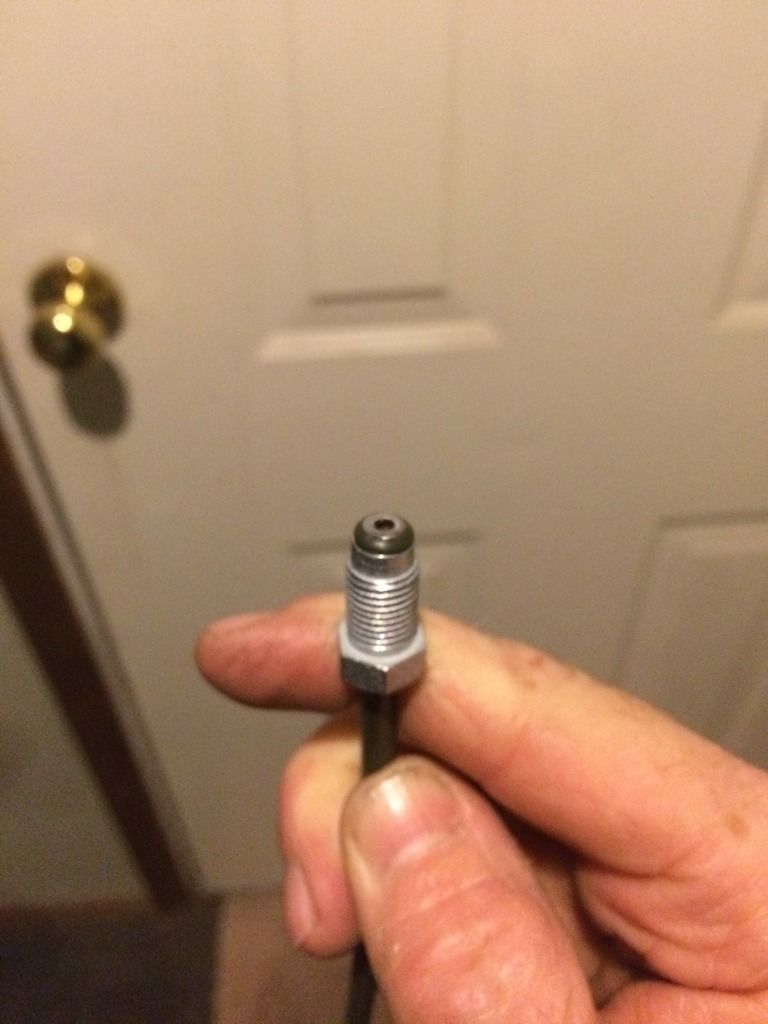
Popped round to a friends house while the paint was drying, he had mentioned that he had bought a brake line flaring tool and I should try it out.
Took about 3 minutes to make 2 perfect flares for the long line I had bent up for under the car. I should have grabbed a photo of the tool, it is an amazing bit of kit.
Re: My Austin Countryman Project
Posted: Tue Nov 15, 2016 2:48 am
by Craig
That looks pretty good Shawn !!!

What make is the tool ??
We have an Eastwood at work and the guys love it !!!
I have a snap on but love my hydraulic "mastercool " 71475
Your project is coming right along !!!
Craig
Re: My Austin Countryman Project
Posted: Tue Nov 15, 2016 4:31 pm
by swindrum
Craig, I didn't see the make, I just helped hold the line while Nigel performed all the flaring tasks... It is similar to the tool Fedhill sells.
Re: My Austin Countryman Project
Posted: Tue Nov 15, 2016 4:35 pm
by swindrum
Yesterday was a big day, I have taken the car off of the rotisserie!
Front subframe and steering rack are in, rear sub is installed and hopefully I will have the swingarms on today.
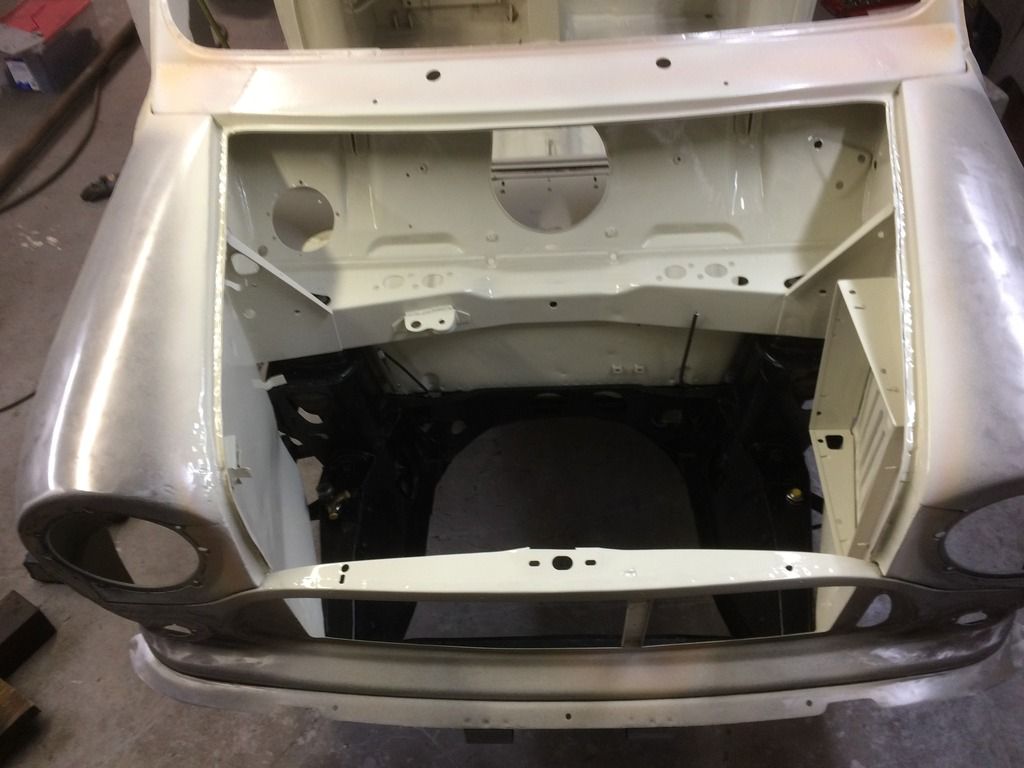
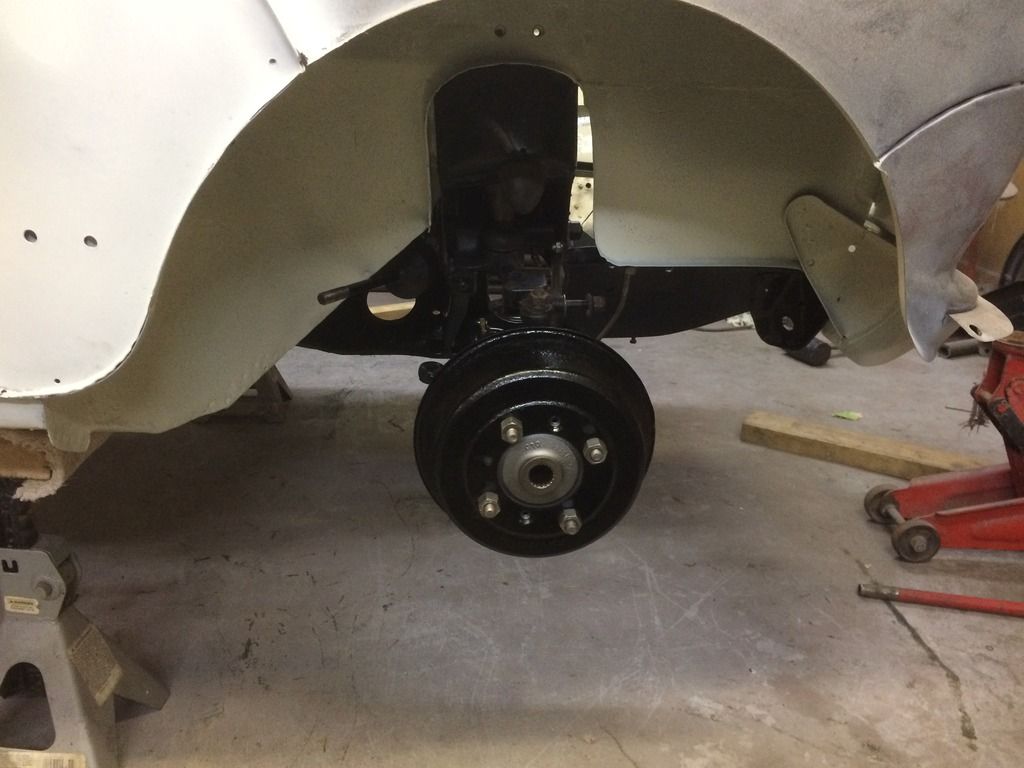
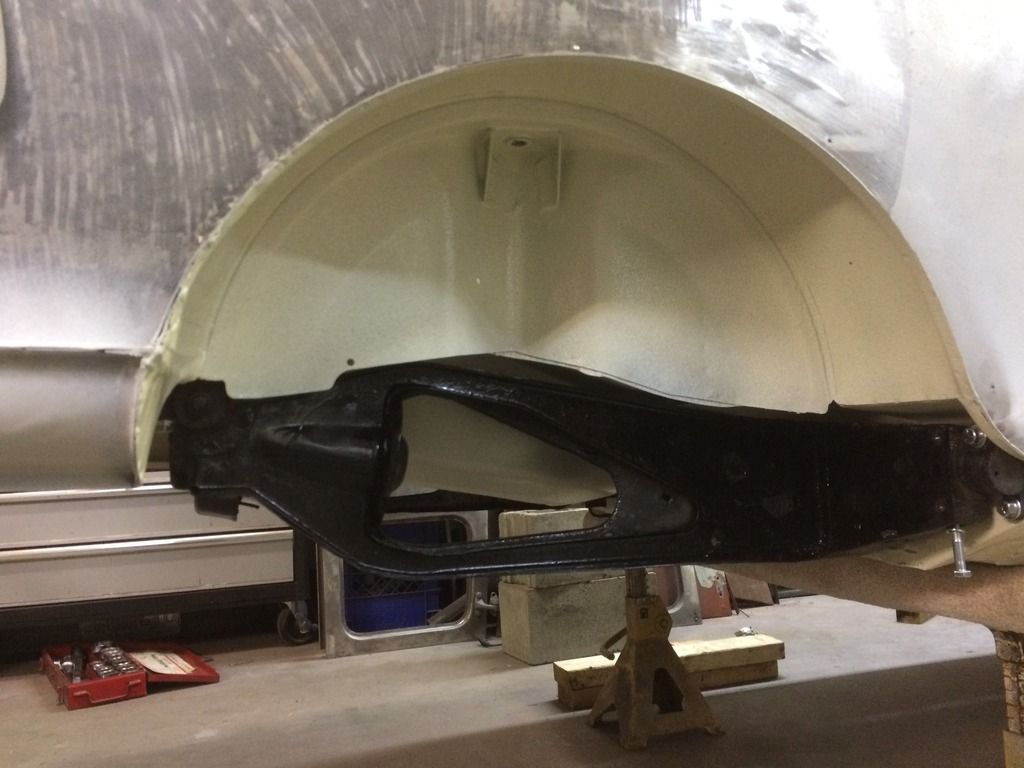
Then back to bodywork...
Re: My Austin Countryman Project
Posted: Tue Nov 15, 2016 4:43 pm
by swindrum
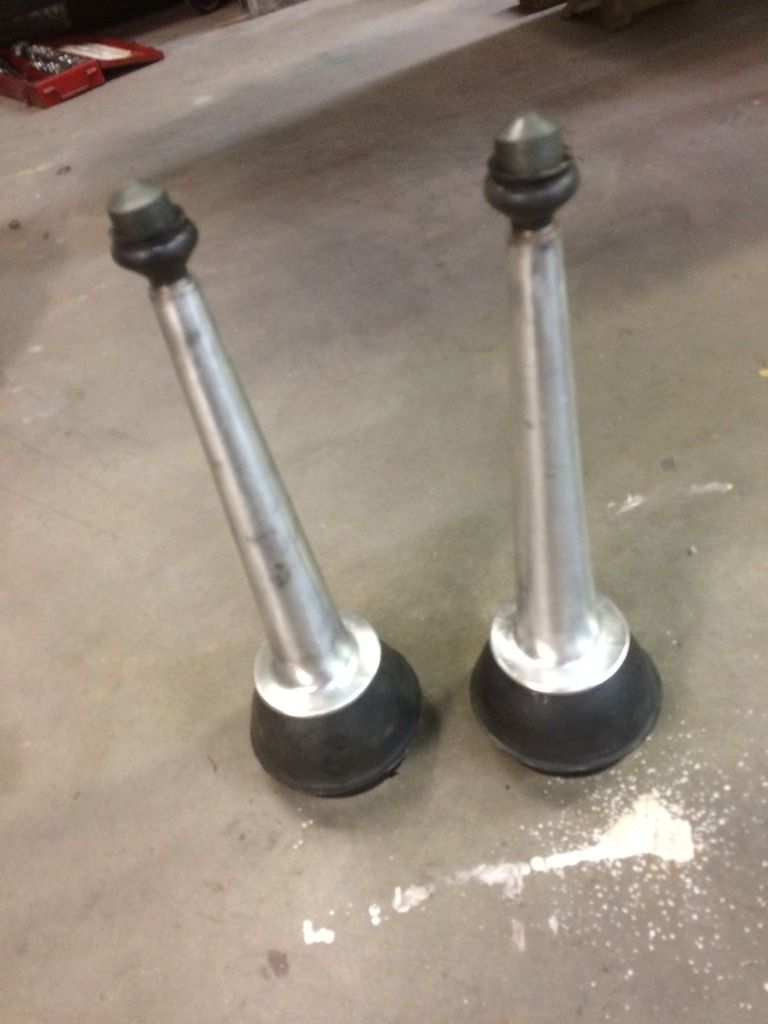
On a side note, you know how, when you are cruising along and everything is going well? I was preparing the rear subframe for installation and was using a tap to chase all of the treads for the swingarm brackets... Well, the tap snapped off flush.
I pondered this for a while and decided that the best way to tackle it would be to cut open the subframe, remove the tap from the other side (I was able to grab the tap from the other side and remove it) them weld it all back together. A couple hours I hadn't bargained for! In the photo above you can see the long bolt in the offending hole...
Re: My Austin Countryman Project
Posted: Tue Nov 15, 2016 4:47 pm
by InimiaD
Great progress. It's coming along nicely.
Re: My Austin Countryman Project
Posted: Tue Nov 15, 2016 4:48 pm
by mk1
Well, the tap snapped off flush.
I'm glad that I'm not the only one that the Gods hate

Re: My Austin Countryman Project
Posted: Tue Nov 15, 2016 5:53 pm
by swindrum
Re: My Austin Countryman Project
Posted: Wed Nov 16, 2016 4:15 pm
by swindrum
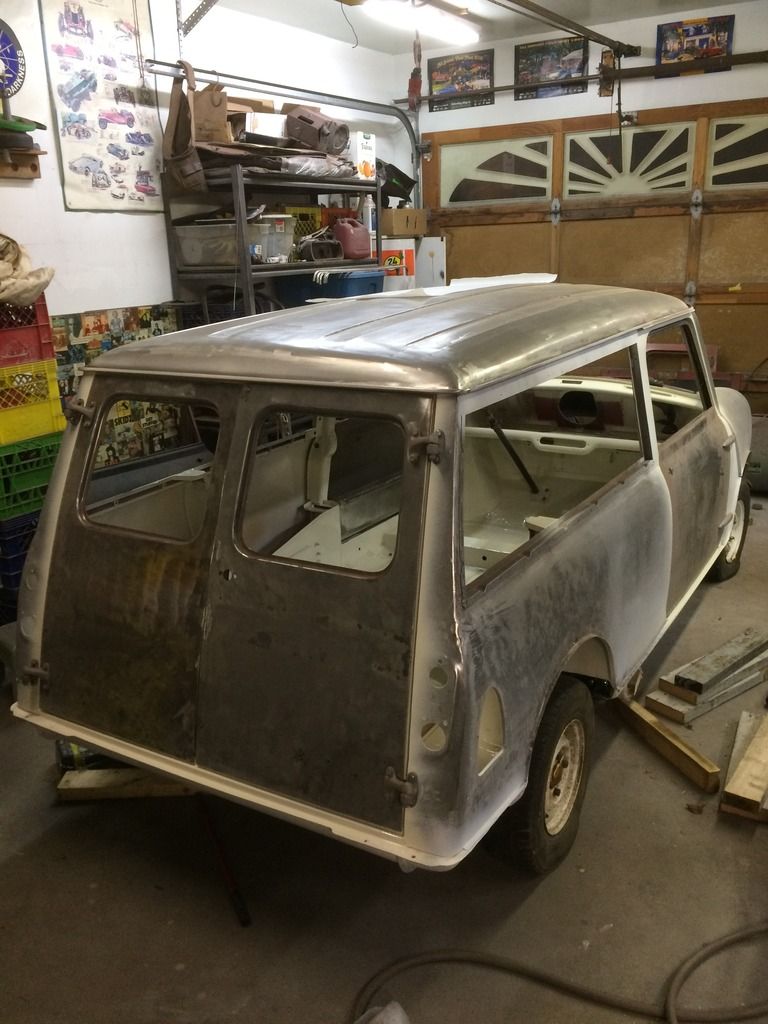
Spent last night getting the rear suspension sorted, and for the first time in over 18 months, she is back on 4 wheels!
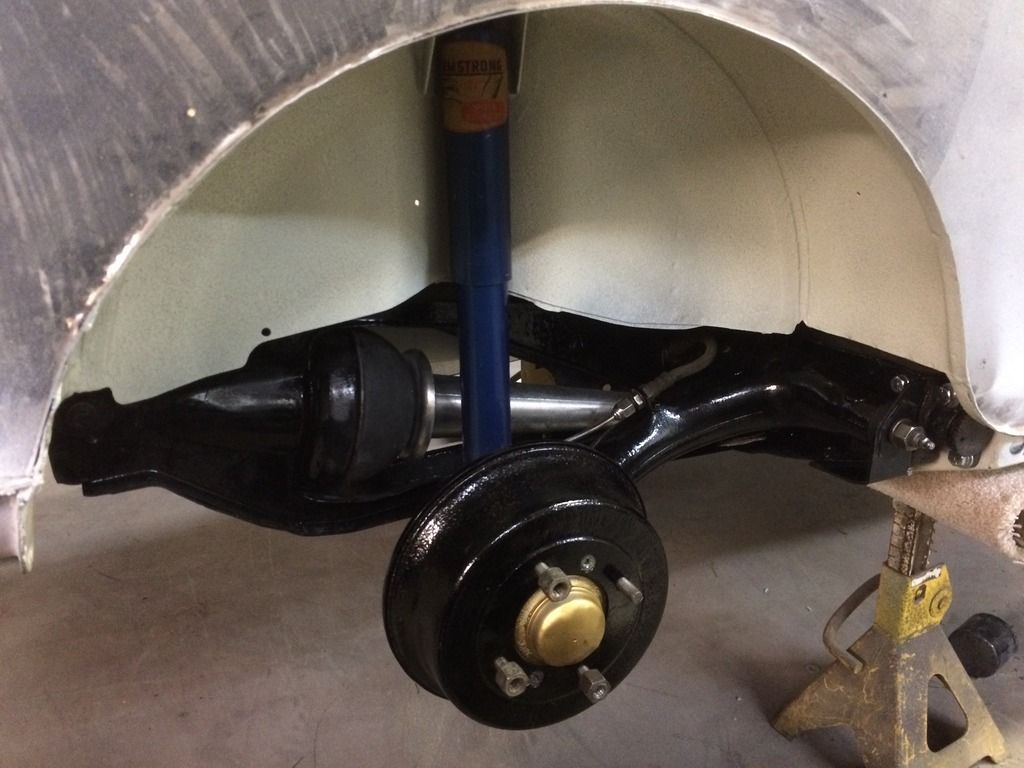
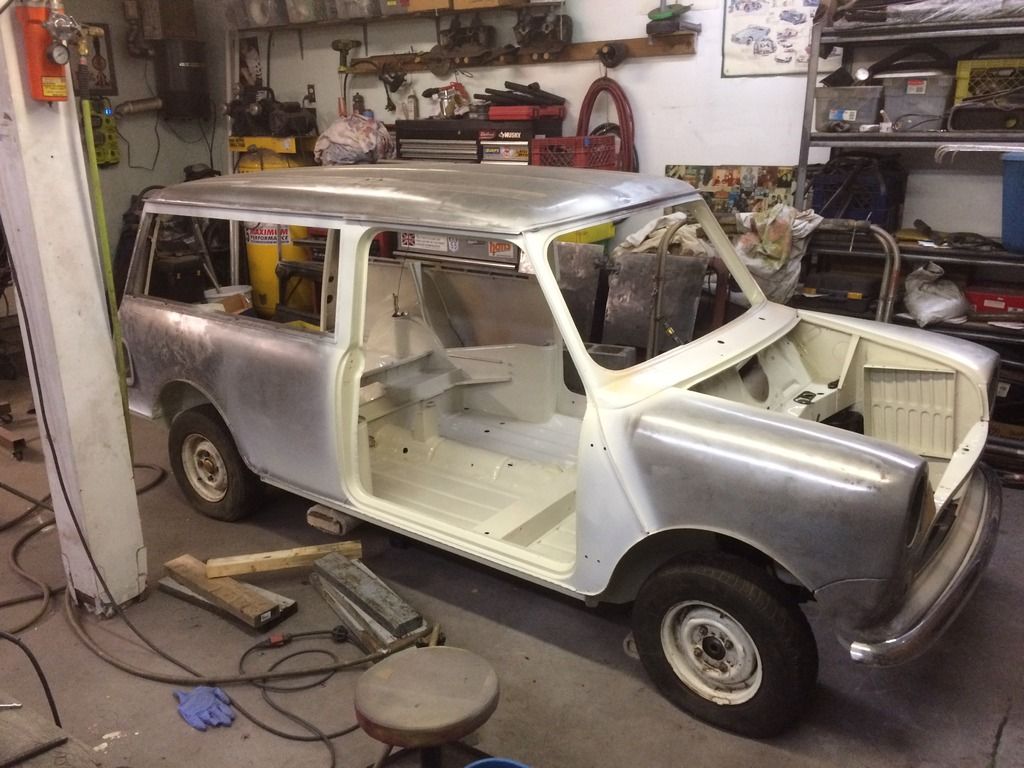
Stuck all of the doors back on while I was at it an this week will be spent finalizing the fit and gaps before bodywork begins in earnest.
I may want to find some tyres that hold air...
Re: My Austin Countryman Project
Posted: Thu Nov 17, 2016 4:26 pm
by swindrum
A couple "small" jobs last night, the job was small, but it involved taking the door on and off about a dozen times, so it took ages...
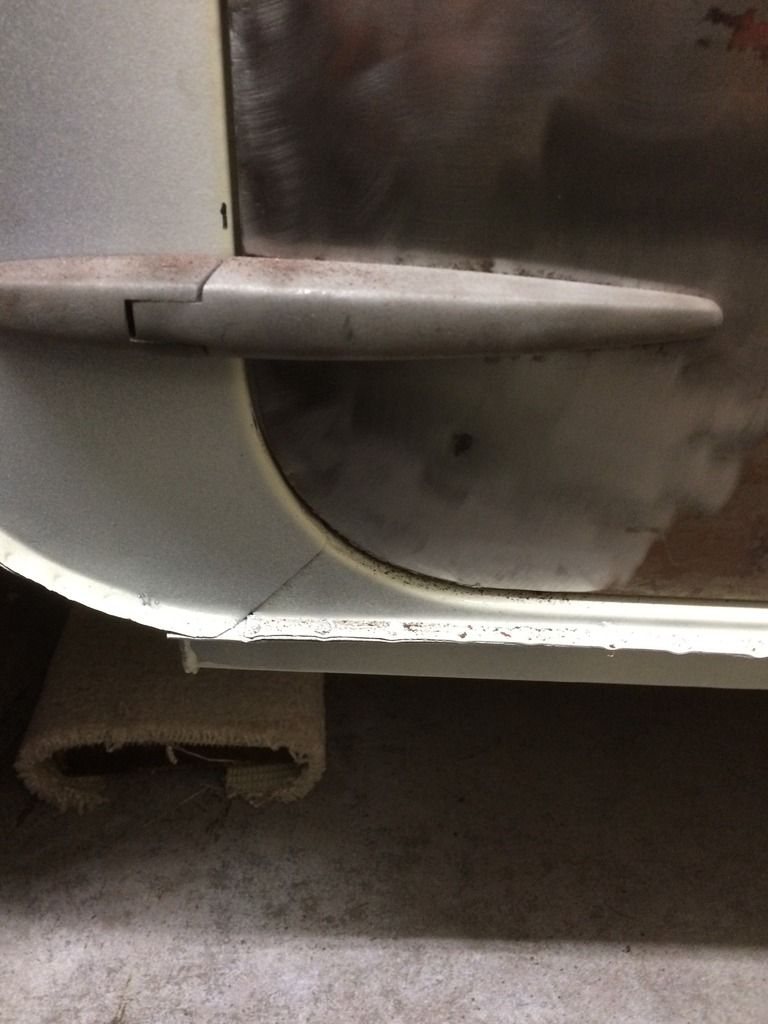
The door aligned pretty well, but the curve of the a post and the door didn't quite match up and the curve of the door at the B post was bad too.
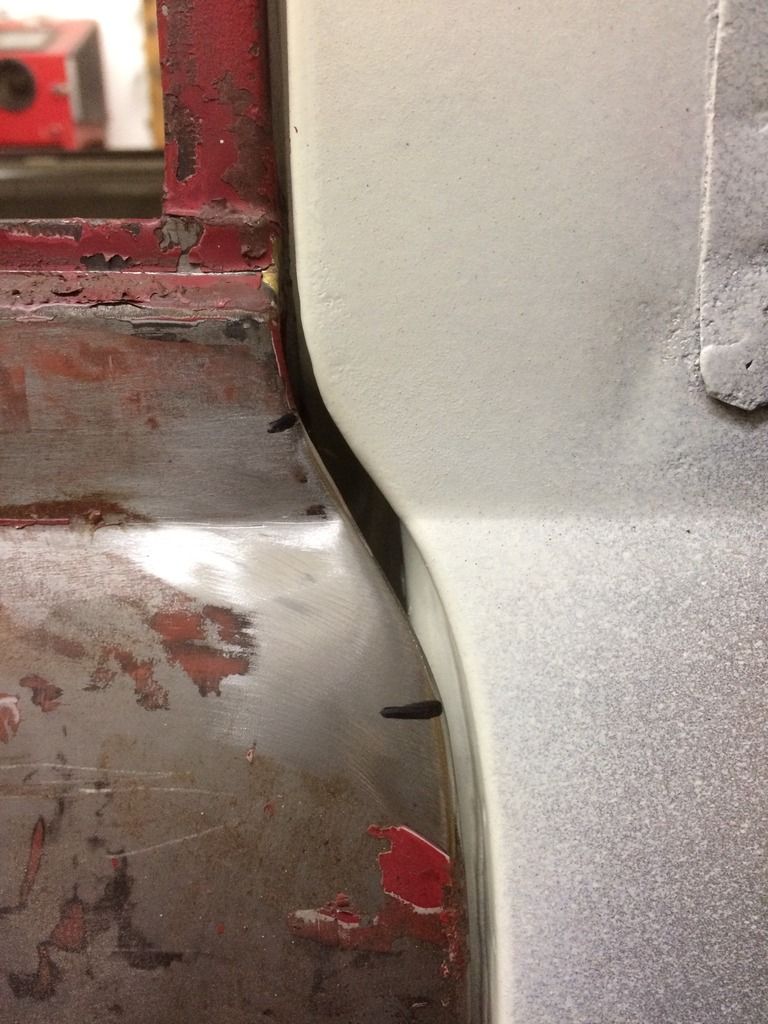
So some welding was in order to build up the area, I struggled a bit to get it right on the edge and even, but we mostly got there in the end
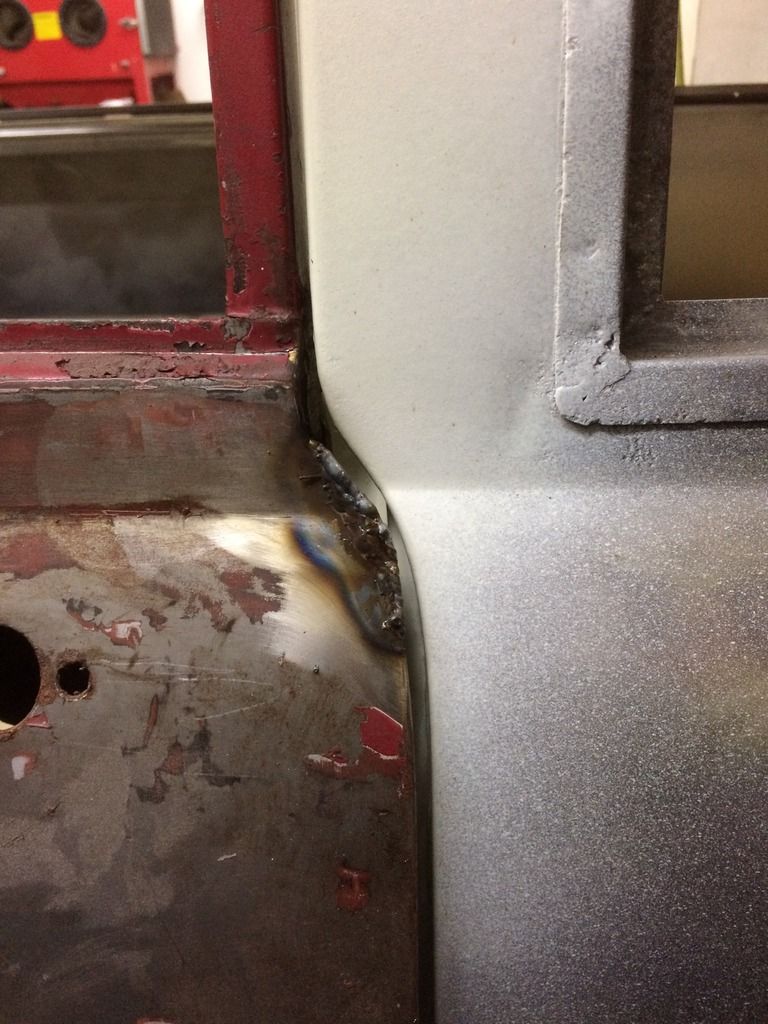
Happy with the result
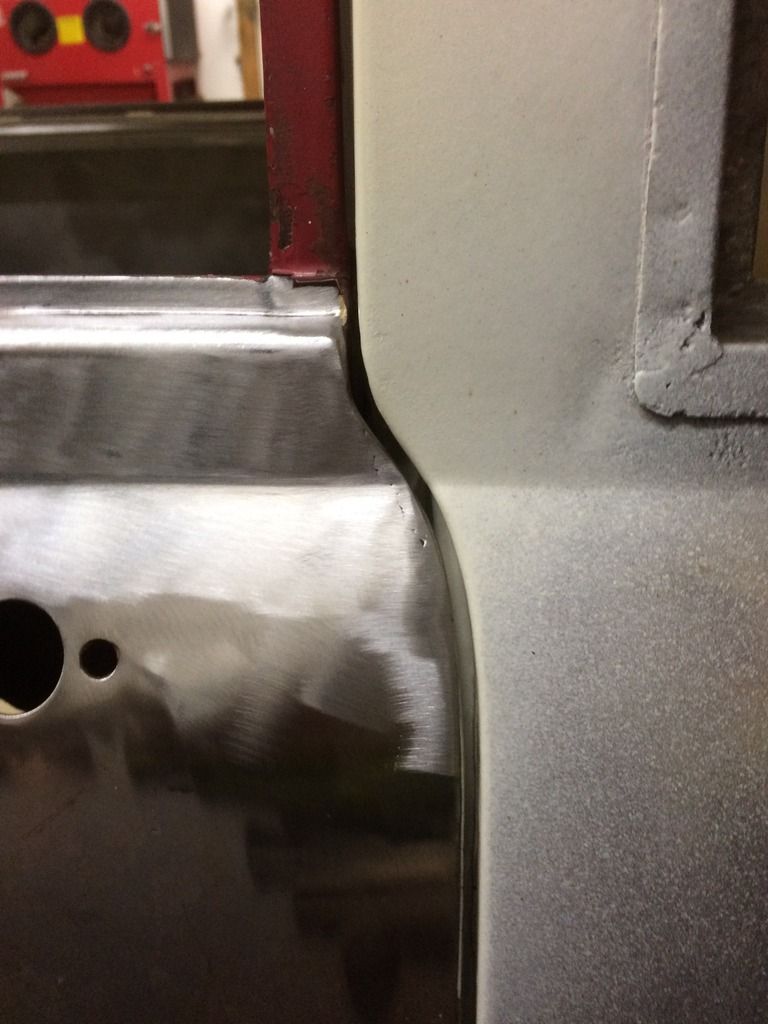
Lower front corner still need a smidgen of contouring
Re: My Austin Countryman Project
Posted: Mon Nov 21, 2016 9:23 pm
by swindrum
Not too much to report from the weekend, was out all day Sunday at a cyclocross race, so that took up all of the time. Then I was tired.
Saturday, had a friend pop over and help with door alignment. The rear doors just really need an extra pair of hands to get them fitting correctly. We spent an hour or so and the gaps are really nice all the way around, so I am happy with that. Drivers side (left) door was done (previous entry) and just needed hanging, while the passenger door was needing a bit of massaging.
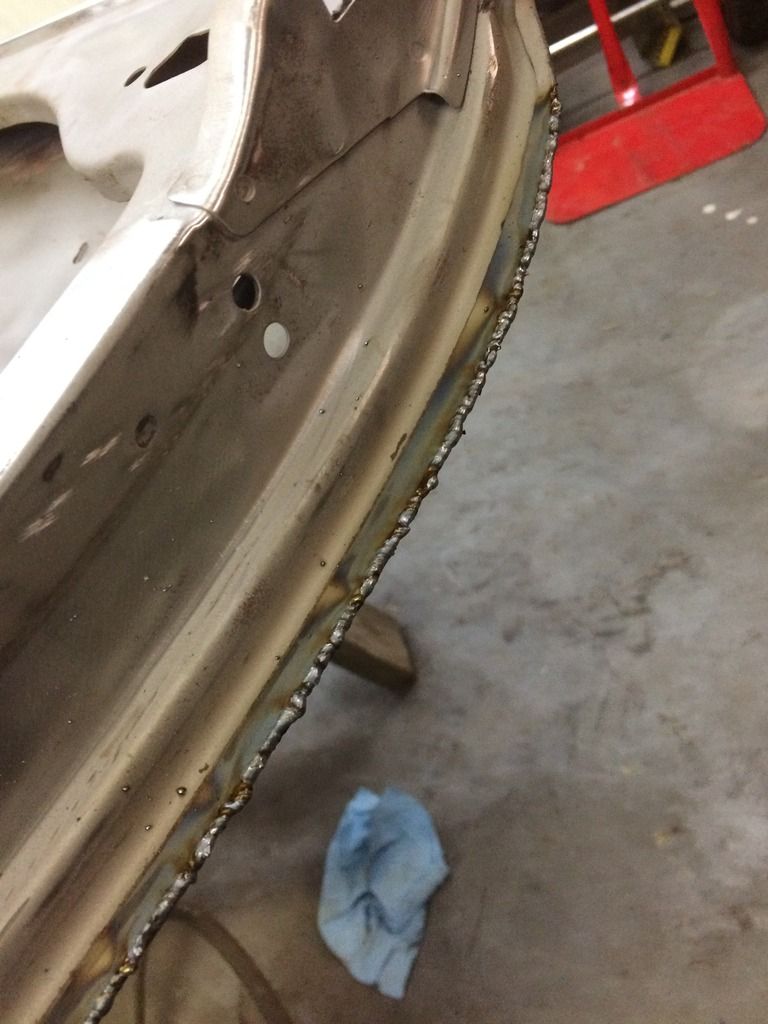
I took a couple mm off of the edge closest to the B-Pillar and re-welded the edge for a more uniform gap.
Interestingly, the bottom of the door is nice and even and level with the sill, which is original. The trailing edge of the door, is parallel (although the gap was a bit too tight for my liking) with the B-Pillar. This would indicate the door was square to the car, however, the trailing edge of the window frame was at an angle with the gap tightening up as it gets closer to the door top. The top of the window frame is also parallel to the roof line.
It left me with one choice, I had to cut the window frame where it meets the door top and move it over about 3mm, it was only then that the window frame was plumb.
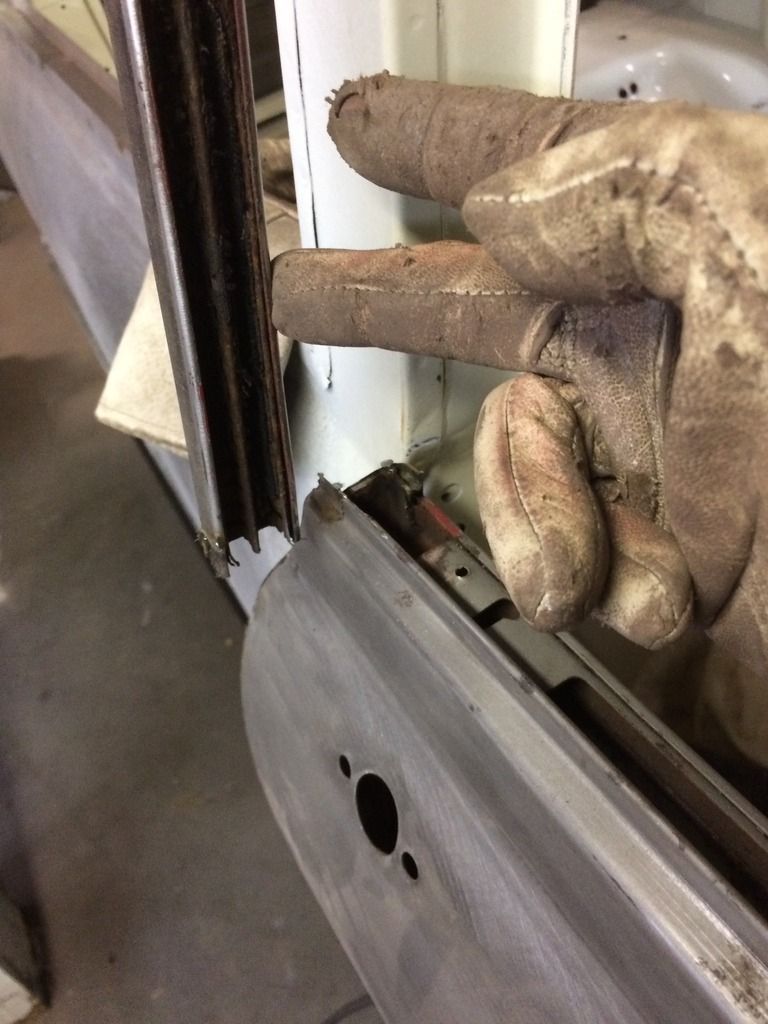
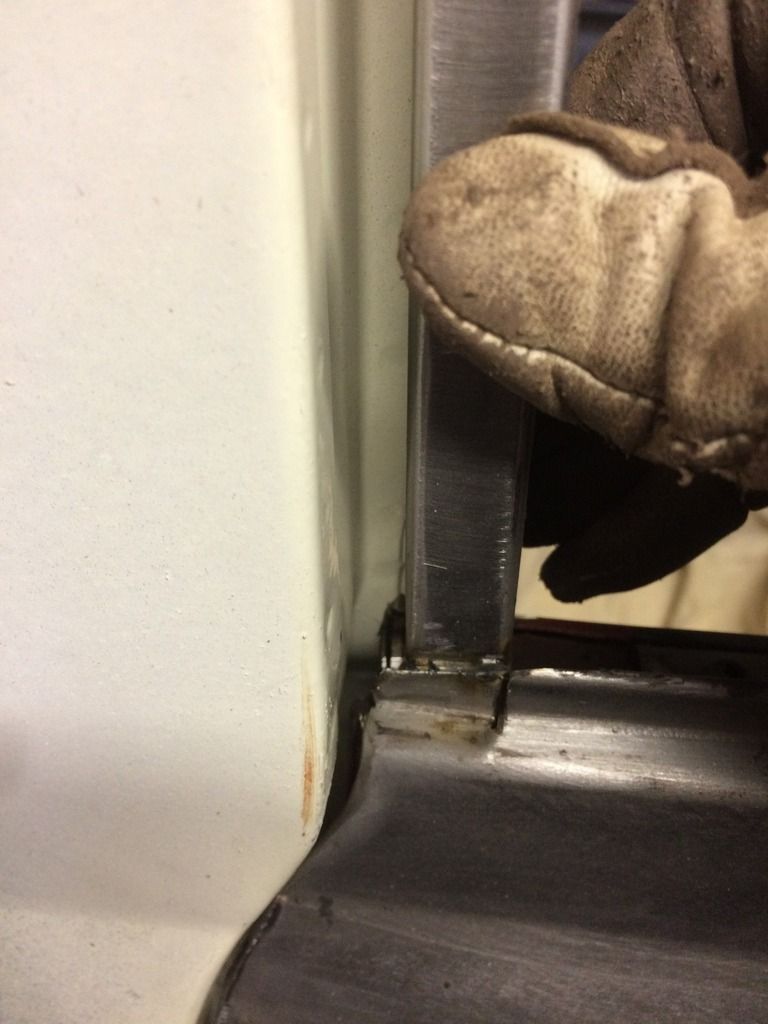
This leaves a whole bunch of fettling to be done where the door top and the window frame meets, hopefully I will get my head around it tonight and get it sorted.
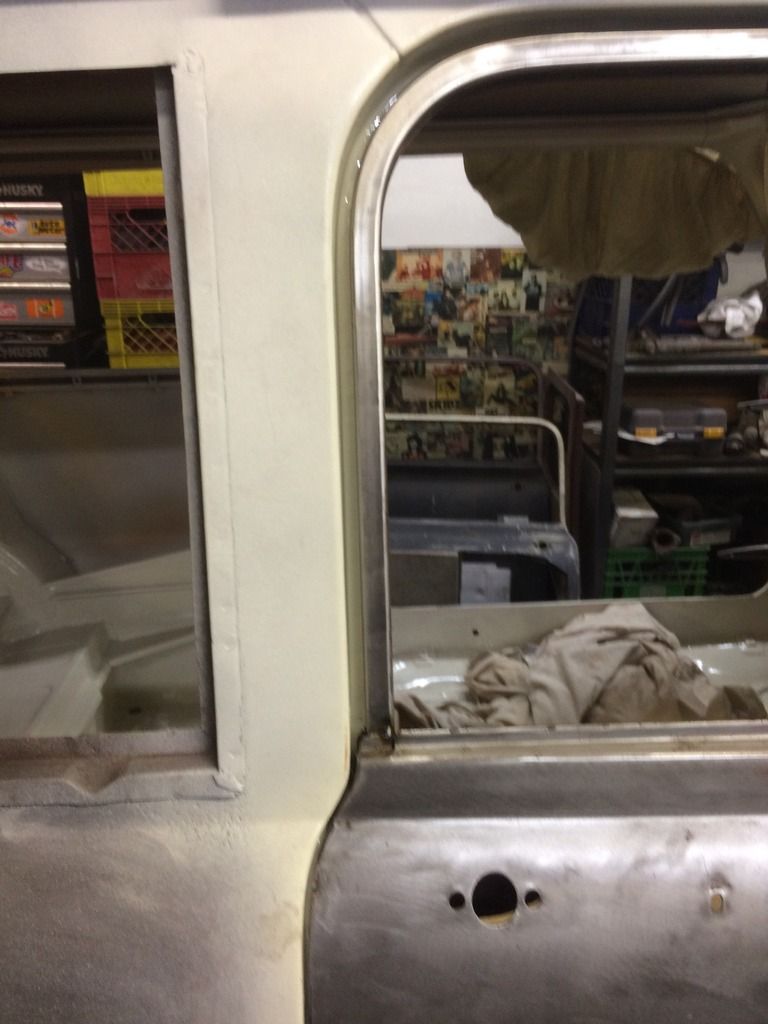
This door was not the original to the car, but is was a perfect, rust-free example, I figured it would be easier to use it than to repair the small perforations in the bottom of the original door... Hrmph.

Also, of Friday, I media blasted the bonnet and realized that it was in fact, a Morris bonnet. My Cooper project is a Morris, with an Austin bonnet, so naturally, I drove out to my lockup and did the old switcheroo, so now both cars are sporting the correct bonnet. So there's that.


