Page 4 of 7
Re: 1964 Rust project
Posted: Sun Jul 23, 2017 9:55 am
by Frogeye61
Glad you mentioned that with roof sound deadening. I had originally planned not to use it on my red 64 Mini, but I suppose the weight penalty is probably acceptable.
My Frogeye rear deck panel did this when first stripped, but after all the necessary plastic padding it no longer needed additional damping. (The car was an absolute mess). With this blue Mini project roof being new and straight, it will most certainly need a damping mat.
Thank you.
Re: 1964 Rust project
Posted: Thu Jul 27, 2017 10:17 pm
by Mk 2 Super Deluxe
Great write up, I am about to start a very similar rebuild of a Mk2 Super Deluxe. The photos you have posted have been really helpful
Keep the updates coming
Paul
Re: 1964 Rust project
Posted: Mon Aug 14, 2017 8:36 am
by Frogeye61
OK, I'm back from a wonderful vacation in the Kingdom of Denmark. Exciting! Well actually I just went to my modern summer house for a week, back home for a weekend to celebrate my 25th anniversary, on to the "primitive" summer house with no electricity but on the beach. But, it rained most of the time, and the temperature wasn't exactly summer-like, and the water was way too cold to swim. The seafood was excellent though.
Heck, even this morning I had to wear a sweater while riding my bike to work. 14th August!!! Really! Everyone else is having record heat and drought. They took all my summer warmth.
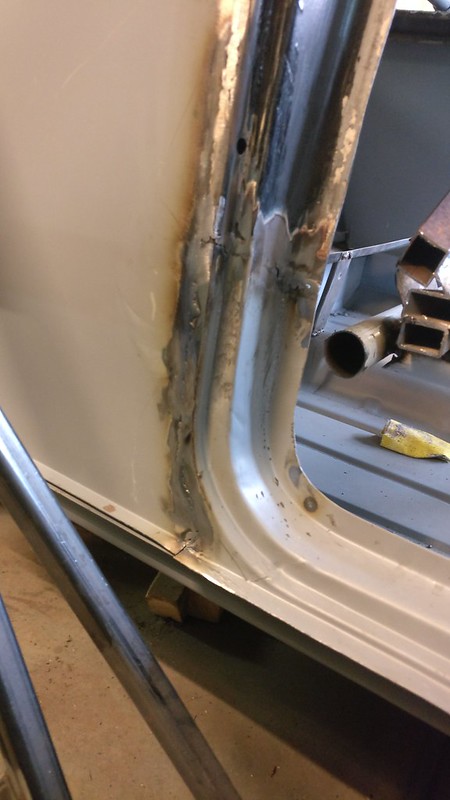
Anyway, last night I got to do a small bit on the blue Mini, first time I touched it in three whole weeks. I welded up the back of the right door step panel, which has already been measured up and tested with the door and weather strip in place.
We will be back to our standard routine starting this week.
 IMG_20170812_173456
 by [url=https:[email protected]<script data-cfhash='f9e31' type="text/javascript">/* */</script>/]frogeye61[/url], on Flickr
Re: 1964 Rust project
Posted: Wed Aug 16, 2017 1:21 pm
by Frogeye61
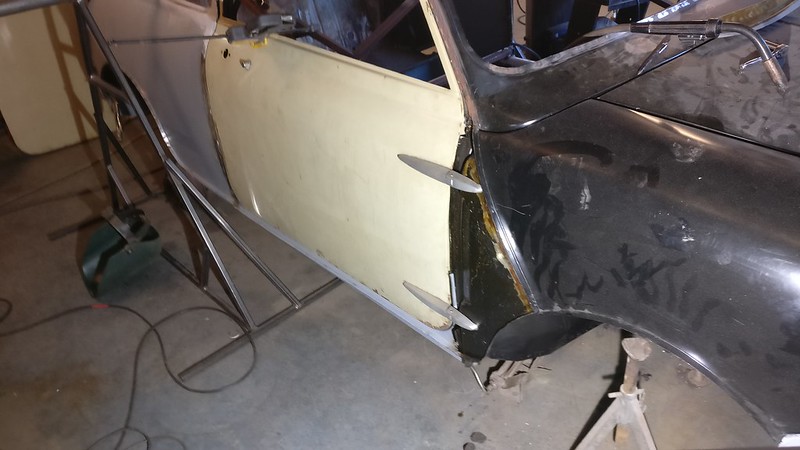
Well, unfortunately both Peter and Tim were detained at the office or whatever. So I just had to do it myself.
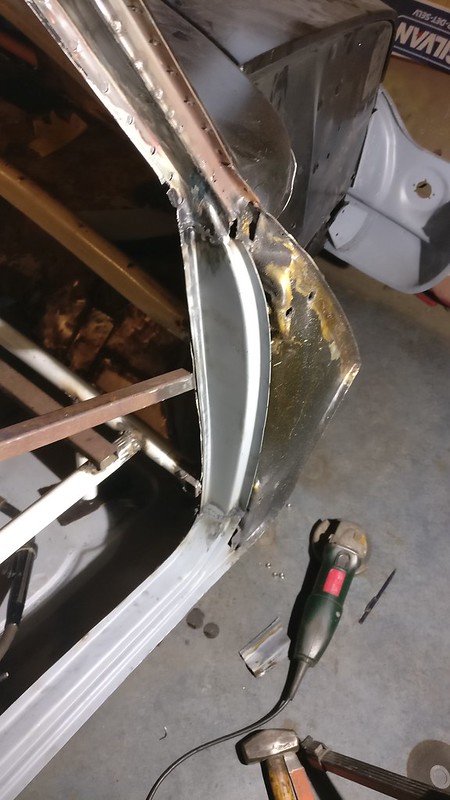
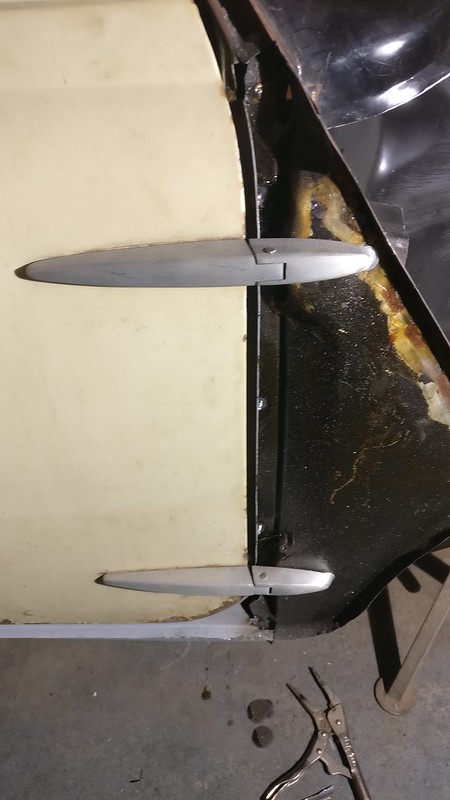
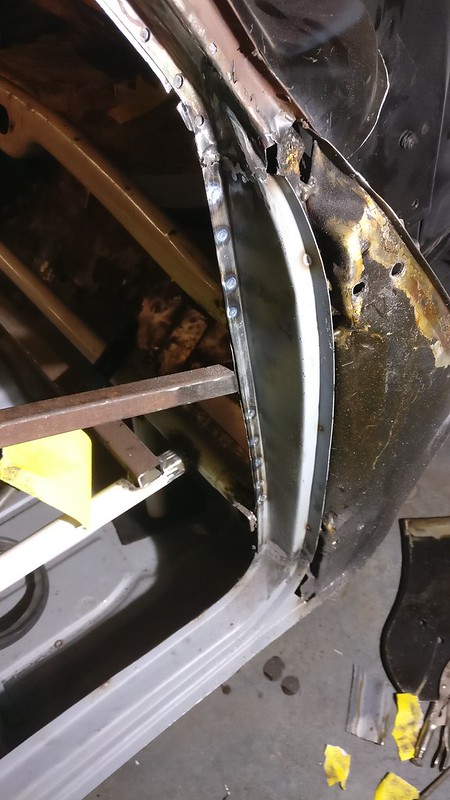
The door went on and off quite a number of times, making sure everything fit right. Step panel was tacked at the front then door tested. Hinge holes filed so the door is just right, Inner A panel tacked at the bottom so the door fits solid. Door opening front panel tacked, adjusted to fit the door gap and then further tacked and then spot welded to the inner flange where the door rubber fits.
Now the door opens and closes properly with proper door seal compression (I think). Still need some finish welding on this before mounting the outer A panel.
 IMG_20170815_184545
 by
frogeye61, on Flickr
 IMG_20170815_184806
 by
frogeye61, on Flickr
 IMG_20170815_192426
 by
frogeye61, on Flickr
 IMG_20170815_193732
 by
frogeye61, on Flickr
 IMG_20170815_195037
 by
frogeye61, on Flickr
Re: 1964 Rust project
Posted: Thu Aug 17, 2017 9:27 am
by Frogeye61
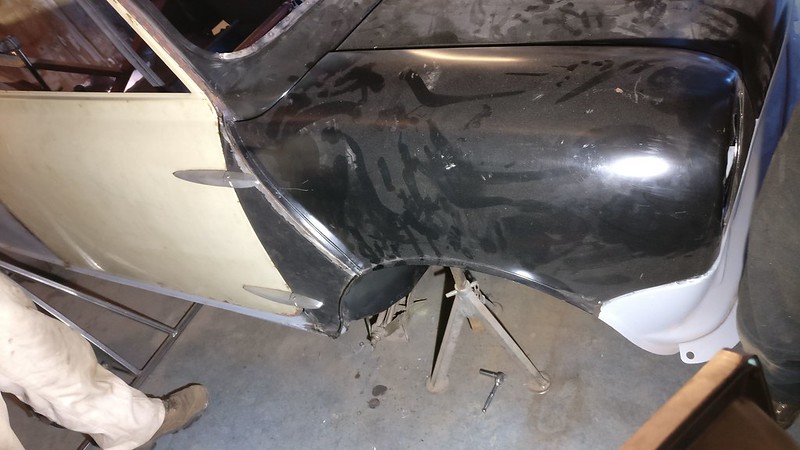
Last night I did the aforementioned small spots. Checked the A panel with door, reworked it a bit, then clamped it all and welded it in place. Mounted the door again and the front wing is just set in place in the photo. I still have to do the lower scuttle panel.
 IMG_20170816_200845L
 by [url=https:[email protected]<script data-cfhash='f9e31' type="text/javascript">/* */</script>/]frogeye61[/url], on Flickr
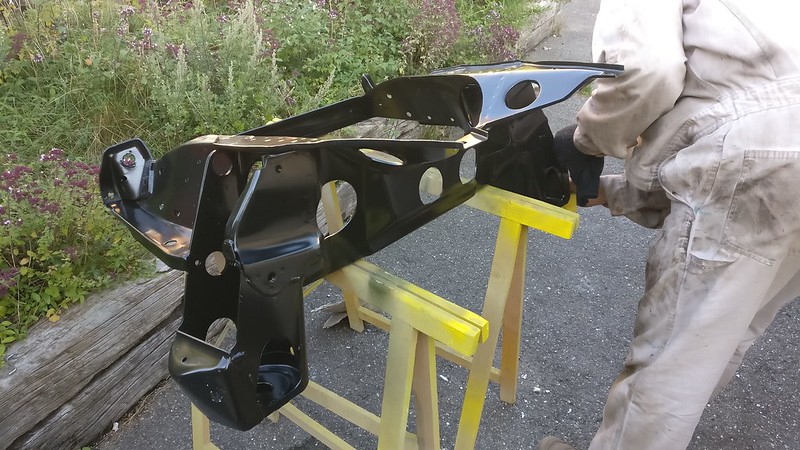
Peter came with a new original replacement front subframe and roll bar with diagonal, all from Mini Spares. (And then he talked a lot about getting a 450 HP engine for his 65 Mustang.) We painted the subframe with grey Epoxy primer, rather thick. I can now get my original subframe back which has been sitting in the car for months for dimensioning purposes. I have an engine and Cooper S brakes just waiting to go into it.
 IMG_20170816_190124s
 by [url=https:[email protected]<script data-cfhash='f9e31' type="text/javascript">/* */</script>/]frogeye61[/url], on Flickr
Re: 1964 Rust project
Posted: Sun Aug 20, 2017 11:23 am
by Frogeye61
Oh, good, another weekend. For a while I defied the wife and worked on the car instead of weeding the front garden. Alas it wasn't too long before the killer look. But while I could work I seemed to get a bit done.
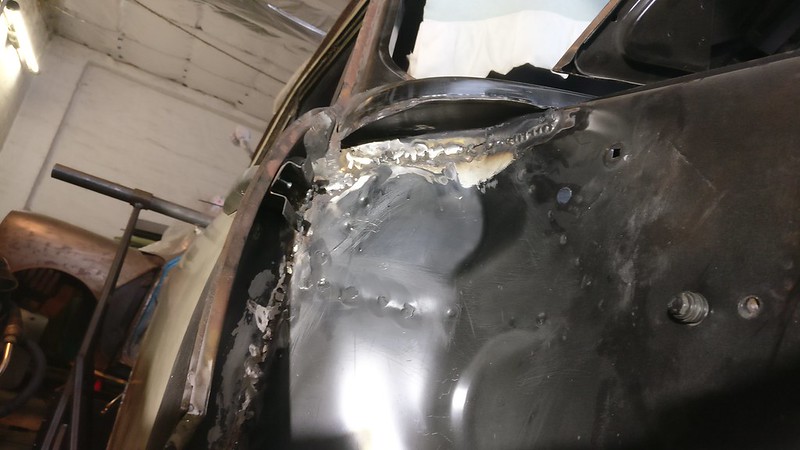
Firstly the scuttle bottom plate. Please don't comment about the welding. It isn't that good but it holds very well.
 IMG_20170819_120922
 by
frogeye61, on Flickr
Then I mounted the - already modified - left side inner wing brace.
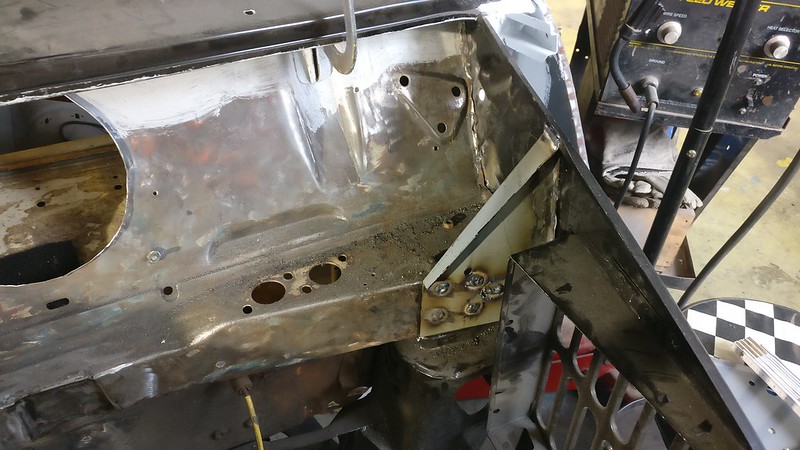 IMG_20170819_120832
 by
frogeye61, on Flickr
The right side inner wing brace had not yet been modified. A 7 mil gap between the brace and inner wing must be removed.
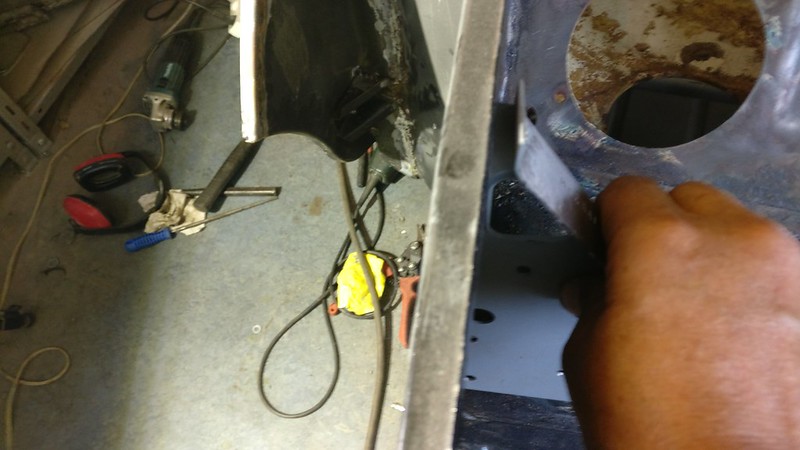 IMG_20170819_121025
 by
frogeye61, on Flickr
I cut a wedge from the outer edge:
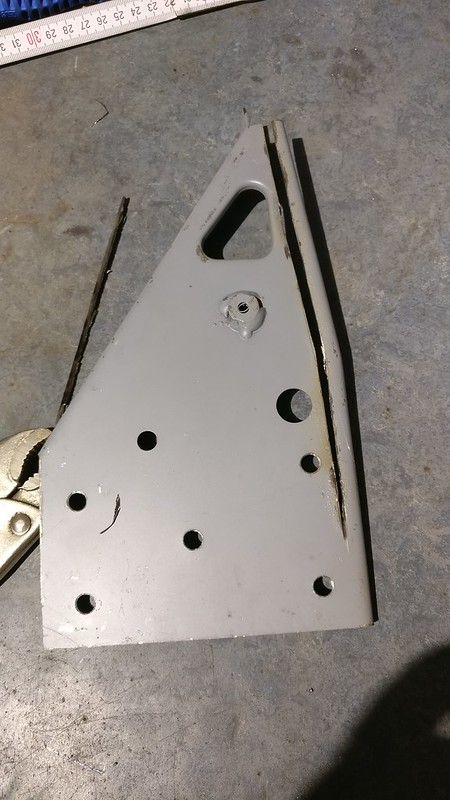 IMG_20170819_121639
 by
frogeye61, on Flickr
closed and welded it:
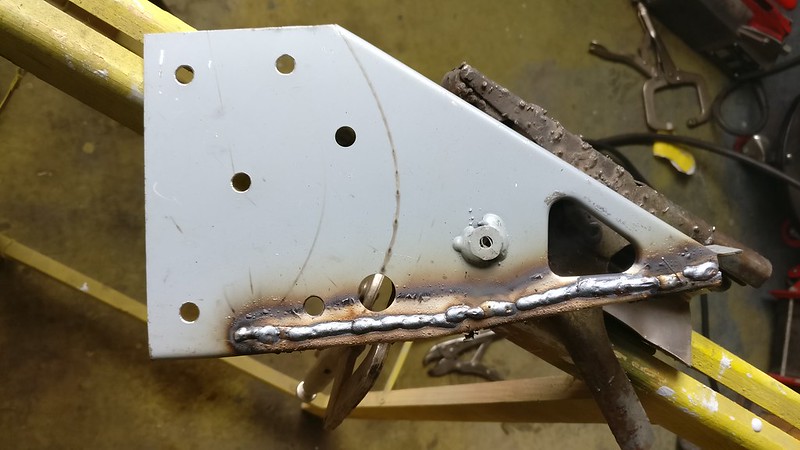 IMG_20170819_122258
 by
frogeye61, on Flickr
grind smooth:
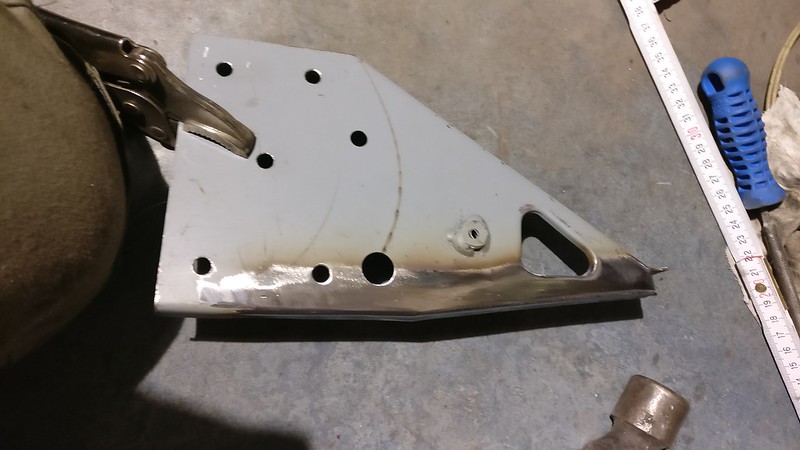 IMG_20170819_122833
 by
frogeye61, on Flickr
and it fits like a champ.
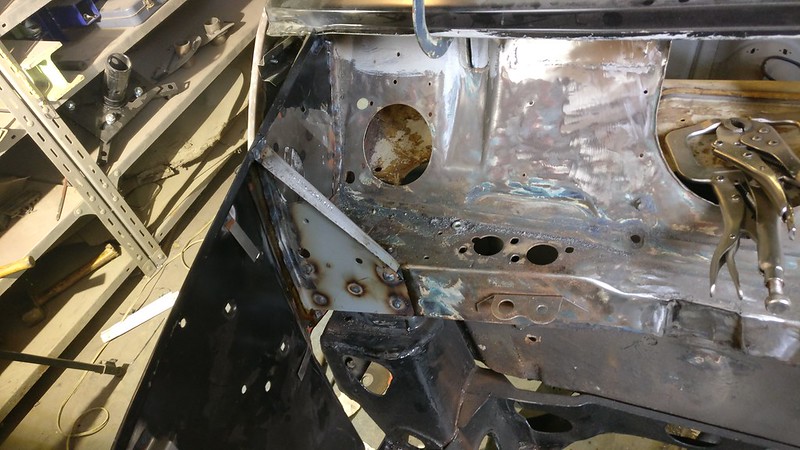 IMG_20170819_124643
 by
frogeye61, on Flickr
Then I started on the left side drip rail. Rail is made from 1.5mm sheet bent to 40 degrees. It may be a bit wide but that can be ground down later.
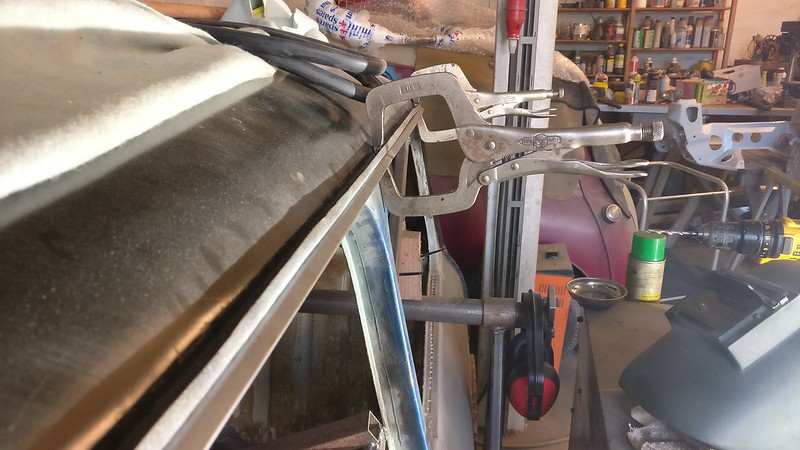 IMG_20170819_185410
 by
frogeye61, on Flickr
Re: 1964 Rust project
Posted: Mon Aug 21, 2017 8:15 am
by mk1
Looking Good!
Re: 1964 Rust project
Posted: Wed Aug 23, 2017 2:03 pm
by Frogeye61
Last night (again Tuesday) while one of us removed the front and rear subframes and fitted the spyd,
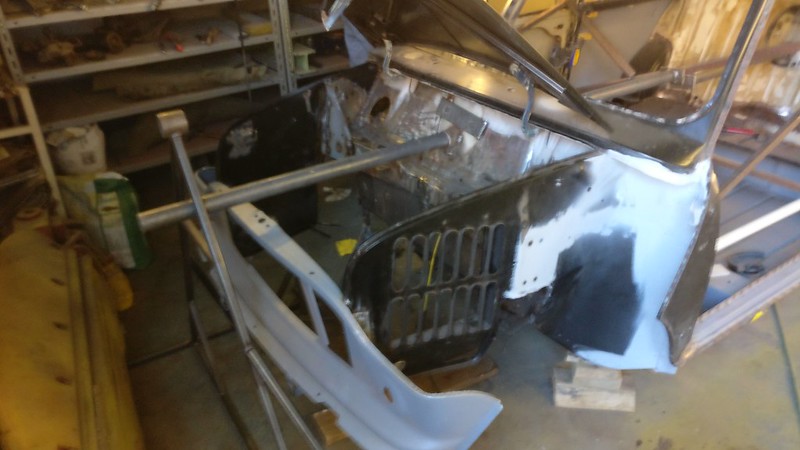 IMG_20170822_192650
 by
frogeye61, on Flickr
Tim and I welded on the drip rails.
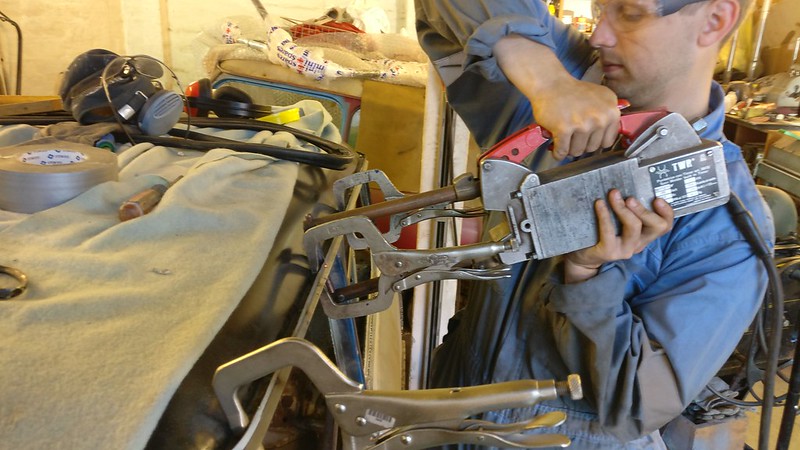 IMG_20170822_194655
 by
frogeye61, on Flickr
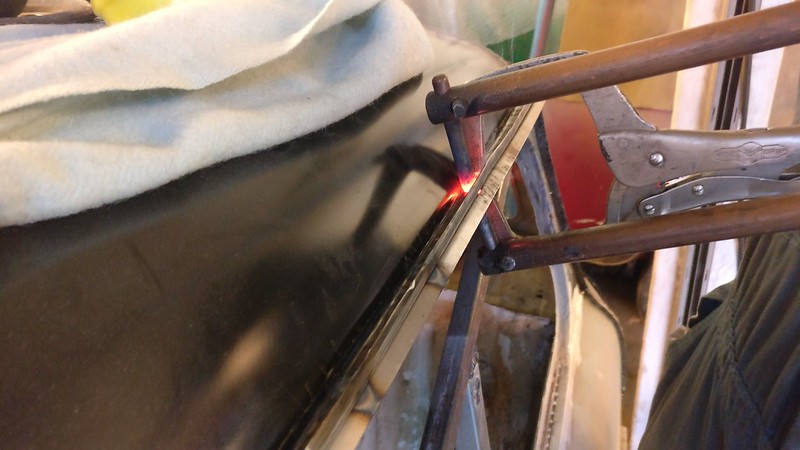 IMG_20170822_195027_01
 by
frogeye61, on Flickr
The metal is quite thick 1+1+1.5 mm and took three hits with the spot welder to obtain the heat necessary to hold the drip rail on.
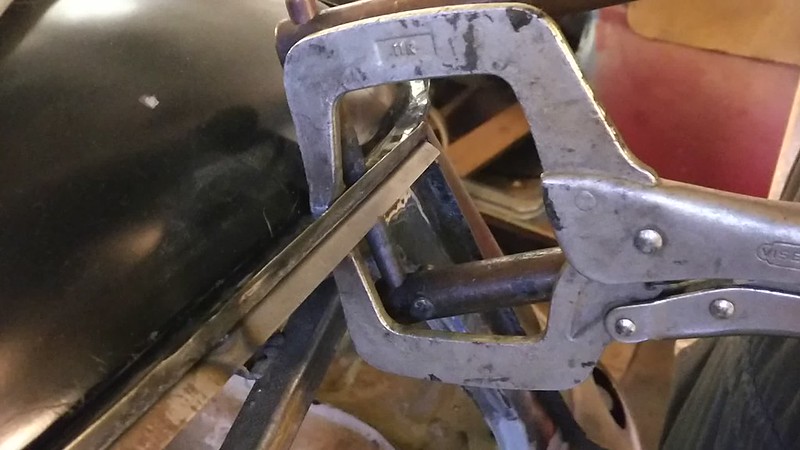 VID_20170822_195101
 by
frogeye61, on Flickr
Once the body was raised onto the spyd...
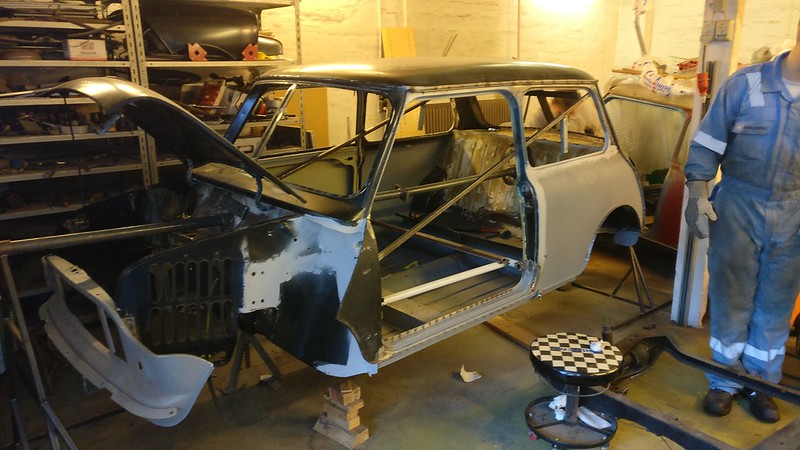 IMG_20170822_200817
 by
frogeye61, on Flickr
we could roll it over...
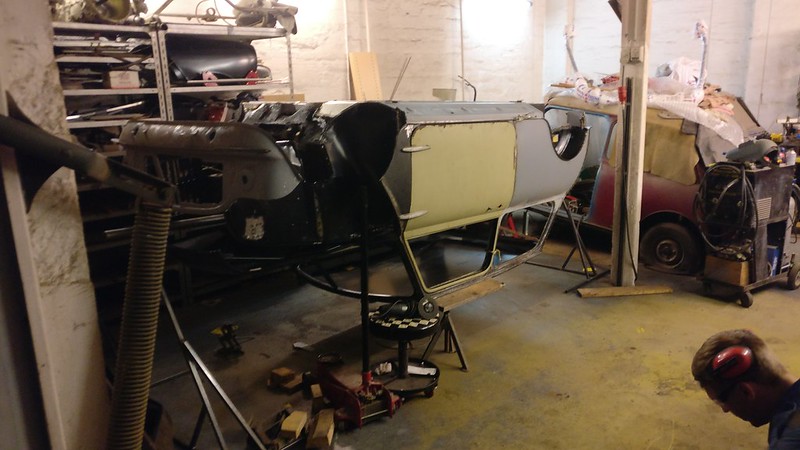 IMG_20170822_213129
 by
frogeye61, on Flickr
and the first thing is to weld the bottom of the right side rain gutter.
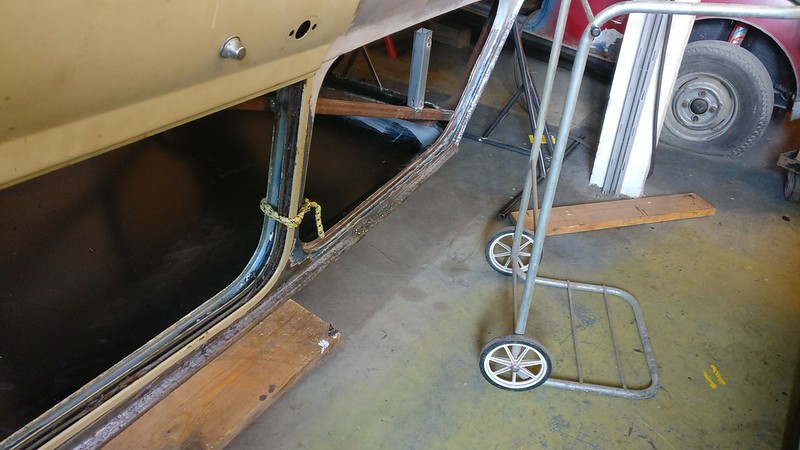 IMG_20170823_075538
 by
frogeye61, on Flickr
Just try doing that while the car is upright.
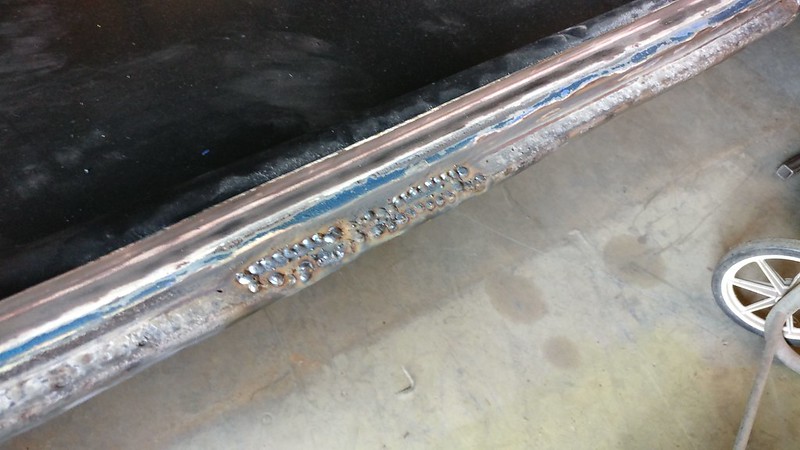 IMG_20170823_075530
 by
frogeye61, on Flickr
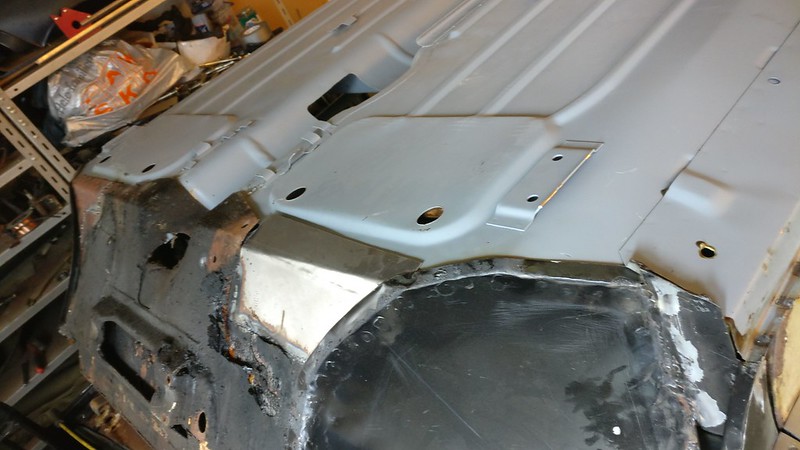
We can now easily access the rear valance and front floor welds.
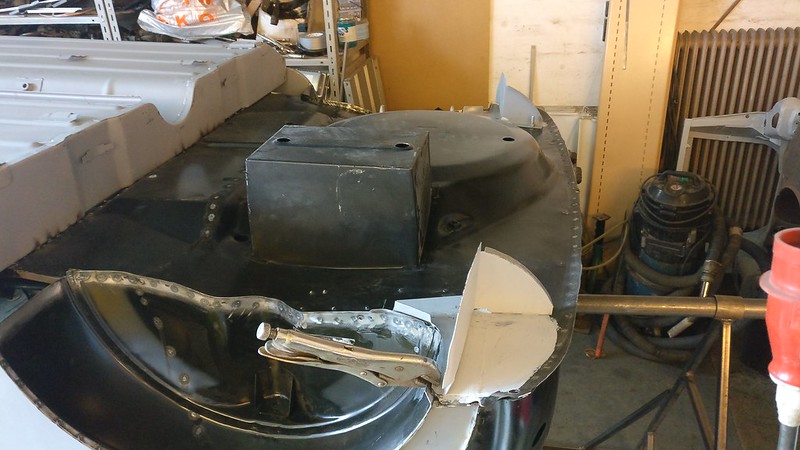 IMG_20170823_075517
 by
frogeye61, on Flickr
Also we need to clean the firewall and ready for painting
 IMG_20170823_075547
 by
frogeye61, on Flickr
Re: 1964 Rust project
Posted: Wed Aug 23, 2017 7:01 pm
by Daz1968
Or that it makes a lot of difference, but for information the drip rails have a double fold on the outer edge so not sharp, also normally bent on the ends, but looking good so far, brings back memories as the roof and gutter repairs were most awkward on mine.
Re: 1964 Rust project
Posted: Thu Aug 24, 2017 7:26 am
by Frogeye61
Ja, the original drip rail was folded over at the edge, but also thinner metal. The total thickness at the edge as folded was just about 1.5mm, so I just cheated, and got a more robust piece in the process.
One must also remember what I started with. In general, the history of components is just as important as the component itself.
 IMG_20160826_073230
 by
frogeye61, on Flickr
Re: 1964 Rust project
Posted: Thu Aug 24, 2017 8:34 am
by Callum
Wasn't the fold there to stop you scalping yourself when you got out the car? As it gets rid of the sharp edge.
Great work with all the welding, looks like your not far off finishing now
Re: 1964 Rust project
Posted: Mon Aug 28, 2017 2:41 pm
by Frogeye61
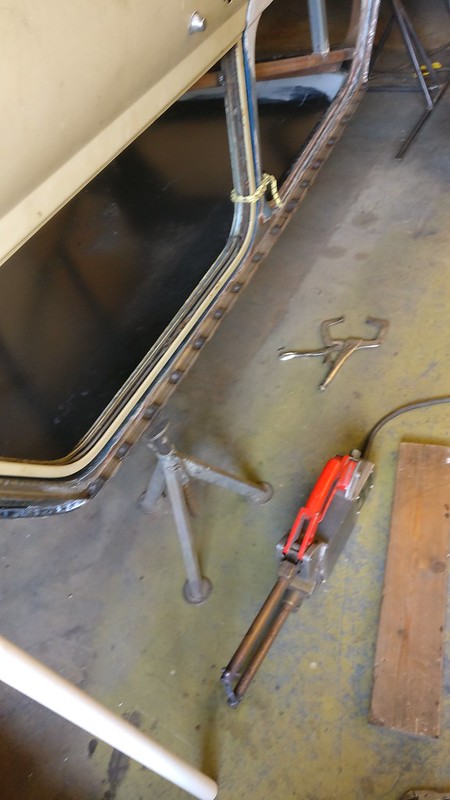
This weekend I only had time to get this drip rail onto the right side roof drain channel.
 IMG_20170826_160327
 by
frogeye61, on Flickr
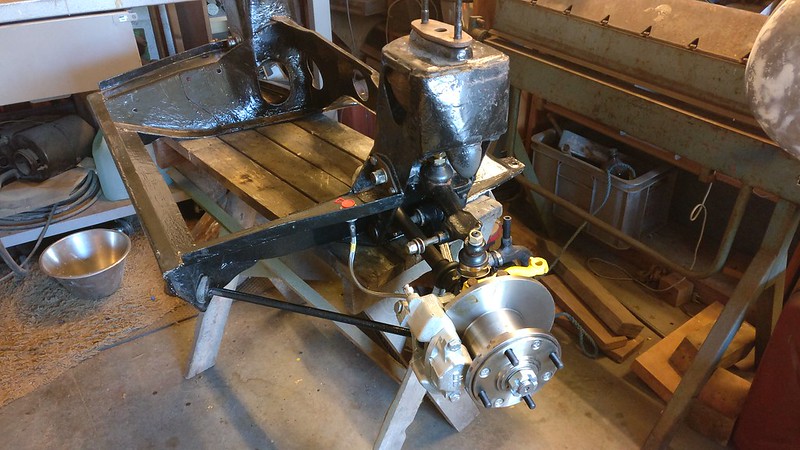
But then now that my front subframe is removed from the blue Mini, I decided to assemble the front suspension and my new Cooper S brakes.
I've been working on cars for more than 30 years, but in America we don't really have too many Minis, so I've never had the opportunity of rebuilding the front suspension on one. How come nobody ever told me how much p.i.t.a. it is to get everything together on the upper arm. Well OK I got it, also using Hi-Los. So far I only assembled the left side. These brakes are required in Denmark if using the 1275 engine and they certainly can't hurt if using a smaller engine.
 IMG_20170827_173946
 by
frogeye61, on Flickr
Yes, that's the short axle on the left side, wrong I know. I'll straighten it out later.
Re: 1964 Rust project
Posted: Wed Aug 30, 2017 9:54 am
by Frogeye61
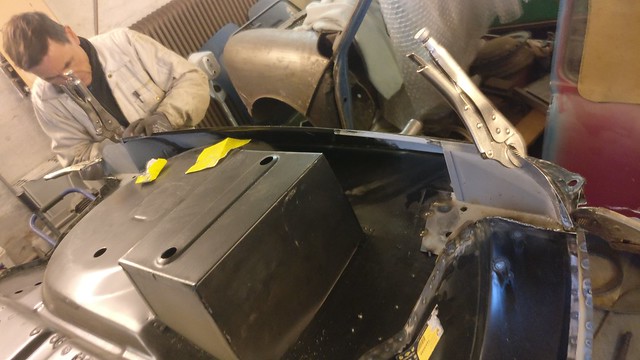
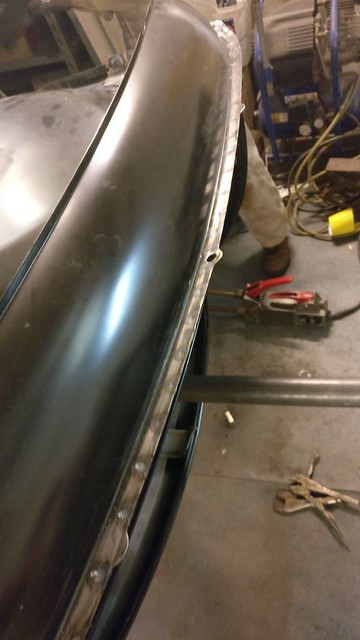
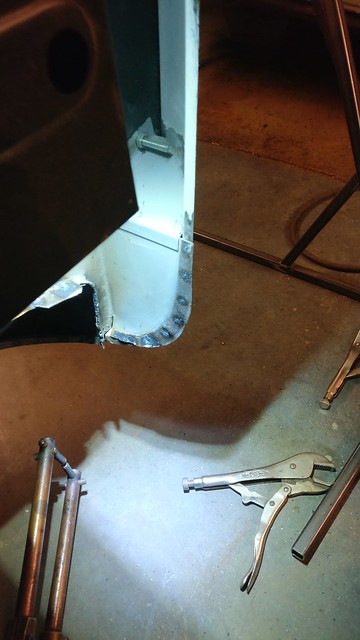
Tuesday again. Now that the car is flipped over, and the bottom is easily accessible, Tim and I could install the rear valence, and with Peter's help we spot welded all the way around.
 IMG_20170829_195229
 by
frogeye61, on Flickr
 IMG_20170829_200912
 by
frogeye61, on Flickr
 IMG_20170829_202250
 by
frogeye61, on Flickr
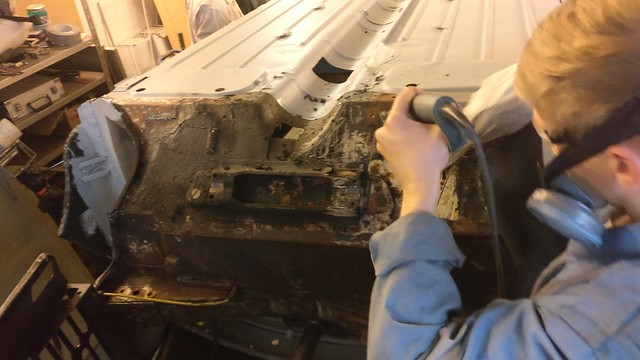
We got Tim to clean the bottom of the foot panel, one of the few original parts of the carrosserie.
 IMG_20170829_195241
 by
frogeye61, on Flickr
 IMG_20170831_075340
 by
frogeye61, on Flickr
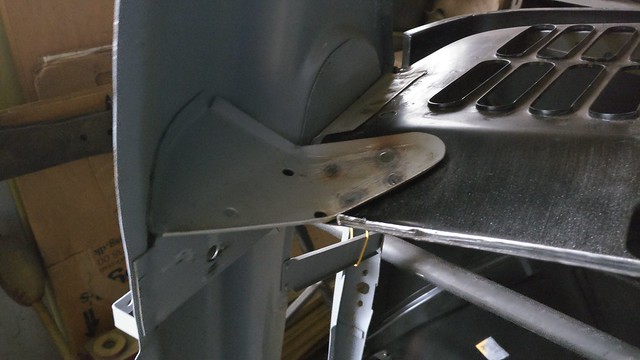
And from the bottom it's a bit easier to weld the front panel onto the inner wings.
 IMG_20170830_073241
 by
frogeye61, on Flickr
Re: 1964 Rust project
Posted: Sun Sep 03, 2017 6:44 pm
by AndyPen
I am stunned - amazing work folks!!!
Re: 1964 Rust project
Posted: Thu Sep 07, 2017 9:06 am
by Frogeye61
Due to a weekend cycling trip to a local island and Peter being off to parts yonder, this week wasn't as productive as I would have liked. Tim and I did however further clean up the foot panel and mostly welded the corner with the inner wing.
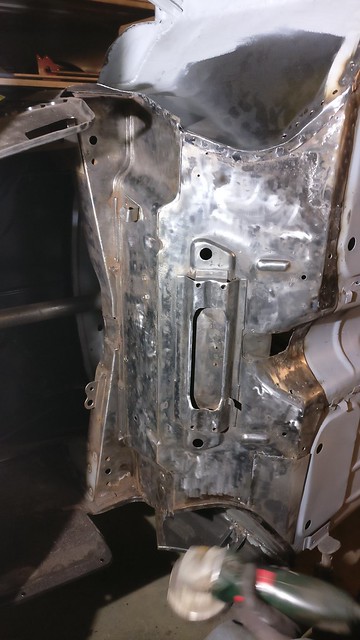 IMG_20170905_204001
 by
frogeye61, on Flickr
Re: 1964 Rust project
Posted: Wed Sep 13, 2017 8:36 am
by Frogeye61
Again slow progress, however progress none the less.
Finished welding and cleaning the left foot panel, flipped the car over and welded the right side.
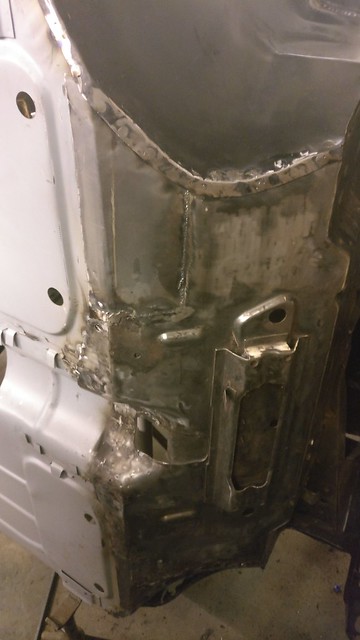 IMG_20170912_213252
 by
frogeye61, on Flickr
Then we started on cleaning up all the front and rear suspension on Peter's Mini. Subframes are on their way to sand blasting and powder coating.
Re: 1964 Rust project
Posted: Wed Sep 20, 2017 8:56 am
by Frogeye61
This shell must at one point get some seam sealer and damping material. Seam sealer should have come last night but Peter was off to parts unknown (probably the far east) so he didn't bring it. I will wait until after the body is painted before applying the dampening material.
Turn sound on.
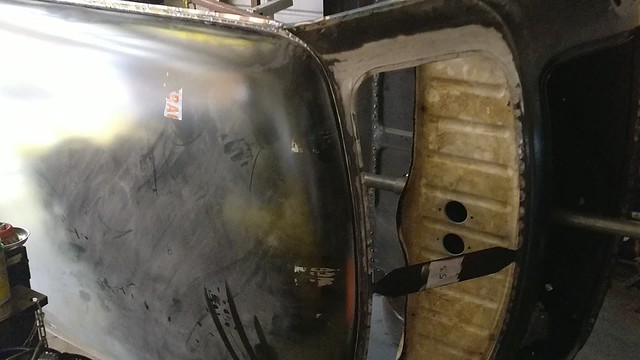 VID_20170917_112433
 by
frogeye61, on Flickr
So Tuesday night Tim helped. Again while cleaning more of the rust off the footboard we found some previously hidden rust. Maybe we should have just changed this whole panel also, but we didn't. Well anyway, a quick drilling of the spot welds to the lower engine steady bracket revealed not only rust but a crack extending the entire width of this bracket. No wonder since all the spot welds were done in a straight line horizontally in the middle of the bracket.
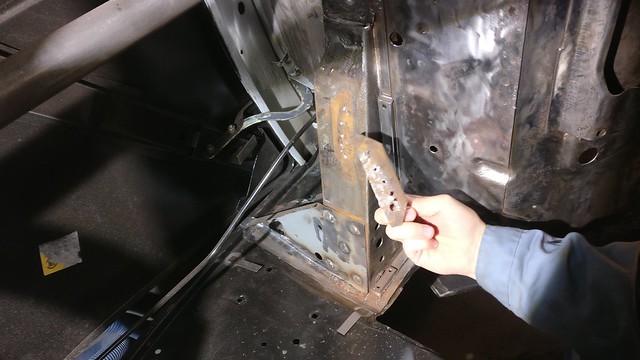 IMG_20170919_191521
 by
frogeye61, on Flickr
Cleaned, welded, and installed it looks good, just a bit more cleaning the plug welds needed in this image.
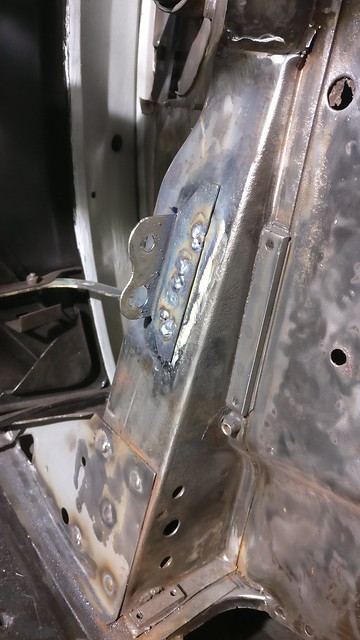 IMG_20170919_194131
 by
frogeye61, on Flickr
One can just see the previously done carburetor clearance mod in the above picture. I was tired of trying to BS my way through this piece and decided to sort it. So out with the old...
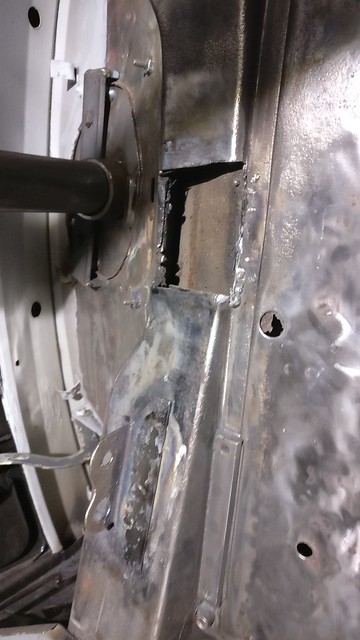 IMG_20170919_203934
 by
frogeye61, on Flickr
CAD design for the new
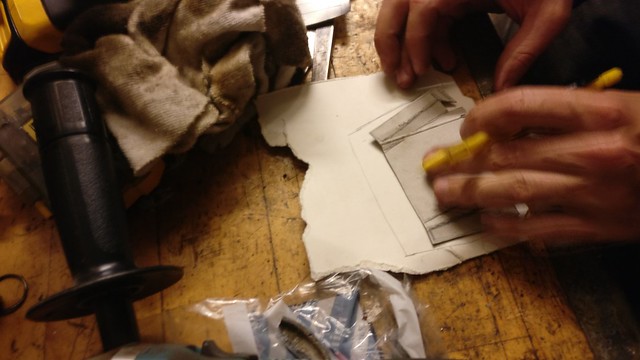 IMG_20170919_203946
 by
frogeye61, on Flickr
and assembled.
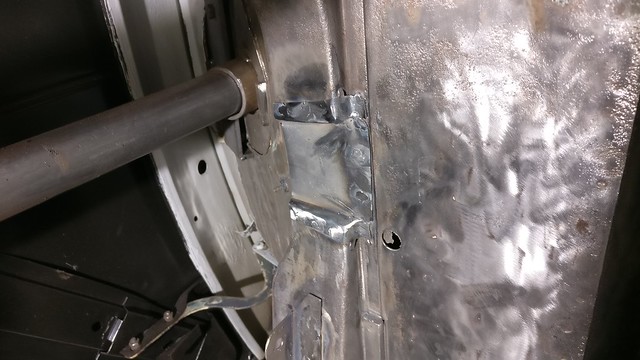 IMG_20170919_213145
 by
frogeye61, on Flickr
The entire foot panel is now cleaned with phosphor acid to help prepare the surface and prevent more surface rust until epoxy primer time.
Re: 1964 Rust project
Posted: Wed Sep 27, 2017 9:44 am
by Frogeye61
Productive evening last night. We removed the internal bracing, mostly to gain access to the inside of the vehicle.
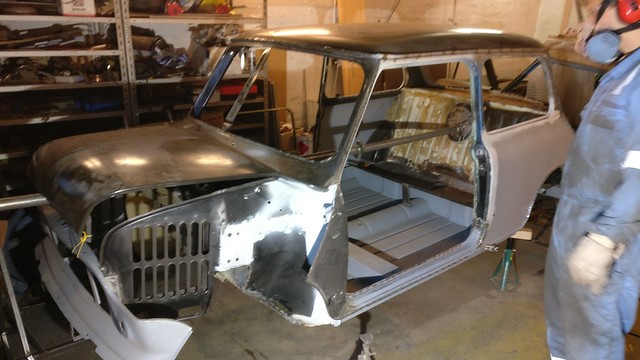 IMG_20170926_184147
 by
frogeye61, on Flickr
The inside of the B post was cleaned on both sides as this area is directly accessible to passengers reaching inside the side bins.
Lower panel cover plates and bins were readied for spot welding to the bins, rear seat, inner fender, side panel plates and door surround, though no picture of the plates.
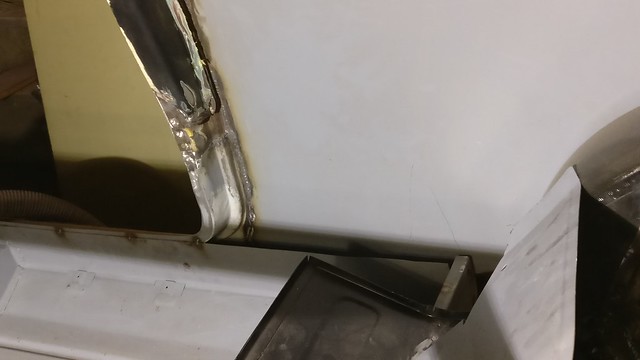 IMG_20170926_201128
 by
frogeye61, on Flickr
Roof gutter drains were cut in and formed. The gutter corners are not yet finished.
Drip rails were smoothed on all edges and corners. Gutters were checked and formed for straightness and curvature.
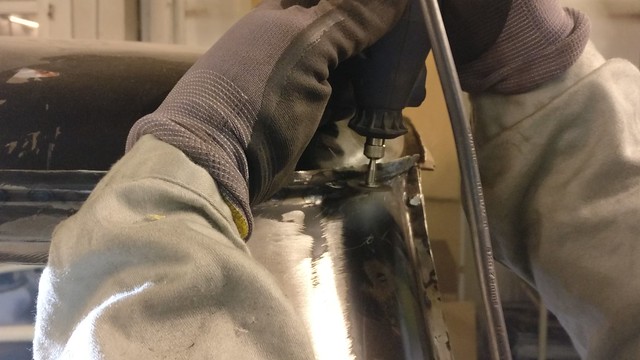 IMG_20170926_205700
 by
frogeye61, on Flickr
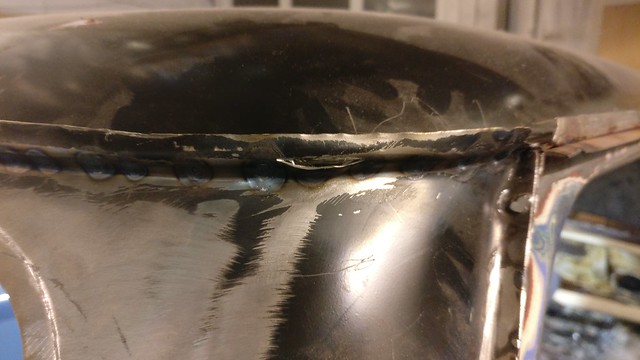 IMG_20170926_205822
 by
frogeye61, on Flickr
Floor panel welds and surface are now being cleaned inside of the body shell.
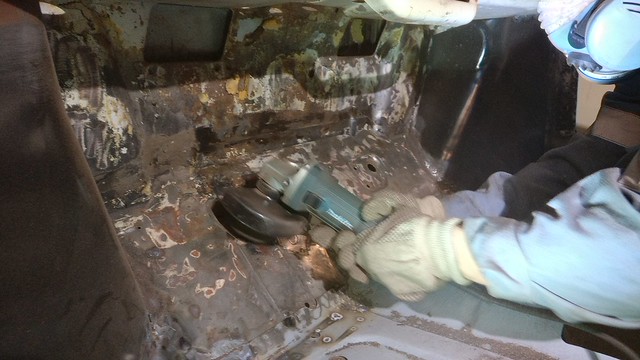 IMG_20170926_210441
 by
frogeye61, on Flickr
Re: 1964 Rust project
Posted: Wed Sep 27, 2017 12:08 pm
by baptiste
lucky you are ! you almost have new shell .
https://www.flickr.com/photos/33241452@N02/37346943301/
but on this picture we can see that you didn't instal the closing of wheel arch yet .
how can you instal and weld it now ?
Are you able to slide the piece between the wing and the floor?
Re: 1964 Rust project
Posted: Thu Sep 28, 2017 4:40 pm
by Frogeye61
No problem, As can be seen in this picture, it isn't welded yet between the floor and wing.. I have already tested it but for some reason we just haven't gotten around to fit it yet.
 IMG_20170822_200817
 by
frogeye61, on Flickr


