Page 3 of 9
Re: My Austin Countryman Project
Posted: Thu Dec 17, 2015 11:32 pm
by Craig
Well at least its an easy fix !

Craig
Re: My Austin Countryman Project
Posted: Mon Dec 28, 2015 9:29 pm
by swindrum
So, I am thinking I may have to give up cycling, my knee had healed up sufficiently last weekend, so I thought I would go for a mountain bike ride, only to do a spectacular endo off the trail into the woods, busting a rib in the process...
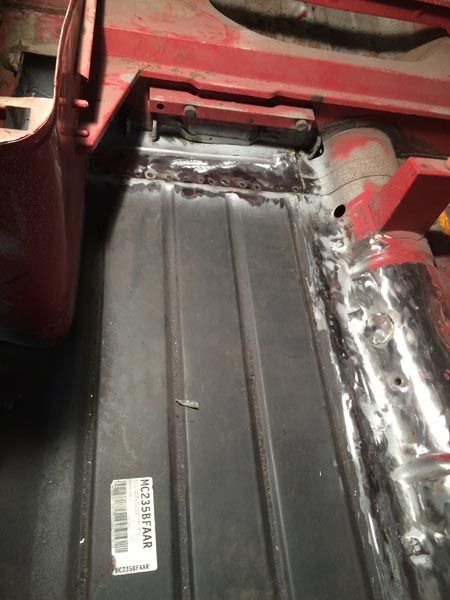
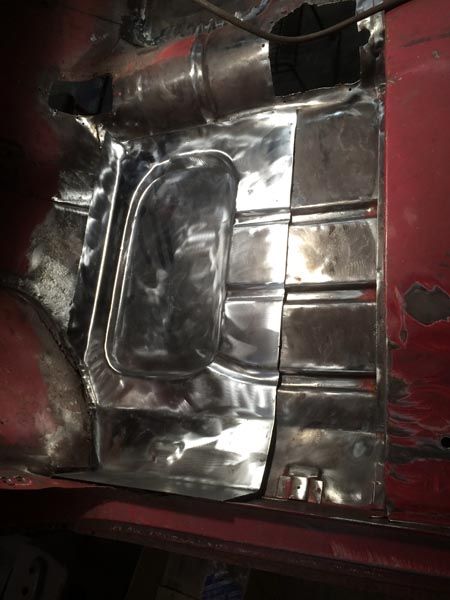
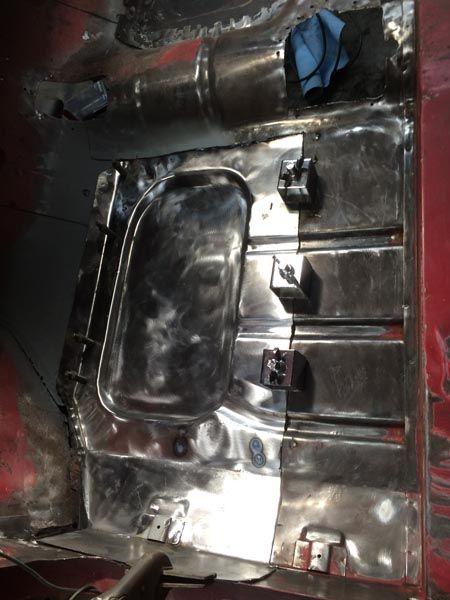
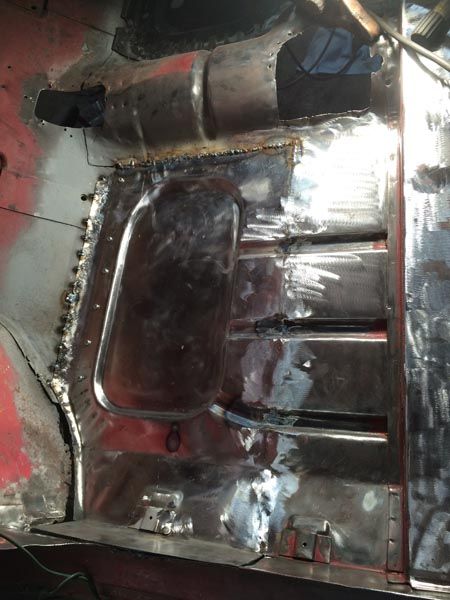
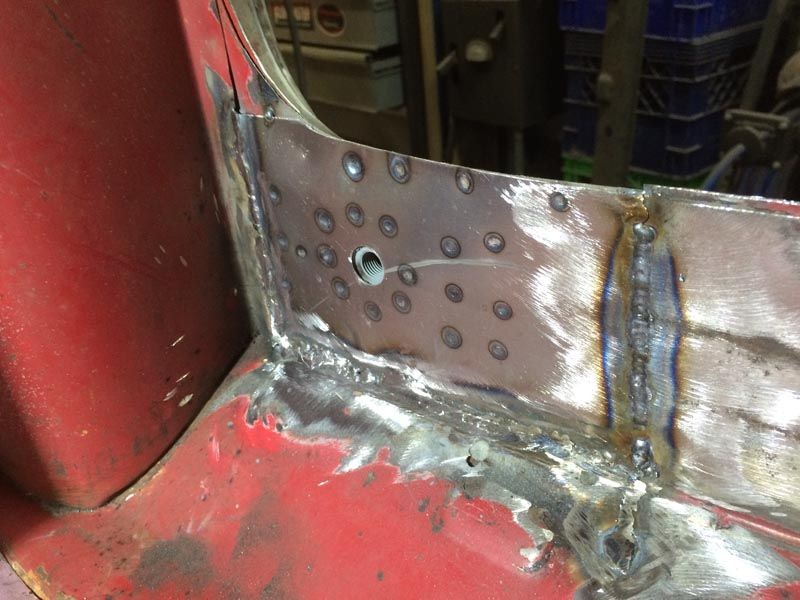
The last 10 days have been pretty low key, but I have managed to get out in the shop for the past few days. Have been welding in the passenger floor, I made up an extension panel to mimic the original, as the new floor didn't have the strengthening rib and it was all on piece.
The right side sill will go on today as well.
Re: My Austin Countryman Project
Posted: Wed Dec 30, 2015 5:08 pm
by Tagus
There is a time for everything. When our kids were young we had ski passes every year and I was in great shape. I'm actually a Boarder. Time passes and now the old legs give out, sometimes threatening to leave me stranded in the forest in deep snow. I still enjoy boarding very much but at a much different level. Nice that you can still ride at this time of year. I heard you had a little "rough" ground last night. Most asked question - did you feel it?
Keep up the great work on your Estate!
Re: My Austin Countryman Project
Posted: Wed Dec 30, 2015 5:55 pm
by swindrum
We did feel the earthquake, but it was just noise where we are, about 1000 feet up on a rock... Minis are all ok!

Re: My Austin Countryman Project
Posted: Fri Jan 08, 2016 6:00 pm
by swindrum
So, some photos of last weeks progress.
Passenger floor extension piece
Prepping for the new sill with zinc primer
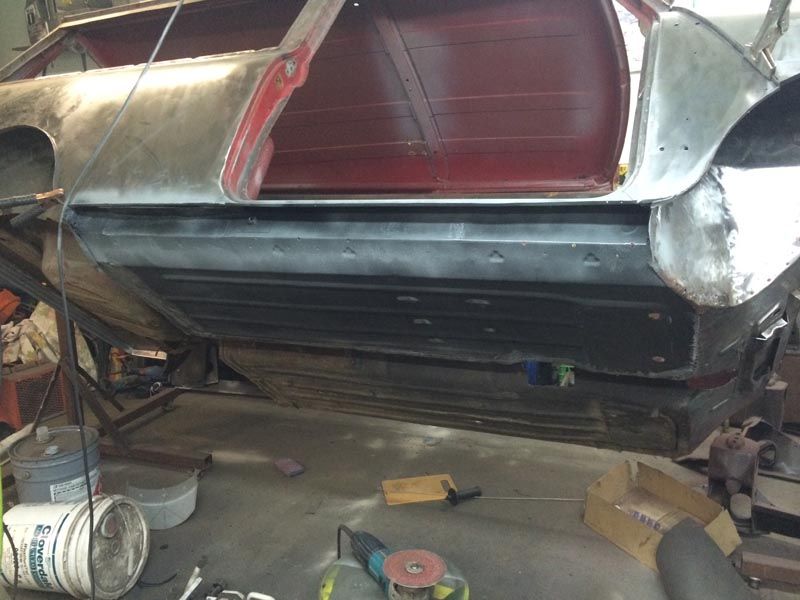
Sill is also zinc-ed and plug weld holes drilled
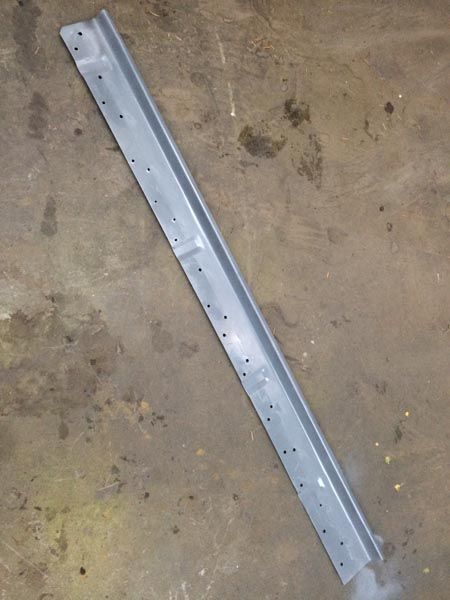
Ready to weld!
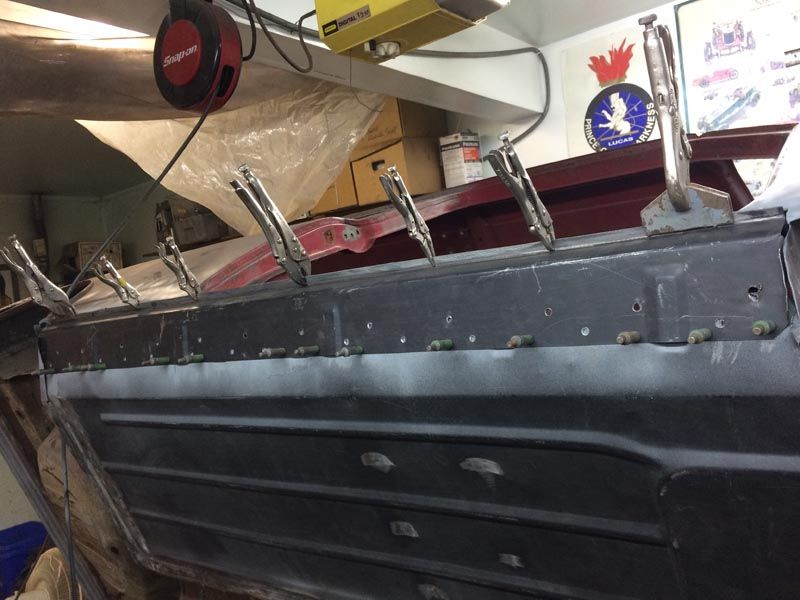
Welded, and welds dressed
Initial trimming of new left-side floor
More fitting
Welding. I cleaned and cleaned the tunnel area, but the weld spattered like crazy anyway.

Re: My Austin Countryman Project
Posted: Fri Jan 08, 2016 6:13 pm
by swindrum
Back at work this week and been watching the 6 Star Wars movies with my daughter in eager anticipation of going to see it tonight!
So time has been tight, but have gotten a bit done.
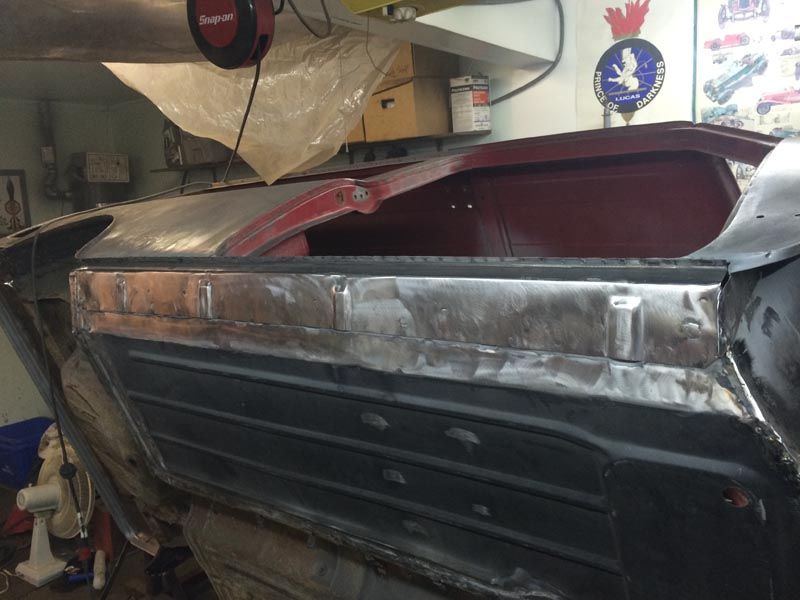
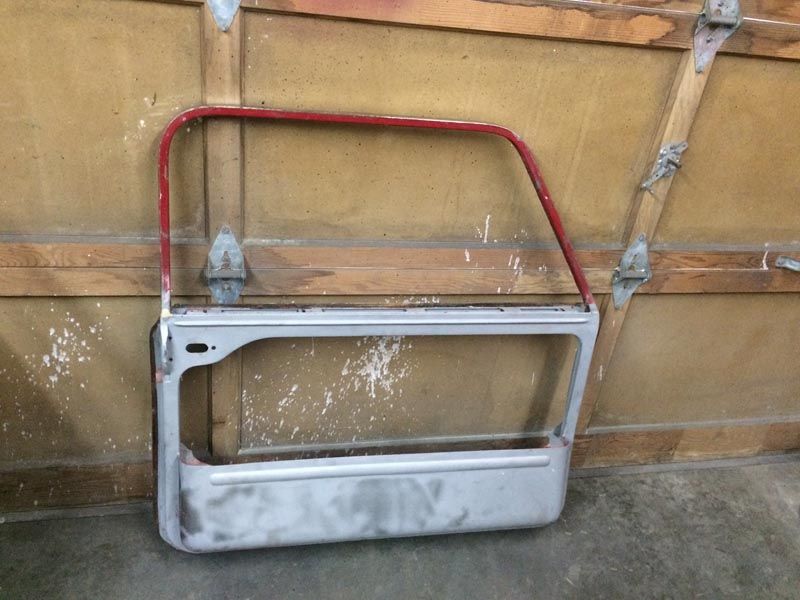
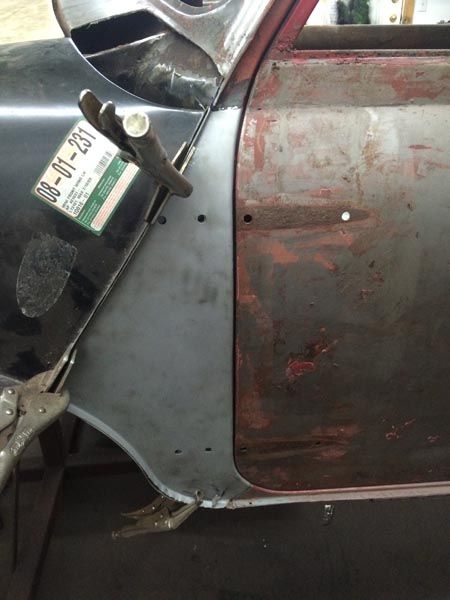
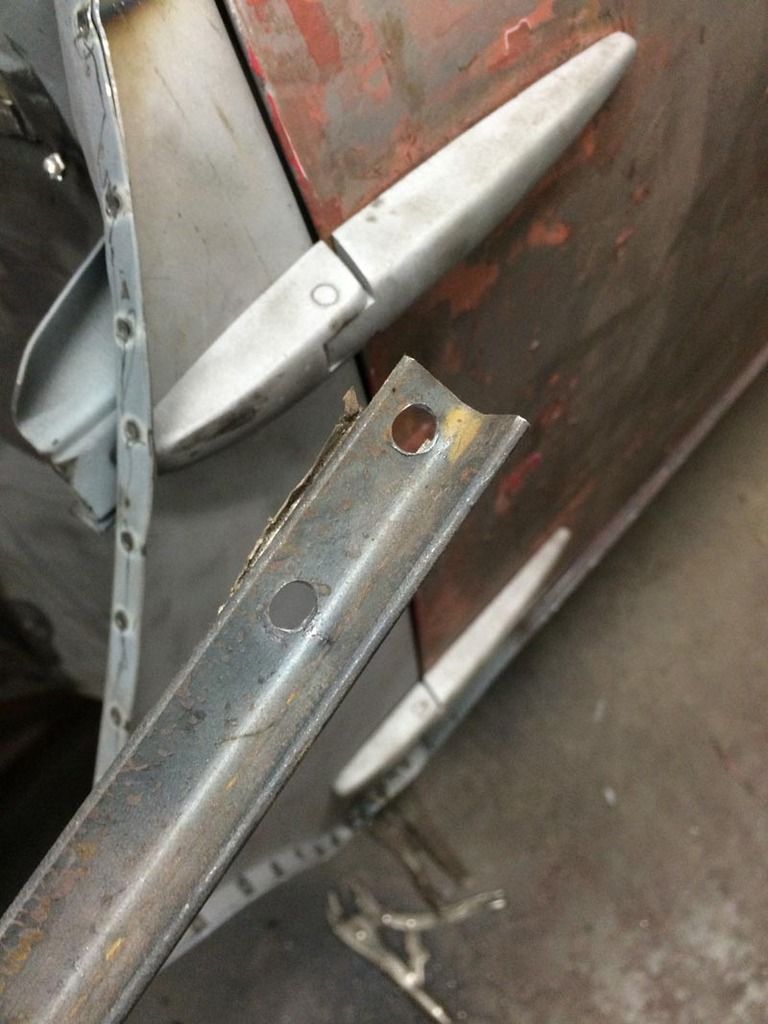
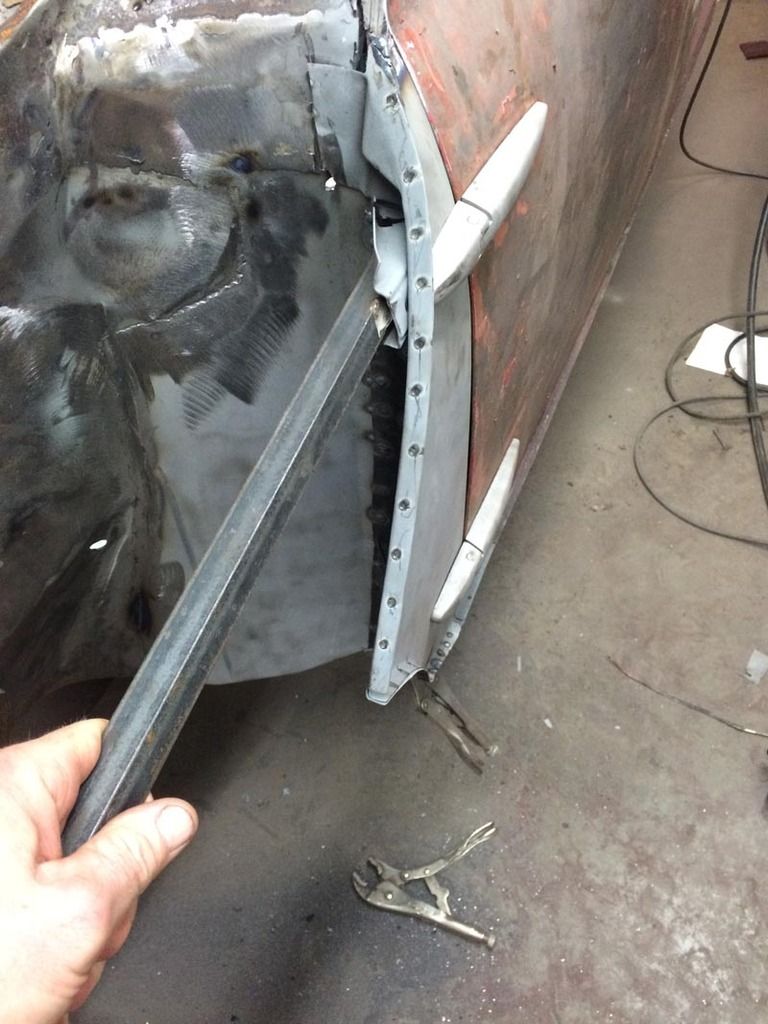
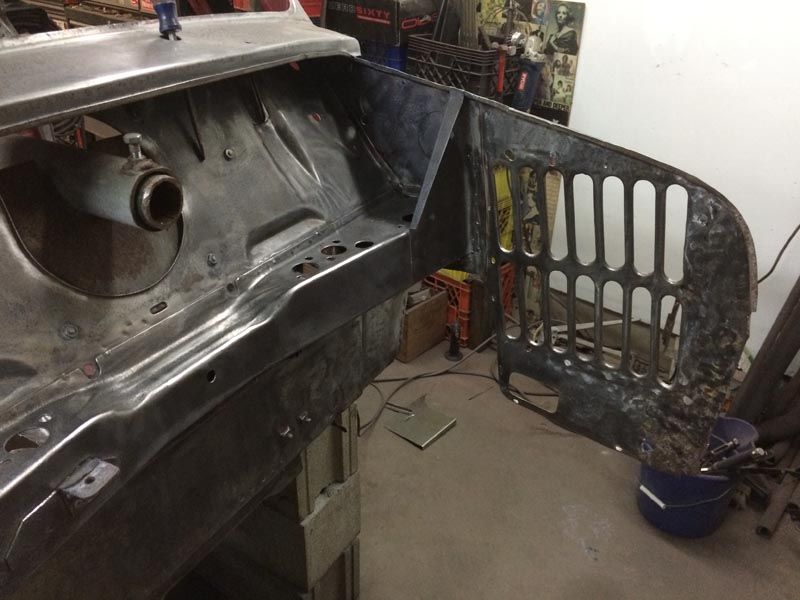
Have given up on thinking I can repair the driver's door skin to my satisfaction, so I have removed it.
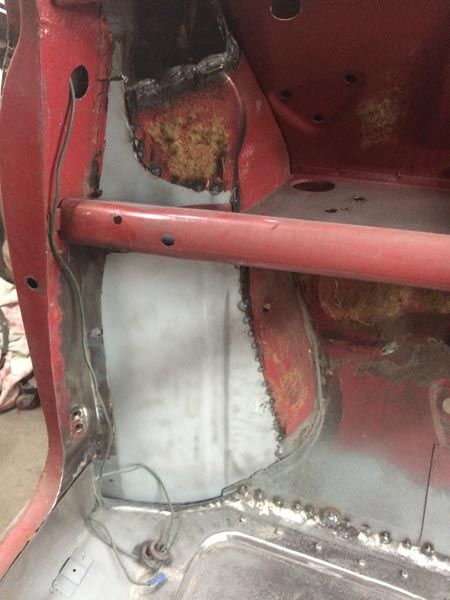
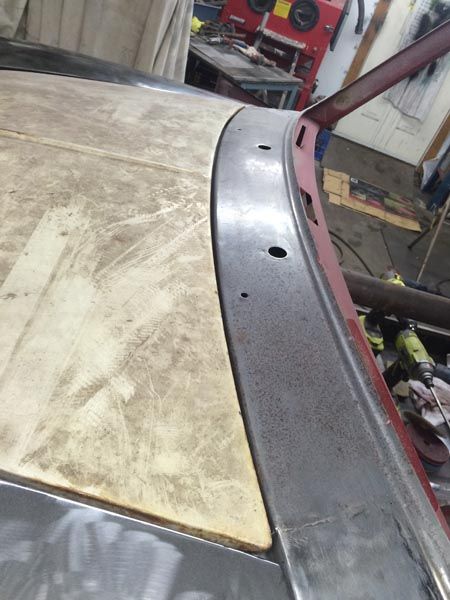
Also started work on the left side footwell/inner wing/a-panel
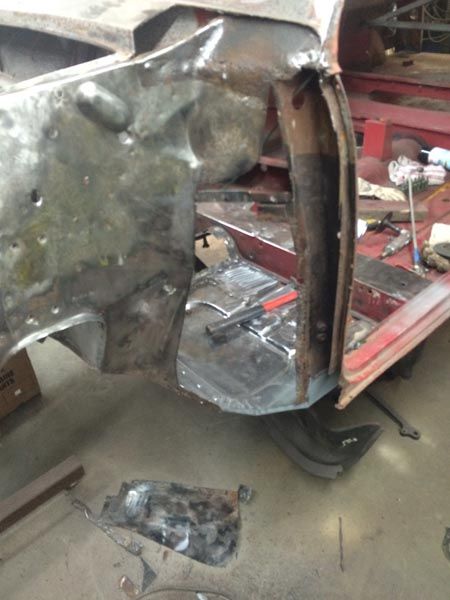
Have to use a mk3 panel as a mk1 is not available to me here, so I cut it out around the vent hole...
Will get the repair panel cleaned up and hopefully fitted this weekend
Re: My Austin Countryman Project
Posted: Sun Jan 10, 2016 11:51 pm
by swindrum
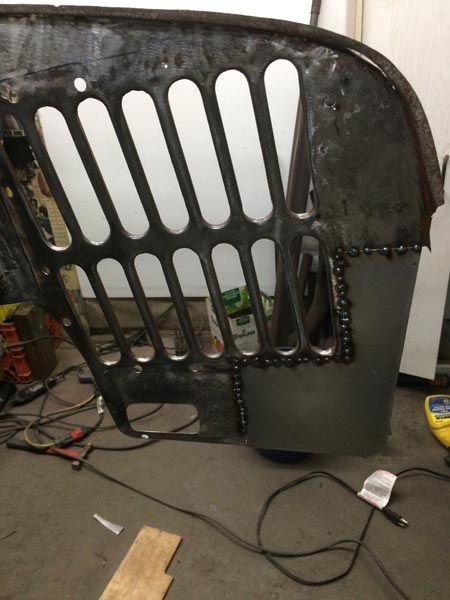
Tackled one of my least favourite jobs today...
I was planning on media blasting any paint and corrosion that would be left once all the welding was complete, but, I hate the thought of all that grit in all the hidden passages and compartments soooooo
Ugh, we tilted the car over and ran the wire wheels and scotch brites on the bottom of the car, a gross, dusty, stinky job. It is mostly done now though, so that's something I suppose.
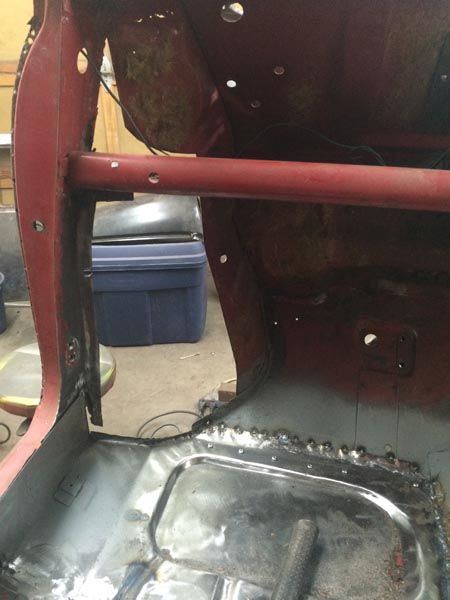
Work continues on the left-side footwell and a-panel
Re: My Austin Countryman Project
Posted: Mon Jan 11, 2016 8:57 am
by mk1
More great work from another forum member!
m
Re: My Austin Countryman Project
Posted: Tue Jan 12, 2016 6:20 pm
by swindrum
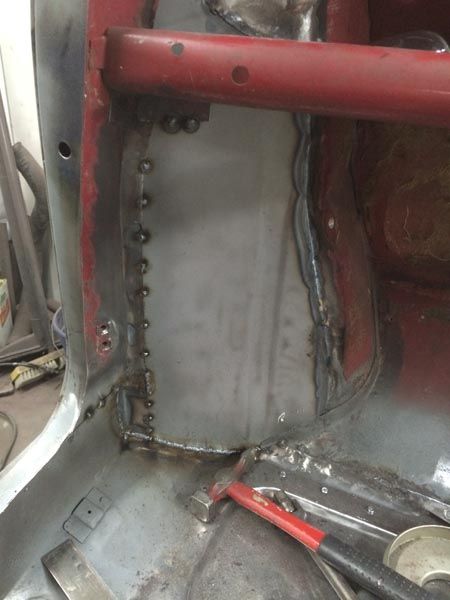
Back at it and first order of business was to get the footwell closed up
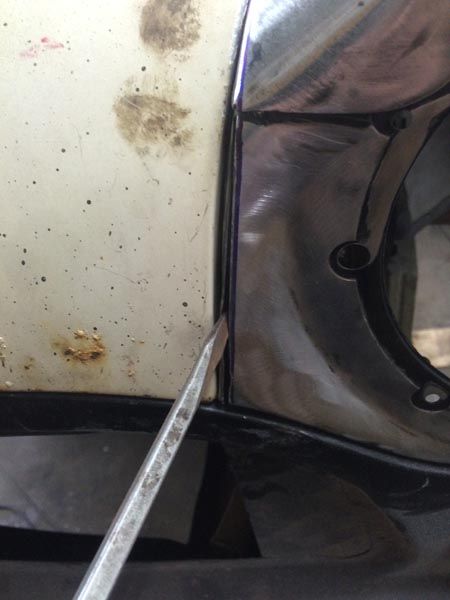
Next up was fitting the inner A-Panel, which meant sticking the wing and Bonnet in place in order to see if it was anywhere near being close to where it should be. It wasn't so much fiddling was involved.
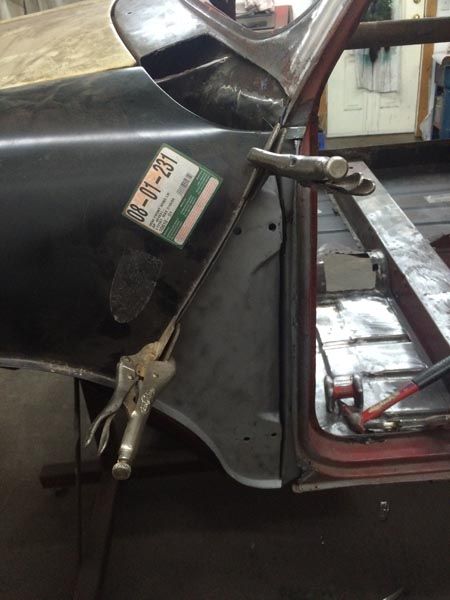
Panel gap looks ok on this side, but without the front panel on, it's anyone's guess how much work it will be to get this gap when the front panel goes on. For the moment I am happy
Right side will take some massaging to get fitted...
Although the scuttle gap is coming together, it was way out (3/8th of an inch when I started fitting the wing)
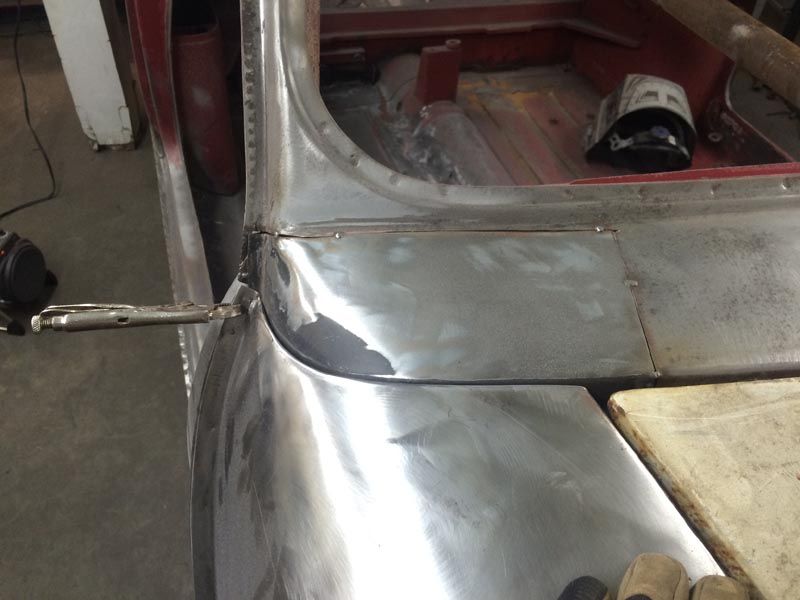
Anyhow, back to the side I am working on...
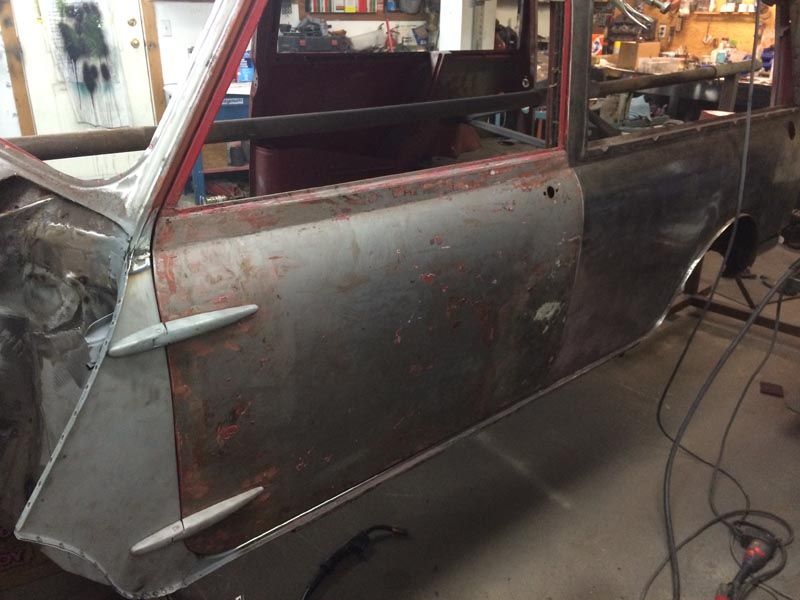
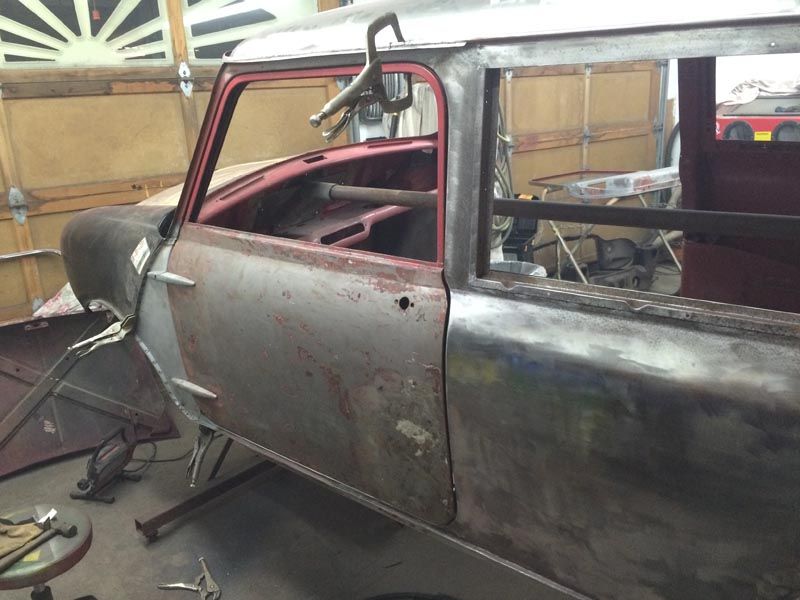
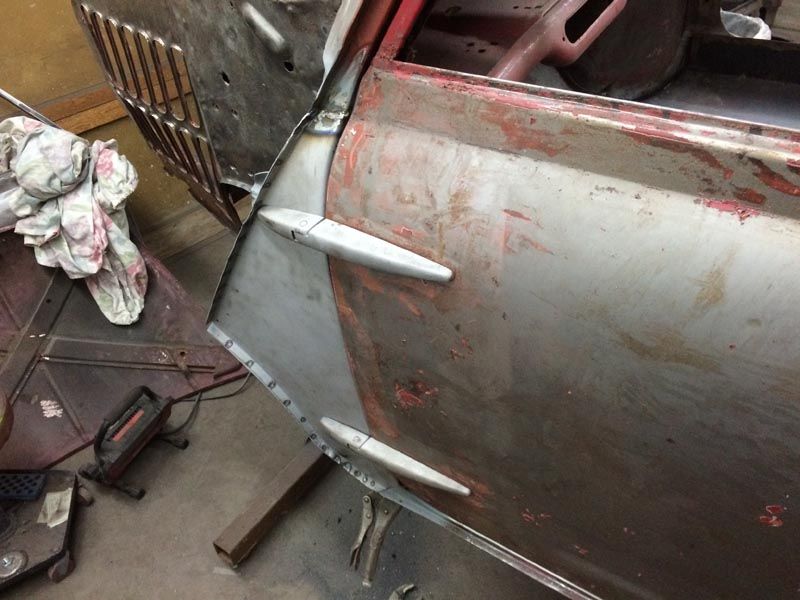
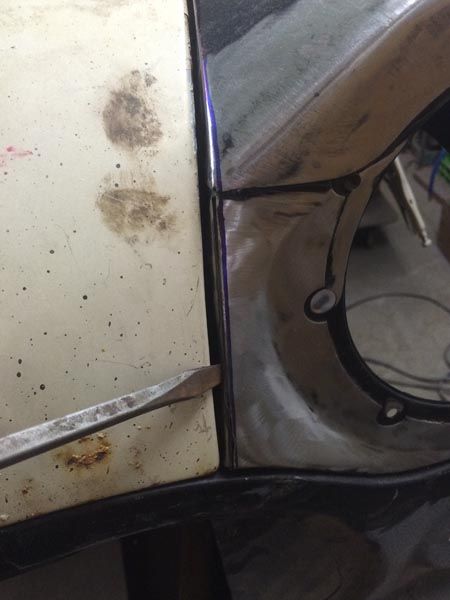
Happy with the inner A-panel, we fit the outer and check the door gaps
A-panels spot welded and the door is hung
Re: My Austin Countryman Project
Posted: Wed Jan 13, 2016 12:05 am
by swindrum
So, something was keeping me up last night... I don't know if you can see it in the last photo in my last post, but the top of the a-panel was not parallel with the body of the car. I was so transfixed with getting the door gap correct that I didn't notice it...
Ugh
Today I decided to see what I could do to remedy it. I was hoping I wouldn't have to remove the outer a-panel...
With the wing off, I was able to get the grinder behind the inner a-panel. I put a thin slot in the hinge reinforcement brackets. I drilled a couple holes to match the hinge holes in a piece of angle about 3 feet long.
I bolted the angle to the hinge holes and used it as a lever to move the a-panel to where it should have been to begin with...
I was able to hold it where I wanted it with my hip and have both hands free to weld it in position.
Saved!
Re: My Austin Countryman Project
Posted: Tue Jan 26, 2016 11:00 pm
by swindrum
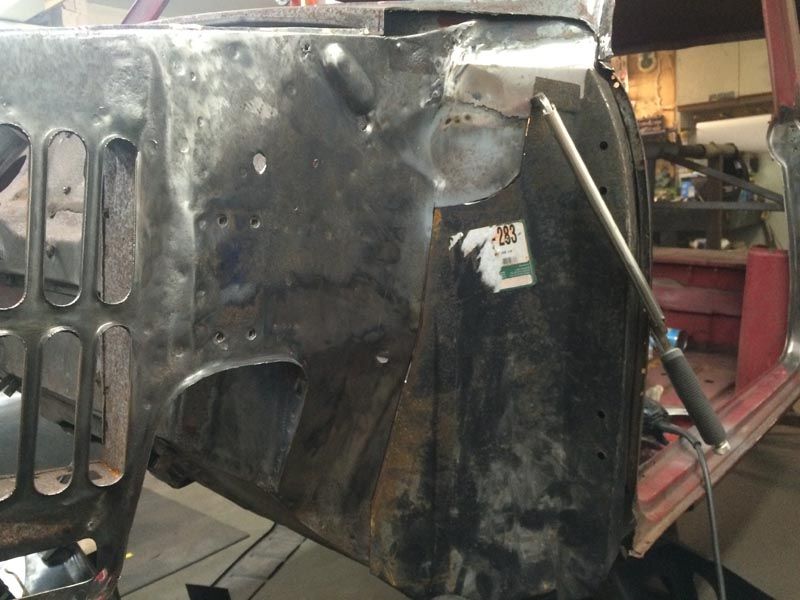
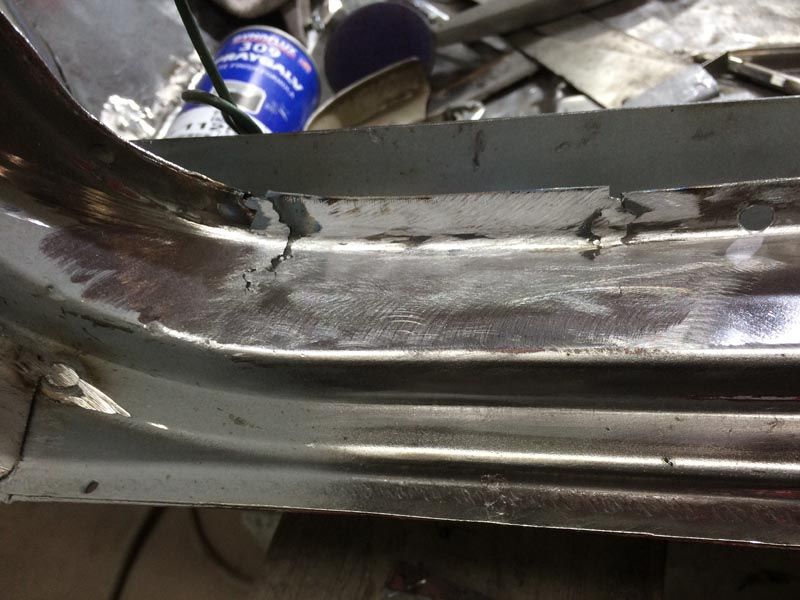
progress continues on the Countryman, spent some time with the scotch brite pads in the engine bay
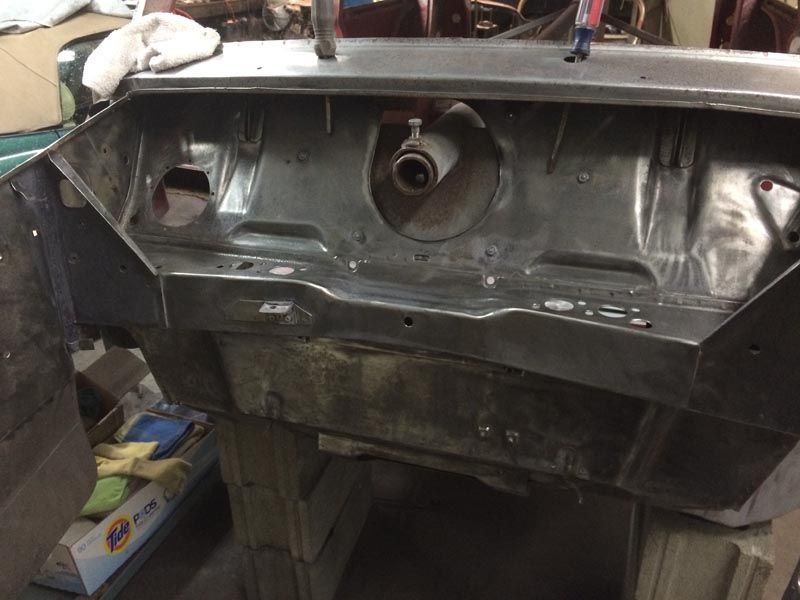
While I was in there, cut out some messy steel and created a new piece for the front panel to weld to

Bought a new rad surround panel with is scheduled to go in as well
The toeboard panel is all secured in place now too
There was corrosion in the door step, so it was cut out and a new piece was made, a bit more grinding to go there
The seatbelt mount was getting a bit soft, so it was cut back to solid metal and replaced as well
Re: My Austin Countryman Project
Posted: Tue Jan 26, 2016 11:15 pm
by swindrum
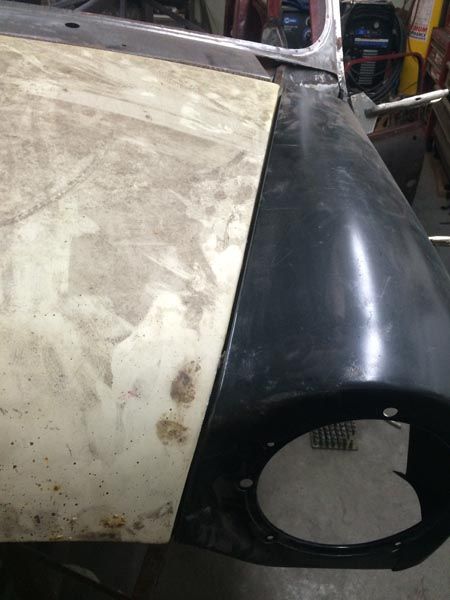
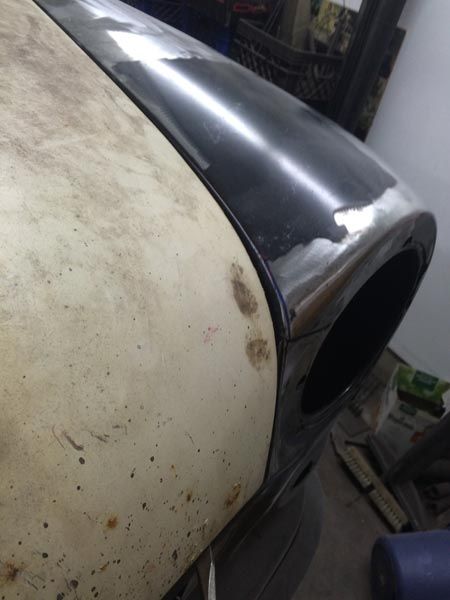
Have been working on fitting the bonnet/wings/front panel... Sadly, they are not the best fit, so it is taking ages to get everything lined up. The curve of the bonnet doesn't line up with the curve of the scuttle, so that will need to be addressed. Once that is correct, I will need to match the curve of the sides of the bonnet as best as I can with the wings.
Once I am happy that the bonnet is the correct shape, then I can proceed with the wings and front panel!
Re: My Austin Countryman Project
Posted: Wed Jan 27, 2016 8:25 am
by mk1
Looks like things are moving on well. I do like your A Panel tweeking method!
Front ends always take a lot of fitting, I am sure you will work your way round it.
M
Re: My Austin Countryman Project
Posted: Wed Jan 27, 2016 9:51 am
by java gt
I really like the way you are trying to keep as much original steel as possible.Keep up the good work.
Re: My Austin Countryman Project
Posted: Wed Jan 27, 2016 4:12 pm
by swindrum
mk1 wrote:Looks like things are moving on well. I do like your A Panel tweeking method!
Front ends always take a lot of fitting, I am sure you will work your way round it.
M
I had visions of having to pull everything off and start from scratch, so necessity being the mother of invention... It just reminds me that one must remember to think in 3 dimensions.
I spent some time on the bonnet last night, working on the curve of the bonnet in relation to the scuttle and things are getting closer. It is quite interesting and simple to shape the rear curve of the bonnet. The lip of the bonnet at the rear helps dictate how much curve there will be, the farther past 90 degrees the lip is folded, the more the bonnet will curve. Mine had too much curve so I carefully pried the lip closer to 90 degrees and checked it. bend, check, bend check...
I think I bolted and unbolted it 20 times last night, but it is getting close now. Sorry, I forgot to take a photo. Maybe I'll remember when I get it perfect tonight...

Re: My Austin Countryman Project
Posted: Thu Jan 28, 2016 1:24 am
by swindrum
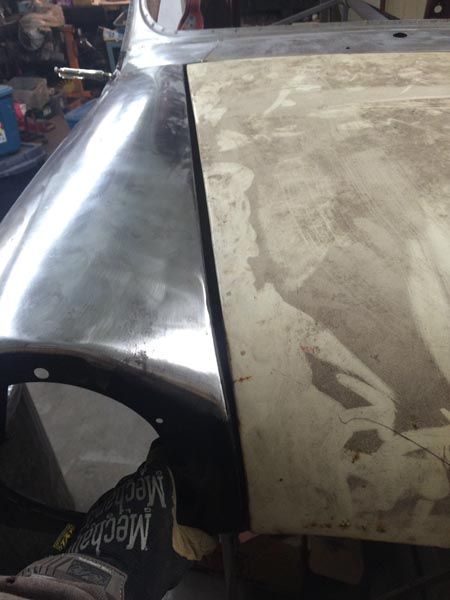
Things are working their way to fitting better, I am starting to like the scuttle gap a lot more
With that taken care of, the wings could be fettled a bit more.
The inside corners of the wings fouled on the bonnet, so I had to slit them with a cutting wheel and tap the metal over to get clearance.
Still need to get the contour correct, but there is a gap now at least
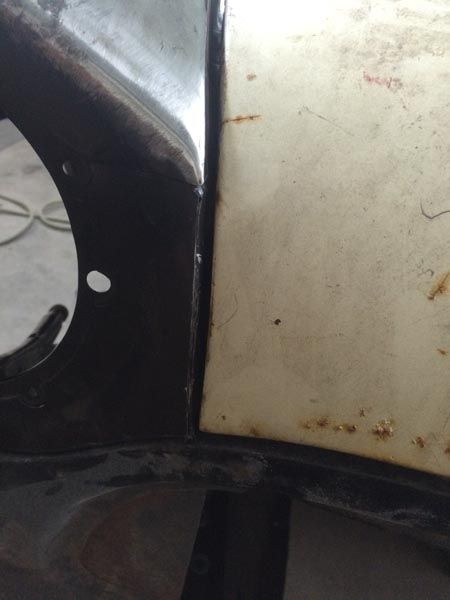
This might be a bit trickier, the contour of the wing doesn't match the bonnet, There may be a bit more slicing and dicing before I get it to match...
The other side is better, but not great
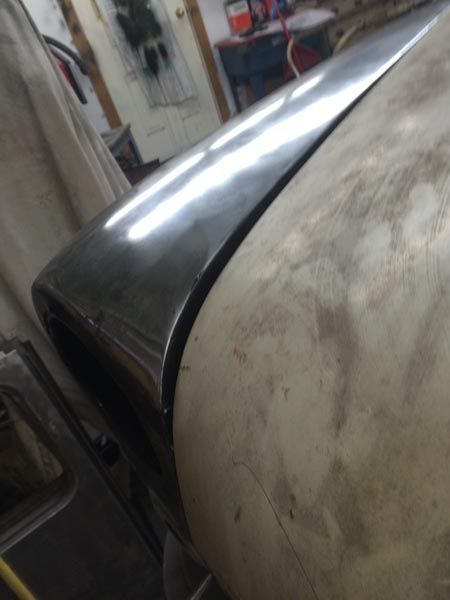
So, still many hours of sorting to do on the front end, but I really want it to be nice.
Re: My Austin Countryman Project
Posted: Mon Feb 01, 2016 4:08 am
by mike owen
Great work, I had to cut my front fenders just like you did to get a good gap. Did your motor have a Cooper head on it ?
Cheers
Mike
Re: My Austin Countryman Project
Posted: Mon Feb 01, 2016 8:54 pm
by swindrum
Hi Mike, glad to know I am not alone when it comes to manhandling these cars back together!.
This car didn't come with an engine, but will be getting a 998 with a 12g295, possibly a set of twin SU's but most likely a single 1 1/2"
Re: My Austin Countryman Project
Posted: Mon Feb 01, 2016 9:03 pm
by swindrum
Making final preparations and tweaks before final affixing of the wings.
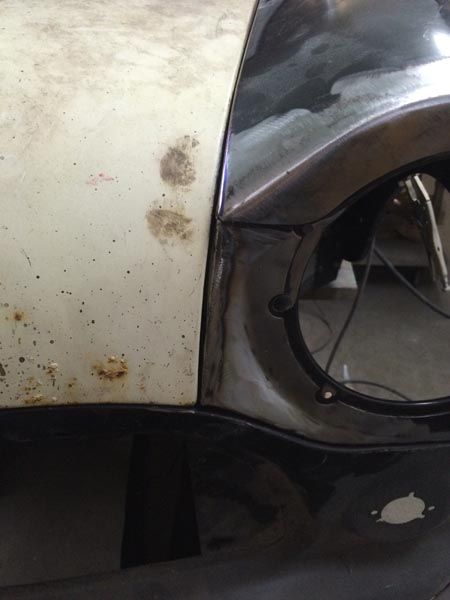
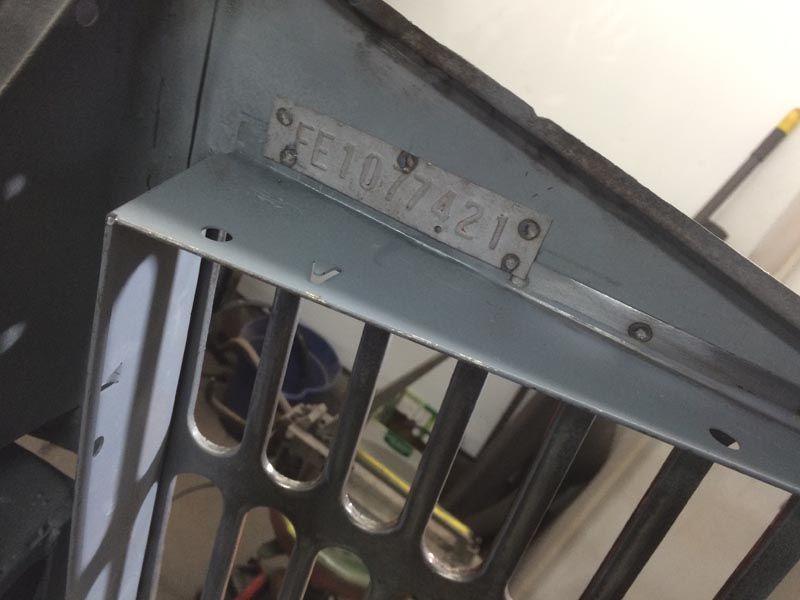
The radiator shroud was messed up, so a new one was in order, was able to save the FE number and reattach as well.
I have been agonizing how best to remedy this, you can see I have scribed a line, I think the best plan of attack will be to make a slit upon the line and gently tap the wing down until it matches the curve of the bonnet. If I lift the bonnet up to match the height of the wing, the gap to the slam panel is terrible, I have the subframe bolted in with the front panel bolted to it, so It is level.
Re: My Austin Countryman Project
Posted: Mon Feb 01, 2016 9:36 pm
by Daz1968
Are those heritage wings, as am unsure what to use on my car, I did fit magnum on my mk1 and they weren't too bad, I do think only way to get that right is to slit the wing and reshape it where it spot welds to the inner wing. Shouldn't be too difficult just time consuming.