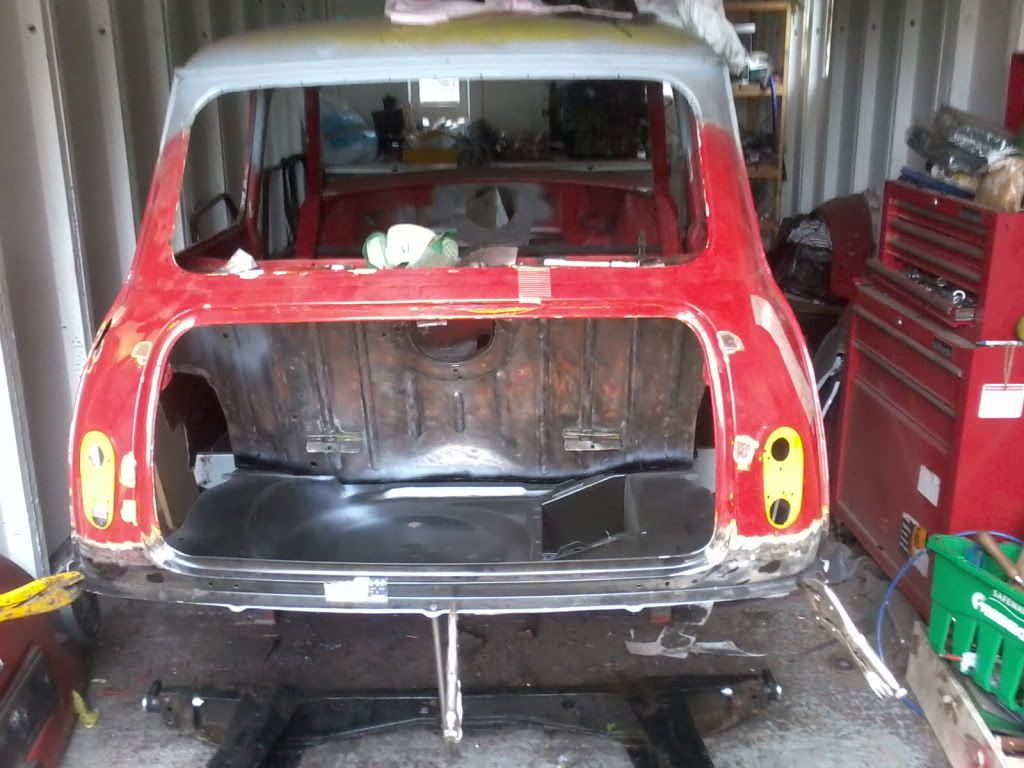
Totally agree only goes to show its the genuine "thing" once restored
and you keep the original brackets for the bootboard, to proof its a genuine Cooper
I also left the dents in my bulkhead & fueltank (caused by the bootboard) when the -
first owner had a rearshunt in the early 70ies.
Great progress.
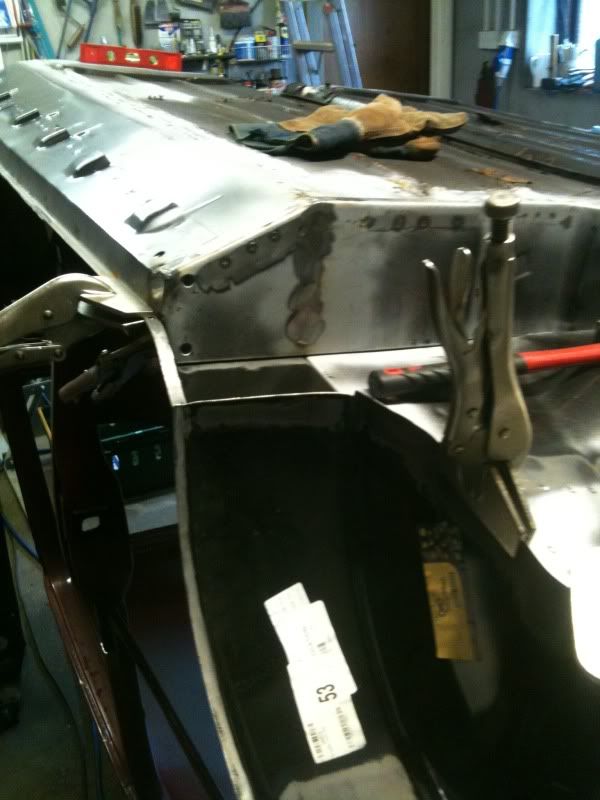
I'll check tomorrow regarding the lining up of the seat panel.
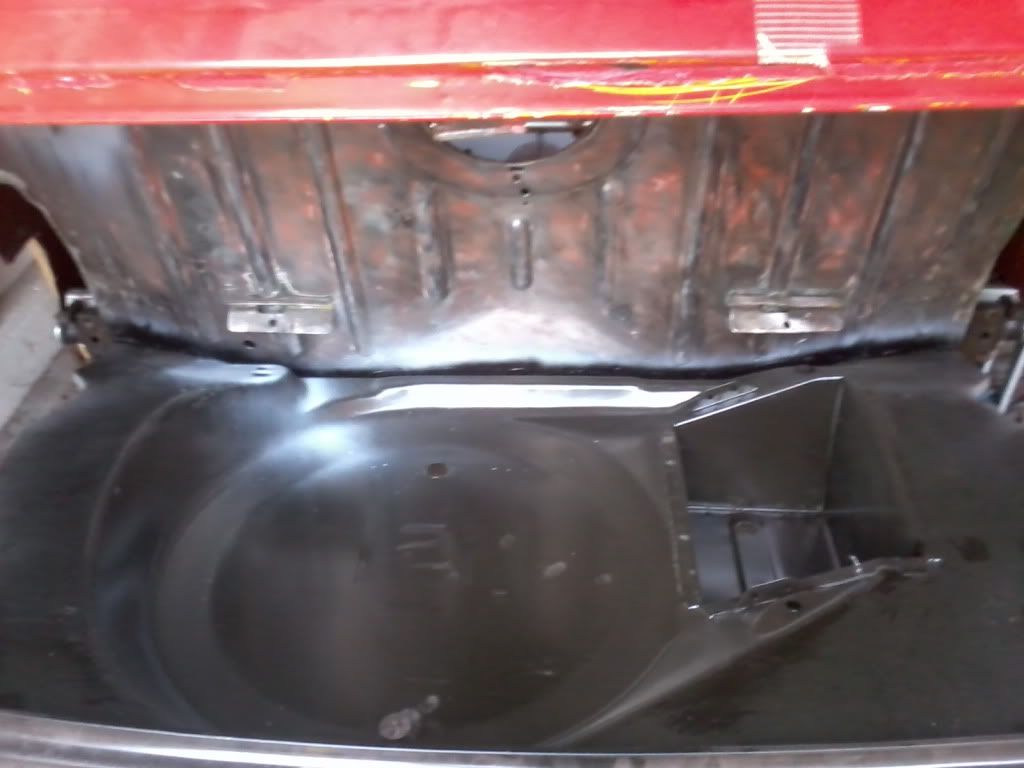
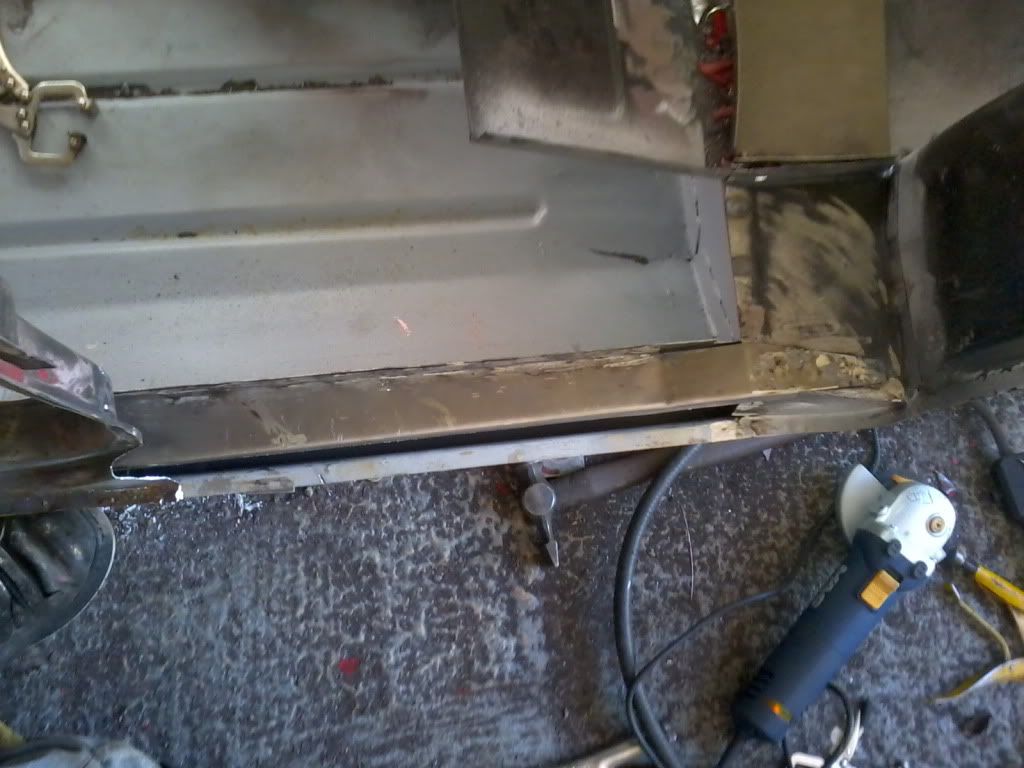
There's a stiffener to be welded in which joins the wheelarch, boot floor and seat panel.
Ive got the stiffeners, just trying to work out when to put them in? It would be nice to be able spot weld them in before the quarter panel goes back on!
I checked the distance on 2 cars earlier, one which hasn't received the attention of a welder and the other which has had another boot floor.
The measurement is as near as dammit 47mm from the base / corner of the rear bulkhead (inside the car) to the change of angle in the boot floorpan, if that makes any sense.
It's worth mentioning that the base of the rear bulkhead is not straight along all it's length.
Both bottom corners curve in towards the inside of the car.
Once your wheelarches are fitted it'll make more sense as you'll be able to line things up easier.
Hope this helps.
That helps alot! One wheel arch is half in, im just struggling to work out how the arch finisher panel fits? I bought it from M-machine and they sell it in two parts. Im not sure whether to:
1. overlap them and spot them together?
2. trim and butt weld them together?
Has anyone got any pics of how they go? Also how they overlap the front part of the arch? There seems to be a 10mm square shaped gap on the outer edge!
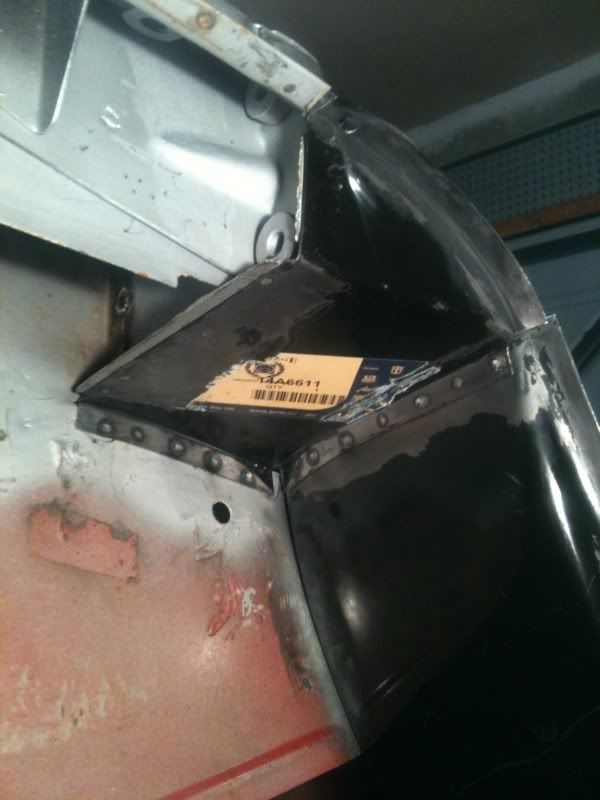
Hi Matt, it's Matt (Flame Red) from TM. I feel like I'm harassing you but we seem to be doing the same bit at the same time so hopefully I can help.
I've been doing my second arch and closing panel today, I've used heritage closing panels (they're only £10 so I don't see why M-Machine make their own 2 piece ones). From your description I'd chose to trim it and butt weld it but that seems a lot of effort when you can buy a 1 piece panel.
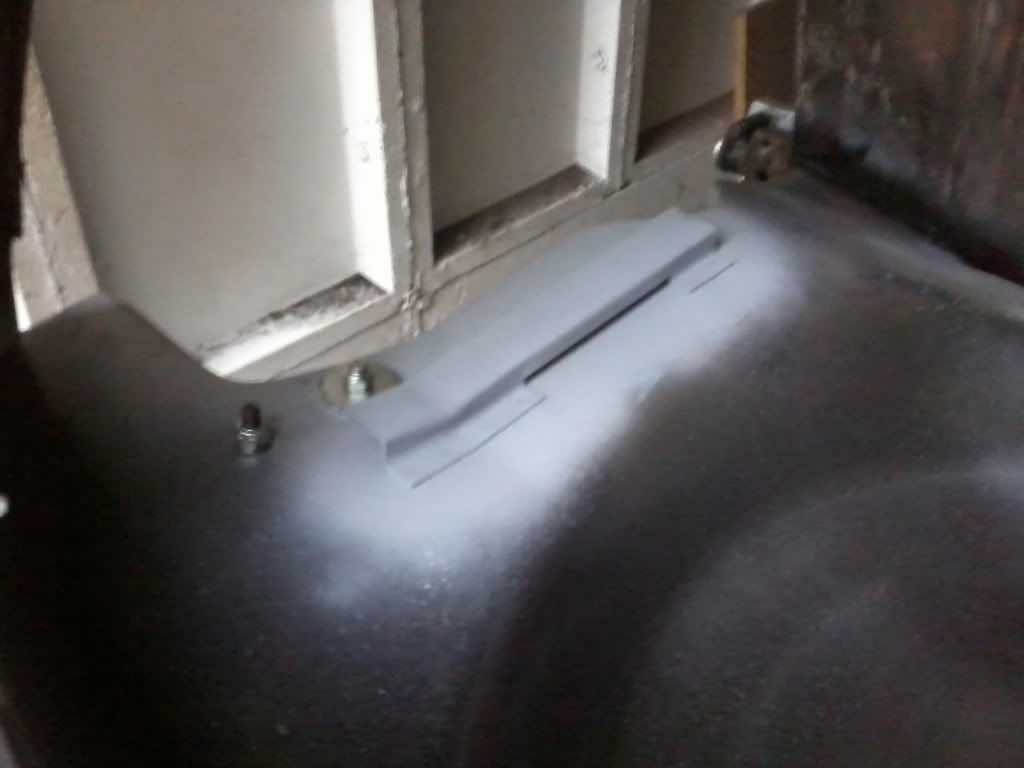
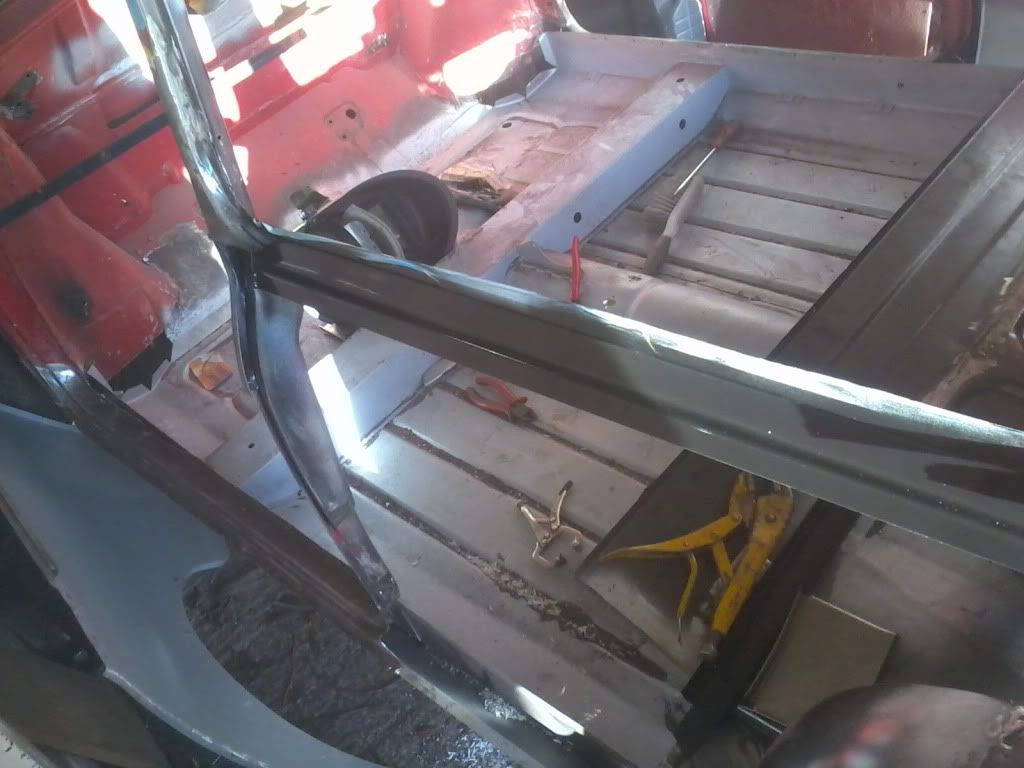
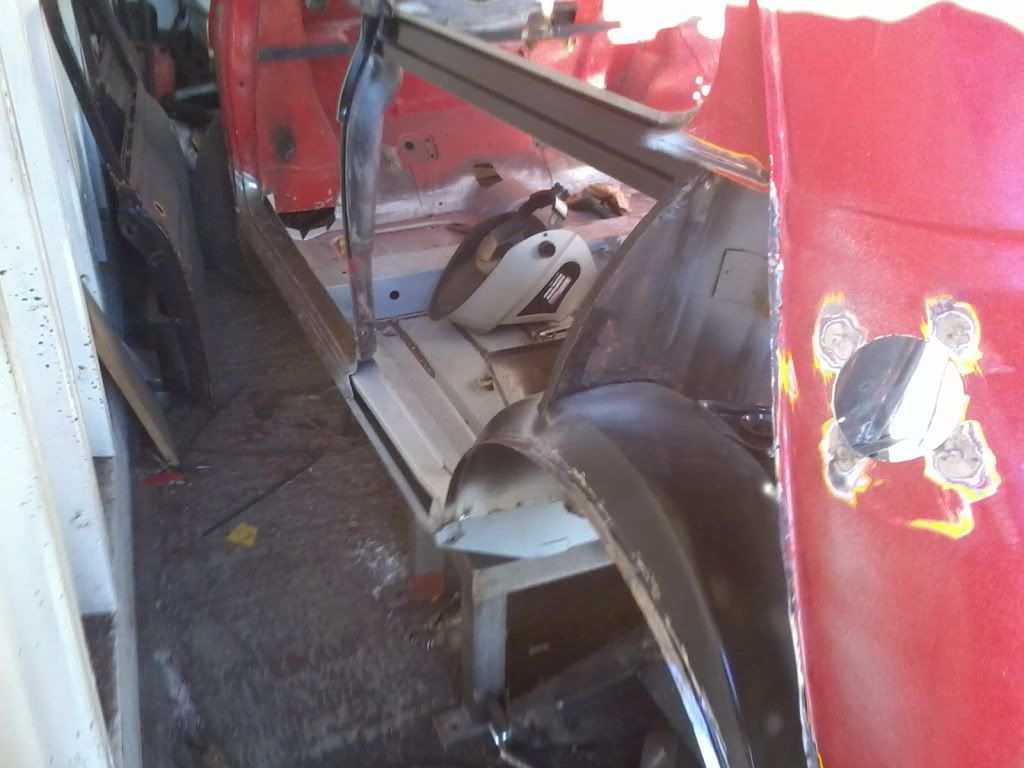
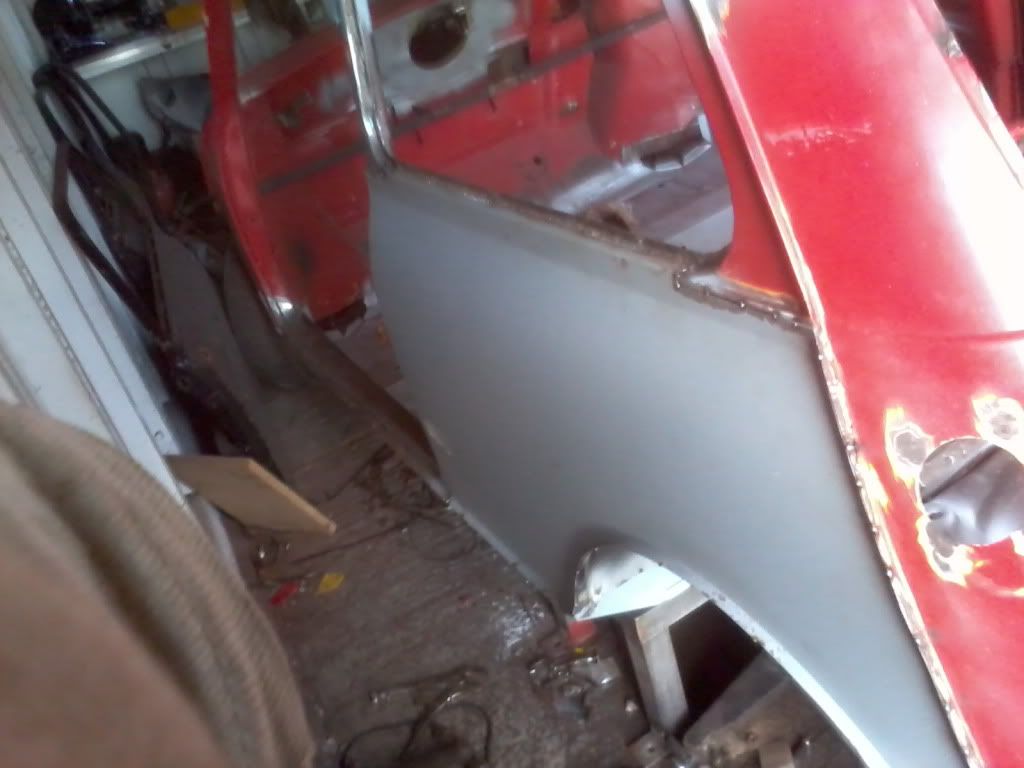
Here are a few pictures of mine, I hope they are of some help.
The edges along the heelboard and boot floor are seam welded in the factory so I'll be doing that as well
Haha not harassing at all! Ive been messing about with the two piece ones and im really not happy with them. I get myself some heritage ones I think. How much overhang have you got on the front edge of the wheel arch (where it meets the closing panel)?
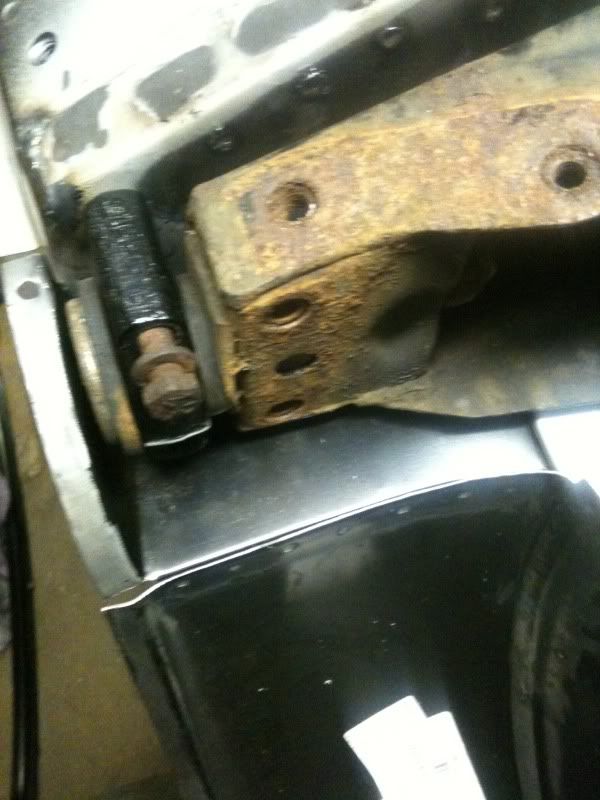
From what I can make out, I think the whole parcel shelf and rear bench i sitting 10mm to high on the left hand side!? If press on the edge of the wheel arch and push it down the quarter panel lines up at the bottom and top. If I try and move the wheel arch down I get loads of overhang at the bottom edge, and the rear bench doesn't reach the wheel arch where its welded on top?
Im thiniking of using a scissor jack between the parcel shelf and the shock turret to push that side down?
I have about 5mm overhang although I think that might be more than there should be as I will have to trim a little off the seam at the outside edge as they overlap. I fitted the first arch with all the panels around it in place and found that there was only one way it was going to fit so I just welded it in like that. When I did the second side I fitted the subframe and measured the shock mounting in relation to that and made it the same on both sides. I don't think I could have reduced that overhang on either side, that just seemed to be the way they fit.
I had to rework the edge of the seat back where it meets the wheel arch as the
new arch had a shorter seam than the old where it turns 90 degrees, but it did line up on both sides without any trouble along the top.
I've spent a long time trying to get it right but I'm still not certain that I have, there are definately differences between both sides but I just decided that so long as the shock mounting was the same height on both sides then that was all that really mattered. I just don't have enough reference points to go by to do it any other way.
I can't really think what to suggest for yours without seeing it, but 10mm is a big gap so I would recomend measuring everything you can on both sides to try and work out what's going on before forcing anything to fit.
Sounds about the same as mine then. I think mine overhang by 3-4mm. The front section lines up at the window ledge and along the sill and the rear section lines up with the boot floor and rear panel. Its just the window ledge at the rear of the quarter window thats sits too high.
The other thought I had is the profile of the panel being slightly straight? If I push a slight curve in it, it obviously shortens the height of the panel. The new quarters certainly look as though they have less of a curve in them. I think I'll make a CAD (cardboard) stensile of the profile of the other side and compare...All fun and games!
I changed one of my quarter panels and like you say there does not seem to be as much curve in them as the original. Also when I replaced my wheel arches mine overhung about 5mm or so as well.
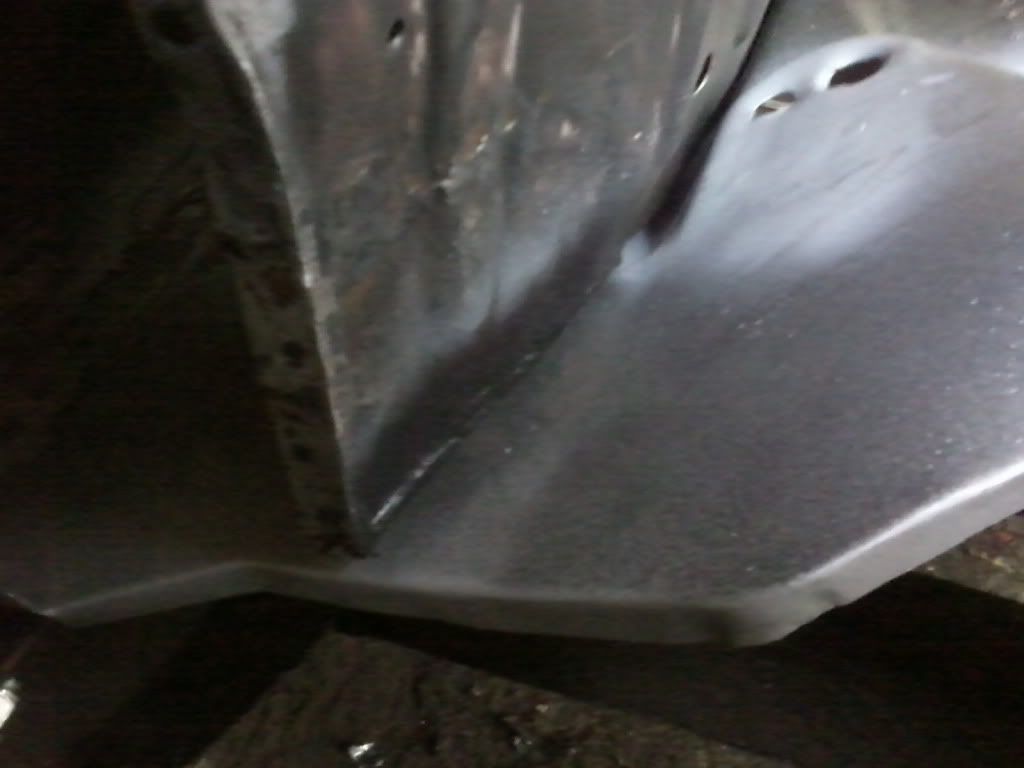
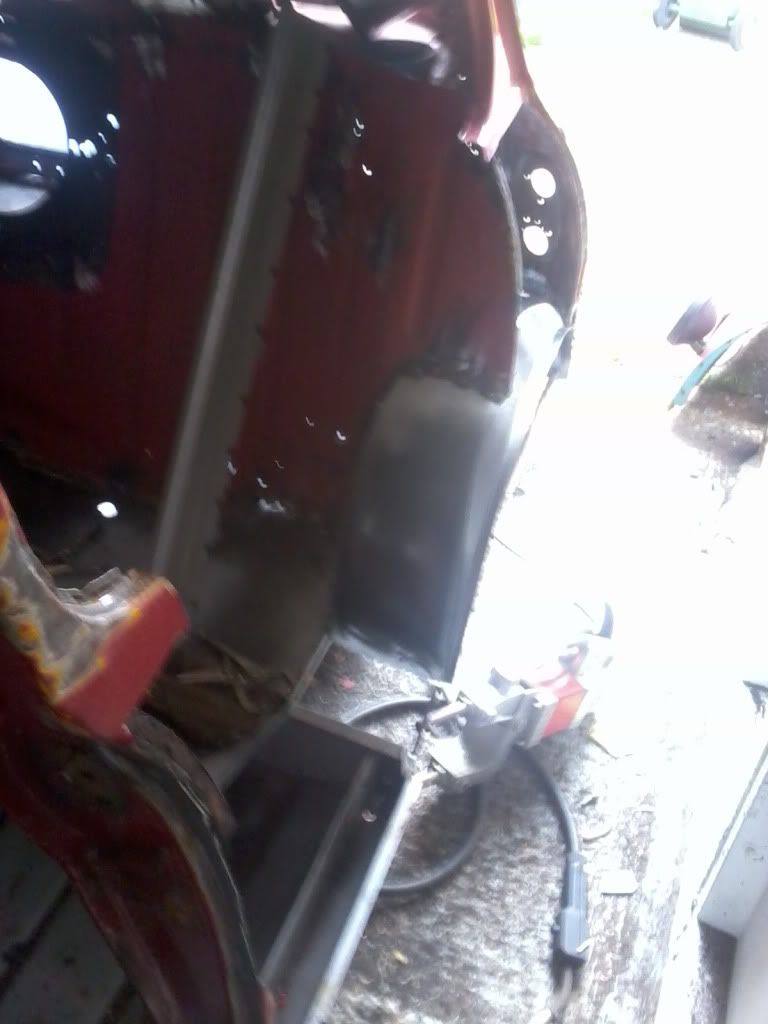
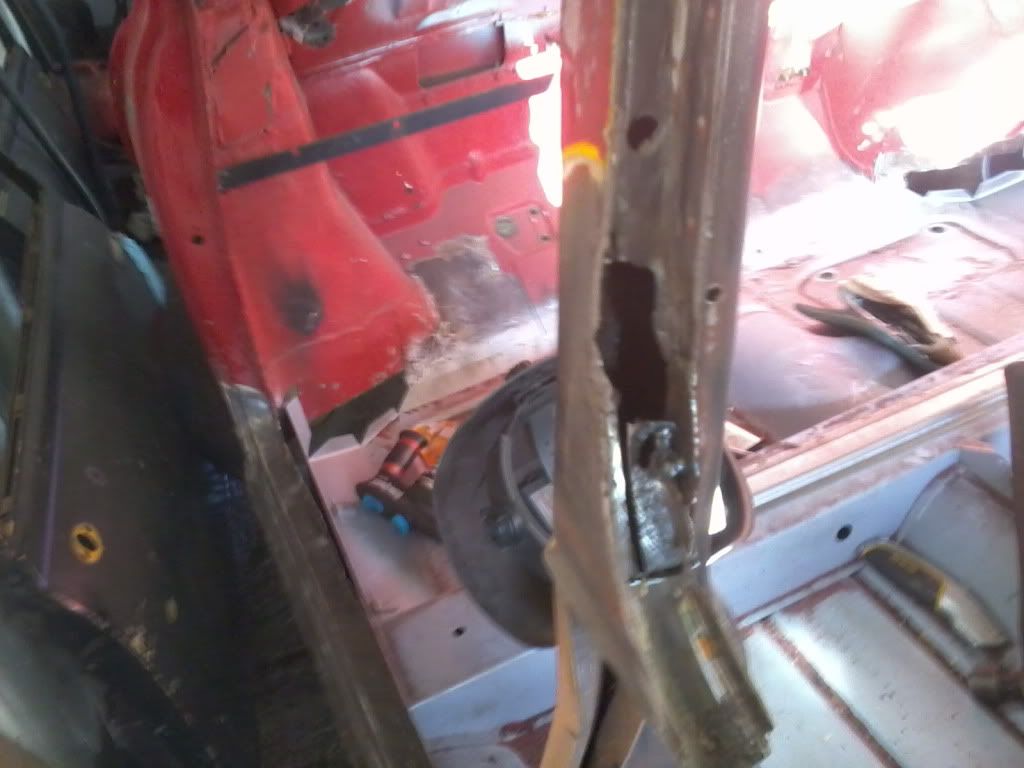
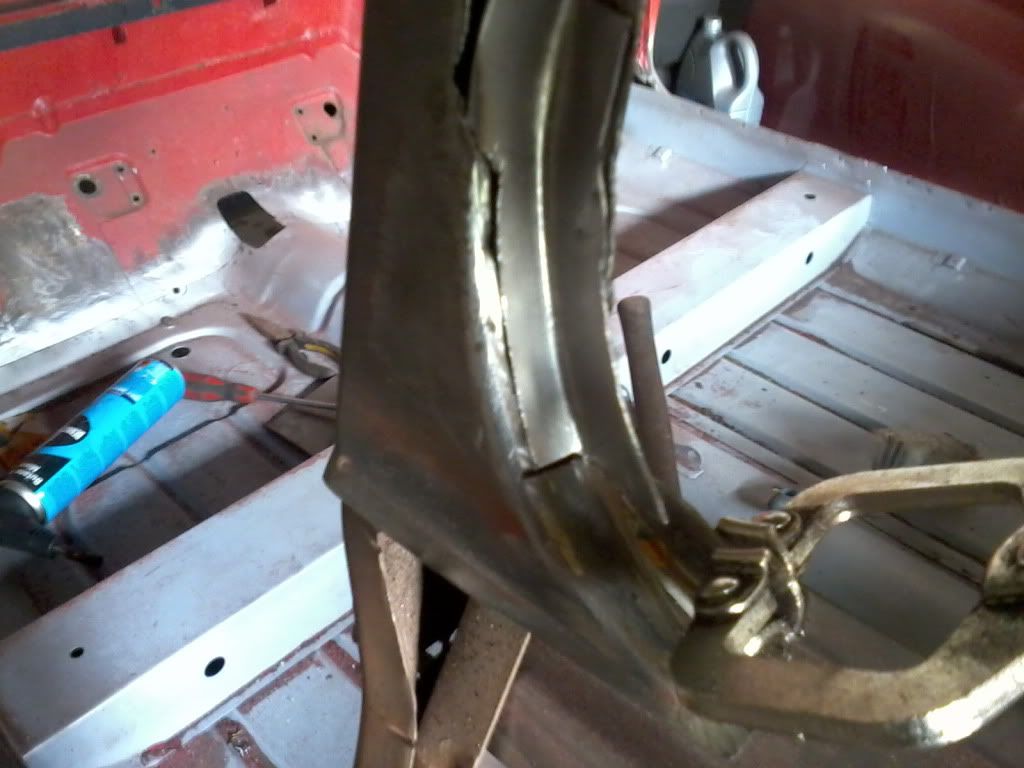
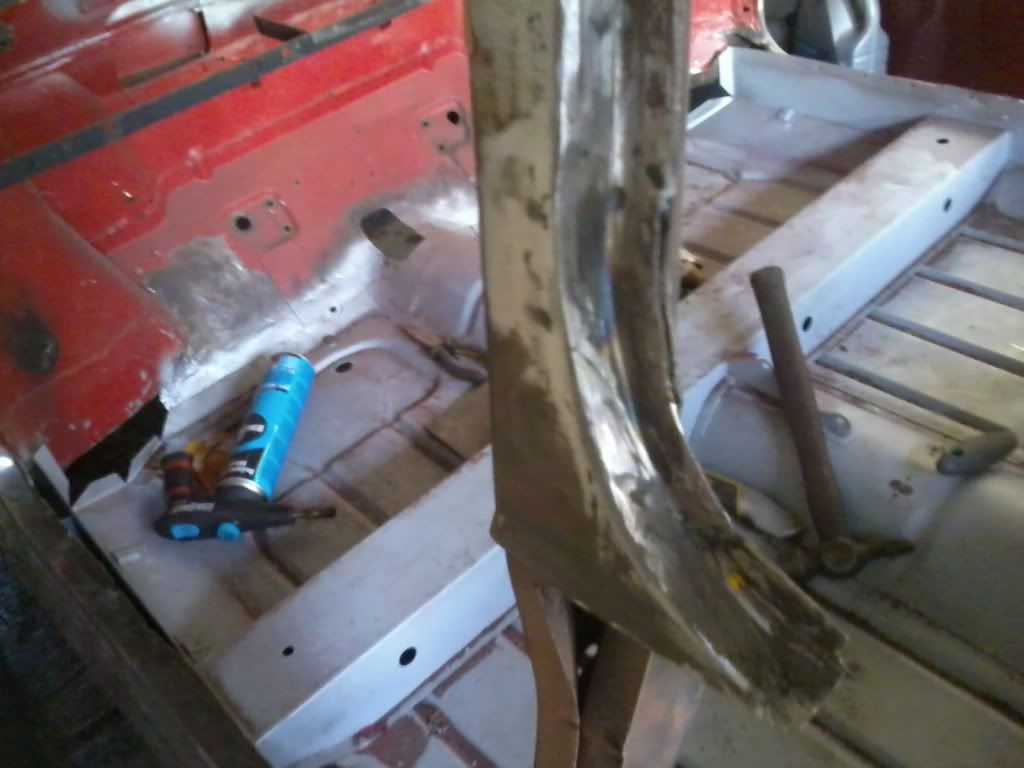
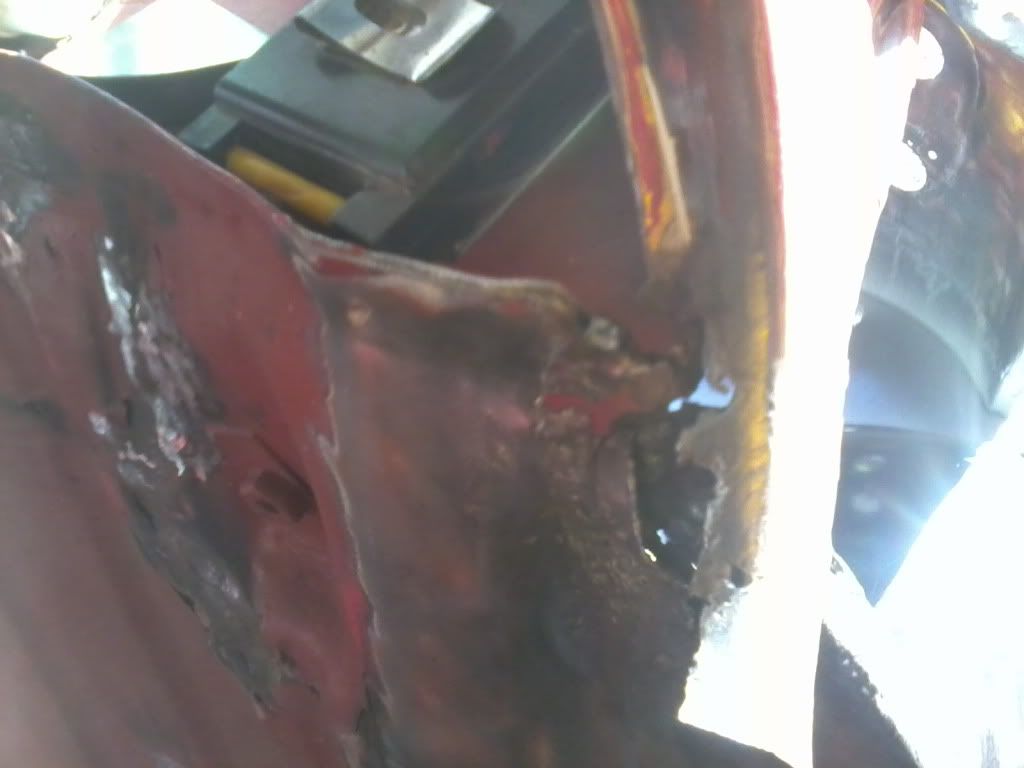
Well ive had a succesful afternoons work. As my spot welder is currently broken, I decided to make a start on the offside, and sort out some rotten patches out.
Hats off to you. Excellent work.
Those little repairs are so time consuming.
It's reasonably easy to change the large ready made panels, but those home made repairs are so much more difficult to get right. Keep up the great resto thread.
Hope you get your Spot Welder fixed quickly.
Thanks for the comments! To be honest I thought It would be xmas by the time I got to this stage!
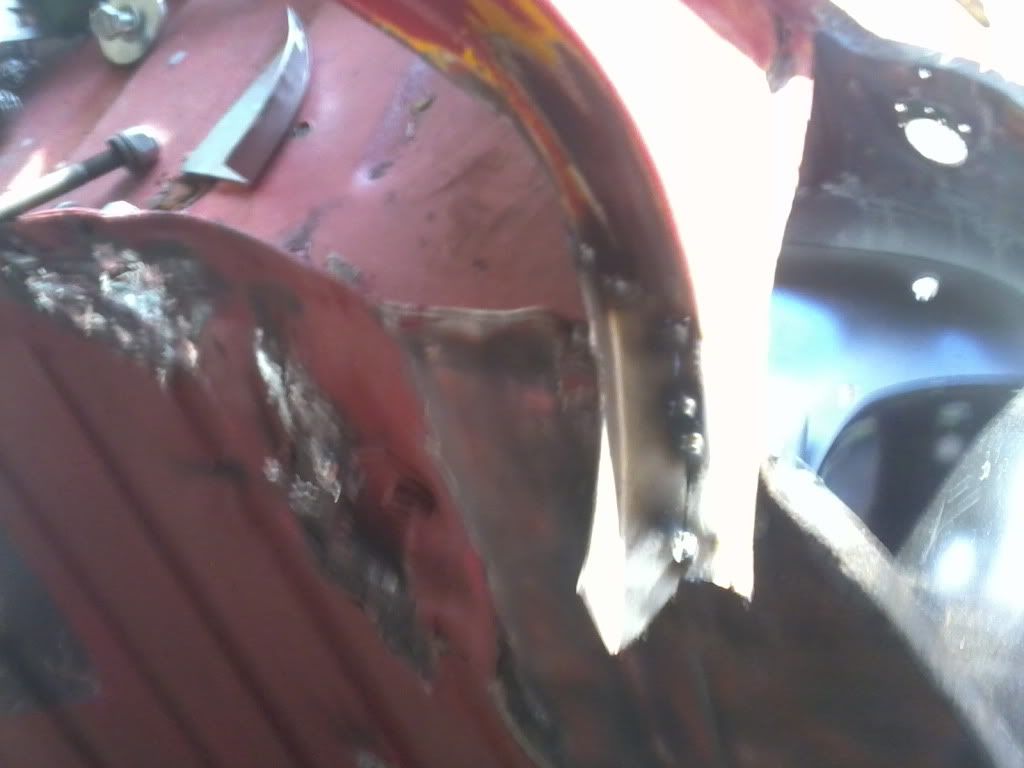
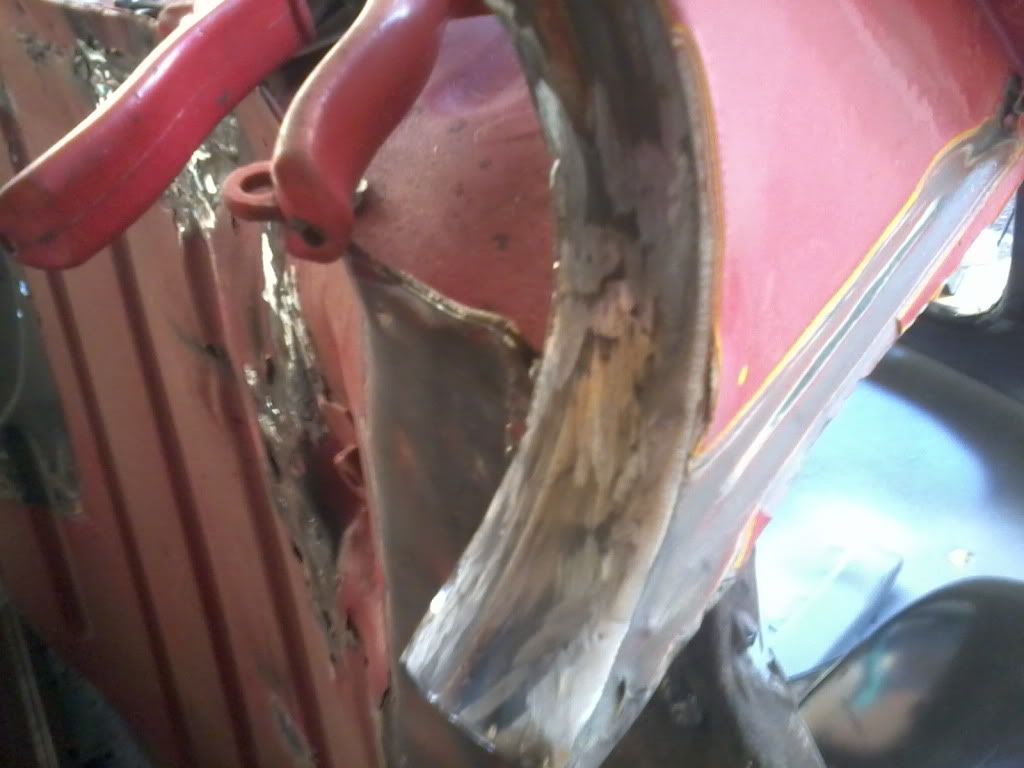
I resorted to plug welding the last few panels in, so I could get the quarter panel in place. Its in but it took ALOT of persuading. I started with the top section then worked my way down the panel. The door shut looks good, I just need to tidy up the last inch. Its only tacked for now until my spot welder decides to work again.
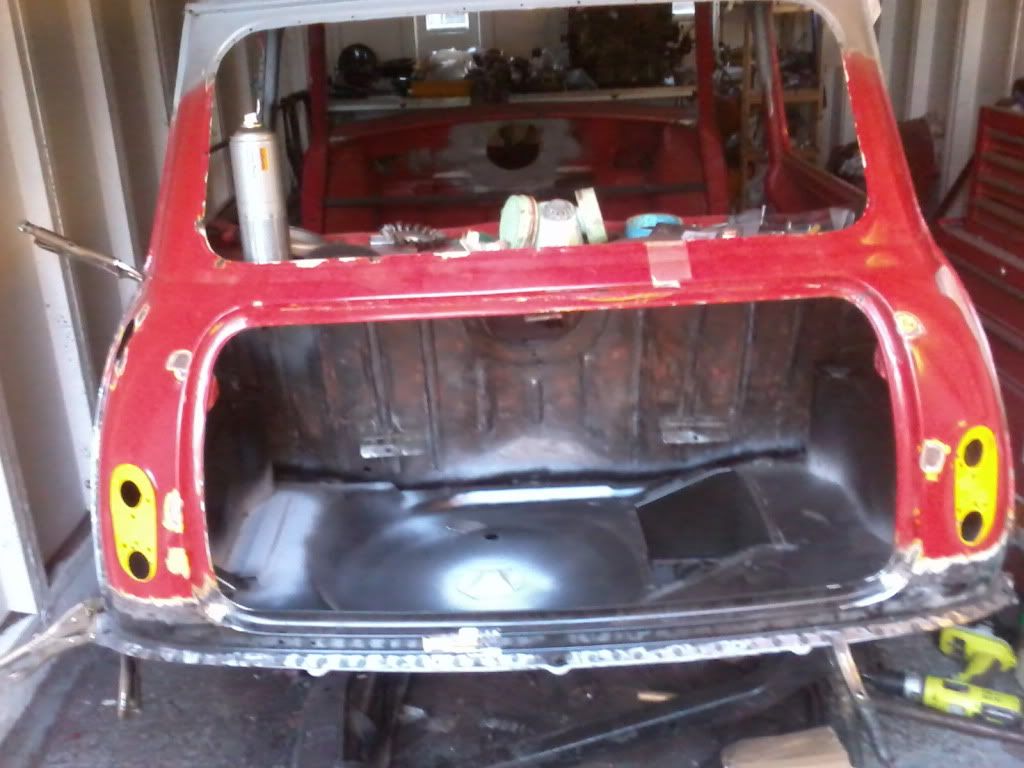
Each time I look at this thread I am absolutely staggered by what you are achieving with this resto. Not only is it a massive project, but you seem to be moving it on at a phenomenal rate & to a very high standard to!
Very well done, I can't wait for the next instalment.
having seen the endless setbacks matt has determinedly pushed past on his other mini ,im not at all suprised at his speed and concentration here .well done chap!