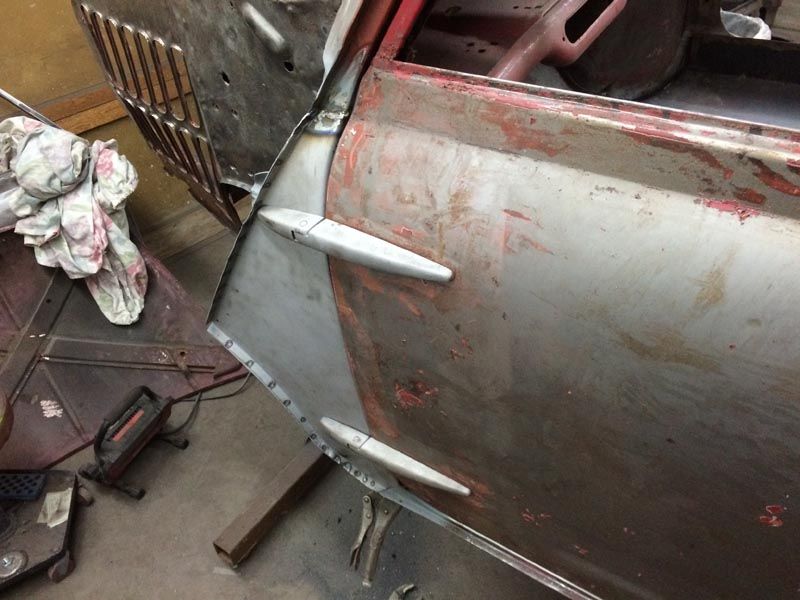
Page 3 of 9
Re: My Austin Countryman Project
Posted: Fri Dec 11, 2015 4:43 pm
by swindrum
Got a parcel in the mail with 4 sets of hinge bushes and pins, so I thought I would give it a go. Got the bush removal tool which made things really simple.
Tap out the pin and use the tool to ease the bushing out
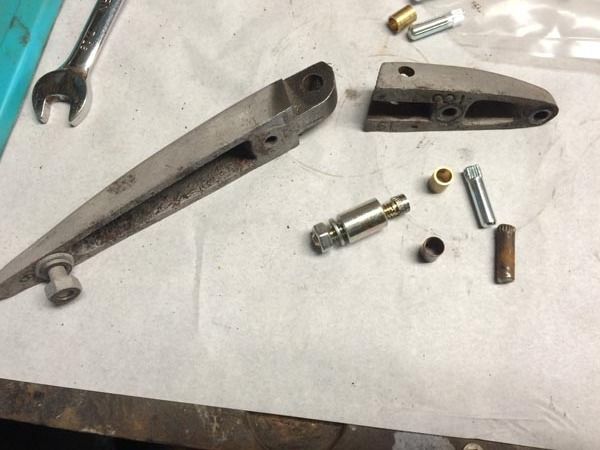
New vs old bush!
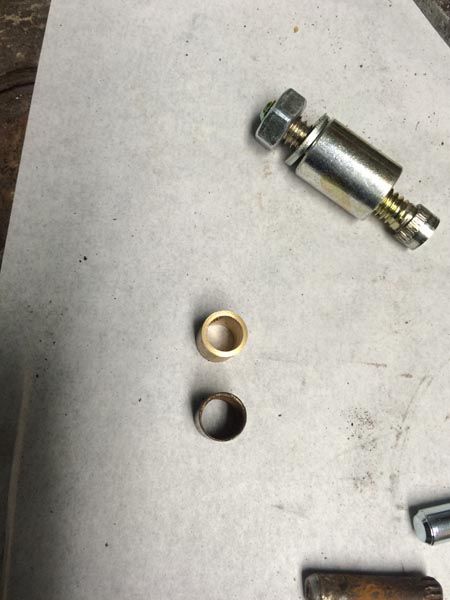
Tap in the new bush
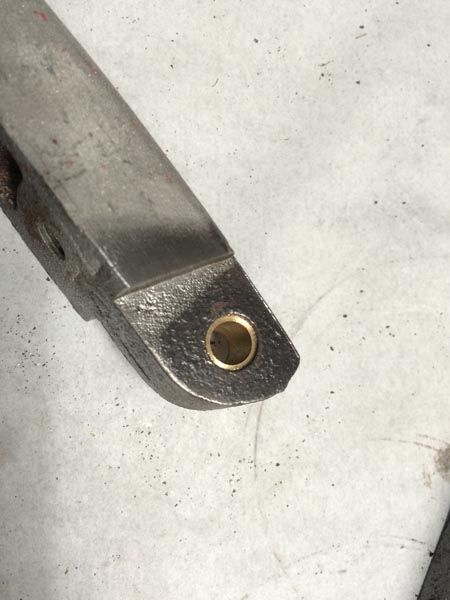
Tap in the new pin
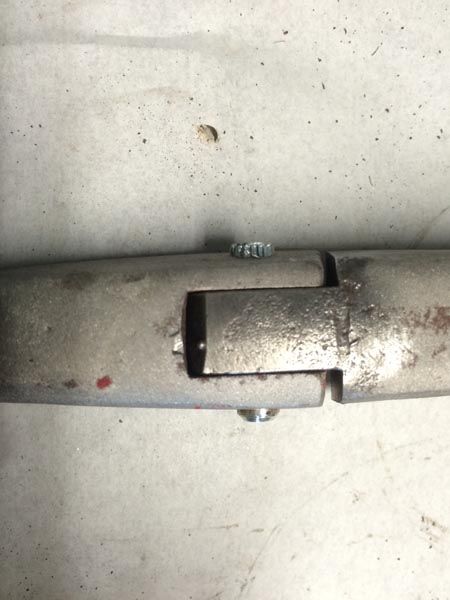
The pin still needs to be filed to fit
Re: My Austin Countryman Project
Posted: Fri Dec 11, 2015 4:47 pm
by swindrum
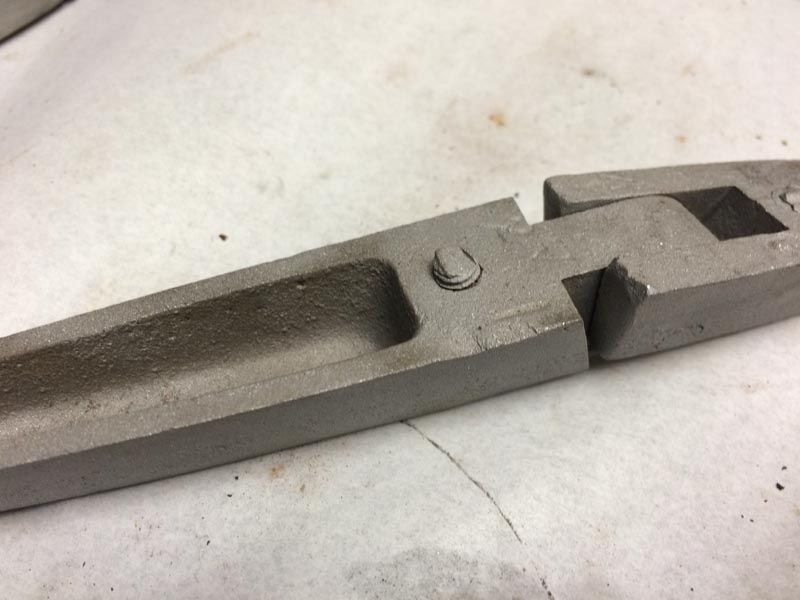
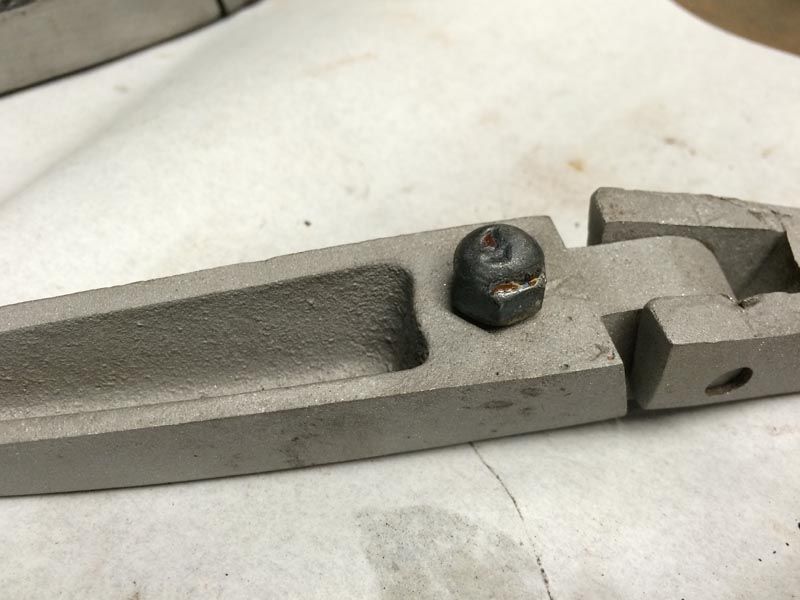
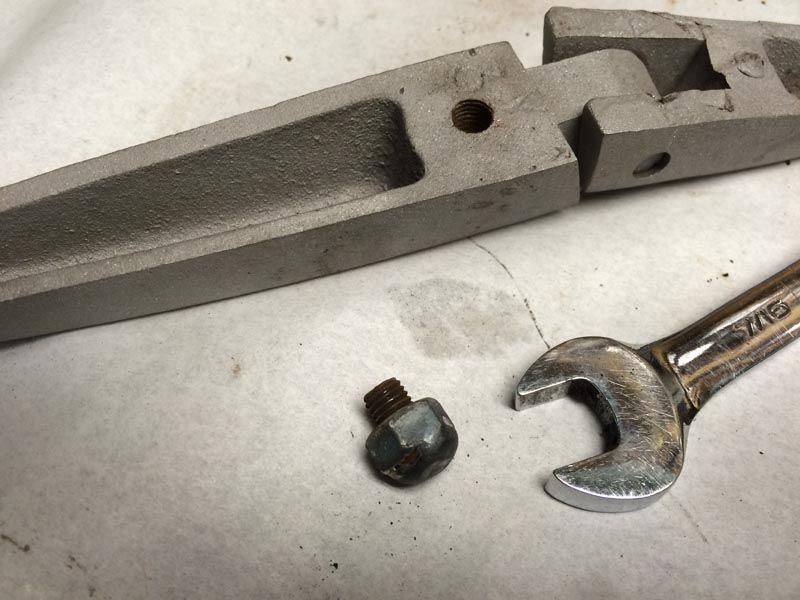
An additional challenge was that there were a number of studs broken off. The trick here is to weld a nut onto the stud. Some were so short that I had to build up the stud with weld, slip a nut over, then weld the nut.
I think the heat from welding the nut helps to break the bond between the stud and the hinge.
Re: My Austin Countryman Project
Posted: Fri Dec 11, 2015 5:46 pm
by rolesyboy
Great job and great tip re hinge studs. Thanks a lot for posting. Mark
Re: My Austin Countryman Project
Posted: Fri Dec 11, 2015 5:56 pm
by Tagus
swindrum wrote:An additional challenge was that there were a number of studs broken off. The trick here is to weld a nut onto the stud. Some were so short that I had to build up the stud with weld, slip a nut over, then weld the nut.
I think the heat from welding the nut helps to break the bond between the stud and the hinge.


Sean,
I've done similar. What works for me is to weld a washer to the stud first, then a nut to the washer.
Ron
Re: My Austin Countryman Project
Posted: Thu Dec 17, 2015 2:41 am
by swindrum
Been trying to get something done most days, also, the challenge has been, if I restore one of something, try to do 3 or 4, because there are more Mini's in the shed waiting their turn...
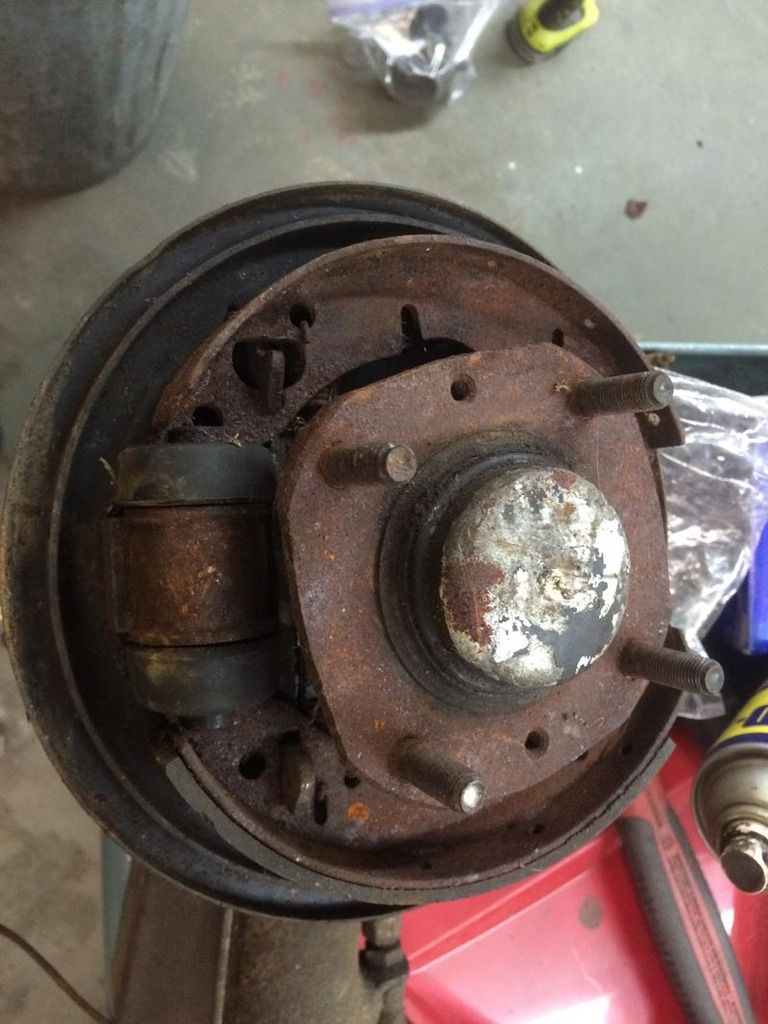
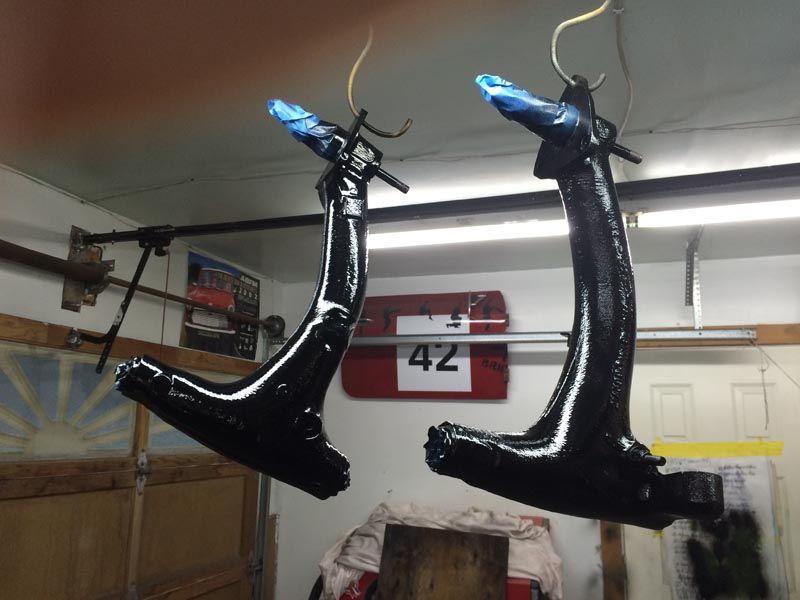
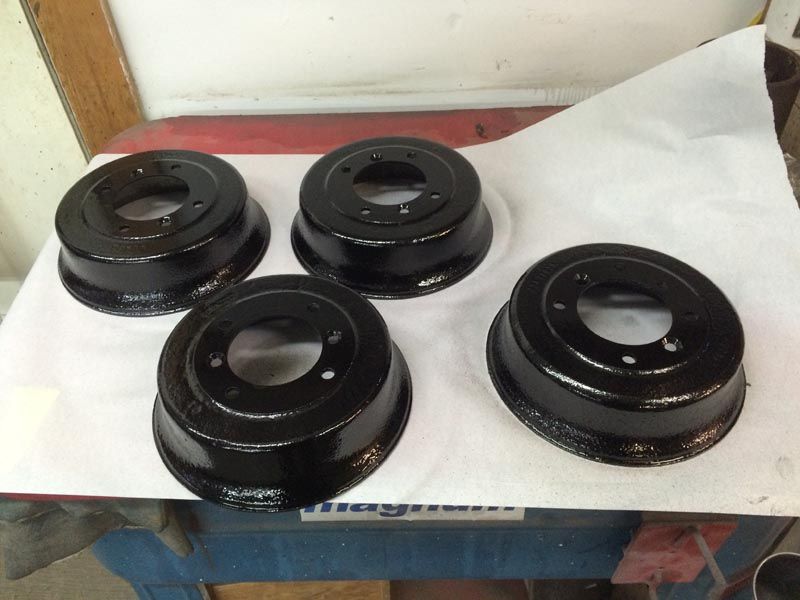
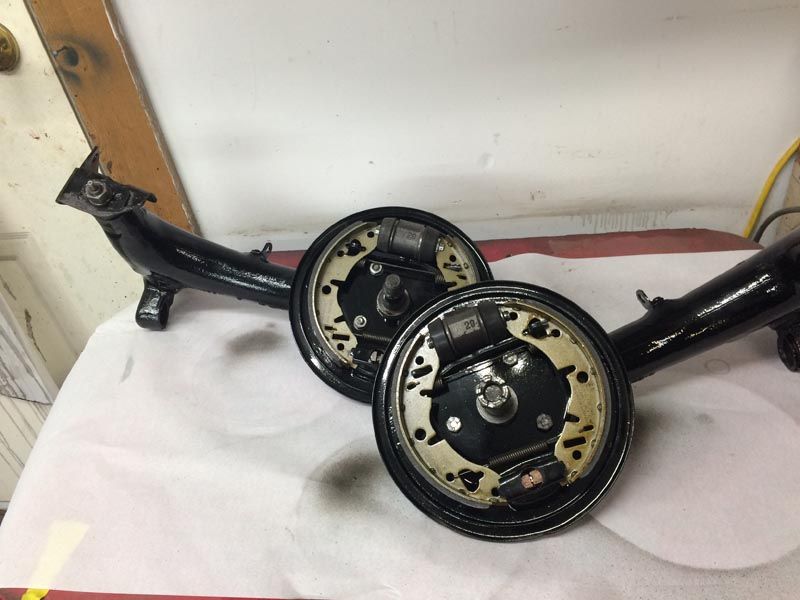
I did a set of rear radius arms for the Countryman, so along the way I tapped out, washed in the solvent tank, and repacked 4 sets of rear bearings. (12 assembled bearings, or 144 individual balls..)
Anyway...
The radius arms are ready to go into the rear subframe once it is blasted and painted.
Re: My Austin Countryman Project
Posted: Thu Dec 17, 2015 4:44 am
by Craig
Keep up the good work swindrum !

Can't wait to start on my traveler but must finish the Japanese car first

Craig
Re: My Austin Countryman Project
Posted: Thu Dec 17, 2015 6:28 am
by swindrum
Thanks Craig! The keen eyed among you will spot what I needed to spend part of this evening switching around on the trailing arms....

Re: My Austin Countryman Project
Posted: Thu Dec 17, 2015 1:28 pm
by smithyrc30
Re: My Austin Countryman Project
Posted: Thu Dec 17, 2015 3:24 pm
by rich@minispares.com
Re: My Austin Countryman Project
Posted: Thu Dec 17, 2015 5:30 pm
by swindrum
Re: My Austin Countryman Project
Posted: Thu Dec 17, 2015 11:32 pm
by Craig
Well at least its an easy fix !

Craig
Re: My Austin Countryman Project
Posted: Mon Dec 28, 2015 9:29 pm
by swindrum
So, I am thinking I may have to give up cycling, my knee had healed up sufficiently last weekend, so I thought I would go for a mountain bike ride, only to do a spectacular endo off the trail into the woods, busting a rib in the process...
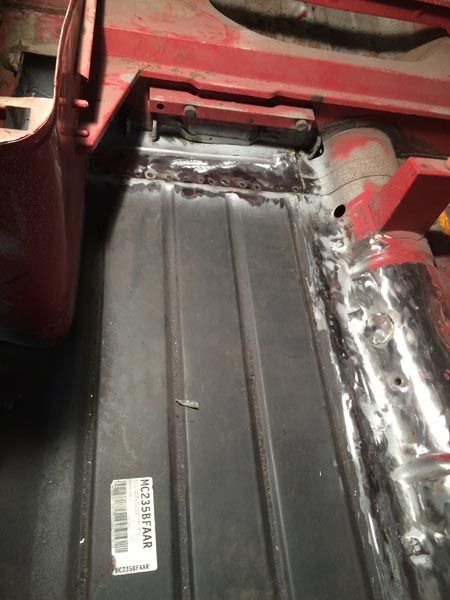
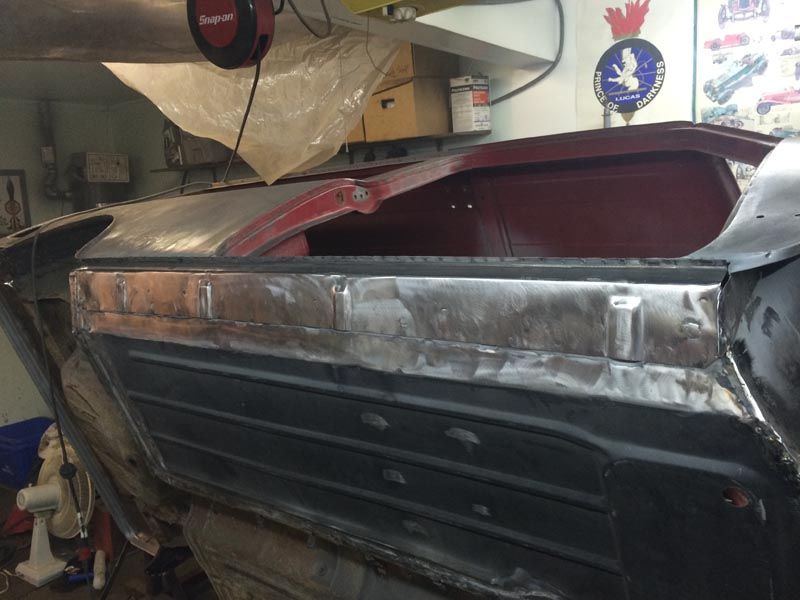
The last 10 days have been pretty low key, but I have managed to get out in the shop for the past few days. Have been welding in the passenger floor, I made up an extension panel to mimic the original, as the new floor didn't have the strengthening rib and it was all on piece.
The right side sill will go on today as well.
Re: My Austin Countryman Project
Posted: Wed Dec 30, 2015 5:08 pm
by Tagus
There is a time for everything. When our kids were young we had ski passes every year and I was in great shape. I'm actually a Boarder. Time passes and now the old legs give out, sometimes threatening to leave me stranded in the forest in deep snow. I still enjoy boarding very much but at a much different level. Nice that you can still ride at this time of year. I heard you had a little "rough" ground last night. Most asked question - did you feel it?
Keep up the great work on your Estate!
Re: My Austin Countryman Project
Posted: Wed Dec 30, 2015 5:55 pm
by swindrum
We did feel the earthquake, but it was just noise where we are, about 1000 feet up on a rock... Minis are all ok!

Re: My Austin Countryman Project
Posted: Fri Jan 08, 2016 6:00 pm
by swindrum
So, some photos of last weeks progress.
Passenger floor extension piece
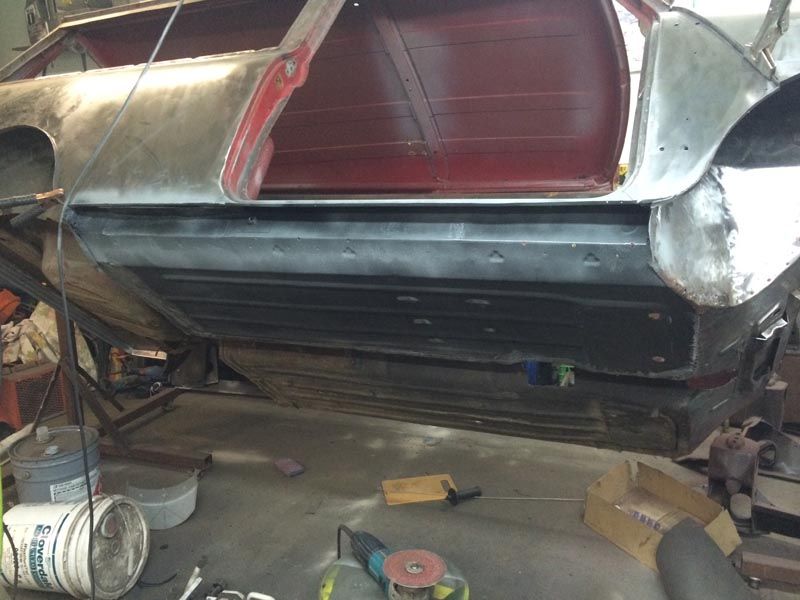
Prepping for the new sill with zinc primer
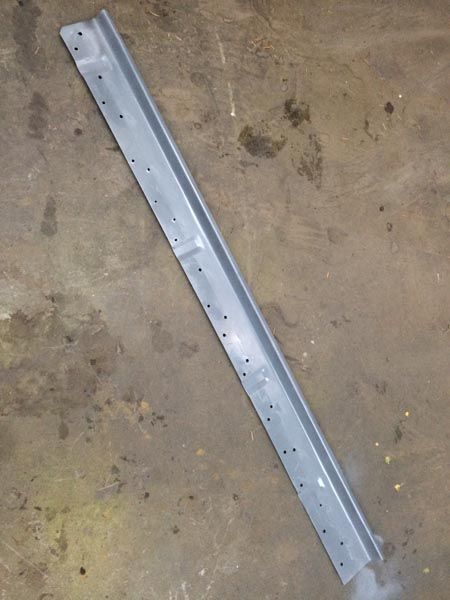
Sill is also zinc-ed and plug weld holes drilled
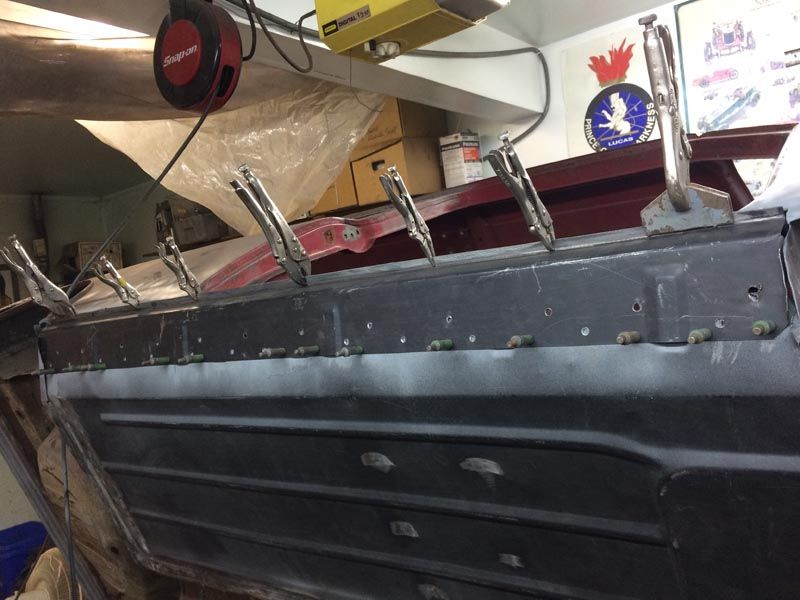
Ready to weld!
Welded, and welds dressed
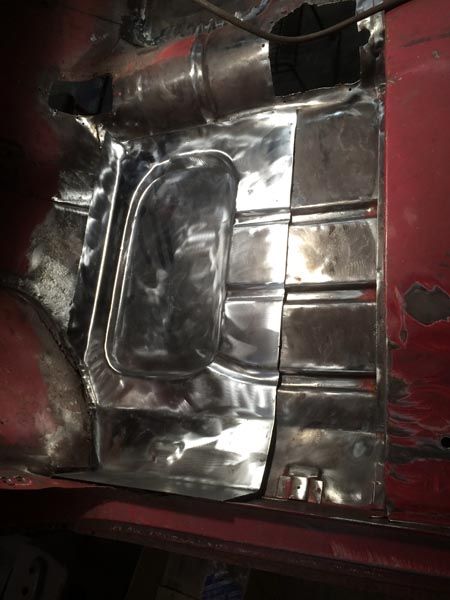
Initial trimming of new left-side floor
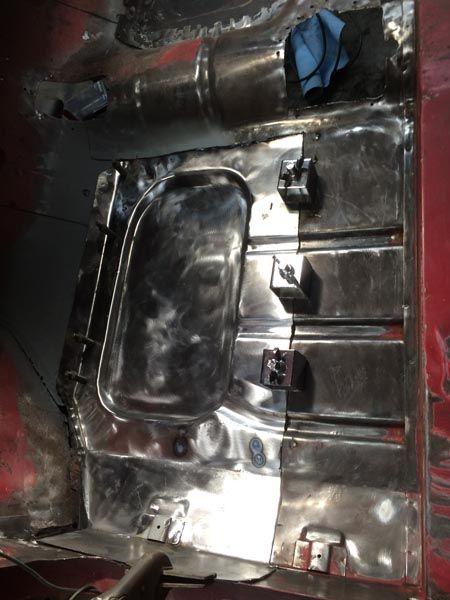
More fitting
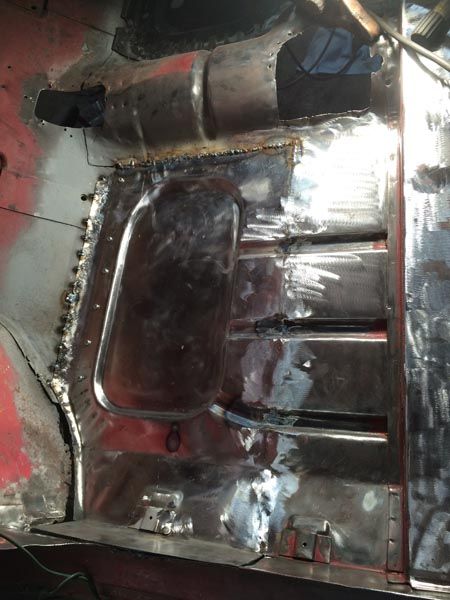
Welding. I cleaned and cleaned the tunnel area, but the weld spattered like crazy anyway.

Re: My Austin Countryman Project
Posted: Fri Jan 08, 2016 6:13 pm
by swindrum
Back at work this week and been watching the 6 Star Wars movies with my daughter in eager anticipation of going to see it tonight!
So time has been tight, but have gotten a bit done.
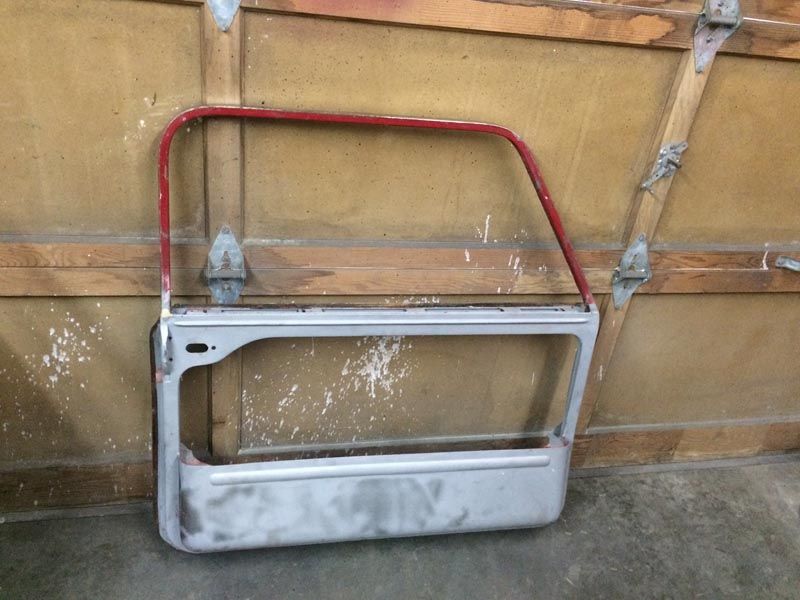
Have given up on thinking I can repair the driver's door skin to my satisfaction, so I have removed it.
Also started work on the left side footwell/inner wing/a-panel
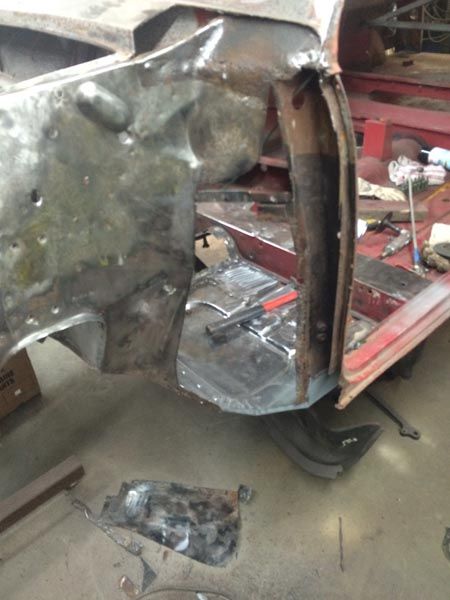
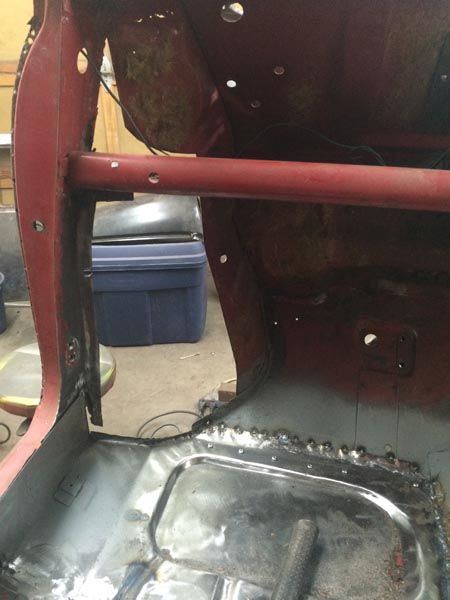
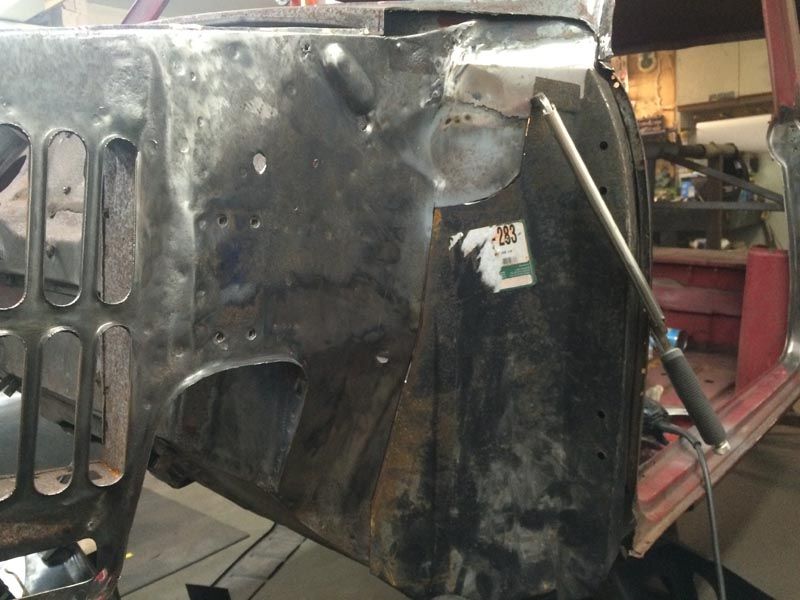
Have to use a mk3 panel as a mk1 is not available to me here, so I cut it out around the vent hole...
Will get the repair panel cleaned up and hopefully fitted this weekend
Re: My Austin Countryman Project
Posted: Sun Jan 10, 2016 11:51 pm
by swindrum
Tackled one of my least favourite jobs today...
I was planning on media blasting any paint and corrosion that would be left once all the welding was complete, but, I hate the thought of all that grit in all the hidden passages and compartments soooooo
Ugh, we tilted the car over and ran the wire wheels and scotch brites on the bottom of the car, a gross, dusty, stinky job. It is mostly done now though, so that's something I suppose.
Work continues on the left-side footwell and a-panel
Re: My Austin Countryman Project
Posted: Mon Jan 11, 2016 8:57 am
by mk1
More great work from another forum member!
m
Re: My Austin Countryman Project
Posted: Tue Jan 12, 2016 6:20 pm
by swindrum
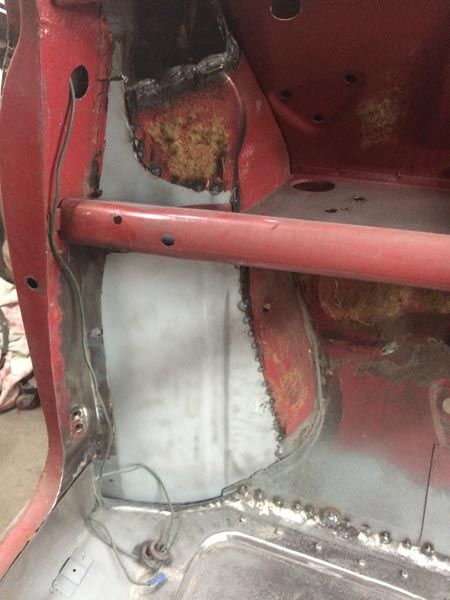
Back at it and first order of business was to get the footwell closed up
Next up was fitting the inner A-Panel, which meant sticking the wing and Bonnet in place in order to see if it was anywhere near being close to where it should be. It wasn't so much fiddling was involved.
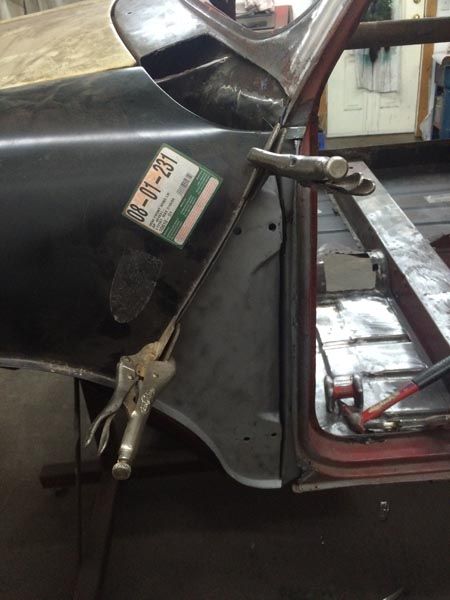
Panel gap looks ok on this side, but without the front panel on, it's anyone's guess how much work it will be to get this gap when the front panel goes on. For the moment I am happy
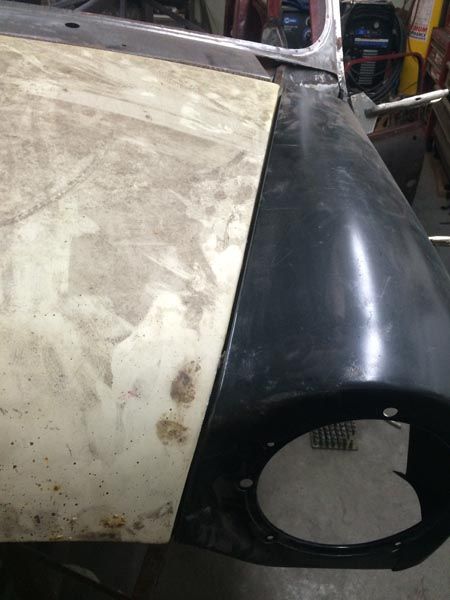
Right side will take some massaging to get fitted...
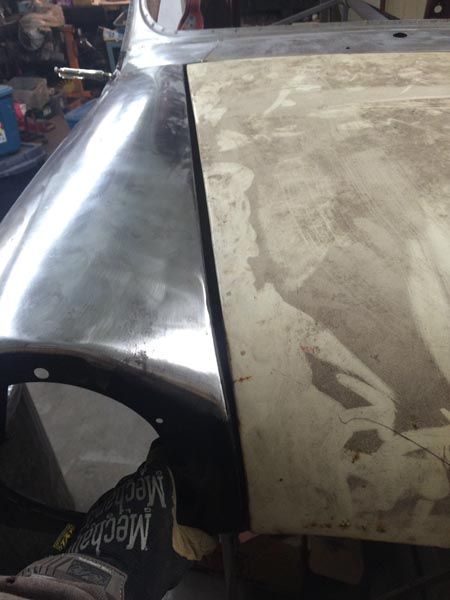
Although the scuttle gap is coming together, it was way out (3/8th of an inch when I started fitting the wing)
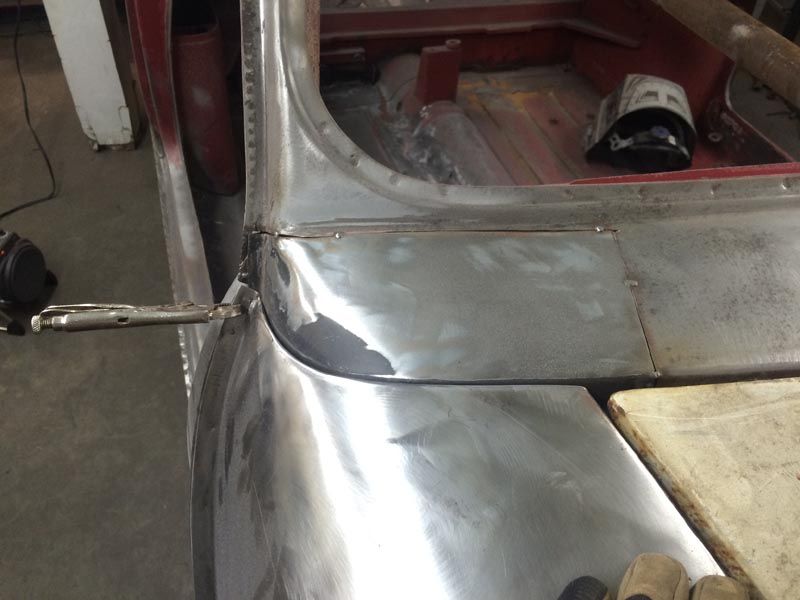
Anyhow, back to the side I am working on...
Happy with the inner A-panel, we fit the outer and check the door gaps
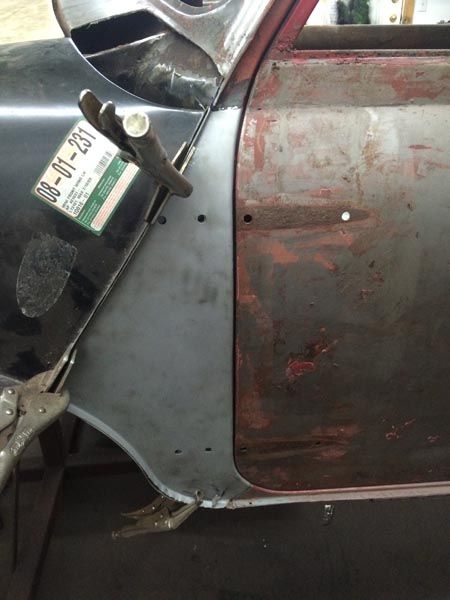
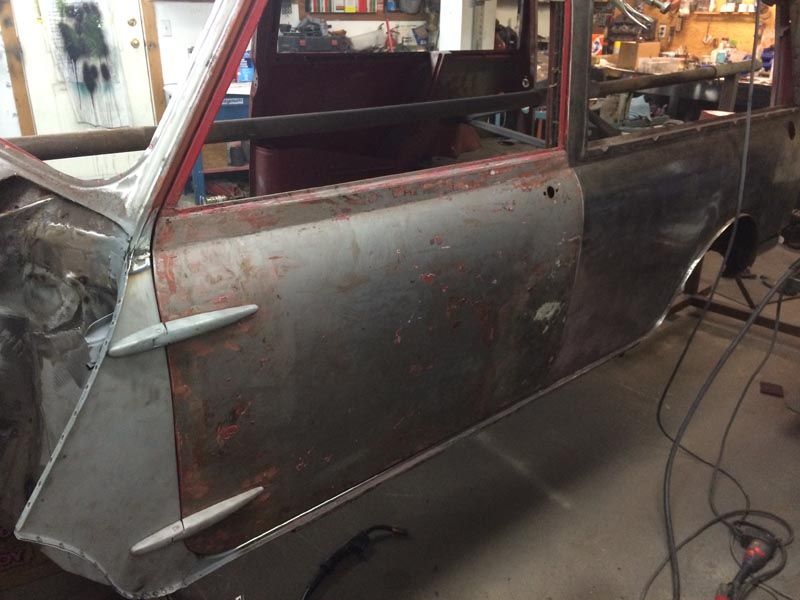
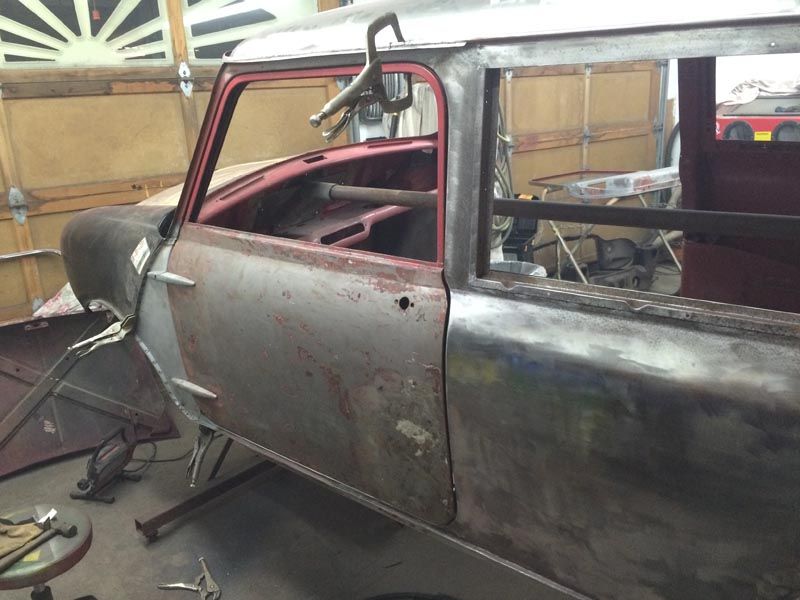
A-panels spot welded and the door is hung
Re: My Austin Countryman Project
Posted: Wed Jan 13, 2016 12:05 am
by swindrum
So, something was keeping me up last night... I don't know if you can see it in the last photo in my last post, but the top of the a-panel was not parallel with the body of the car. I was so transfixed with getting the door gap correct that I didn't notice it...
Ugh
Today I decided to see what I could do to remedy it. I was hoping I wouldn't have to remove the outer a-panel...
With the wing off, I was able to get the grinder behind the inner a-panel. I put a thin slot in the hinge reinforcement brackets. I drilled a couple holes to match the hinge holes in a piece of angle about 3 feet long.
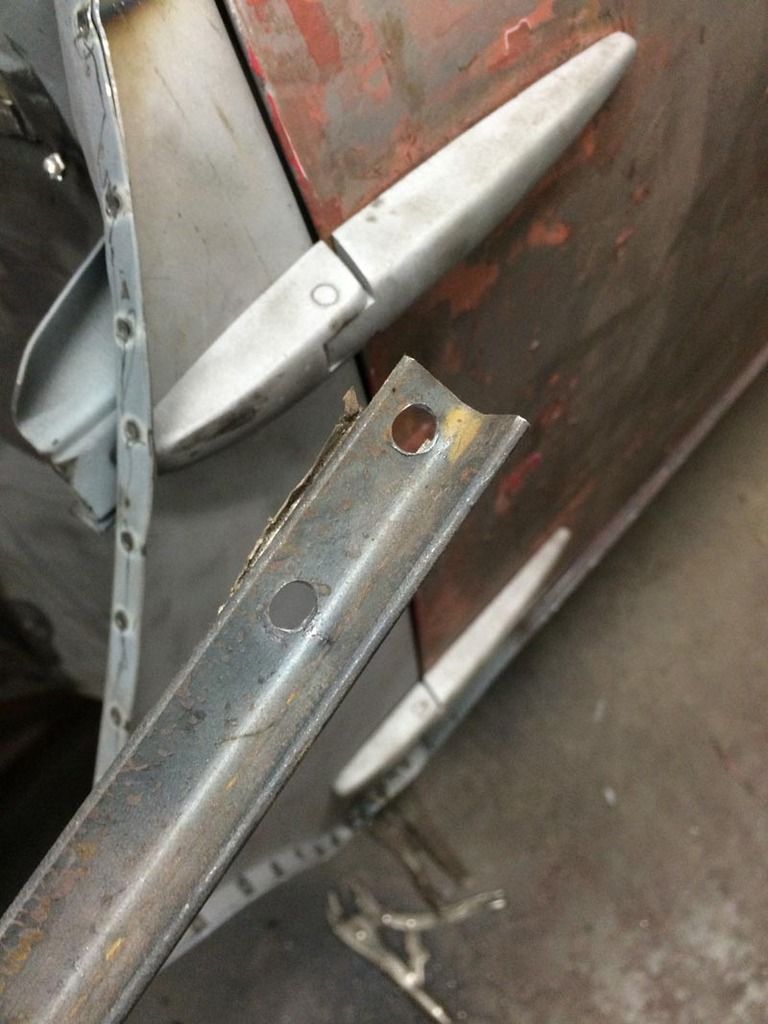
I bolted the angle to the hinge holes and used it as a lever to move the a-panel to where it should have been to begin with...
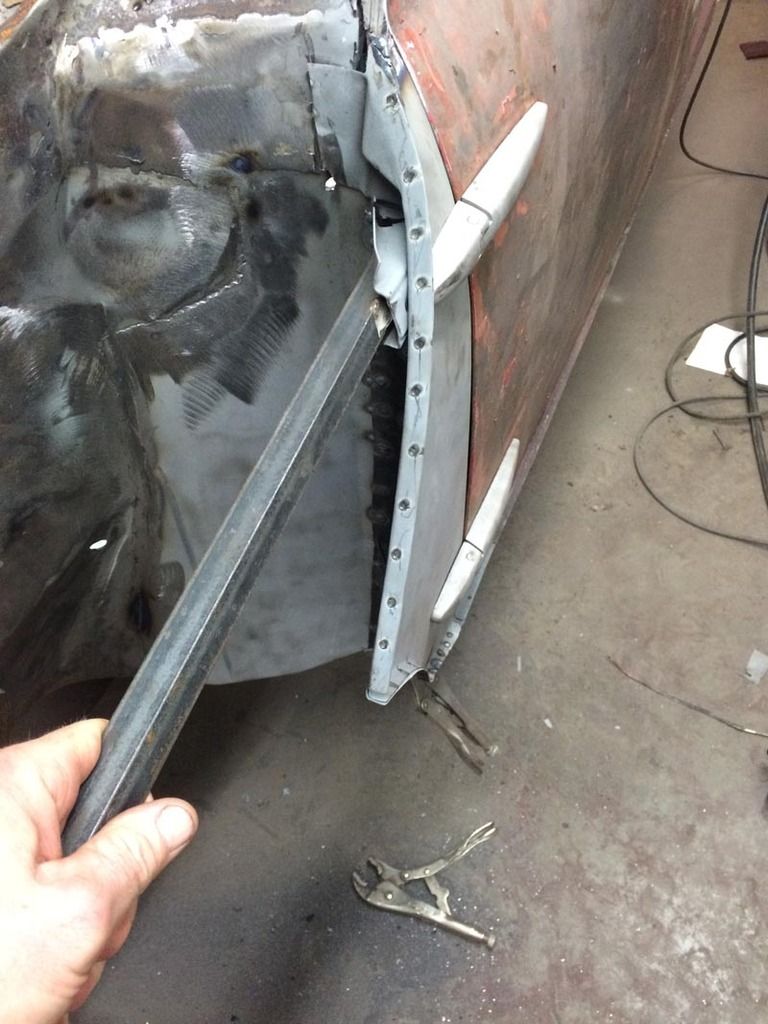
I was able to hold it where I wanted it with my hip and have both hands free to weld it in position.
Saved!
