The shell is on a two post ramp so just lifted it up on that which made it nice and easy. I think it would be awkward if you didn't lift the whole shell up flat. I suppose its worth a shot though.Highnumbers wrote:Nice, just out of curiosity, what technique did you use to lift the shell up and over the subframe assembly with engine?
I picture just attaching the shell's front slam panel with soft straps to a cherry picker, and carefully lowering it over the engine assembly, but wondering if there's anything to watch out for? I have to do this (hopefully in a few months).
Mk2 Cooper
-
Callum
- 998 Cooper
- Posts: 469
- Joined: Thu Sep 25, 2014 9:01 pm
Re: Mk2 Cooper
-
Callum
- 998 Cooper
- Posts: 469
- Joined: Thu Sep 25, 2014 9:01 pm
Re: Mk2 Cooper
Thanks AndrewAndrew1967 wrote:Looks really great Callum
Just an observation, you don't appear to have fitted the rad shroud rubber surround - that'll be tricky with the rad in place.
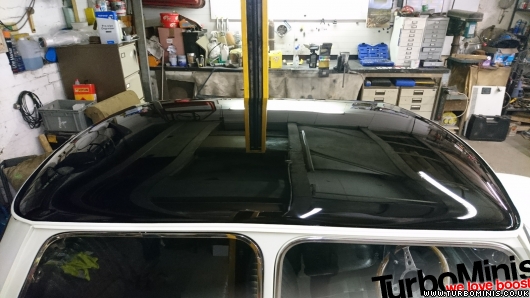
What did you paint the headlining with as a matter of interest.
Bollocks! I forgot about that!
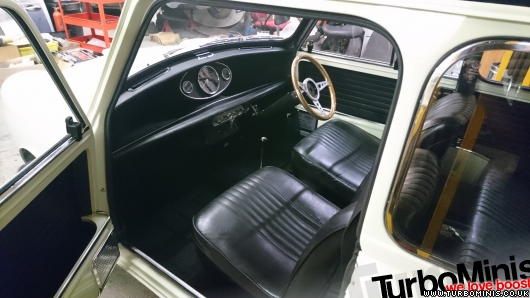
I used a spray vinyl dye for the headlining, TRG super colour vanilla 355/67. About 5 cans I think it was for all of the cream crackle parts.
-
Highnumbers

- 998 Cooper
- Posts: 713
- Joined: Sun Apr 20, 2014 4:26 am
- Location: California, USA
Re: Mk2 Cooper
Good point, a two-post lift would make easy work of the job, whereas lowering the shell front end would place it at an angle to the subframe.Callum wrote:The shell is on a two post ramp so just lifted it up on that which made it nice and easy. I think it would be awkward if you didn't lift the whole shell up flat. I suppose its worth a shot though.Highnumbers wrote:Nice, just out of curiosity, what technique did you use to lift the shell up and over the subframe assembly with engine?
I picture just attaching the shell's front slam panel with soft straps to a cherry picker, and carefully lowering it over the engine assembly, but wondering if there's anything to watch out for? I have to do this (hopefully in a few months).
I don't have access to a two-post lift/ramp, so probably best to lift the rear up at the same height as the front, and then jack the front subframe/engine up into place in the shell. I'll give it some more thought..
-
Andrew1967

- 1275 Cooper S
- Posts: 7911
- Joined: Thu Jun 24, 2010 6:35 pm
- Location: Usually in my garage on the east coast of Norfolk, UK
- Been thanked: 5 times
Re: Mk2 Cooper
I suppose it depends how much clearance you have between the rad and shroud. Maybe there's enough to slip it past and into place. 
Nice to see a headlining without the non-optional factory stains
Nice to see a headlining without the non-optional factory stains
-
Callum
- 998 Cooper
- Posts: 469
- Joined: Thu Sep 25, 2014 9:01 pm
Re: Mk2 Cooper
Yeah that would work, just the opposite way round to how I did it. If you could prop the whole shell say 3ft off the ground then use a block and tackle to lift the engine /subframe up.Highnumbers wrote:
Good point, a two-post lift would make easy work of the job, whereas lowering the shell front end would place it at an angle to the subframe.
I don't have access to a two-post lift/ramp, so probably best to lift the rear up at the same height as the front, and then jack the front subframe/engine up into place in the shell. I'll give it some more thought..
-
Callum
- 998 Cooper
- Posts: 469
- Joined: Thu Sep 25, 2014 9:01 pm
Re: Mk2 Cooper
I will have to have a look tomorrow. Yeah it looks better than it was, I dont mind most glue stains but I think there was a heavy smoker with this one as well as the stains were very brownAndrew1967 wrote:I suppose it depends how much clearance you have between the rad and shroud. Maybe there's enough to slip it past and into place.
Nice to see a headlining without the non-optional factory stains
-
mini_surfari
- 1275 Cooper S
- Posts: 770
- Joined: Fri Jun 25, 2010 10:26 am
- Location: South West
- Been thanked: 4 times
-
Callum
- 998 Cooper
- Posts: 469
- Joined: Thu Sep 25, 2014 9:01 pm
Re: Mk2 Cooper
Sorry only just seen this, i bought it from amazon. Just typed in mid bronze green I thinkmini_surfari wrote:Looks excellent that!
Can I ask where you got your engine paint from?
-
Callum
- 998 Cooper
- Posts: 469
- Joined: Thu Sep 25, 2014 9:01 pm
Re: Mk2 Cooper
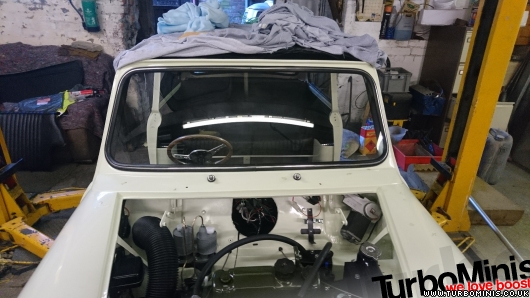
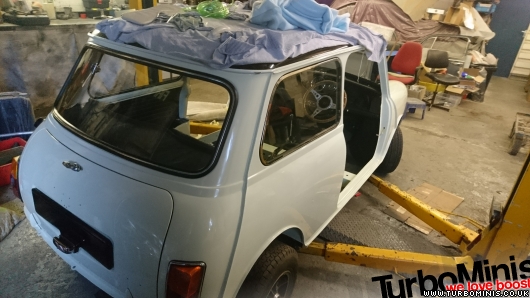
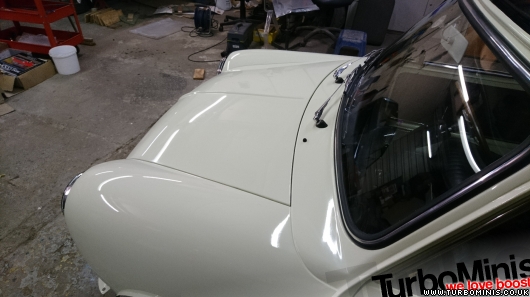
Fitted the bootlid the other day
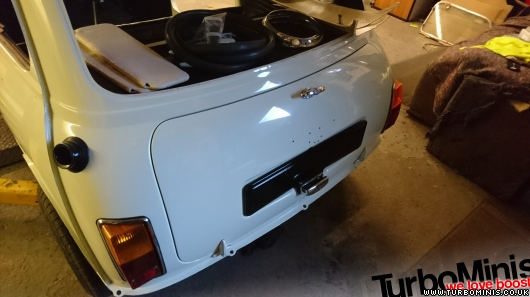
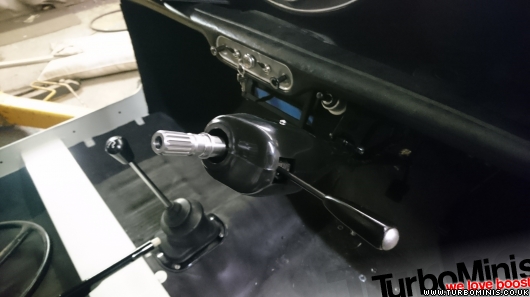
Also treated myself to a lifeline quick release steering boss to try and help stop it getting nicked
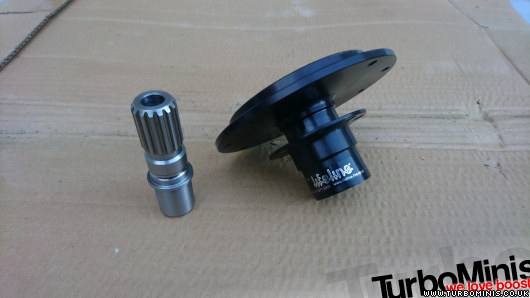
Got the column machined so it slips on the end
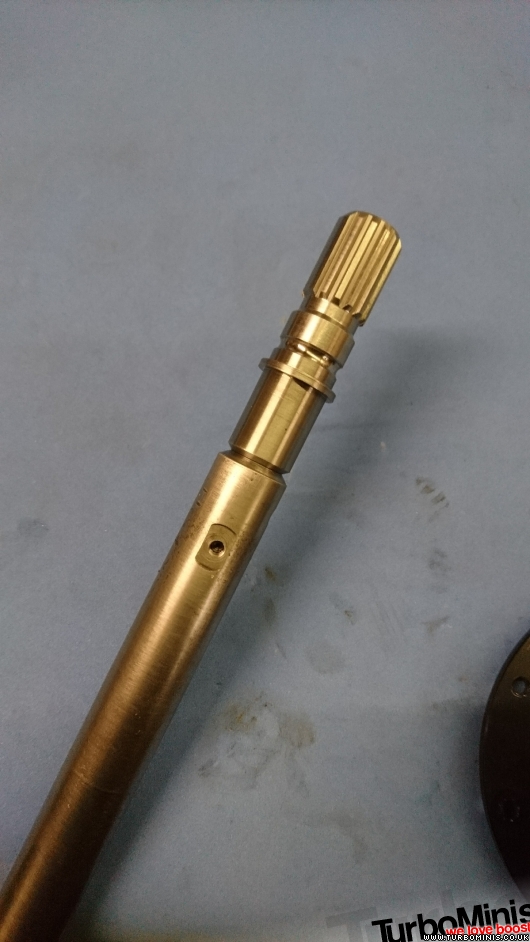
Test fitted before I weld it up
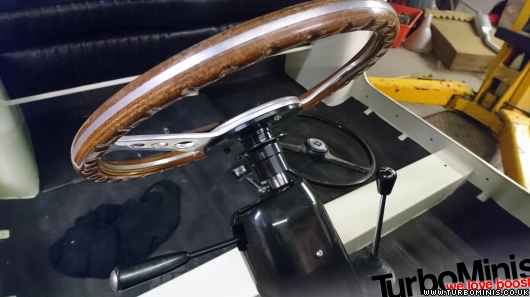
Also treated myself to a lifeline quick release steering boss to try and help stop it getting nicked
Got the column machined so it slips on the end
Test fitted before I weld it up
-
Callum
- 998 Cooper
- Posts: 469
- Joined: Thu Sep 25, 2014 9:01 pm
Re: Mk2 Cooper
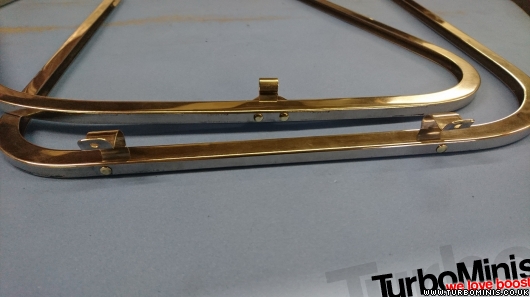
Spent the past week or so rebuilding the quarter windows. They were very rough to begin with the hinges and rear catch bracket rusted through
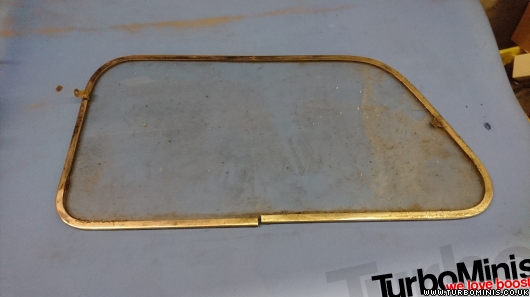
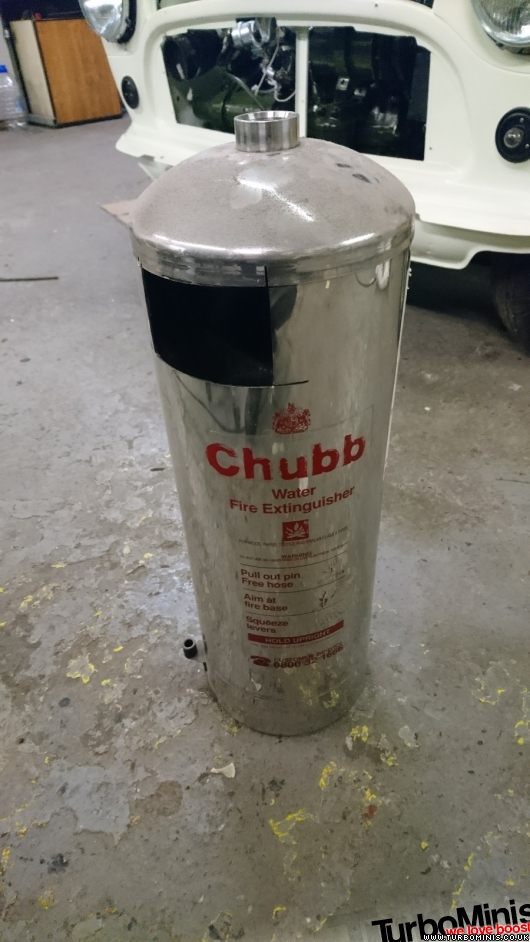
I stripped a few sets to try and get enough hinges to be rechromed but they were all pretty bad so I decided to have a go at making new ones, an old fire extinguisher donated a piece of stainless.
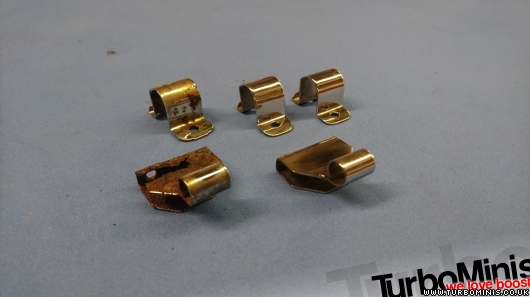
Original chrome ones on the left, new stainless on the right, not 100% exact but once fitted its hard to tell. The stainless was slightly thicker gauge so i made them a bit narrower so they flex enough to open the window
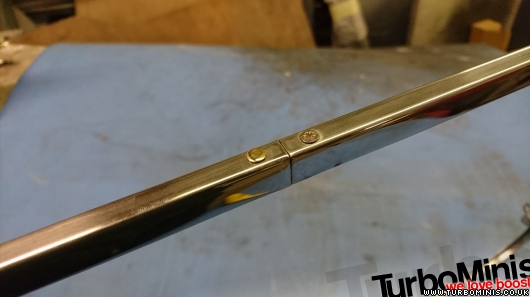
Polished the frames up and fixed them back in place with brass rivets
Made new joints out of stainless as well with a cut down spire nut fixed in place so I could screw them back together
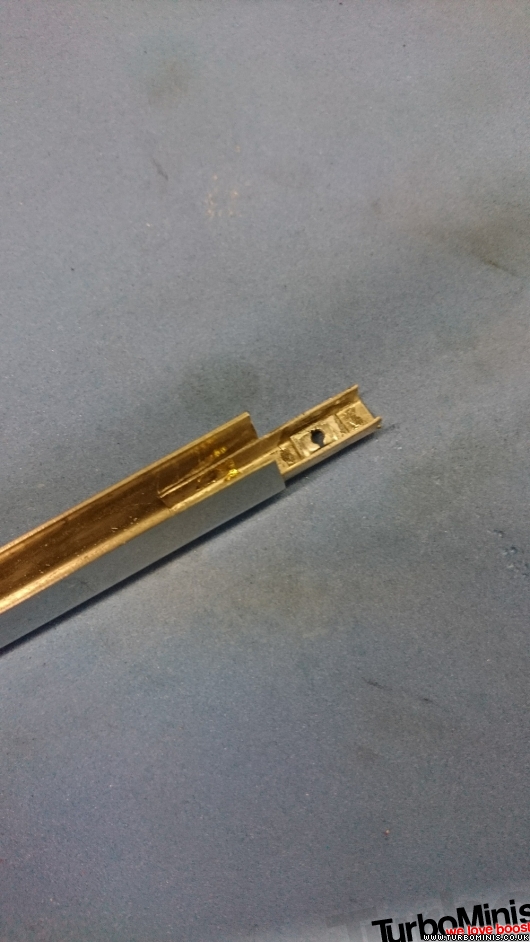
Tried putting them back together with the rubber supplied by minispares but it was too thick so I used an inner tube
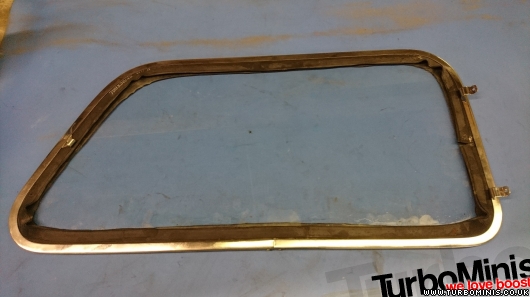
And finished! Dont want to think about how many hours went into them

I stripped a few sets to try and get enough hinges to be rechromed but they were all pretty bad so I decided to have a go at making new ones, an old fire extinguisher donated a piece of stainless.
Original chrome ones on the left, new stainless on the right, not 100% exact but once fitted its hard to tell. The stainless was slightly thicker gauge so i made them a bit narrower so they flex enough to open the window
Polished the frames up and fixed them back in place with brass rivets
Made new joints out of stainless as well with a cut down spire nut fixed in place so I could screw them back together
Tried putting them back together with the rubber supplied by minispares but it was too thick so I used an inner tube
And finished! Dont want to think about how many hours went into them
-
AndyPen
- 1275 Cooper S
- Posts: 3903
- Joined: Mon Jul 24, 2017 5:55 pm
- Location: South Wales
- Has thanked: 16 times
- Been thanked: 45 times
Re: Mk2 Cooper
..and just bought 4 cans of paint to test on my headlining. Any tips on prepping it please?
-
Callum
- 998 Cooper
- Posts: 469
- Joined: Thu Sep 25, 2014 9:01 pm
Re: Mk2 Cooper
Thanks Andy, for the headlining the only thing I did before painting it was give it a really good clean. I used cillit bang grease and sparkle as it's what was in the cupboard at home, worked it in with a nail brush being careful not to stretch the material.
-
Callum
- 998 Cooper
- Posts: 469
- Joined: Thu Sep 25, 2014 9:01 pm
-
Callum
- 998 Cooper
- Posts: 469
- Joined: Thu Sep 25, 2014 9:01 pm
Re: Mk2 Cooper
Thanks lads.
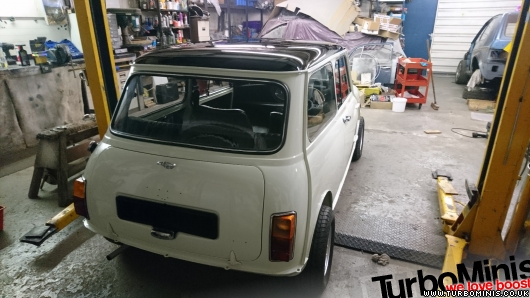
Been finishing off a few little jobs over the last month so nothing picture worthy. I fitted the doors tonight though, passenger side needs adjusting a little bit more but the drivers side fits well
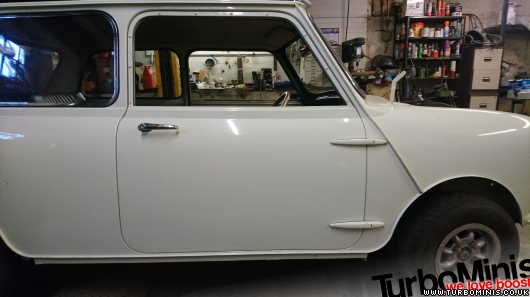
Been finishing off a few little jobs over the last month so nothing picture worthy. I fitted the doors tonight though, passenger side needs adjusting a little bit more but the drivers side fits well
-
Daz1968
- 1275 Cooper S
- Posts: 1440
- Joined: Sat Dec 27, 2014 1:41 pm
- Location: Oldbury west midlands
Re: Mk2 Cooper
Looking superb, can’t be too far away now, although as I am finding out all the little jobs take time
-
Peter Laidler

- 1275 Cooper S
- Posts: 6273
- Joined: Sat Jul 15, 2017 5:35 pm
- Location: Abingdon Oxfordshire
- Has thanked: 66 times
- Been thanked: 64 times
Re: Mk2 Cooper
I just hope that at the end of all this Callum, you sit down for a couple of evenings and write the whole thing up and get it published in a little booklet form. There's loads of publishers who have self-help -helpers who do the lay-=out for you hoping that they will do the small-run printing. The good thing about car restoration books, written and published by the person who did the job is JUST that, the person who did the job knows best! And the books good sellers at the shows too! I'll take the first one of yours please..........
-
Callum
- 998 Cooper
- Posts: 469
- Joined: Thu Sep 25, 2014 9:01 pm
Re: Mk2 Cooper
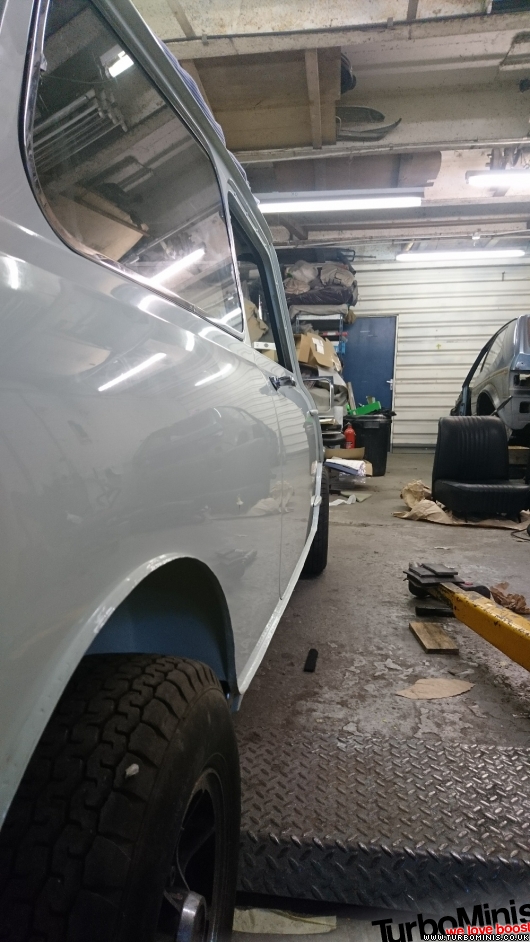
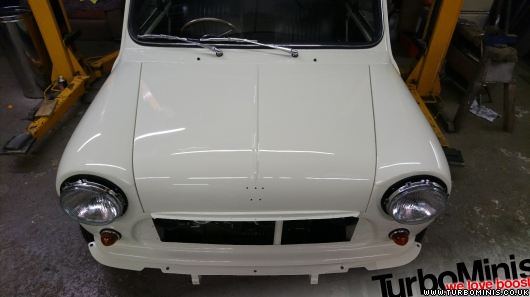
Long overdue update, loads of little bits been finished off so not really worth updating. Fitted the bonnet, gaps are nice and even
Finished off the interior today
Then gave the whole car a quick compound and polish before I finish off fitting the rest of the trim
Finished off the interior today
Then gave the whole car a quick compound and polish before I finish off fitting the rest of the trim