Page 8 of 22
Re: '63 Aussie Morris 850
Posted: Tue Feb 05, 2019 8:09 am
by mk1
Great pics & glad to hear about members meeting up too.
I have one of those boxes that's waiting for me to install when I have nothing better to do. It'll be fun seeing what they are like.
Re: '63 Aussie Morris 850
Posted: Wed Feb 06, 2019 3:39 am
by timmy201
graham in aus wrote:Likewise Tim, really good to meet you and have a chat! The time flies by when you're talking minis! Your car is great, I really like the way you've continuously improved it whilst enjoying driving it too!
Gearbox looks good, glad to see you've found another lay shaft that's not bent from new!
Cheers!
Graham

Thanks Graham. Yes it was very unfortunate to find the brand new layshaft was bent! It’d been in a box for over 2 years before I tried it out
mk1 wrote:Great pics & glad to hear about members meeting up too.
I have one of those boxes that's waiting for me to install when I have nothing better to do. It'll be fun seeing what they are like.
Thanks! I have an album of photos here, when I get time I can make a proper thread.
https://www.flickr.com/photos/55685928@ ... 2610010232
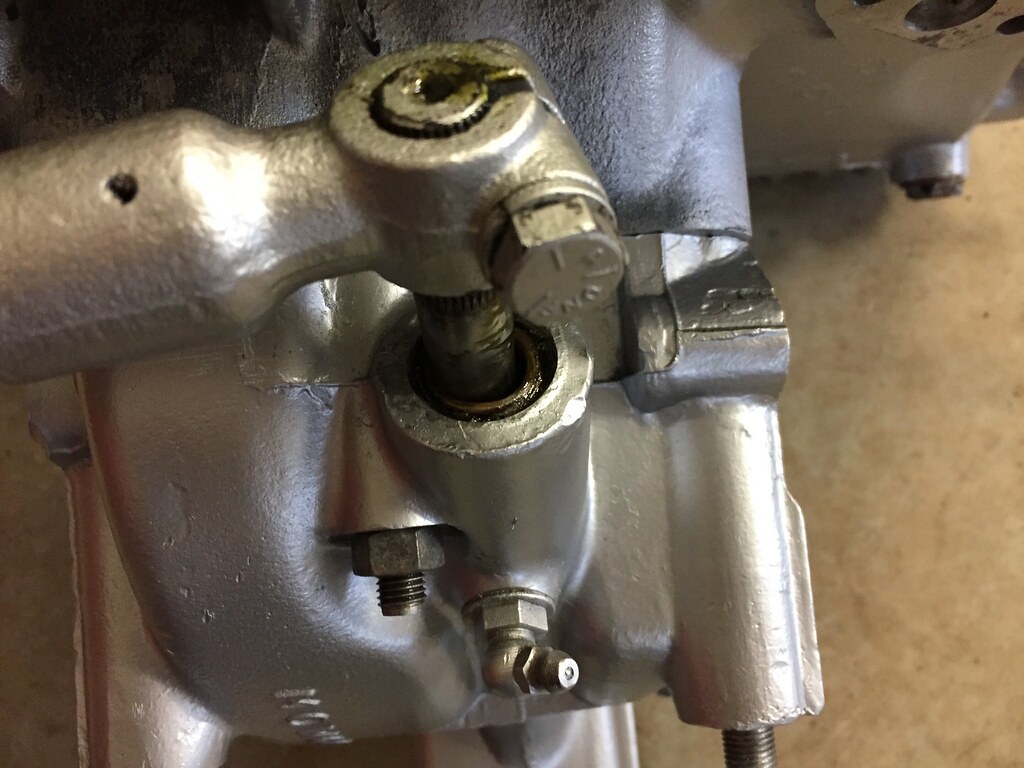
From shifting though the gears on the bench it’s surprisingly tight and direct. I’m not sure if most people experience flogged out units but this one is pretty good. I did have to get the bushes in the diff housing changed as they were ovalled out from use. Luckily the shift rod was still in good shape. I also have 2 lower engine steadies to be installed to keep the engine in place.
This is the old bush, you can see how worn it was, which gave lots of slop at the end of the long shifter!
Next job is to assemble the diff and clean up a flywheel housing. Once they are done I can shim the diff and idler gear.
Re: '63 Aussie Morris 850
Posted: Wed Feb 06, 2019 7:27 am
by UHR850
mk1 wrote:Great pics & glad to hear about members meeting up too.
I have one of those boxes that's waiting for me to install when I have nothing better to do. It'll be fun seeing what they are like.

Hi Mark, very glad you have that kind of moments as well

(nothing better to to).
Kees.
Re: '63 Aussie Morris 850
Posted: Thu Feb 07, 2019 12:10 pm
by Costafortune
Parts of a proper service was to grease the shaft

and tweak the two 1/2" bolts.
Re: '63 Aussie Morris 850
Posted: Sat Feb 09, 2019 6:26 am
by timmy201
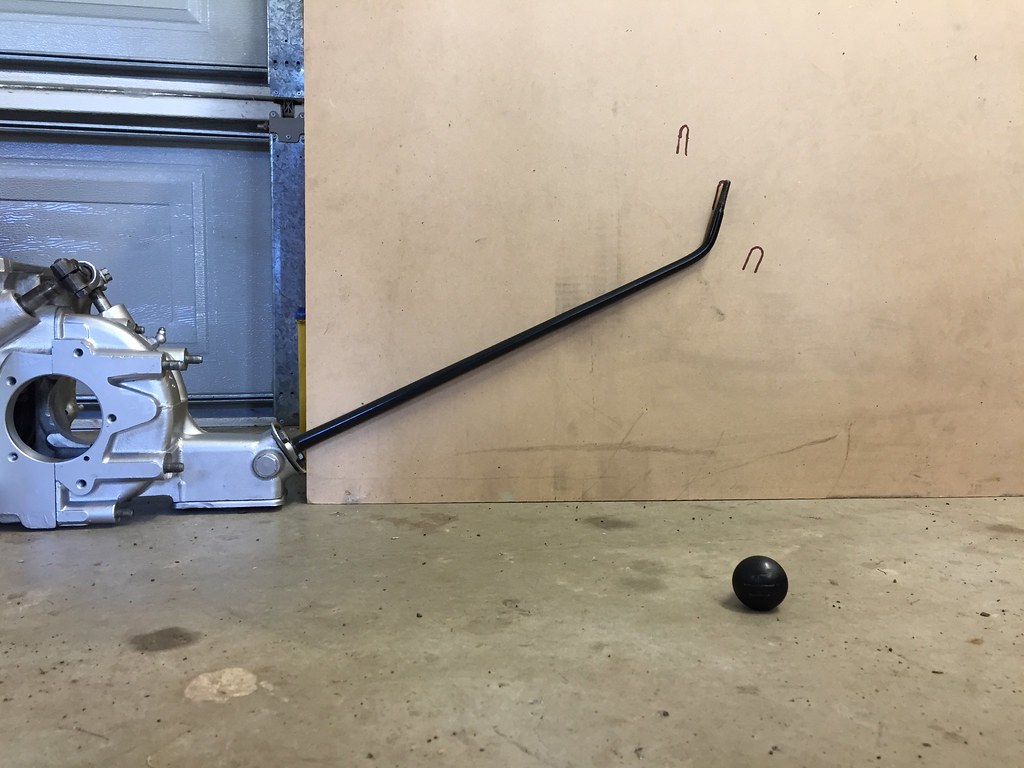
Here is a photo showing the throw of the new shifter assembly. It's about 7cm from neutral to 1st or 2nd gear, which is a little better than my current worn out remote setup.
Re: '63 Aussie Morris 850
Posted: Mon Feb 11, 2019 9:01 am
by roger mcnab
hi timmy
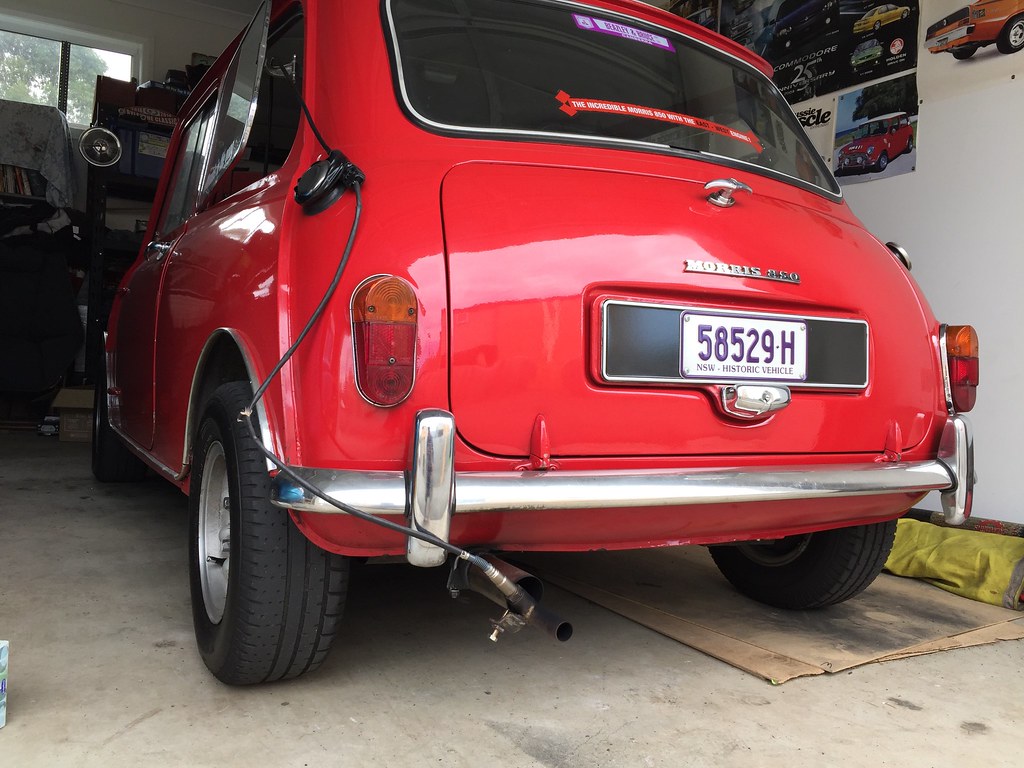
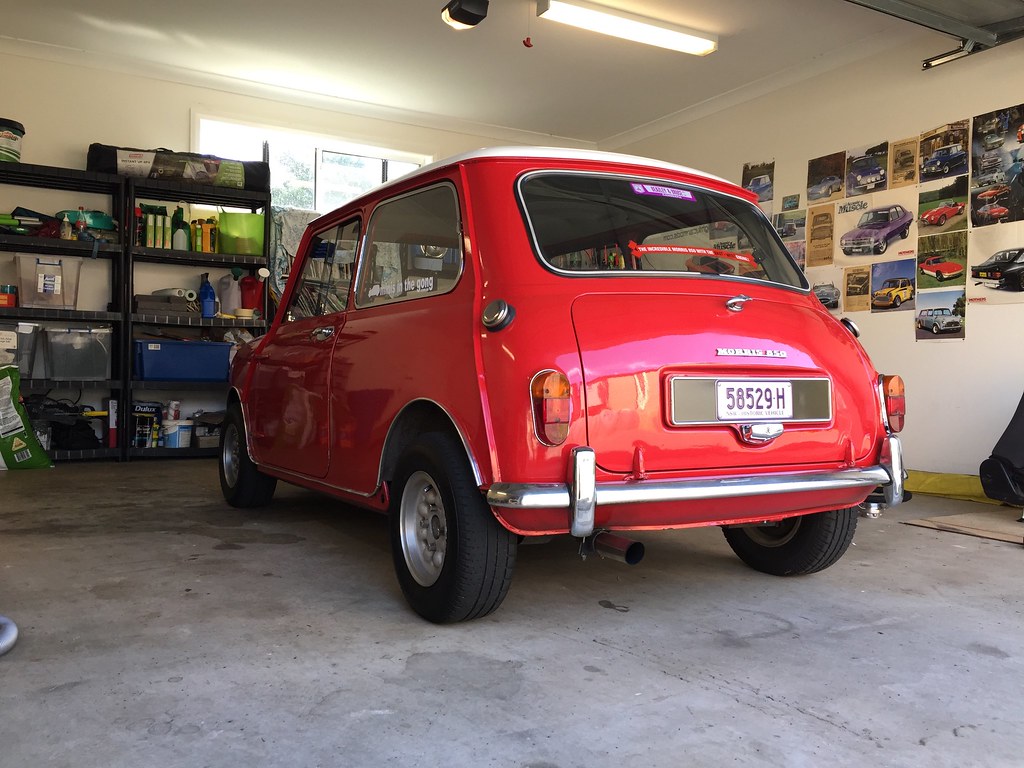
you sure get about in your mini what is the deal with the h plate for the rego
there was a local car show here in wingham recently but when i was having a look there were only a handful of cars 2 minis and some other cars
all the others were late arriving and i missed seeing them
well cheers roger
keep up the good work
Re: '63 Aussie Morris 850
Posted: Mon Feb 11, 2019 10:00 am
by timmy201
Hi Roger,
To get the H plate you need to be a member of a car club and the car needs to be in "historic" condition. That varies from club to club, some will say they need to be in factory condition and others will let you have various period modifications.
If you have the H plate you are allowed to drive the car for 60 days a year (you need to record them in the logbook) and it's only $45 a year for rego and greenslip. It saves lots of money a year!
They also have a new system for modified cars where you get a "D" plate. If the car is 30 years old and the car is modified to a later style - engine swaps etc - then you can get a similar logbook and its very cheap.
Re: '63 Aussie Morris 850
Posted: Sun Mar 10, 2019 8:07 am
by roger mcnab
hi timmy
that is useful info about the h and d plates i might do that yet as you only get 1 car free rego on the age pension and that could be a good way to go
my dad had an old mini van up in brisbane that he drove to work and as the door locks did not work he would lift the wand out because it was loose and very worn he then took it to work and the car was safe
one night he was going through the valley a very rough place he stopped at a red light and a group of roudies started to try to tip the car on its roof but he pushed his way out and with the wand laid half of them out and then drove off
he was a tough old bloke
well i am making some chassis rails to hold the front sub frame together will send pic when finished
cheers roger
Re: '63 Aussie Morris 850
Posted: Sun Mar 10, 2019 8:16 am
by Polarsilver
We all have stories about something done in /out / about a Mini .. but your Dad & his Pudding Gearstick tale is the best i have ever heard
Re: '63 Aussie Morris 850
Posted: Sun Mar 10, 2019 12:06 pm
by timmy201
roger mcnab wrote:hi timmy
that is useful info about the h and d plates i might do that yet as you only get 1 car free rego on the age pension and that could be a good way to go
my dad had an old mini van up in brisbane that he drove to work and as the door locks did not work he would lift the wand out because it was loose and very worn he then took it to work and the car was safe
one night he was going through the valley a very rough place he stopped at a red light and a group of roudies started to try to tip the car on its roof but he pushed his way out and with the wand laid half of them out and then drove off
he was a tough old bloke
well i am making some chassis rails to hold the front sub frame together will send pic when finished
cheers roger
That sounds like he was a real character! I can load the photos up for you when you send them through.
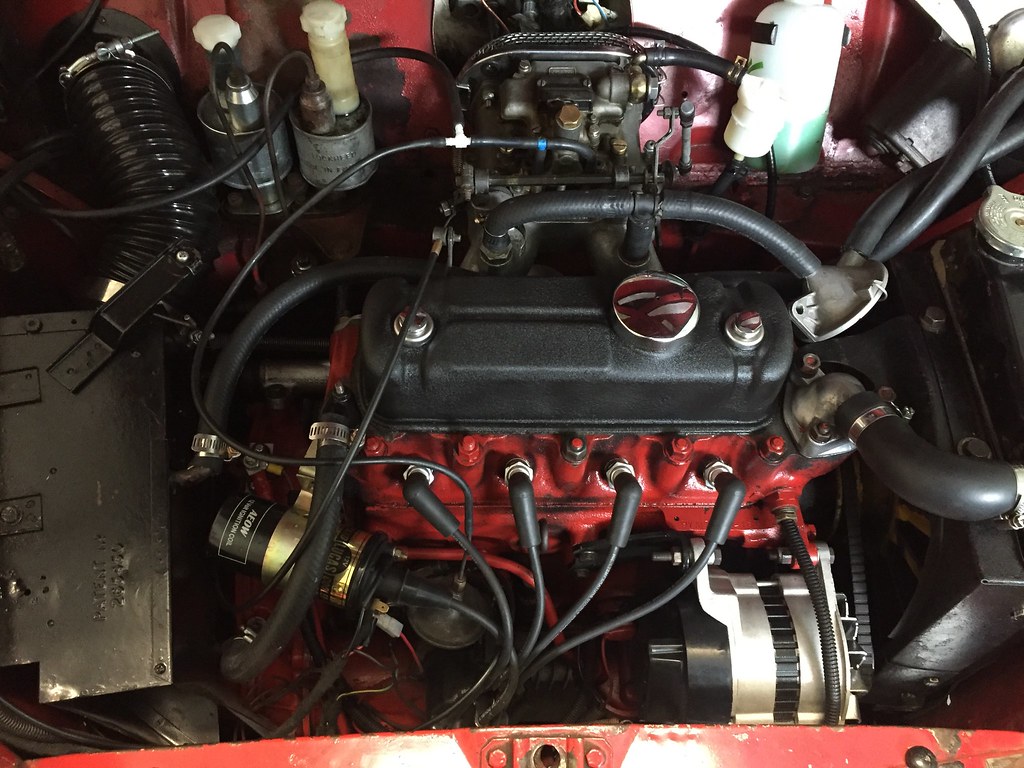
I thought I would try adding some vacuum advance to the Dellorto to see if i could improve the fuel economy or the low end response. I ordered in a pair of vacuum takeoffs from the UK
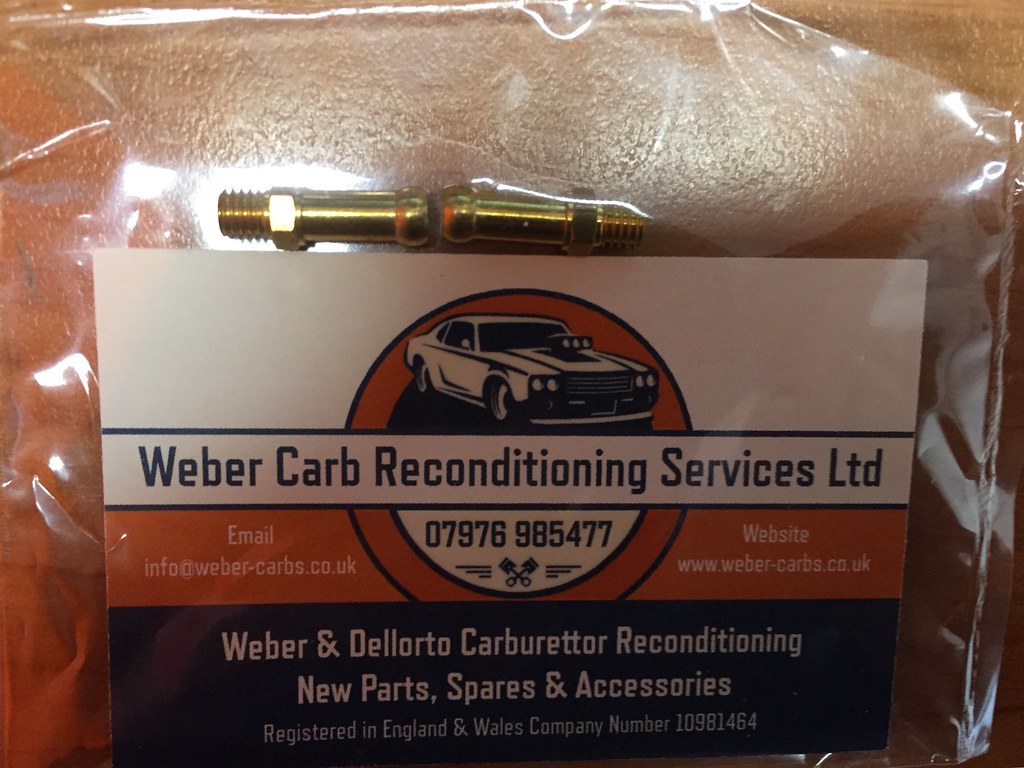
The standard blanking screws were replaced with the takeoffs, and they were joined together with a T-piece to try and stabilise the vacuum signal. Before connecting the distributor up I checked the vacuum reading from the carb against a vacuum gauge. It read very similar to how the SU did, but it fluctuated a little bit at idle.
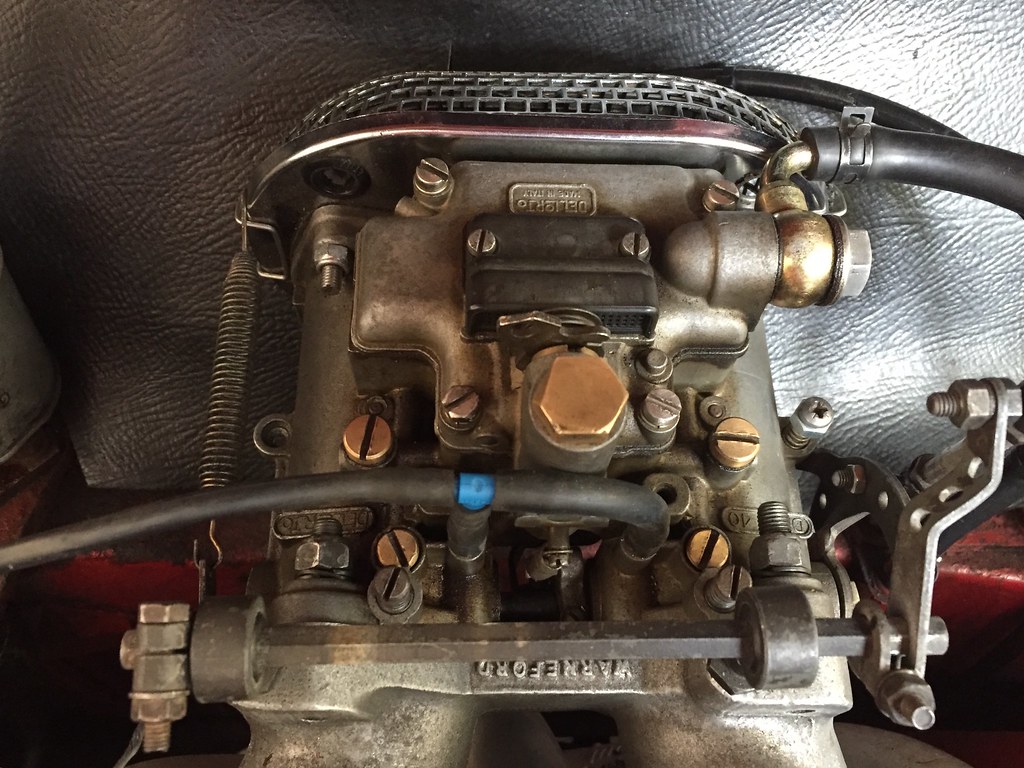
I then connected it up to the distributor. I checked the numbers on the original 25D - it's a 40768 with the vacuum unit 54411478. While the mechanical advance has now been bypassed the vacuum unit is a 7-13-5, which should mean it starts advancing at 7 in Hg, reach maximum at 13 in Hg and tops out at 5 degrees of advance.

I had a quick test drive around and it seems to work pretty well. The extra advance seems to perk it up a bit at part throttle, it'll be a while before I can check how the economy will change.
Re: '63 Aussie Morris 850
Posted: Mon Mar 11, 2019 6:54 am
by smithyrc30
One question, why take the distributor vacuum signal from both inlets?
The volume in the diaphragm is small and will easily be moved by the depression generated by two cylinders (like the Cooper set up on the SU's)
Cheers
Re: '63 Aussie Morris 850
Posted: Mon Mar 11, 2019 7:03 am
by timmy201
That’s a good question. I saw somewhere that Dellorto recommend doing it this way, but I’m happy to try running a single barrel and see how that goes. I can check them against the vacuum gauge and see if there is any difference?
Re: '63 Aussie Morris 850
Posted: Tue Mar 12, 2019 9:06 pm
by timmy201
So results from this mornings quick test on a cold engine:
Balance pipe connected: 13-17 in Hg flickering - perhaps when warm and the idle is smoother this will stabilise
Balance pipe disconnected: 0-17 in Hg flickering - so no good for vacuum advance
Don’t forget the Cooper HS2 carbs are linked together by the balance port on the manifold. If they weren’t linked each SU would receive uneven vacuum signals and cause the damper/piston to behave erratically
Next time I’m at a parts shop I’ll get an extra T-piece so I can check the vacuum while driving. I’ll also check to see if having equal length hoses to the T-piece makes any difference
I also have been experimenting with installing a PCV from the tappet breather into a catch can and then to the manifold ports. It was moving quite a bit of air through, so I needed to check the mixtures before driving on the road. This might also smooth the pulses in the intake

Re: '63 Aussie Morris 850
Posted: Sat Mar 23, 2019 5:18 am
by timmy201
I did a bit of experimenting in the garage this afternoon. First up I added another T-piece to the vacuum advance line so that I could check the vacuum signal inside the car. I added the PCV system back into the engine and linked the manifold ports together. The first thing I noticed was that the vacuum signal was nice and constant now, and not fluctuating like before.
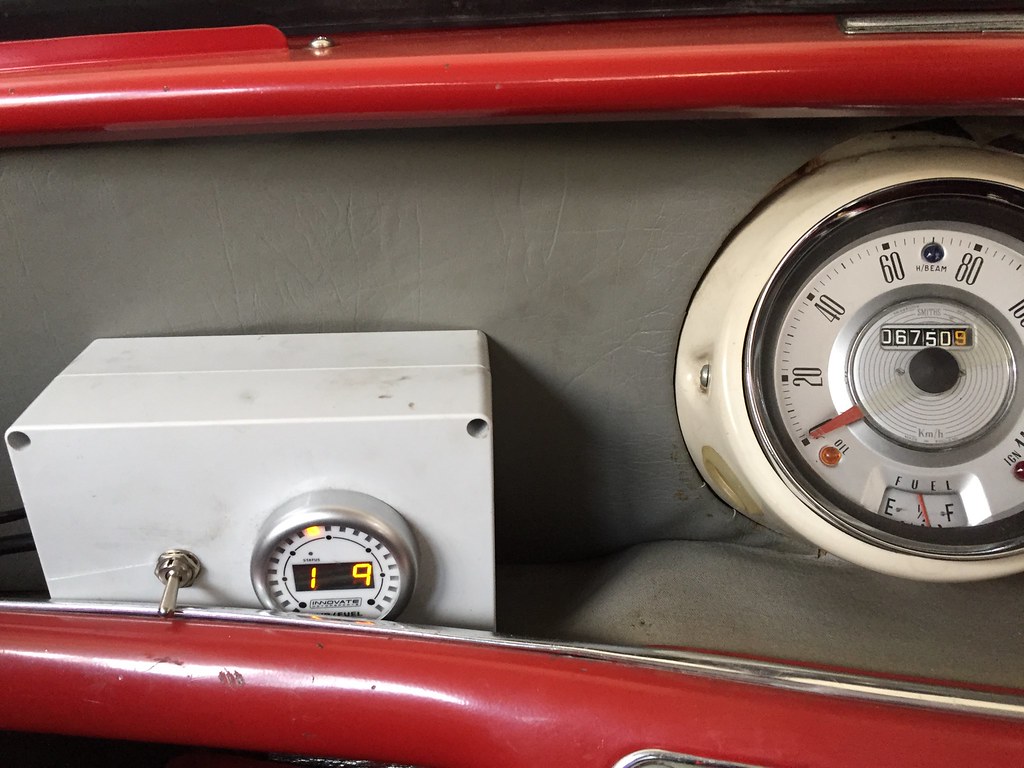
I borrowed an O2 sensor so that I could monitor the fuel mixture..
I had the gauge on the dash to check while I was driving (the camera didn't pick up the readout properly, it was at 13.9 here). Before I added the PCV system it was running really rich (although not having any issues when driving). With the extra air coming through the PCV the fuel mixture had leaned out a bit to a more acceptable level.
Re: '63 Aussie Morris 850
Posted: Sat Mar 23, 2019 6:50 am
by Fanfaniracing
Should the Lambda Sensor not be as near to the collector as possible?
In the description on mine it’s written that the Sensor should be miunted max 30cm away from the head...
Re: '63 Aussie Morris 850
Posted: Sat Mar 23, 2019 11:35 am
by timmy201
Fanfaniracing wrote:Should the Lambda Sensor not be as near to the collector as possible?
In the description on mine it’s written that the Sensor should be miunted max 30cm away from the head...
Probably in an ideal situation I’d have a bung put in the mid pipe, but this way I’m able to get a ballpark value without going to an exhaust shop. This manual for this unit says a minimum of 24 inches back and before any catalytic converters. It won’t read decent at idle in this location, but once there is sufficient exhaust flow it’s fine. Many dyno tuners also use the tailpipe mounted sensors for monitoring the fuel.
The tailpipe clamp is available from the gauge manufacturer
https://www.innovatemotorsports.com/xca ... ctid=16141
Re: '63 Aussie Morris 850
Posted: Wed Apr 03, 2019 11:19 pm
by timmy201
The next job to do for the new gearbox was assembling the diff. I've been putting this off for a while as one of the diff bearing inner races was seized onto the crownwheel. I had a similar thing happen a few years ago when I was replacing a rear wheel bearing. There wasn't enough metal overhanging on the rear to pull it off with a bearing puller, so I had to get the angle grinder out.
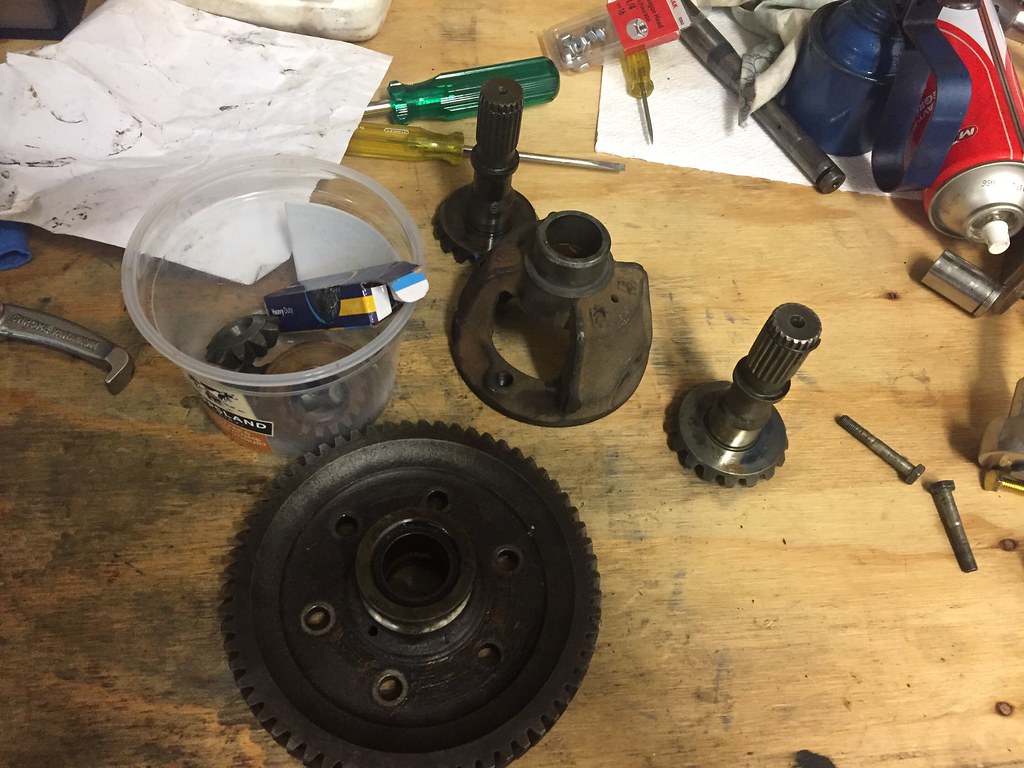
When you grind through far enough it'll crack all the way through and release the tension.

Finally free of the race! I ended up deciding on a 3.44 ratio

I'd assembled a diff before, and this one went back together very smoothly. When Justin had the diff cage he made some reliefs in the diff cage to accept the later A+ style planetary thrust washers.
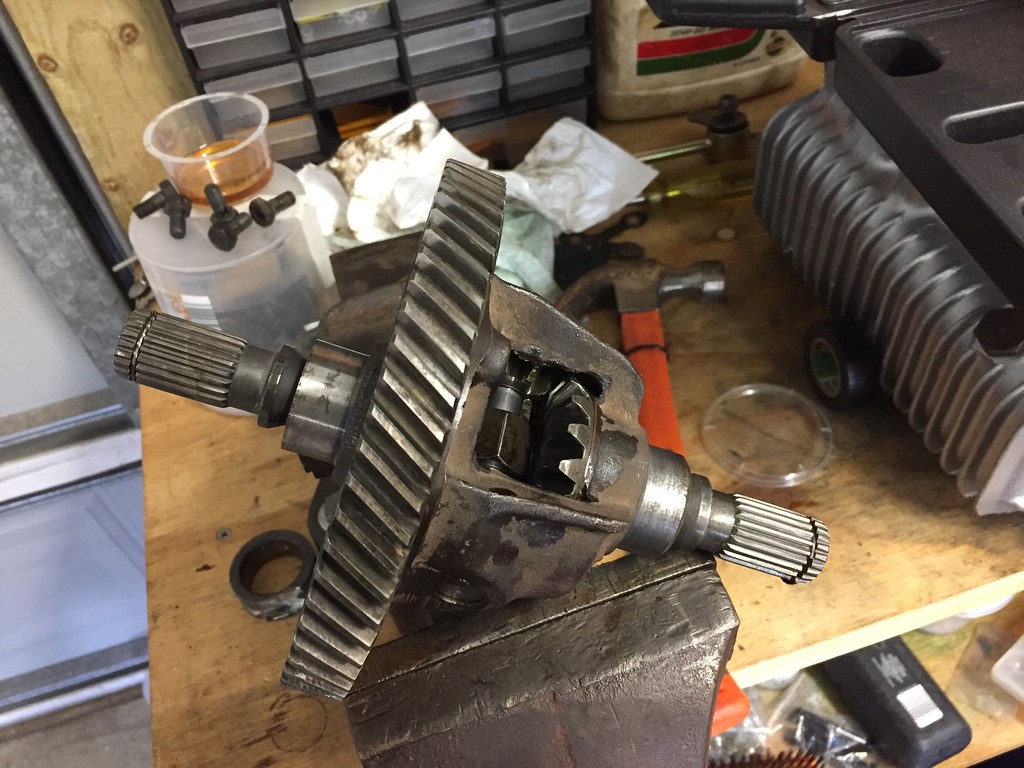
So now the diff is ready to go back in, next I need to get some new diff bearings and clean up the diff side covers.
Yesterday I had the day off, so I gave the car a good clean and a quick check over and I went for the annual registration inspection. Once again the car passed with no problems, which is always a relief. I take the car to the local British car specialist as they actually know what to look for, and where to jack the car up (unlike the regular mechanic down the road). I also get the tour of their projects in the workshop, which are the stuff dreams are made of!
Re: '63 Aussie Morris 850
Posted: Sat May 25, 2019 6:51 am
by timmy201
Back in April we had a drive around with the MITG crew. It turned out to be a pretty nice day!


Next I thought I'd try and get the tune a bit closer on the Dellorto. Time to get out the jet kit again!
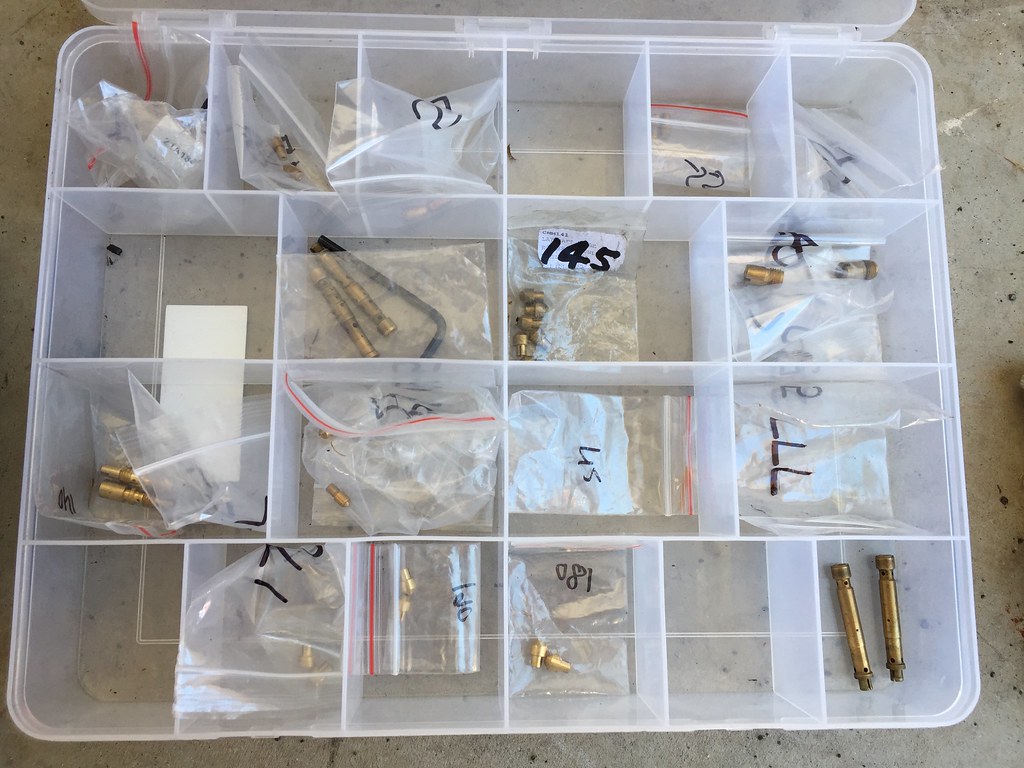
When we first set it up on my car we just chose the leanest jets out of the selection we had and it ran really rich everywhere. On the AFR gauge it'd show 9.0 to 11.0 which is really rich! Luckily it still ran well and never fouled up plugs but I wanted to get it tuned better. I ordered in some 45 idle jets (was 57) and 140 main jets (I think it was 155). This made a bit of an improvement but it was still on the rich side - this was around 11.0 to 12.0 AFR pretty much everywhere.
The next thing for me to try was the emulsion tube. I had started with a 7772.6, which is the richest available and is suited to 1275 or bigger mini engines. The one recommended for 998 and 1098 engines is a 7772.7, but I didn't have one of those so I changed to a 7772.5 (lean to rich is .5 then .7 then .6). This made it leaner while running but now it was a bit lean at full throttle - 12.5 to 13.5.
To make the top end richer I tried reducing the size of the air corrector (less air) from 180 to 170. This didn't make a huge amount of difference so I ended up increasing the main jet back to 155 and put the air corrector back to 180. Now it's getting pretty close to being correct with using the jets that I have at the moment. Now the cruise is approx 12.0-13.5 which is good (but still a little rich), and full throttle starts around 12.5 and goes down to 11.5 as RPM increases.
I've found Dellorto tuning to be easier so far to fiddle with than SU needles. Each different tuning part for the Dellorto plays a different part in overall tuning so it's been easier to work away at each circuit to get the tuning correct. Ideally you'd have a complete range of jets over a range to get all the parts exactly right, but that ends up getting really expensive for just one car.
Final setup:
Idle 45
Main 155
Emulsion tube 7772.5
Choke 32
Air corrector 180
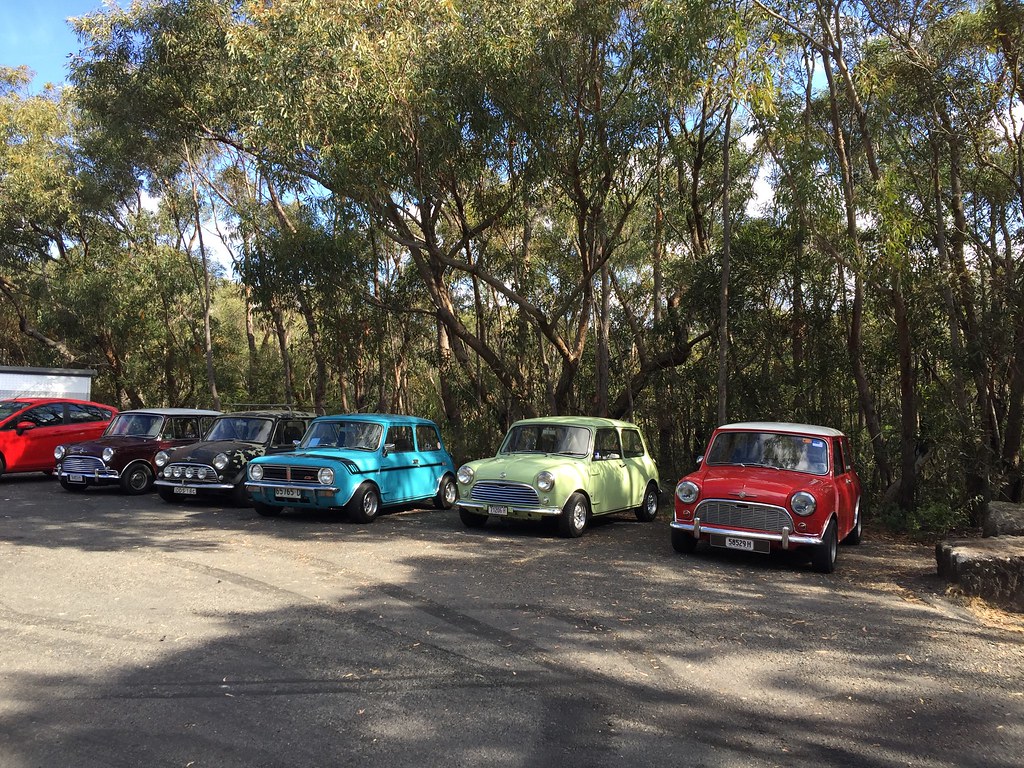
On the weekend we had a little trip away with some local Minis. Day 1 was about 300km and started at Albion Park.

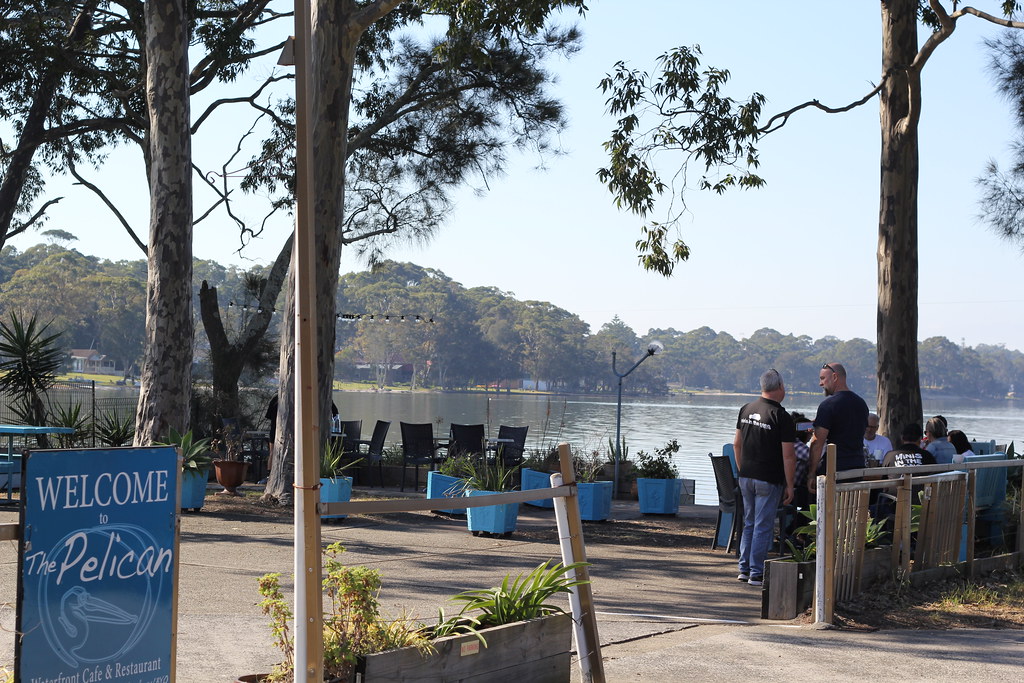
We took the tourist road down the coast and the first stop was at St Georges Basin. It was a perfect quiet still day (or at least until we turned up)

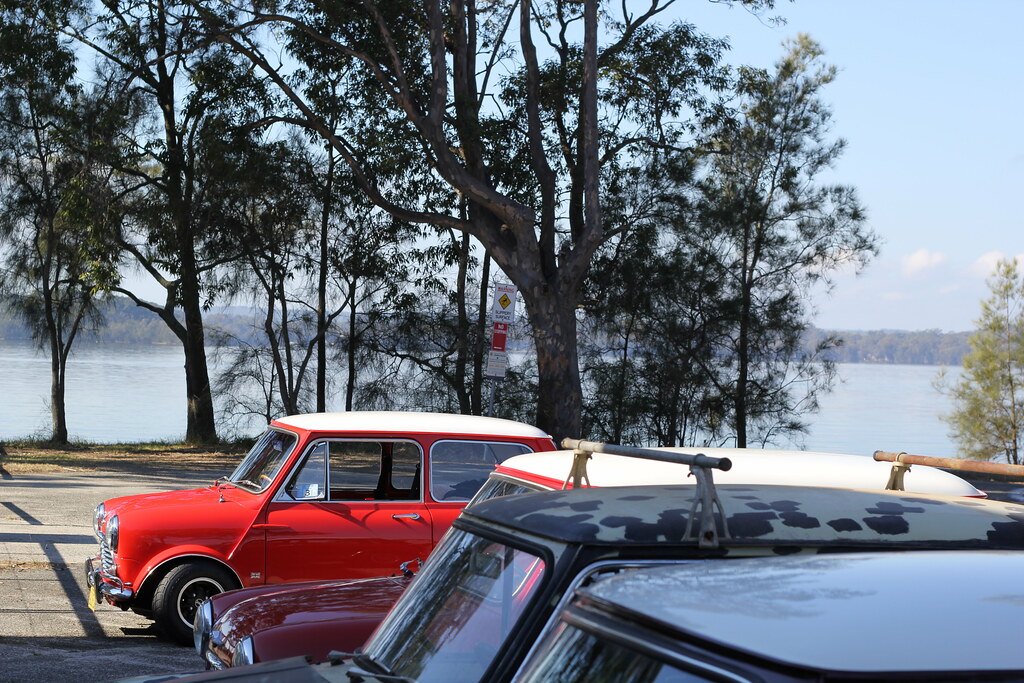
We had a nice morning tea at the Pelican cafe and from there we headed south to Batemans Bay

After a fuel stop we had lunch at the Clyde River just inland of Batemans Bay.

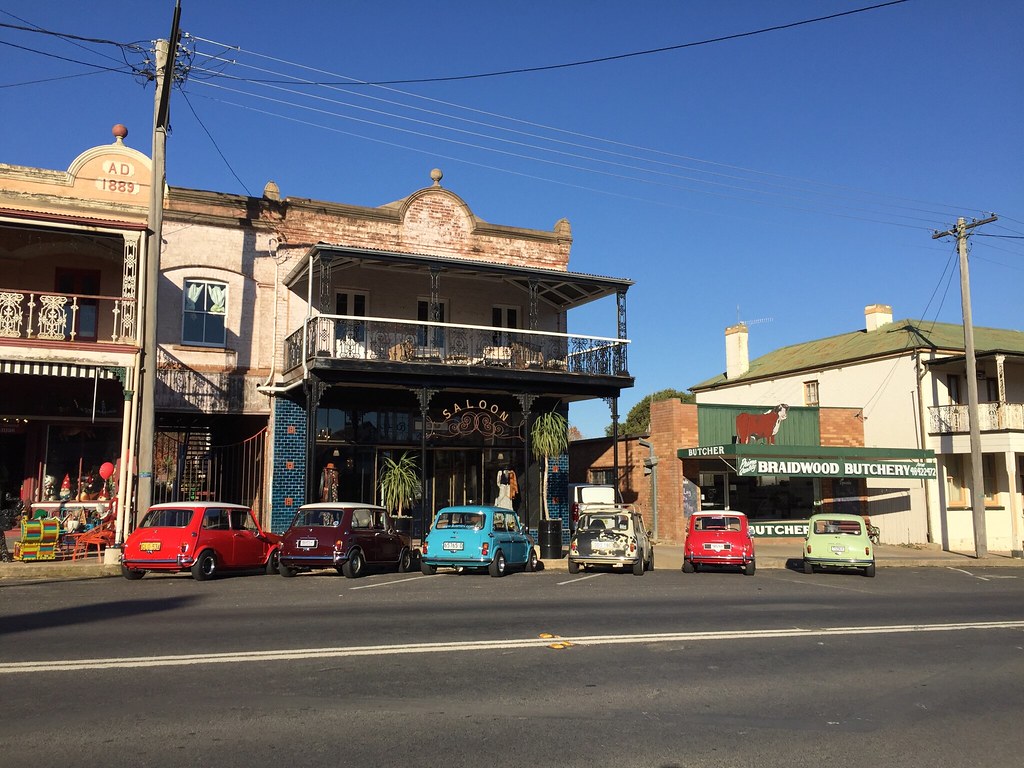
From there it was about an hour up a winding mountain road to Braidwood. It's a lovely country town and there are lots of interesting shops to look in.
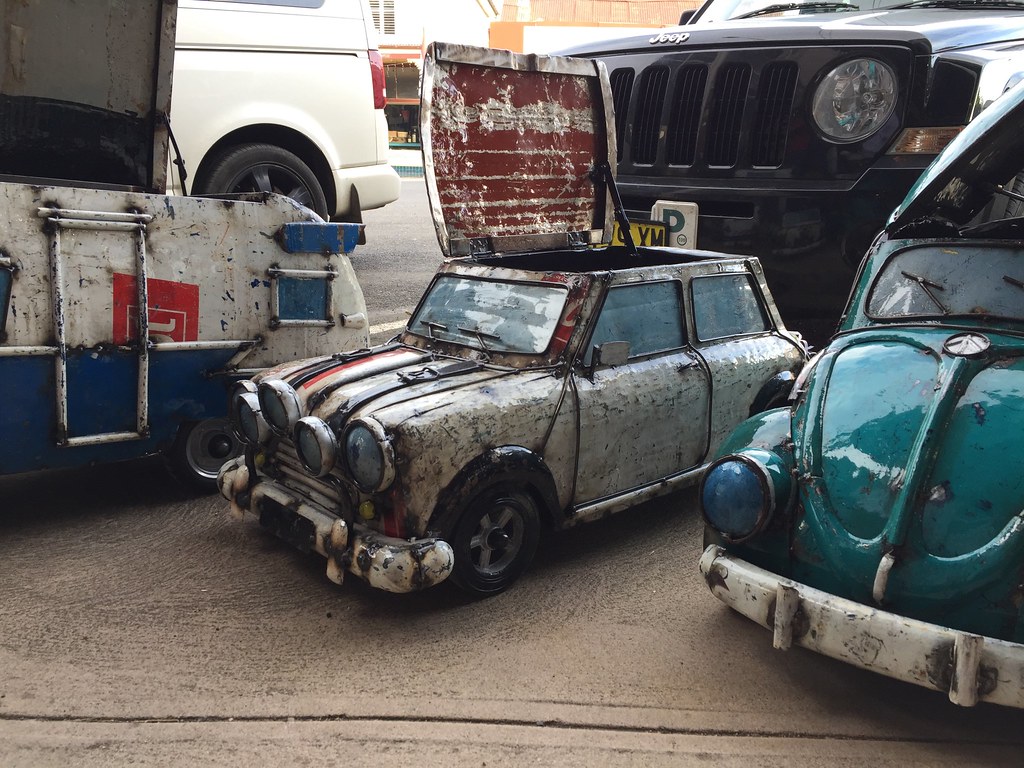
One shop had these funky Mini ice boxes, although they were a bit pricey!
Day 2 started with some cooler weather and some nice autumn leaves starting to cover the car

There was an old van parked in the main street advertising for Oil & Kerosene Lamps, which seemed quite fitting for the age of the van!


From Braidwood we headed to Nerriga via Tarago in order to stay on sealed roads.

The last group stop was at Tianjara Falls for a look at the view before heading on home.
It was about 4-500km all up over the 2 days and the car ran perfect the whole trip. The average fuel use was pretty good too at just 7.0L/100km, not bad for a sidedraft Dellorto!
Today I sanded all the sharp edges off the alloy accelerator pedal, painted the body black and sanded the top edges down. It gives it much more definition than the all alloy finish it comes in


Re: '63 Aussie Morris 850
Posted: Thu Jun 06, 2019 8:39 am
by timmy201
Something I've been thinking about and working towards is getting the front grille lamps working.

They are period Butler "Highway" lamps and come as a set of one Fog & Spot. I found this cool add with them here:
http://mk1-performance-conversions.co.u ... _read.html

They are even stamped BMC SPOT & BMC FOG


The bulbs used in these lamps are a very uncommon size and spec. I was able to find a guy selling some NOS ones in the UK for £20 pounds each + shipping, which is insanely expensive for something that might not even survive the post...

So I looked through some spare bulbs I had and decided that the H3 was the right length and was worth a shot (they are also dirt cheap at any parts shop)

To adapt the smaller H3 bulb to the lenses I bought some large 50mm washers. The outer diameter had to be ground down to 48.5mm and the inner hole had to be enlarged to fit the bulb

A little notch in the washer to match the original location

The spring loaded contacts on the back worked great too. The old bulb had one contact for each terminal, but the new bulb has a separate positive terminal (the white wire). The red wire was cut from the base and a spade terminal was added to match the lead on the bulb.


I put the lamp all back together and found I had a visitor coming over for a look...

The test on the 12V jump pack was successful, now I need to complete the loom and get it wired into the car


Re: '63 Aussie Morris 850
Posted: Fri Jun 07, 2019 4:39 am
by Tim
The focus of your new globes probably won't be quite the same. The position of the filament relative to the focal point of the reflector controls the spread of the beam. The two original globes have different filaments, one for flood and one for spot, so you would need to align the position of the filaments of your two H3 bulbs differently to get them focussing the same as they would with the original mismatched pair of globes.
That's a great set of lights, they really look the part.
Tim