Page 8 of 9
Re: My Austin Countryman Project
Posted: Wed Mar 15, 2017 9:50 pm
by swindrum
davidnutland wrote:I need to ask why is the disassembled wiper motor dated 10-64 but the installed one is 9-67?
OK I'll get my anorak

Seriously this project is looking good.
I
KNEW someone would spot that...
I may have done 4 wiper motors that day... possibly. And may have not taken enough photos to have a before photo of the 67. Maybe.
I would be willing to trade the 64 cover for an early 63 cover, pre-june 63...
Re: My Austin Countryman Project
Posted: Sat Mar 18, 2017 12:04 am
by swindrum
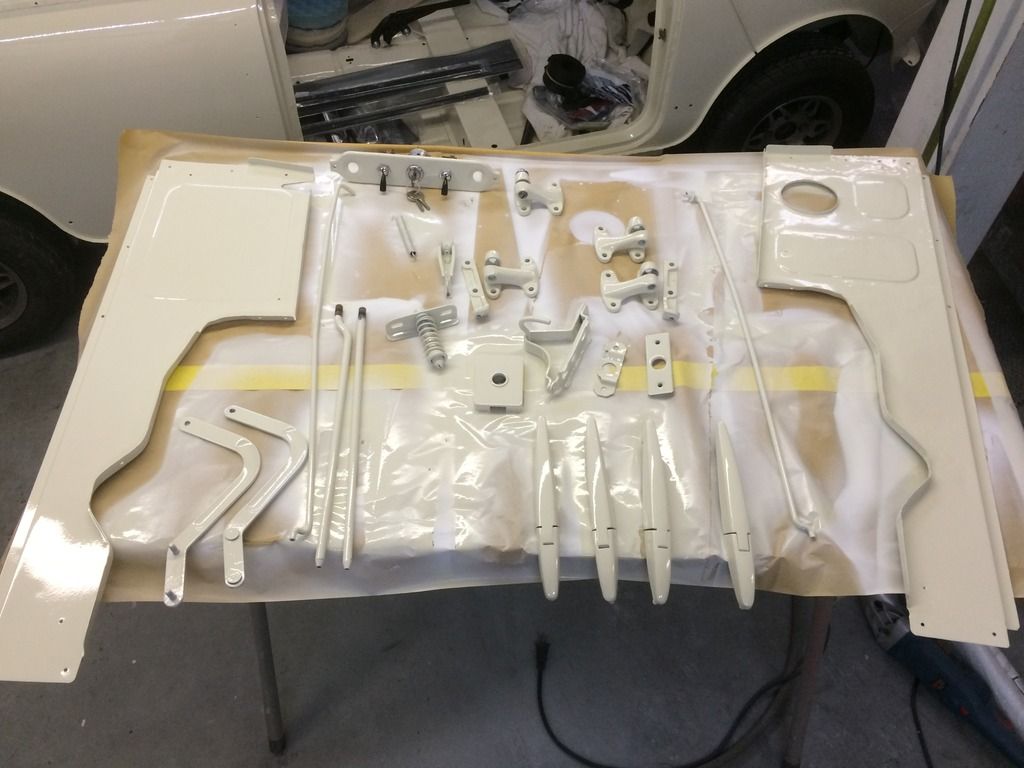
Plugging along, fired up the paint gun on Tuesday evening and shot all the little bits and pieces. Well, not
all of them.. After I had cleaned the gun and put everything away, I remembered that I hadn't yet painted the seam covers... Sigh.
It is remarkable just how many parts make up the latches and hinges on these cars!
Re: My Austin Countryman Project
Posted: Mon Mar 27, 2017 9:16 pm
by swindrum
The assembly continues, I have flatted and polished the paint and have started attaching more bits. Naturally, when I went to fit the wood sides, the brand new rear window channels were no where to be found... A quick order to Mini Spares, hopefully they will be here this week and I can mount the wood for good. I have it loosely placed on the car, that seems like the safest place for it. I have replaced the torn headliner with NC fabric, that was a couple evenings in front of the TV, stretching and glueing to get all of the wrinkles out.
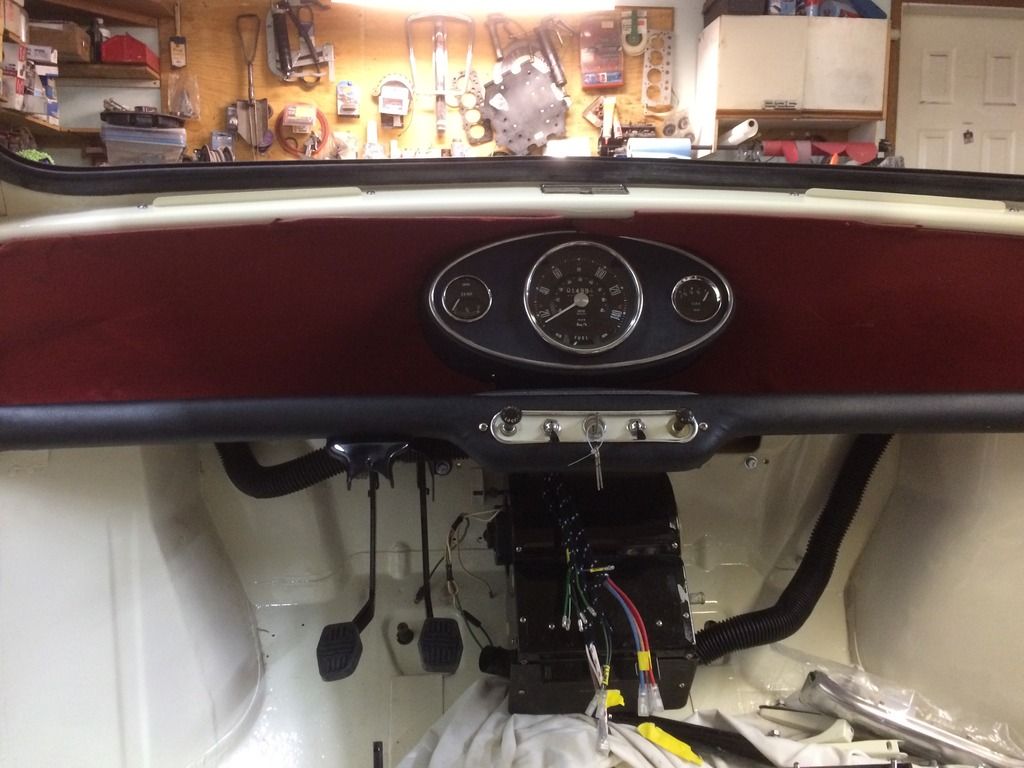
Rear seat is re-upholstered, dash binnacle is fitted, and the red cards are loosely tucked into place, just for effect at the moment with some gauge placeholders.
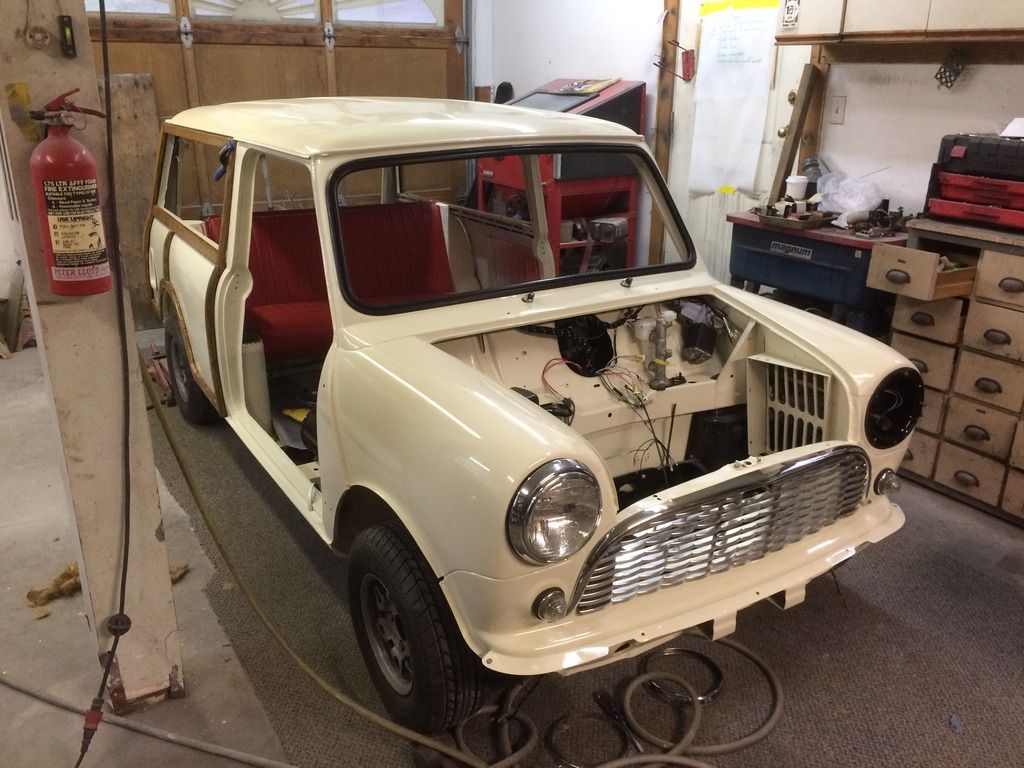
She only has one eye at this point, when I went to fit the left headlamp, the one of the brass adjuster receiver bits just started to spin in the hl housing... so out it had to come.
Re: My Austin Countryman Project
Posted: Mon Mar 27, 2017 9:39 pm
by InimiaD
Coming along nicely.
What is it with rear window channels and not being able to find them.? The exact same thing happened to a friend and he had to order a new set.

I don't think he's found the original set to this day.
Not sure if it's the camera angle, but I think the switch panel is upside down.

Re: My Austin Countryman Project
Posted: Mon Mar 27, 2017 10:42 pm
by swindrum
I'm glad to hear I'm not the only one then... I figure I will find them right after the new ones arrive.
Also I think you are correct, I was looking at it yesterday and everything in the switch panel is pointing a bit skyward... So thank you for confirming!
Re: My Austin Countryman Project
Posted: Tue Mar 28, 2017 4:22 pm
by swindrum
Small victories are still victories right? Not too much to report, managed to peen over the brass sleeve in the headlight bucket, so that it stopped spinning, and now she has both eyes.
Mounted the rear seat, so it flips forward and folds down.
And, thanks to InimiaD, I turned the switch panel right ways up...
After all that progress, I called it a night. Well, I cleaned up the shop too, I was starting to have trouble finding any tools.
Re: My Austin Countryman Project
Posted: Tue Mar 28, 2017 7:54 pm
by NicholasUpton
You can install the wood, and install the glass later from the inside. just place the lower track in, set the glass inplace, set the upper track on the top of the glass and slide in from the inside. A bit like doing the front doors only upside down.
Re: My Austin Countryman Project
Posted: Wed Mar 29, 2017 6:57 pm
by swindrum
Thanks Nicholas! The channels arrived from Mini Spares yesterday, so I can carry on as planned!
Re: My Austin Countryman Project
Posted: Thu Mar 30, 2017 11:05 am
by rich@minispares.com
it looks really odd with that upside down oil pressure gauge
Re: My Austin Countryman Project
Posted: Thu Mar 30, 2017 11:57 am
by bmcman.ie


i love it!
Re: My Austin Countryman Project
Posted: Thu Mar 30, 2017 5:32 pm
by swindrum
rich@minispares.com wrote:it looks really odd with that upside down oil pressure gauge
I'll have you know, that's an upside down
fuel gauge... Sheesh...
More progress, left side rear sliders in place
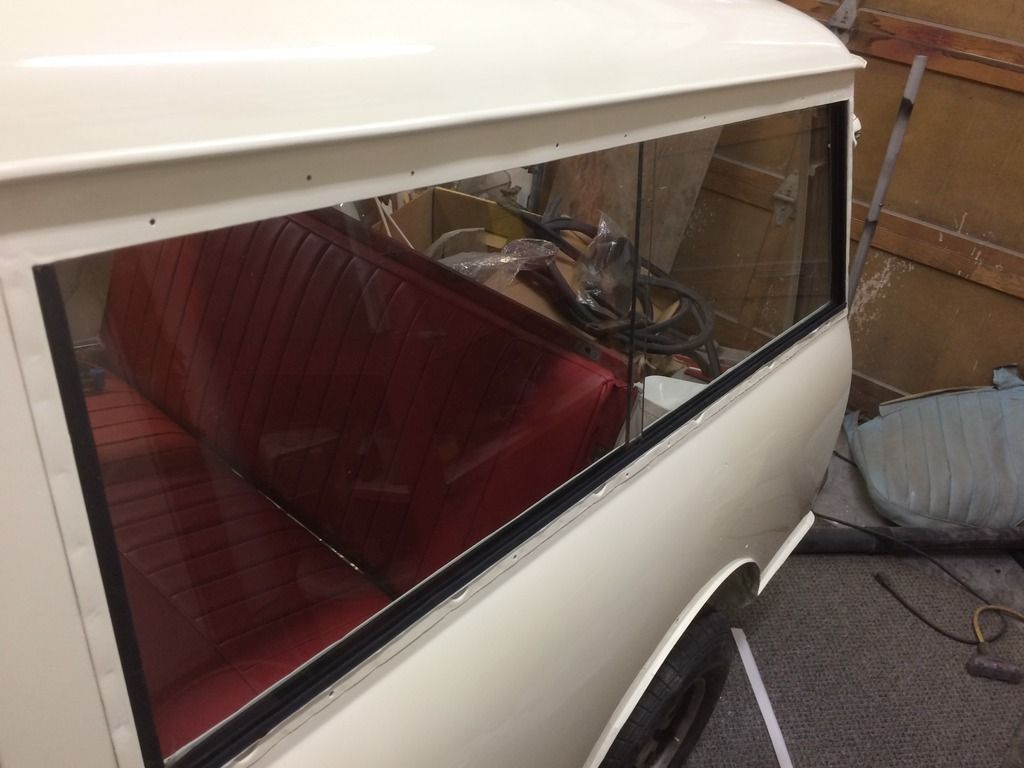
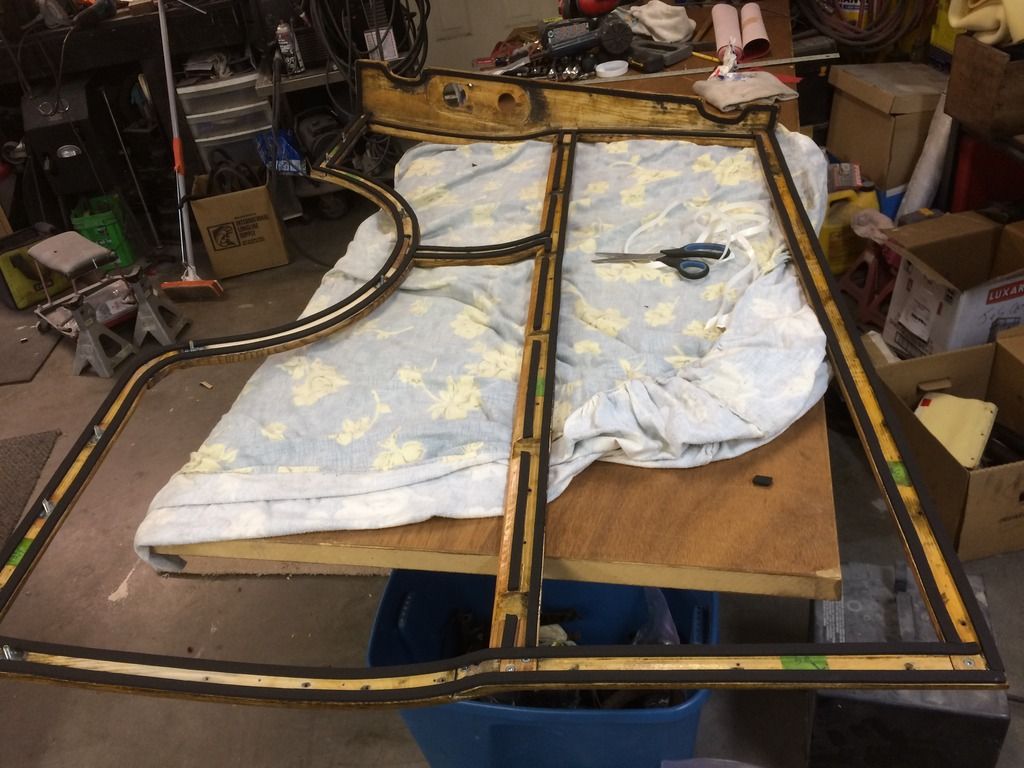
Preparing the wood frame with closed cell foam all around
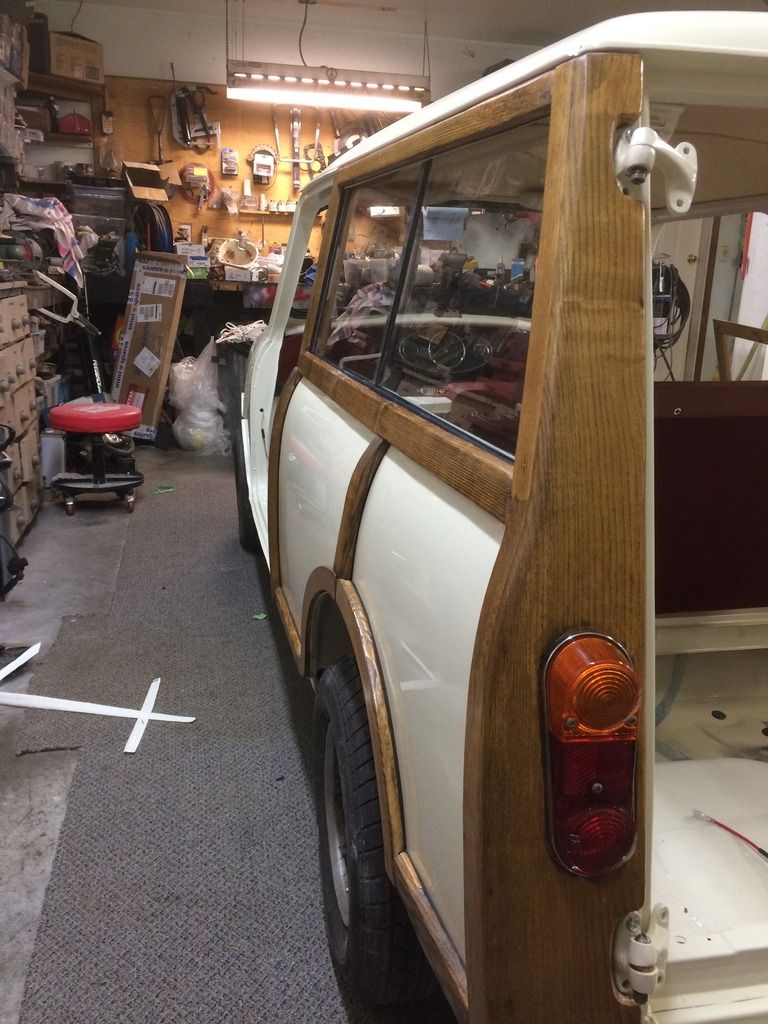
Finally fitting the wood for (hopefully) the last time.
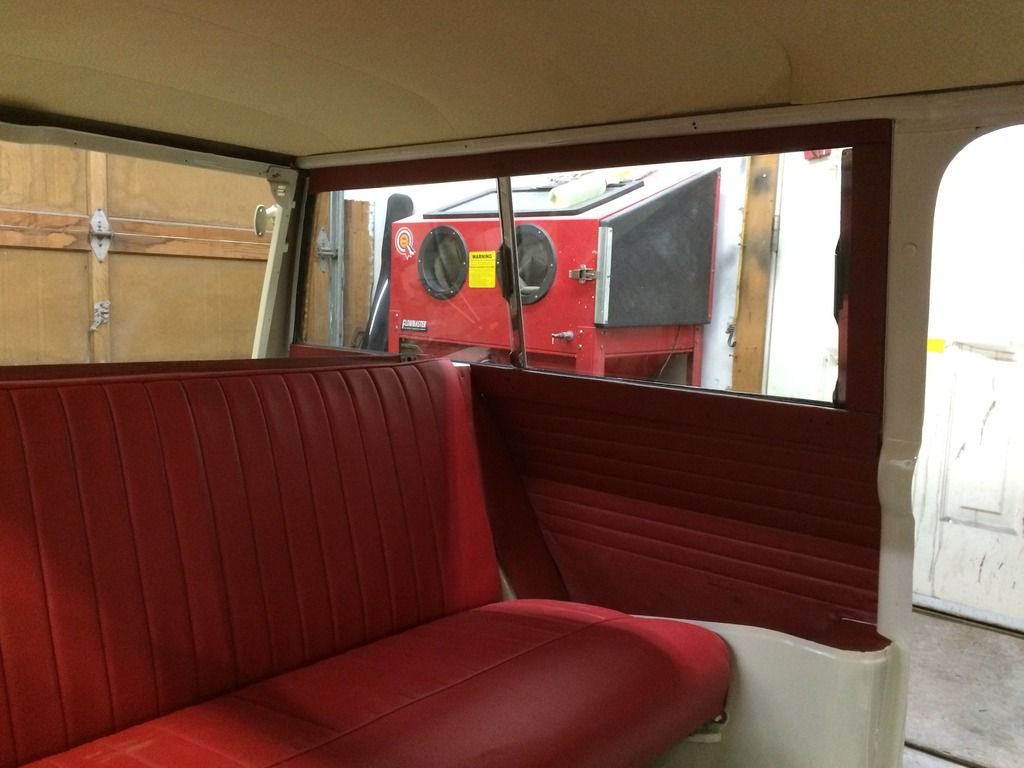
Once the wood kit was bolted on, I was able to fit some interior bits.
Re: My Austin Countryman Project
Posted: Fri Mar 31, 2017 10:10 am
by minibitz
Looking great!
Re: My Austin Countryman Project
Posted: Fri Mar 31, 2017 11:18 am
by mkparker
Well, my first post here I believe. I've just finished your entire build, in two sittings, and I am amazed and very grateful! I've just recently acquired my first Mini that looks to be almost identical to your very first pic. I knew pretty much nothing about these little cars prior to this thread and I greatly appreciate your restoration skills and efforts documenting your process. I hope to begin my on "rebuild" soon. Cheers! ( I think that's the appropriate word! I'm Texican after all).
Re: My Austin Countryman Project
Posted: Fri Mar 31, 2017 11:50 am
by rich@minispares.com
mkparker wrote:. Cheers! ( I think that's the appropriate word! I'm Texican after all).
....'cheers ya all...yeeehaaaaawwwwww' surely!

Re: My Austin Countryman Project
Posted: Fri Mar 31, 2017 6:16 pm
by swindrum
mkparker wrote:Well, my first post here I believe. I've just finished your entire build, in two sittings, and I am amazed and very grateful! I've just recently acquired my first Mini that looks to be almost identical to your very first pic. I knew pretty much nothing about these little cars prior to this thread and I greatly appreciate your restoration skills and efforts documenting your process. I hope to begin my on "rebuild" soon. Cheers! ( I think that's the appropriate word! I'm Texican after all).
I am honoured to have inspired your first post, thank you for the kind words. Welcome to the forum! Restoring a car is like eating an elephant, one small bite at a time...
I have to admit, I was a bit aprehensive about documenting this for all of the experts to critique. I am just a guy with some tools and a garage. It has paid off though, when I have put something together incorrectly, I have been gently pointed in the right direction.
My next build, I am definitely going to have the shell media blasted. I think it is false economy to think that 100+ hours of sanding and scraping is less expensive than sending it off to the blasters. it would have been $1500 well spent I reckon.
Re: My Austin Countryman Project
Posted: Sat Apr 01, 2017 12:41 pm
by velopackrat
Rich,
It's y'all as if one word, with a very long 'a'. In fact, we include a hint of a 'w' as in YAAAWL. Just say it in front of a mirror several times while you smile. "Howdy, Y'all!"
Chris in Texas
Ps. Remember the Alamo!
Re: My Austin Countryman Project
Posted: Mon Apr 03, 2017 6:47 pm
by swindrum
Nothing to photogenic to report this weekend. Sorted the brake and clutch lines. Borrowed a professional brake line flaring tool, and wow, does that ever make the job a treat. I still had to bend the darn things, but the flaring portion of the job was a piece of cake!
Otherwise, we have our first race of the season in the Wolseley later this month, so we dragged her out of the shed and started on all the jobs we meant to do over the winter....
Re: My Austin Countryman Project
Posted: Wed Apr 05, 2017 7:22 pm
by swindrum
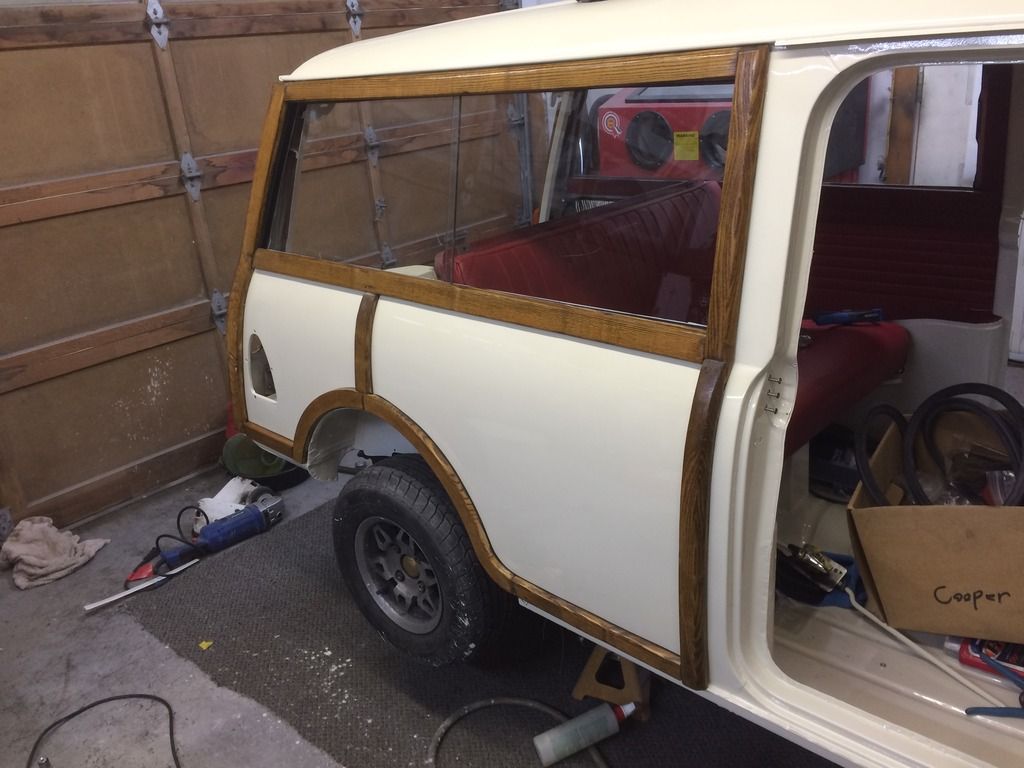
I had to repaint the right rear 1/4 last week as first time around, I had managed to put a nice big run just above the fuel filler and (naturally) not hidden by the wood kit...
So I was able to colour sand and polish on Monday, and managed to fit the windows and wood kit last night. It is a relief to have both of the wood frames securely mounted to something, they seem so fragile when you are tripping over them in the shop...
Re: My Austin Countryman Project
Posted: Wed Apr 05, 2017 7:27 pm
by swindrum
Also, there are a few questions I have....
I have fitted the MK1 external bonnet release, but when I try to refit the grille, there is no room for the little handle to fit through the hole in the grille. If someone has a photo that would be awesome.
I am on the hunt for a couple things, I don't have the fresh air pipe that goes from the engine bay to the heater, nor do I have any sort of seal for said pipe where it goes through the bulkhead. If anyone can help out that too, would be awesome,
-Sean
Re: My Austin Countryman Project
Posted: Wed Apr 05, 2017 7:40 pm
by minimans
You have a MKII catch with the wire rod sticking through the grill? If so you will have to cut that off or find a MKI catch. on a MKI there is nothing protruding through the grill you just insert finger and pull acoss!


