Page 6 of 13
Re: Mhuffy The Traveller.
Posted: Tue Jan 03, 2012 11:38 am
by 36inter
Perhaps one like my old one from 1970

Re: Mhuffy The Traveller.
Posted: Tue Jan 03, 2012 9:53 pm
by InimiaD
Hmmm, choices, choices.
All will be revealed in the distant (judging by my last visit to the sprayers) future.

Some pics taken back in early September.
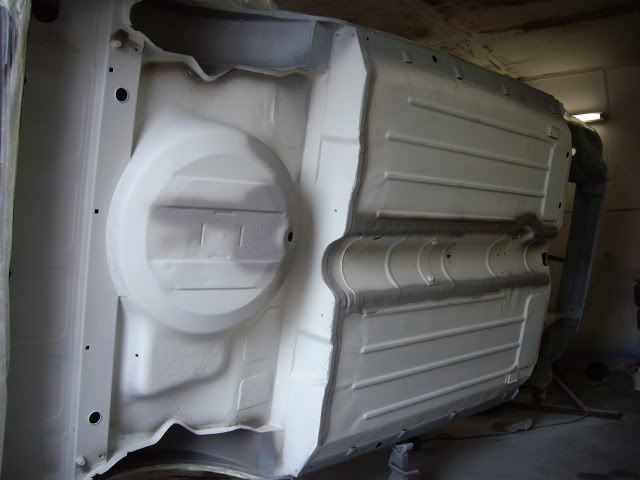
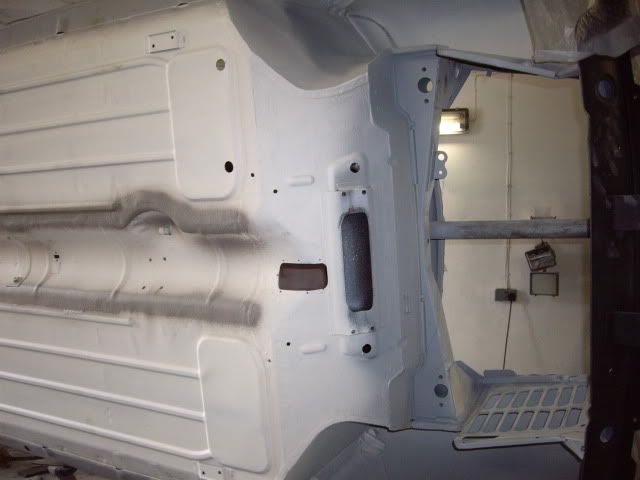
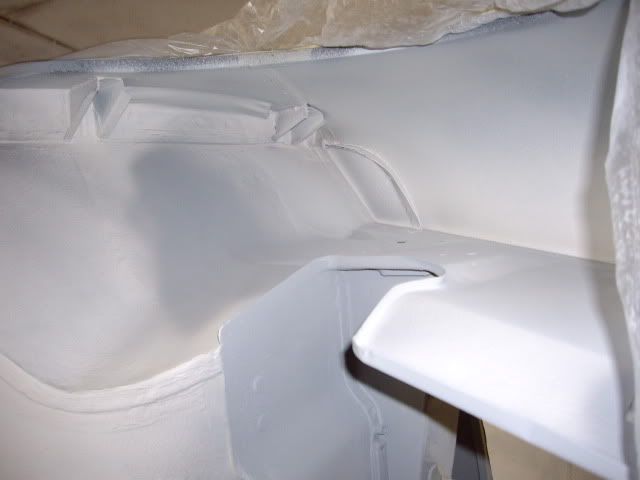
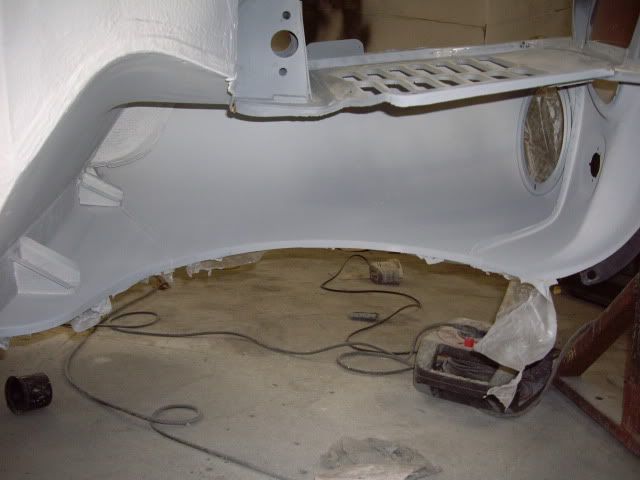
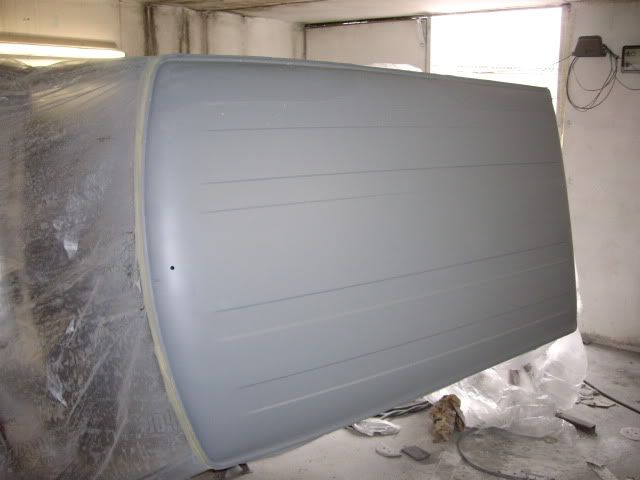
,,,,,,,,, and a few pics of what little progress has been done since then. These pics were taken mid December. Really flying ahead now. Yeah, right.

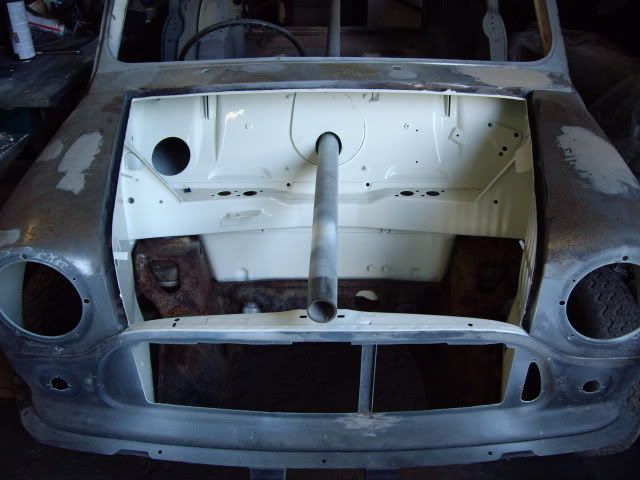
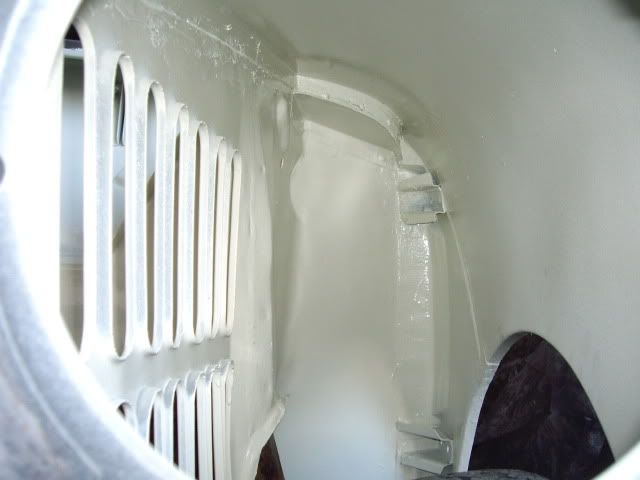
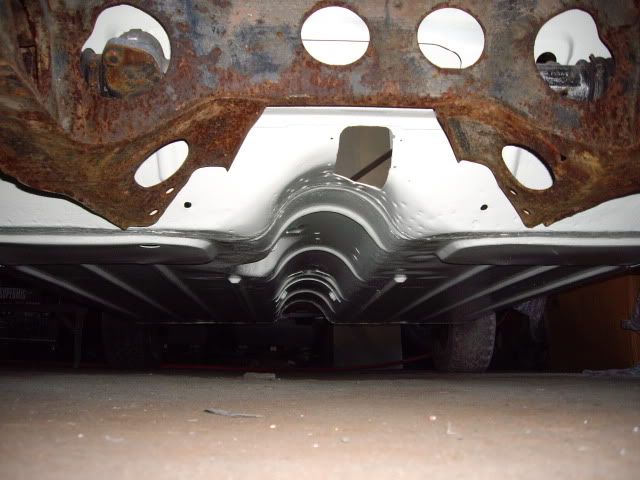
Excuse the "donkey" subframe. All the underside, wheel arches and engine bay done and that i'm afraid is that.
Re: Mhuffy The Traveller.
Posted: Wed Jan 04, 2012 3:08 am
by georgek
Nice to see more paint going on, you've achieved a lot!
Re: Mhuffy The Traveller.
Posted: Wed Jan 04, 2012 5:53 am
by SteveG
Thats 'Van' Tastic!

Re: Mhuffy The Traveller.
Posted: Sun Jan 29, 2012 5:17 pm
by InimiaD
Thank you gents.
Not much progress on the paint side of things.

I swung by the sprayshop a couple of weeks ago and as i suspected nothing extra had been done to the shell.
However, I was promised that the shell would be back in the spray shop at the end of this month.
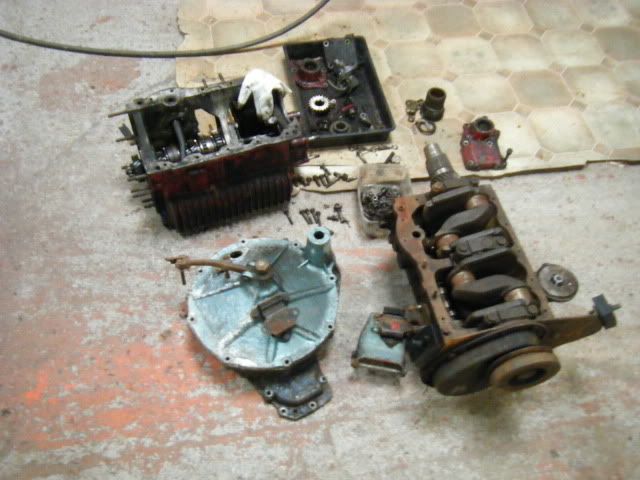
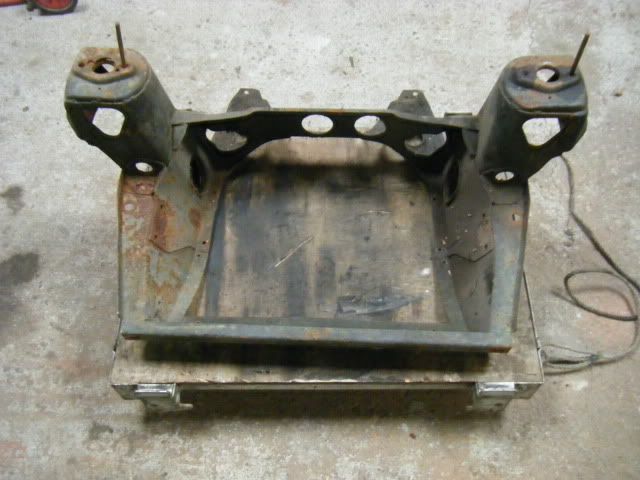
In the meantime I've been getting together a motley collection of spare engine bits and pieces ready to assemble and fit into a sacrificial front subframe (wet).
Once fitted I can start knocking up some extra engine mounts as per the 1100 type mounts.
I found an Austin / Morris 1100 haynes book and it looks as if the front nearside engine mount bracketry is bolted to the leading edge of the subframe, so that will save ruining my newly powder coated donor subframe.
The sacrificial subby.
When I get the chance and the weather warms up a bit I'll crack on with it.

Re: Mhuffy The Traveller.
Posted: Thu Feb 09, 2012 8:58 pm
by InimiaD
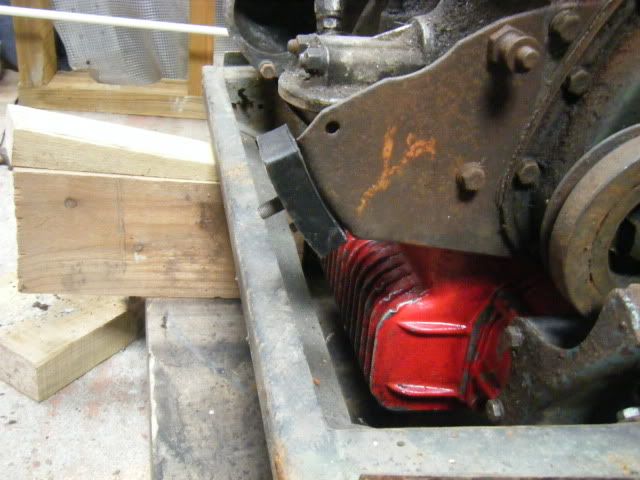
Managed to bolt all the "motley" bits together.
As you can see, there isn't much room to fabricate a new rear mount.
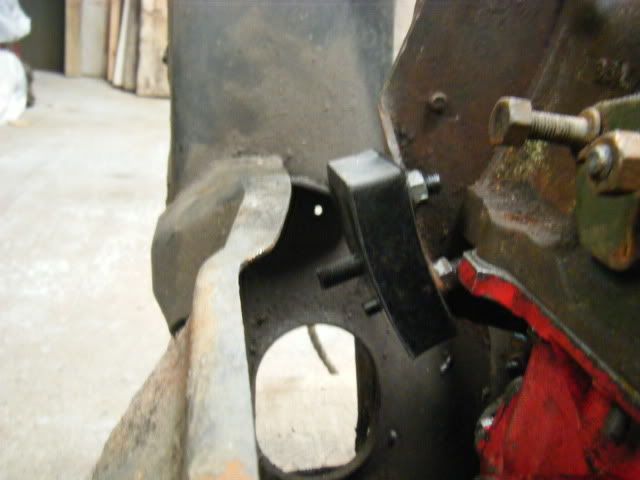
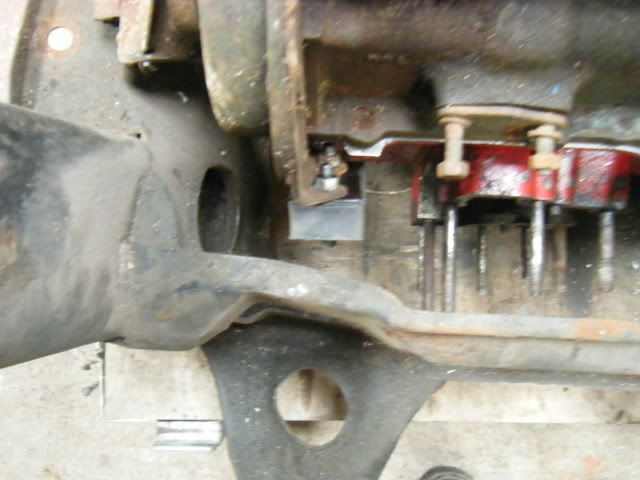
The block needs to be leaned backwards by about 20mm which makes the rear mount even tighter than it looks. Got some head scratching to do.

There's enough room on the front though to make a decent support bracket.
Re: Mhuffy The Traveller.
Posted: Thu Feb 09, 2012 9:19 pm
by 36inter
I've used that arrangement before on my sons car, should be a standard fitment for all mini engines, the engine just does not move, brilliant.
A bit of fabrication, burn a few rods and bingo best fix for engine wobble. Ever.
Pete
Re: Mhuffy The Traveller.
Posted: Thu Feb 09, 2012 9:25 pm
by 36inter
When you fabricate the plates for the rubber mounting blocks to sit against, instead of a hole cut a slot from the top so the mounting drops down into it, back and front, its much easier to get the engine in and out
Pete
Re: Mhuffy The Traveller.
Posted: Thu Feb 09, 2012 9:49 pm
by InimiaD
36inter wrote:When you fabricate the plates for the rubber mounting blocks to sit against, instead of a hole cut a slot from the top so the mounting drops down into it, back and front, its much easier to get the engine in and out
Pete
Good call Pete. If the mounting plate is of a heavy enough gauge and once it's bolted up the engine won't be going anywhere.
I could make the rear mount and possibly the front mount fixed which would save a lot of grief further down the line.
Tidy.
Re: Mhuffy The Traveller.
Posted: Thu Feb 09, 2012 9:52 pm
by JC T ONE
InimiaD wrote:
You got mail

Re: Mhuffy The Traveller.
Posted: Sun Feb 19, 2012 7:36 pm
by InimiaD
Jens, did you get my email.?
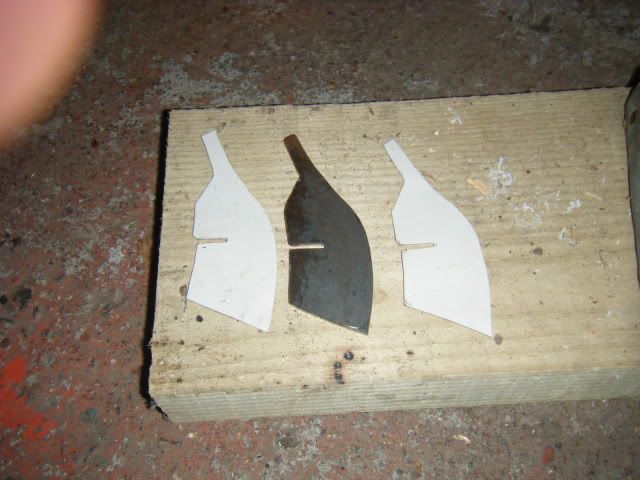
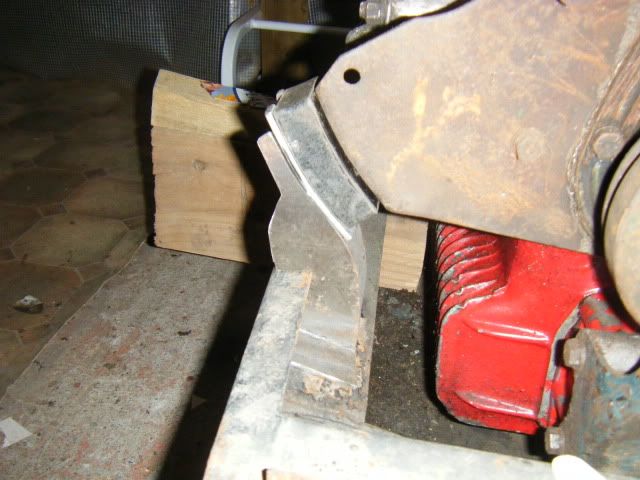
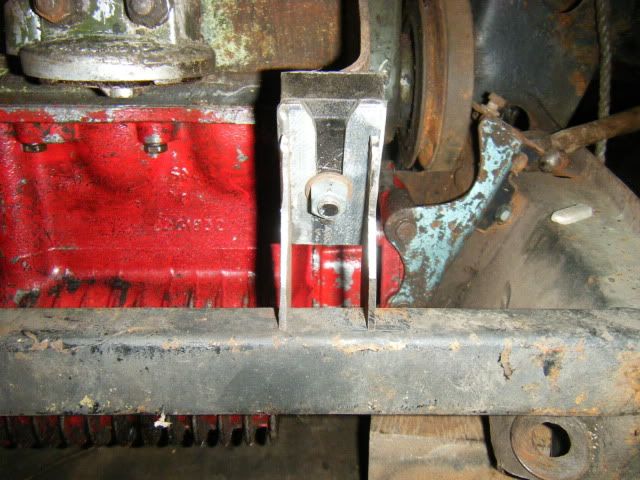
Made a start on the front mount. I basically made it up as I went along using Pete's advice to make a slot in the mounting plate. The new rubber engine mounts have a bolt and a locating pin on them which I decided to utilise. Should help in keeping the mount fixed in place..
After a few card templates were cut out I finally went for this design which gave as much support to the mounting plate as possible while leaving access to get a spanner in.
Re: Mhuffy The Traveller.
Posted: Sun Feb 19, 2012 8:40 pm
by 36inter
Thats a nice bit of fabrication, as long as you have a nice thick flat washer under the nut thats going nowhere.
Pete
Re: Mhuffy The Traveller.
Posted: Sun Feb 19, 2012 10:20 pm
by JC T ONE
InimiaD wrote:
Jens, did you get my email.?
Hi InimiaD,
nope

no mail ?
The one you made, look very good

Is your thread up to date now ? = body in paintshop, and you doing frames / engine, while waiting, for it to be finished.
Re: Mhuffy The Traveller.
Posted: Tue Feb 21, 2012 8:43 pm
by InimiaD
Thanks guys.
@Jens. Yes, the build is up to date. Still no progress with the paint though.

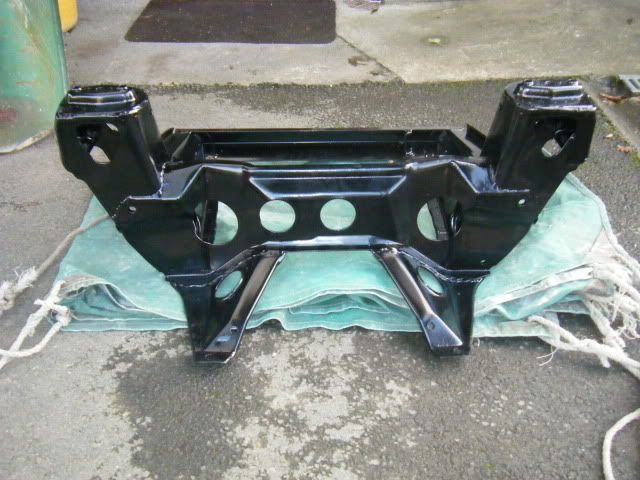
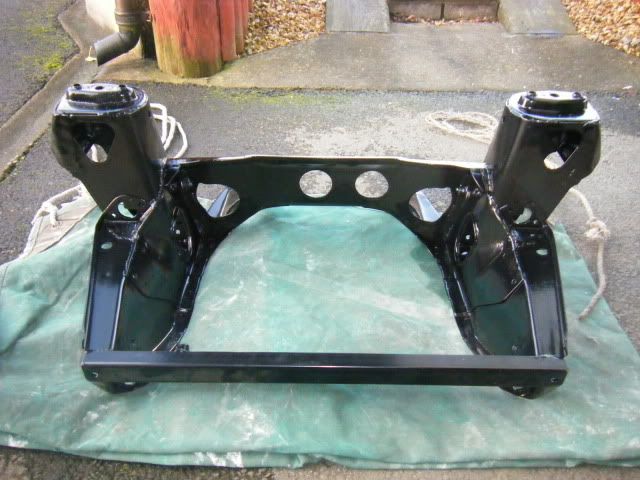
The front subby is back from the powder coaters.
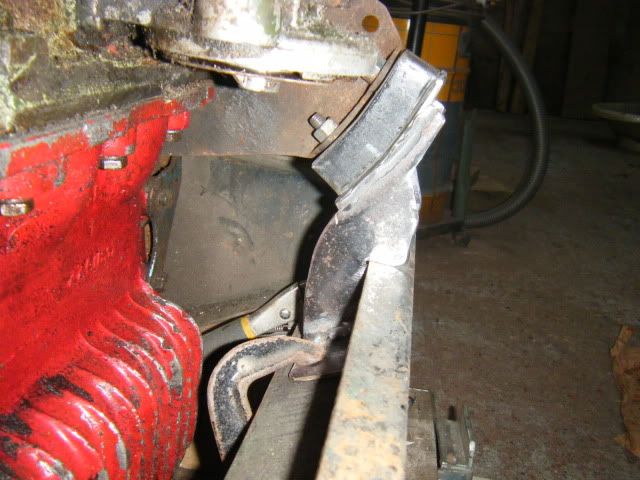
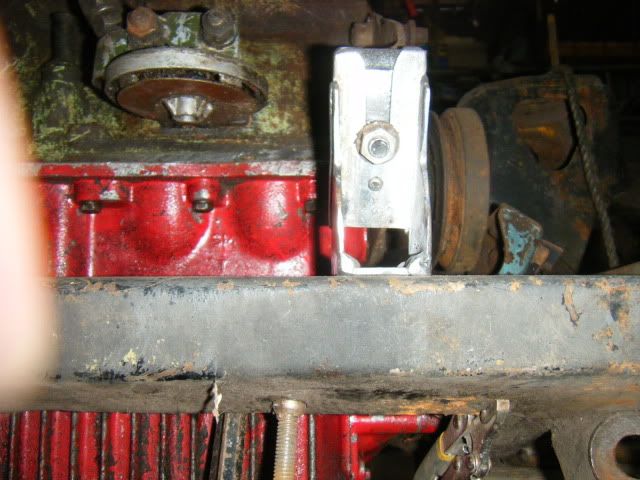
Looks good enough to eat my dinner off. Welded up some of the seams and stiffened up the front tie bar mounts and added an extra bracket for a lower engine steady.
I may not need it now though.
Re: Mhuffy The Traveller.
Posted: Tue Feb 21, 2012 9:37 pm
by JC T ONE
Hi InimiaD,
sorry to hear about your long wait for the paint. hope its worth it ?
Mine was at the paintshop April 18, and finished June 30.
But it was not painted under neath, nor was it painted inside.
That subframe looks nice

so now you have 2

Have you done the rear bracket yet ?
Re: Mhuffy The Traveller.
Posted: Tue Feb 21, 2012 10:21 pm
by Tim
I love that engine steady, now I'm wondering why the factory didn't do it like that?
Tim
Re: Mhuffy The Traveller.
Posted: Mon Feb 27, 2012 8:54 pm
by InimiaD
Thank you Tim.
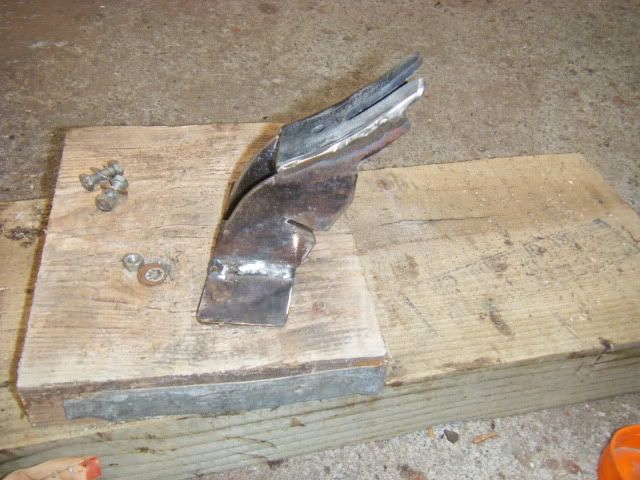
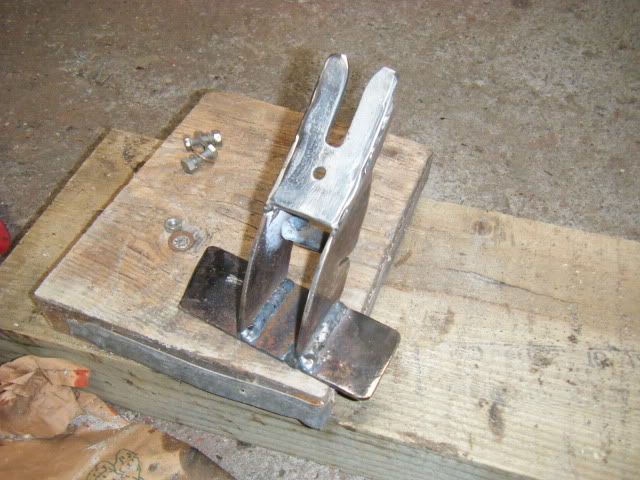
It's not quite the finished article. I need to add some stiffeners and a couple of captive nuts.
Jens, The Husky was out on the weekend to saw some logs up and I didn't get round to starting the rear mount.
Thanks for the pics of your Janspeed mounts. My design for the rear could now be changed.

Progress before last weekend.
Re: Mhuffy The Traveller.
Posted: Tue Feb 28, 2012 1:05 am
by JC T ONE
InimiaD wrote:
Jens, The Husky was out on the weekend to saw some logs up and I didn't get round to starting the rear mount.
Thanks for the pics of your Janspeed mounts. My design for the rear could now be changed.

Happy to help

you will be thrilled about the finished article, the car drives SOO much smoother with these mounts

As Tim said " why didnt BMC/BL do this? " ? it would have been so much easier for a factory.
They already had the stuff on the shelves.
Re: Mhuffy The Traveller.
Posted: Tue Feb 28, 2012 2:28 am
by Tim
It also seems obvious to support the engine within the subframe, rather than running the second steady to the bulkhead, which just looks like an afterthought to me.
Tim
Re: Mhuffy The Traveller.
Posted: Tue Feb 28, 2012 9:23 am
by IAIN
Tim wrote:I love that engine steady, now I'm wondering why the factory didn't do it like that?
Tim
looking at the engine bracket and thinking, as Tim said, why the factory wouldn't have done it like that.
My only thought looking at the pictures is may be it would be better with a little web either side of the bracket to support the height against sideways movement, which could cause the subframe or welds to crack.
May be worth a thought at this stage ? If you hadn't already.
Nice idea though.


