Benny's '61 build thread
-
- 850 Super
- Posts: 225
- Joined: Fri Feb 01, 2013 10:03 pm
- Location: San Diego, CA
Benny's '61 build thread
I figured it would be best to do a single thread on my progress, rather than separate ones...so here goes.
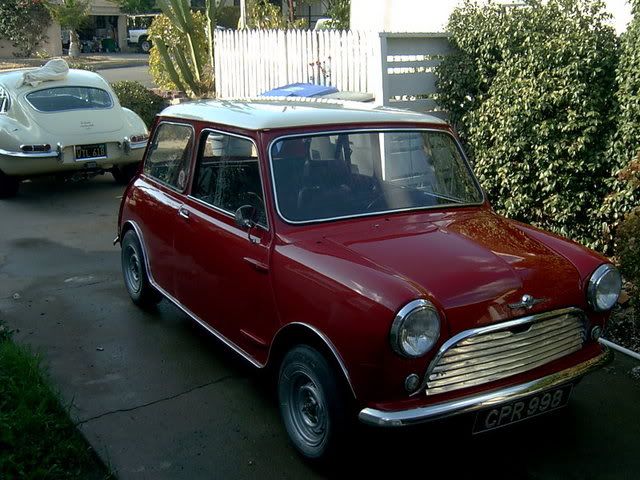
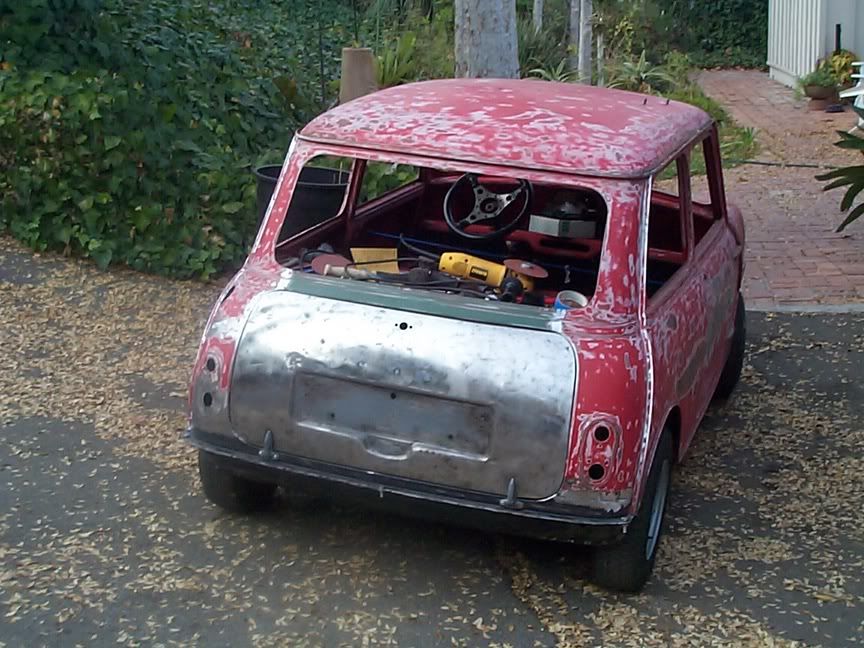
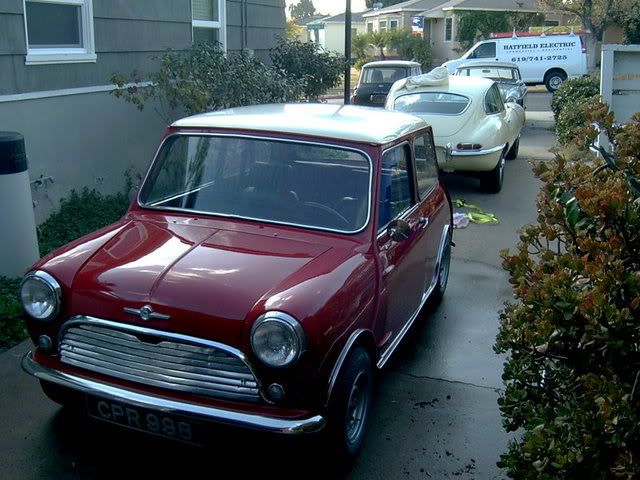
I bought this car as a rust-free rolling shell in about 1998, when I was 19. The shell is a 850 Austin that was built in approximately April 1960. I had a very rusty '66 Morris Cooper 998 at the time that donated many of the parts to put this car together. I worked on the car fairly diligently for the first 3 years on a student's budget, but once I got a "real job", I stopped work on it all together. I decided at the time that there were a number of things I would have done differently on the car, and I became totally discouraged with it, and moved onto other things. A couple of months ago, I finally decided it was a shame to leave the car sitting in a partially finished state, and I decided to finish the car to as high of a standard as possible, without back-tracking too far.
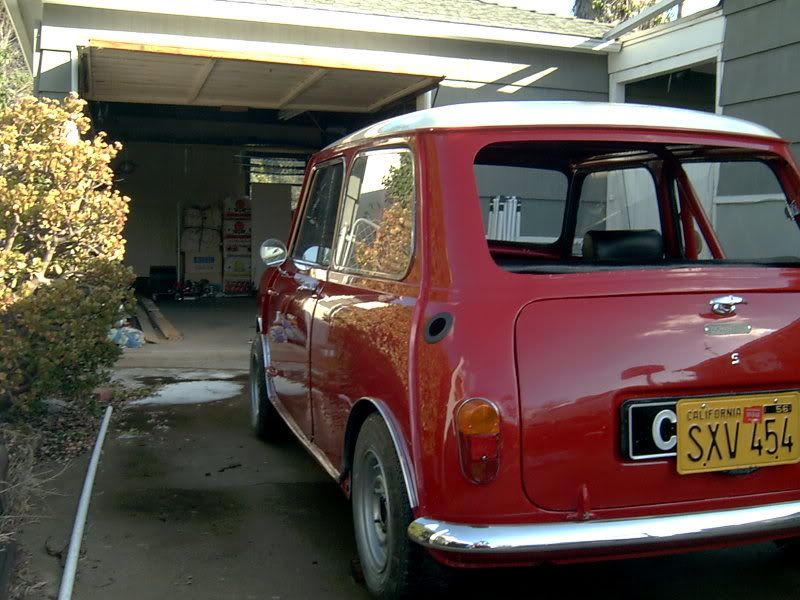
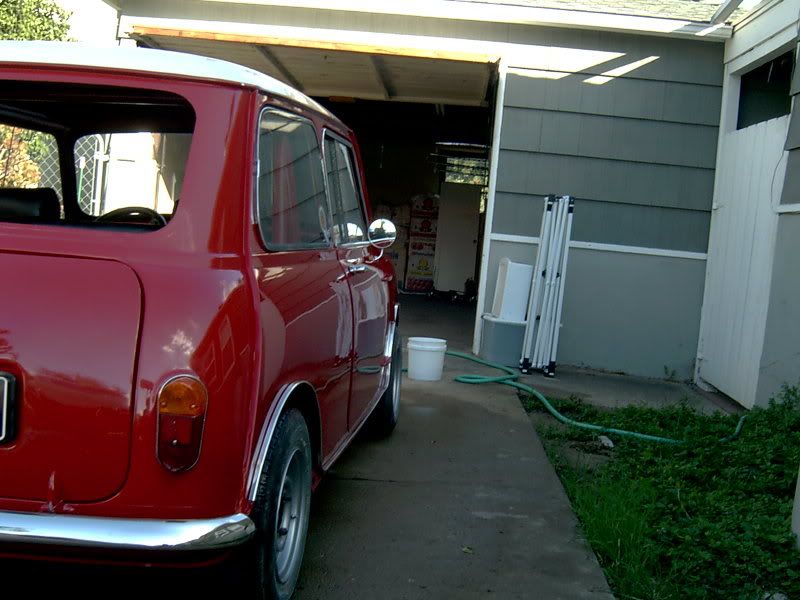
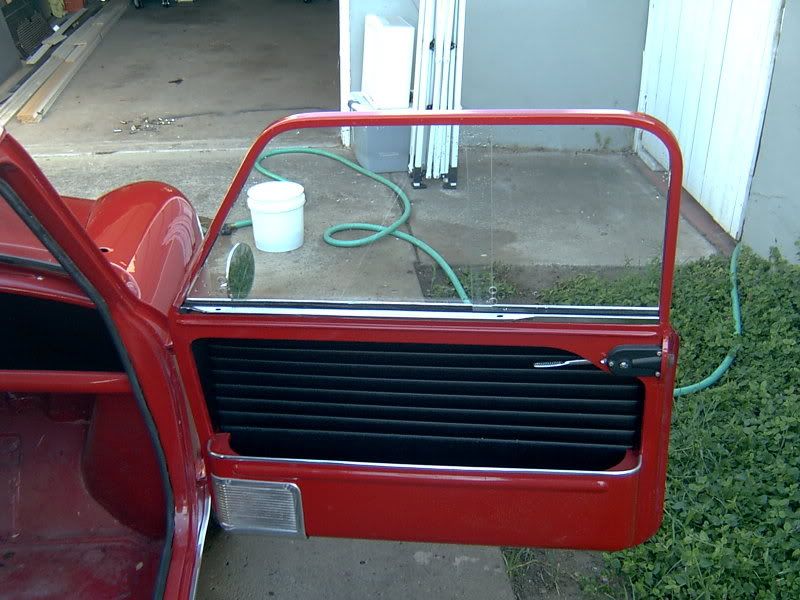
The car had been hit (lightly) in the rear, which took out the trunk lid, the hinge panel, and the panel below the rear window. I found a used trunk lid locally, and fitted it to the car, along with a Heritage hinge panel, and a donor piece below the rear window. I had a $1,200 paint job put on the car, and began putting it back together. These pictures bring us up to how it looked in January 2013.
-
- 850 Super
- Posts: 225
- Joined: Fri Feb 01, 2013 10:03 pm
- Location: San Diego, CA
Re: Benny's '61 build thread
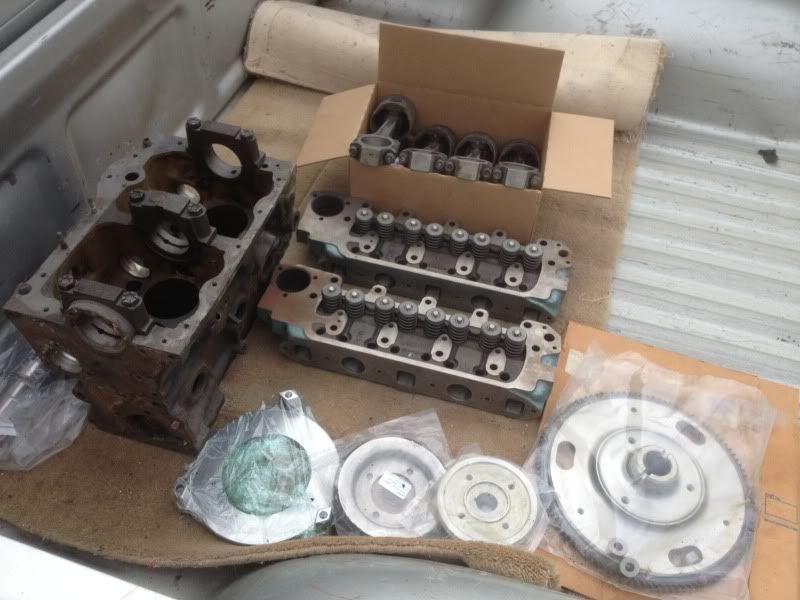
Last month, I placed a fairly large order to MiniSpares, and ordered a load of mechanical, trim, and electrical parts....hopefully about 98% of what I'll need to finish the car. As mentioned on another thread, I took many of those engine parts to David Anton at APT to be machined about 2 weeks ago. I got word the other day that the crank assembly is balanced, and the block was being cleaned anf bored....shouldn't be long.
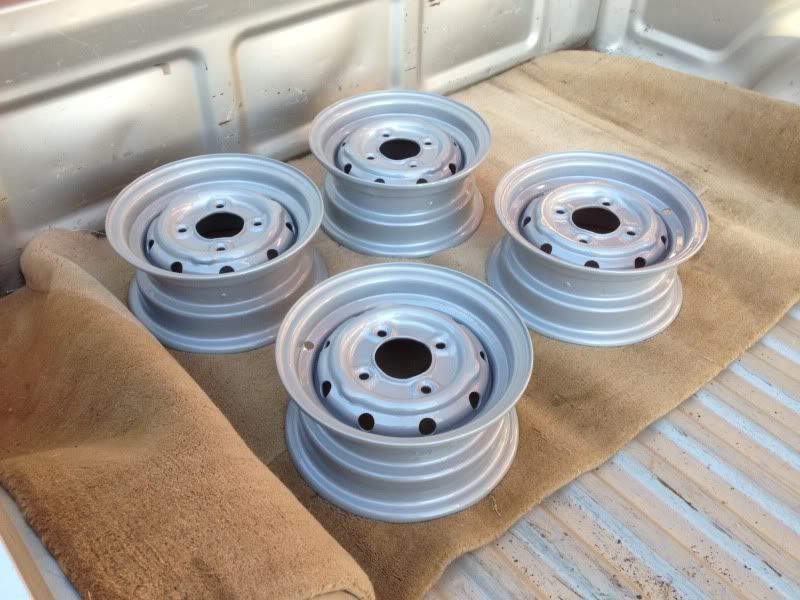
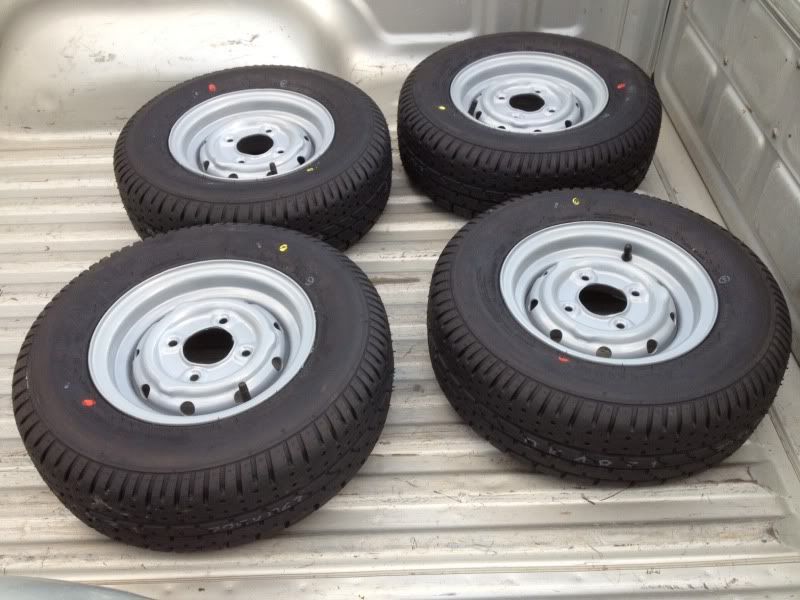
The same week, I took my Cooper S wheels in for powdercoating, and had new Yoko 008's fitted to them
-
- 850 Super
- Posts: 225
- Joined: Fri Feb 01, 2013 10:03 pm
- Location: San Diego, CA
Re: Benny's '61 build thread
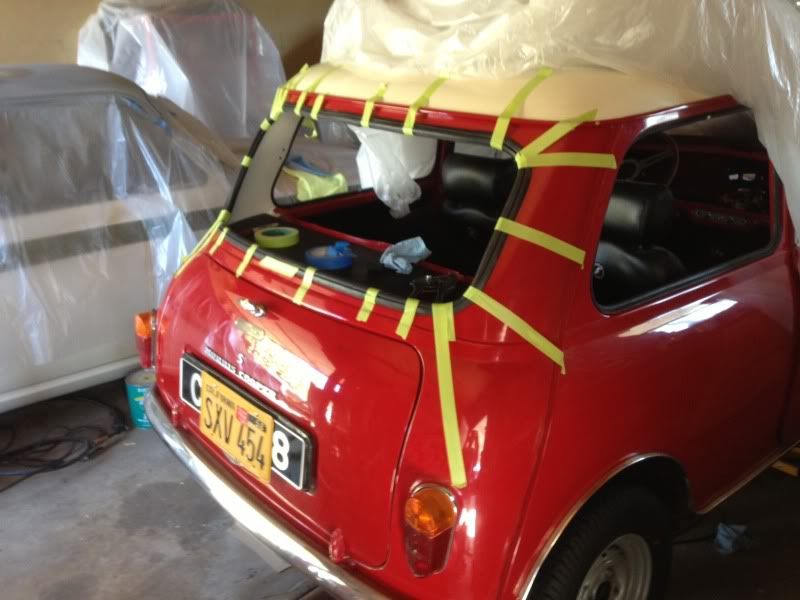
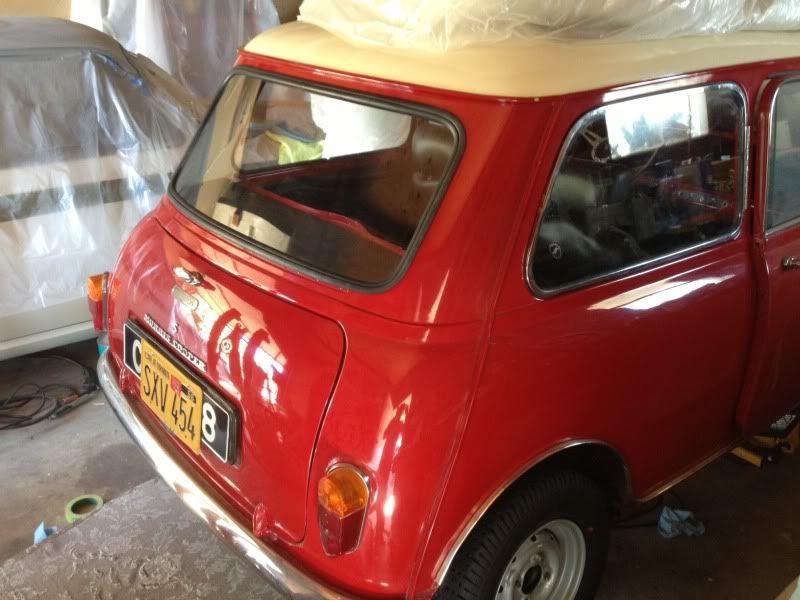
This past weekend (2/23), my wife helped me fit the rear window to the shell. I was having a hell of a time keeping the rear window rubber in place, so my wife came up with a clever use of masking tape to hold the rubber in place. As we worked our way around, she would cut each piece, and pull it out of the way....worked perfectly!! It helps to be married to an engineer, at times.
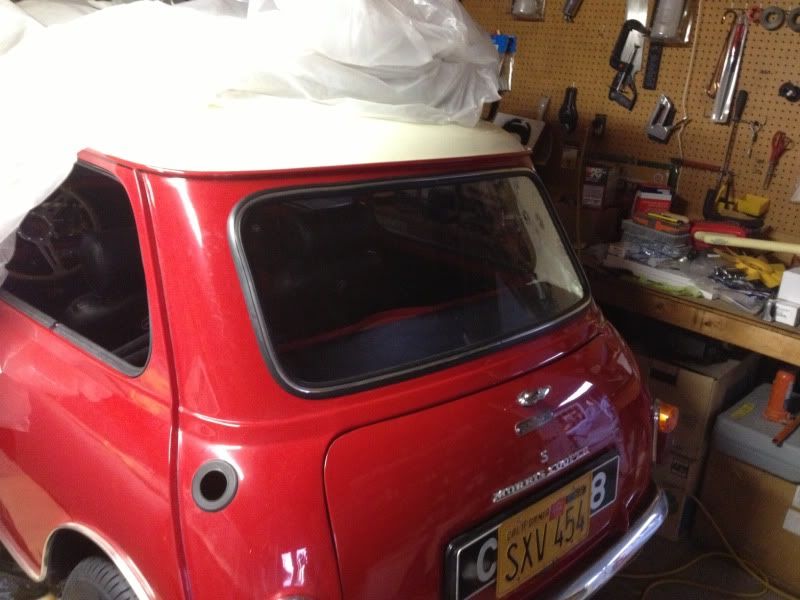
This was a pretty major milestone, as I had always had some concern as to whether the rear window would fit nicely after the welding I had to do below the window.....in the end, it fitted perfectly. Once that was in, I began installing the rear quarter lights.
As you can see, I had also fitted the new C-post covers the week before.
All taped up
Glass in
Locking strip in place
More to come.....
-
- 1275 Cooper S
- Posts: 3180
- Joined: Fri Aug 13, 2010 5:25 am
- Location: Denmark
- miniminor
- 1275 Cooper S
- Posts: 813
- Joined: Thu Sep 27, 2012 6:49 pm
- Location: Upside down behind the TV
- Been thanked: 2 times
Re: Benny's '61 build thread
Looking good, keep up the work and updates!
"Get the wheels in line, Get the wheels in line with it! ..... and then slam your brakes on or we'll be in the cabin ! "
1963 Morris Mini Minor Superdeluxe
2014 Freelander 2 SD4
1963 Morris Mini Minor Superdeluxe
2014 Freelander 2 SD4
-
- 850 Super
- Posts: 225
- Joined: Fri Feb 01, 2013 10:03 pm
- Location: San Diego, CA
Re: Benny's '61 build thread
Thanks guys, I'm excited about this car again for the first time in a long time.
At the moment, I'm working the car from back to front. Installing the rear glass, installing the fuel tank and pump. Then I'll put the rear upholstery in, and but the roll bar back in. By the time I get to the front of the car, the engine should be out of the machine shop, and ready to go back together.
I'm nearly ready to put power to the loom, and have the lights come back to life in this car for the first time since the mid-70's.
-
- 1275 Cooper S
- Posts: 3180
- Joined: Fri Aug 13, 2010 5:25 am
- Location: Denmark
Re: Benny's '61 build thread
What brakes ill you have on it ? they better be good, with that engine you are getting built for it
-
- 850 Super
- Posts: 225
- Joined: Fri Feb 01, 2013 10:03 pm
- Location: San Diego, CA
Re: Benny's '61 build thread
Cooper S brakes....but, the engine is actually a fairly mild spec.JC T ONE wrote:What brakes ill you have on it ? they better be good, with that engine you are getting built for it
You have to remember, I also own a 375 hp Mk1 Cortina, so I have to put tooth-picks under my eyelids to stay awake while driving a Mini
- pad4
- 1275 Cooper S
- Posts: 1089
- Joined: Sun Jun 27, 2010 5:57 am
- Location: Darwen, Lancashireee
-
- 1275 Cooper S
- Posts: 3180
- Joined: Fri Aug 13, 2010 5:25 am
- Location: Denmark
Re: Benny's '61 build thread
you have to remember that a Mini will beat ANY high powered rear wheel drive car, when we leave the 1/4 mileBenny wrote:
You have to remember, I also own a 375 hp Mk1 Cortina
or tried a well setup Mini on a road / track, with lots of corners this will soon make any one realize, why its the most winning production car of all time.pad4 wrote:
Obviously not driving the mini hard enough then
-
- 850 Super
- Posts: 225
- Joined: Fri Feb 01, 2013 10:03 pm
- Location: San Diego, CA
Re: Benny's '61 build thread
Made some pretty good progress this weekend. I did a few tasks that were required to make the rear suspension roadworthy, so that's all ready to go. I also completed some wiring jobs, so theoretically, if I put a battery in the car, the lights would all work....theoretically.
My Cooper S came with a full set of NOS Dunlop/Moulton suspension springs, so I've decided to use those on this car. I put the new pair on the rear today, and was pretty amazed at how much the originals had compressed.
You do not have the required permissions to view the files attached to this post.
Re: Benny's '61 build thread
Looks good - but judging by the flat flange around the screens, the shell is a 1959/1960. Love the E Type as well. They've just launched the F Type here which looks like something Toyota rejected.
-
- 850 Super
- Posts: 225
- Joined: Fri Feb 01, 2013 10:03 pm
- Location: San Diego, CA
Re: Benny's '61 build thread
Yes, as I mentioned in my first post, I believe it was built in about April '60. Our registration system can be goofy over here, as I've seen Mk1 Cortinas registered as '67s, and such.618AOG wrote:Looks good - but judging by the flat flange around the screens, the shell is a 1959/1960. Love the E Type as well. They've just launched the F Type here which looks like something Toyota rejected.
The E-type is now gone....one of my bigger regrets, but I'll own another one some day, as long as prices stabilize, and don't continue to go silly.
-
- 850 Super
- Posts: 225
- Joined: Fri Feb 01, 2013 10:03 pm
- Location: San Diego, CA
Re: Benny's '61 build thread
I've been getting back into the garage over the last few weeks, following my March accident (see link)
viewtopic.php?f=5&t=7103&hilit=safety
....anyway, I've started to make progress on my Mini once again. Last weekend, I refitted the headliner, and refitted the back seat that I had reupholstered locally.....both of those were easy jobs, obviously.....had to get my confidence back in the garage.
After building up a bit of courage, I decided to refit the roll bar...I knew this was going to be quite a task, because the roll bar was fabricated in the car, and was never intended to come out. Before dropping the car off at the paint shop, I painted it silver, and masked it with butcher paper. For reasons that I will never understand, the painters decided to unmask my roll bar, and paint it red with the rest of the car. I tried to live with it, but I was never happy with it. A few months ago, I squeezed it together with ratcheting tie-straps, and (somehow) managed to get it out without damaging anything. After having it powder coated dull-silver to compliment the wheel, it was time to put it back in....once again, I squeezed it in without a scratch
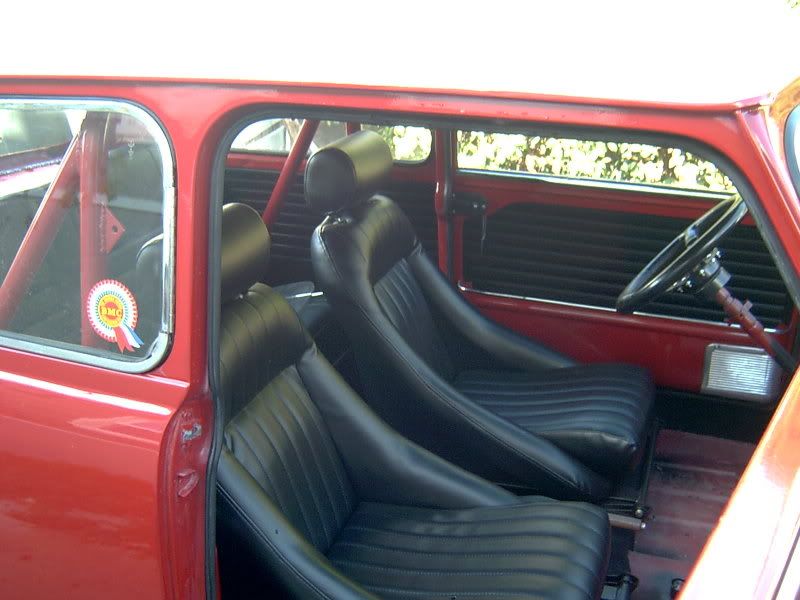
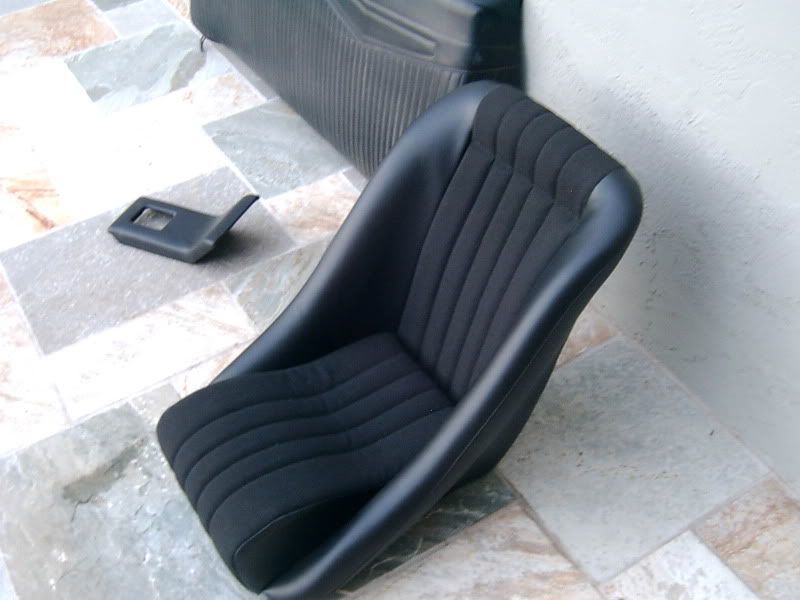
Final job last weekend was to open up a bit more room in my Corbeau seats. The seats were advertised as being suitable for up to a 34" waist....I'm 6'2" with a 34" waist, and I've always found them a bit tight on the old hip bone.....nothing a hydraulic ram couldn't sort out....much better now.
One evening this past week, I also masked off the block, and head, and sprayed them in a color that resembles MOWOG Green fairly well. Today, I fabricated an A-series adapter bracket for my engine stand, so after a final wash, the engine build-up can begin.
You do not have the required permissions to view the files attached to this post.
Last edited by Benny on Mon Jul 01, 2013 5:24 am, edited 2 times in total.
-
- 850 Super
- Posts: 225
- Joined: Fri Feb 01, 2013 10:03 pm
- Location: San Diego, CA
Re: Benny's '61 build thread
A few more....
You do not have the required permissions to view the files attached to this post.
- Vegard
- 1275 Cooper S
- Posts: 2042
- Joined: Mon Jun 28, 2010 1:33 pm
- Location: Norway
- Contact:
-
- 850 Super
- Posts: 225
- Joined: Fri Feb 01, 2013 10:03 pm
- Location: San Diego, CA
Re: Benny's '61 build thread
I have been making some progress in the last few weeks.
I had a tool-designer friend bore the rear bushing for my primary gear. It came out beautifully witha bore of 1.504", and the gear is also now properly shimmed for axial float at 0.005".
The shortblock is now assembled.....I had some issues with both the main AND rod bearings ordered (long story), so that delayed things a bit. I also had to have my tool-maker friend take quite a bit of material off the 'snout' of the MiniSpares cam gear to get the cam end-float anywhere near spec. It started out at 0.014", and is now down to about 0.003".
I was having an issue with the left rear quarter window being too long for the aperture. Someone on here mentioned they had the same issue, which was caused by the rubber swelling within the frame. I tore the frame down, and found the little brackets that hold the frame together were totally corroded, so I had to make new ones.....very fiddly. I put the frame back together with new sealant, and the window is STILL too long, so I need to fiddle with this some more at some point.
I received another shipment from MiniSpares, which included a Maniflow header. I took that in last week to be ceramic-coated in a dull, grey/silver....the coating gets done inside and out, so it protects the metal, keeps the heat in, and (supposedly) improves flow. It also looks nice.
You do not have the required permissions to view the files attached to this post.
-
- Basic 850
- Posts: 95
- Joined: Thu Jul 08, 2010 8:10 pm
Re: Benny's '61 build thread
looking good, and some nice work your doing there.....I know its a mini forum but any chance of some pic's of the Cortina?
-
- 850 Super
- Posts: 225
- Joined: Fri Feb 01, 2013 10:03 pm
- Location: San Diego, CA
Re: Benny's '61 build thread
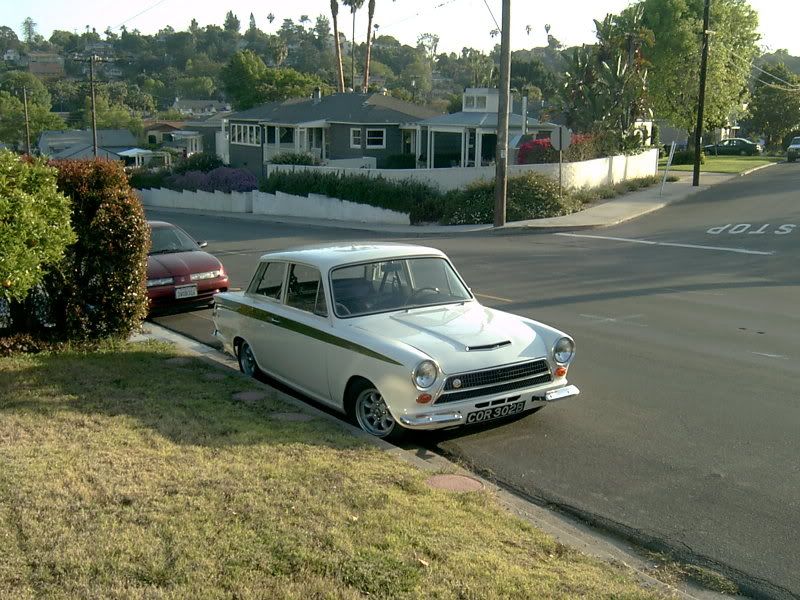
Ok, you twisted my armatlanticdave wrote:.....I know its a mini forum but any chance of some pic's of the Cortina?
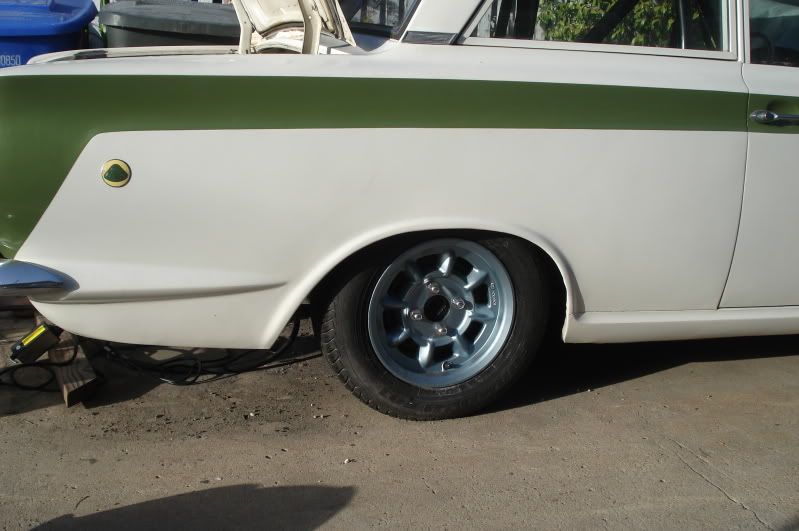
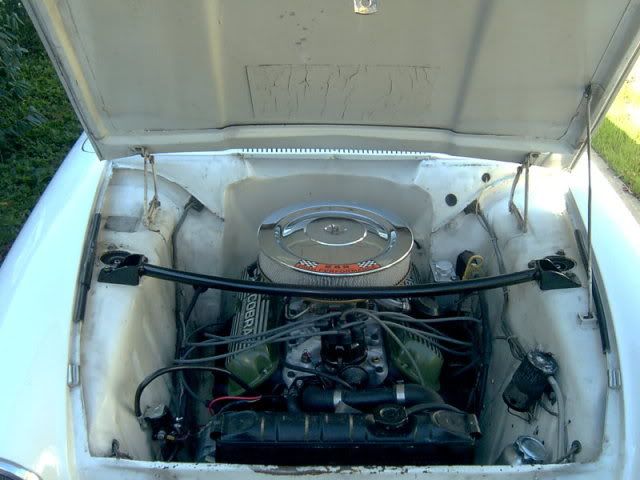
The shell is a '64 GT. It's powered by a 306 cubic inch Ford V8 that has forged pistons, a steel roller cam, roller rockers, aluminum heads, and a 650 cfm Holley 'double-pumper' carb....all good for roughly 375 hp. That's backed up by a 'world class' T5, and a narrowed 8-inch axle with a torque-sensing LSD. The front suspension has Leda struts that were cut down to Lotus Cortina length, with adjustable spring platforms, and 200 lb/in springs....a strut brace keeps it all stiff across the top. The standard front swaybar has been replaced with a 1" Leda bar with adjustable castor. The rear suspension uses the standard leaf springs, with the main leaf flipped over, and re-arched. I also fabricated custom anti-tramp bars, and Koni dampers.
The interior has a 6-point rollcage, and Cobra seat recovered in tweed. In the trunk is a custom alloy fuel cell, designed to fit in the standard hole, but contain 16 gallons. On a highway run, it lopes along at about 1,900 rpm, and get 25+ mpg. The car handles very much like a standard Cortina, where it understeers slightly as you turn in, then transitions gently to oversteer, and you drive it through on the throttle...very predictable and well balanced.
-
- 998 Cooper
- Posts: 310
- Joined: Thu Jun 24, 2010 8:17 pm