My Austin Countryman Project
- swindrum
- 998 Cooper
- Posts: 500
- Joined: Wed Dec 05, 2012 5:21 pm
- Location: Victoria BC Canada
Re: My Austin Countryman Project
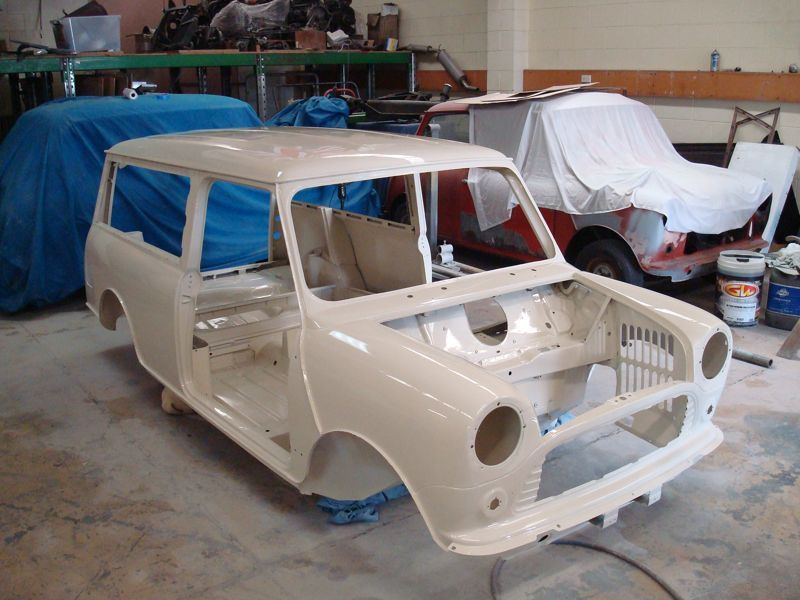
So, in this photo, things look like I have gone backwards to the white primer. This is actually the 3rd primer layer. The previous stark white is a direct to metal, and the tan primer is some hi-build I had kicking around.
I blocked out the tan primer and have added a couple coats of the light gray primer which will get it's final blocking this weekend.
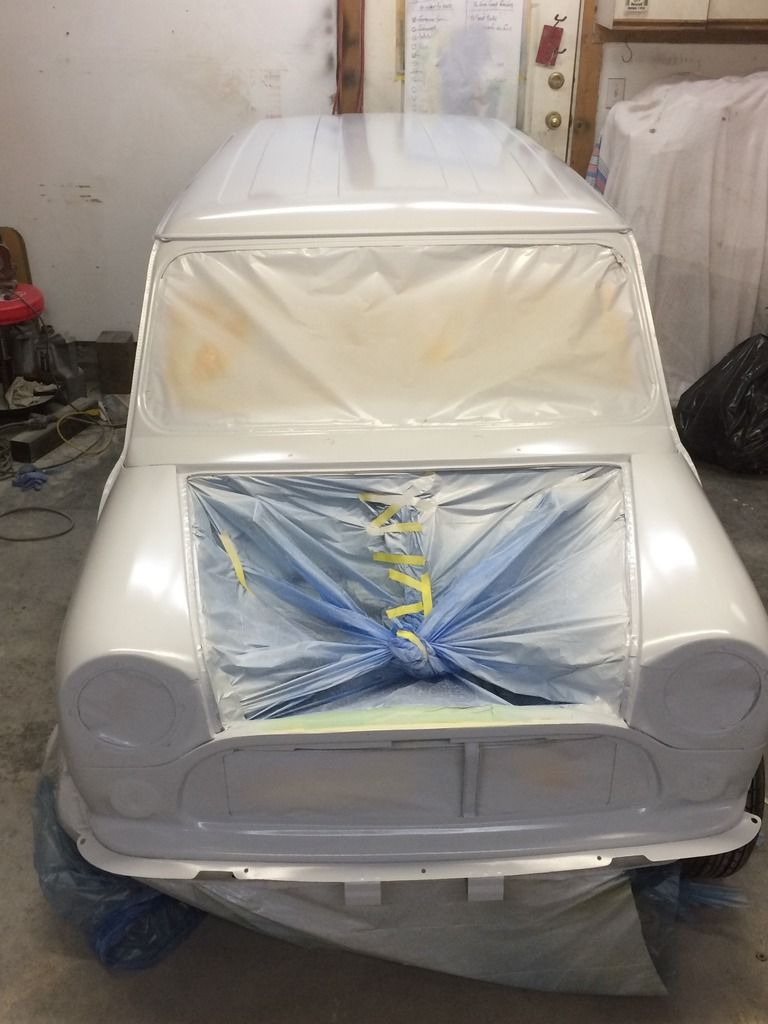
Colour should be happening soon!
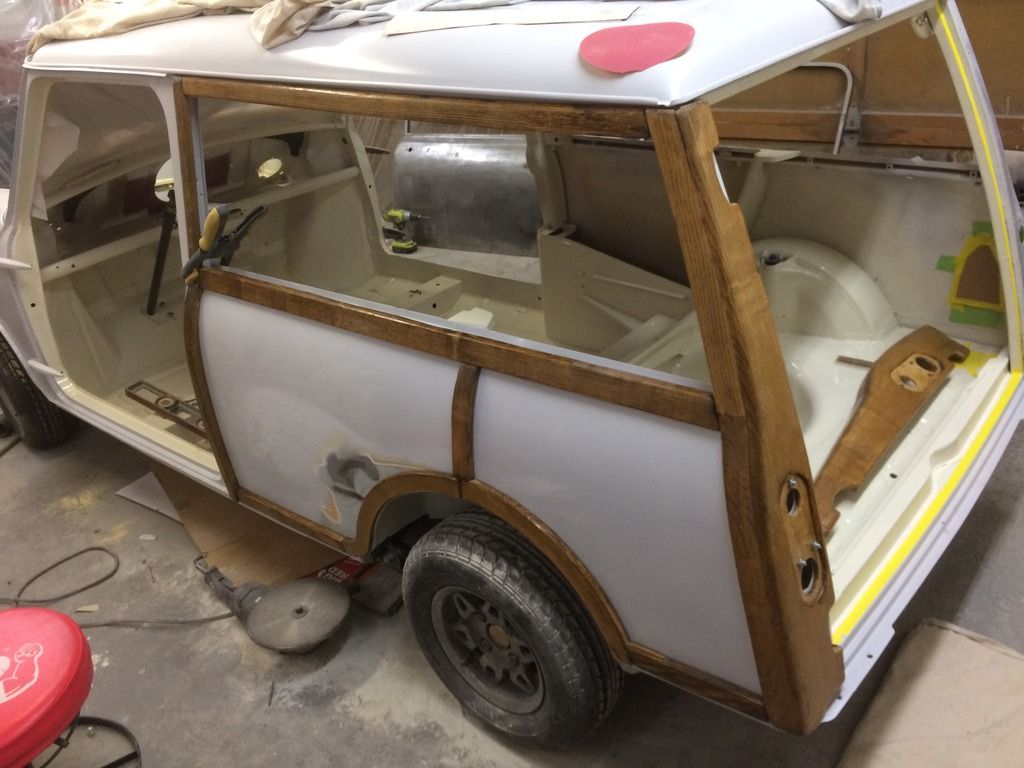
I still need to do the final fit for the wood, and drill all of the associated holes. I have hung, and rehung the doors more times than I can count and at this point am almost happy with how they fit. Have contoured the front of the bonnet to fit the profile of the wings as best as I could. I am hoping to prime the doors and bonnet this weekend.
- swindrum
- 998 Cooper
- Posts: 500
- Joined: Wed Dec 05, 2012 5:21 pm
- Location: Victoria BC Canada
Re: My Austin Countryman Project
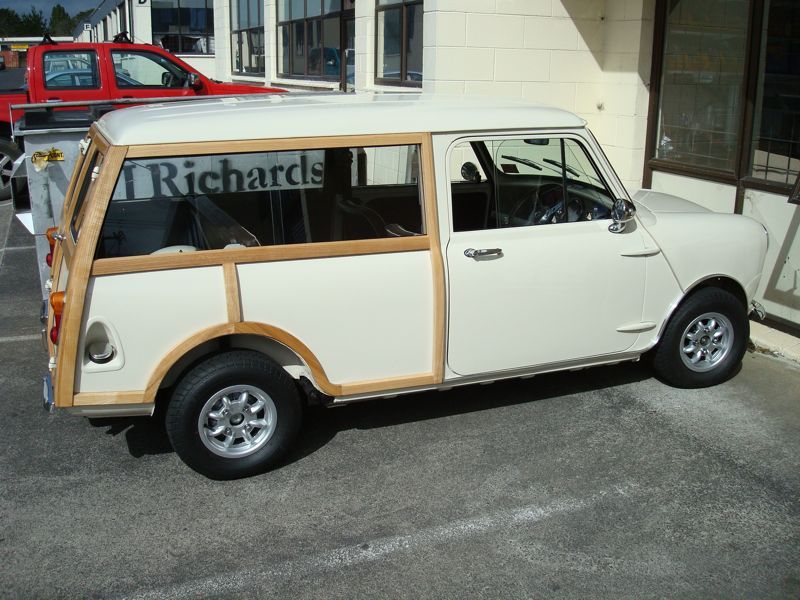
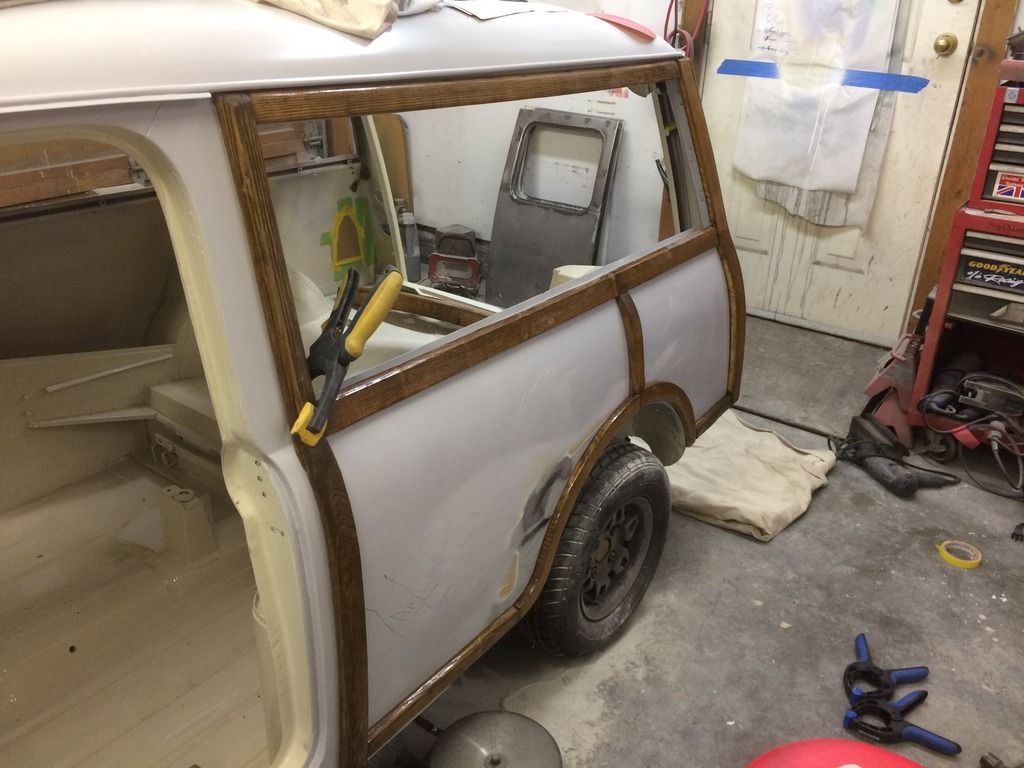
I spent the weekend working on fitting the wood kit. A very nerve wracking time!
Long story short, I have drilled a large number of holes in a perfectly good bodyshell!
One side fitted:
Long story short, I have drilled a large number of holes in a perfectly good bodyshell!
One side fitted:
-
- 998 Cooper
- Posts: 362
- Joined: Fri Aug 08, 2014 11:06 pm
- Location: New Zealand
- Been thanked: 2 times
Re: My Austin Countryman Project
Drilling the holes does make your bum wink a bit......but worth it in the long run I reckon. Here's mine -
- woodypup59
- 1275 Cooper S
- Posts: 1528
- Joined: Thu Jun 24, 2010 5:28 pm
- Location: London UK
- Has thanked: 2 times
- Been thanked: 13 times
- swindrum
- 998 Cooper
- Posts: 500
- Joined: Wed Dec 05, 2012 5:21 pm
- Location: Victoria BC Canada
Re: My Austin Countryman Project
I am going to use the closed cell foam that Somerford sells, everything I have read, tells me this is the way to go.
-
- 998 Cooper
- Posts: 362
- Joined: Fri Aug 08, 2014 11:06 pm
- Location: New Zealand
- Been thanked: 2 times
Re: My Austin Countryman Project
I used foam too. Seems to work a treat and was really easy to apply.
- swindrum
- 998 Cooper
- Posts: 500
- Joined: Wed Dec 05, 2012 5:21 pm
- Location: Victoria BC Canada
Re: My Austin Countryman Project
Not too much "photo-worthy" progress this week, finally managed to get the flu after dodging it for most of the winter. I went through some of the boxes and catalogued what was good ans what what bad, and what still needed to be refurbed before going on the car.
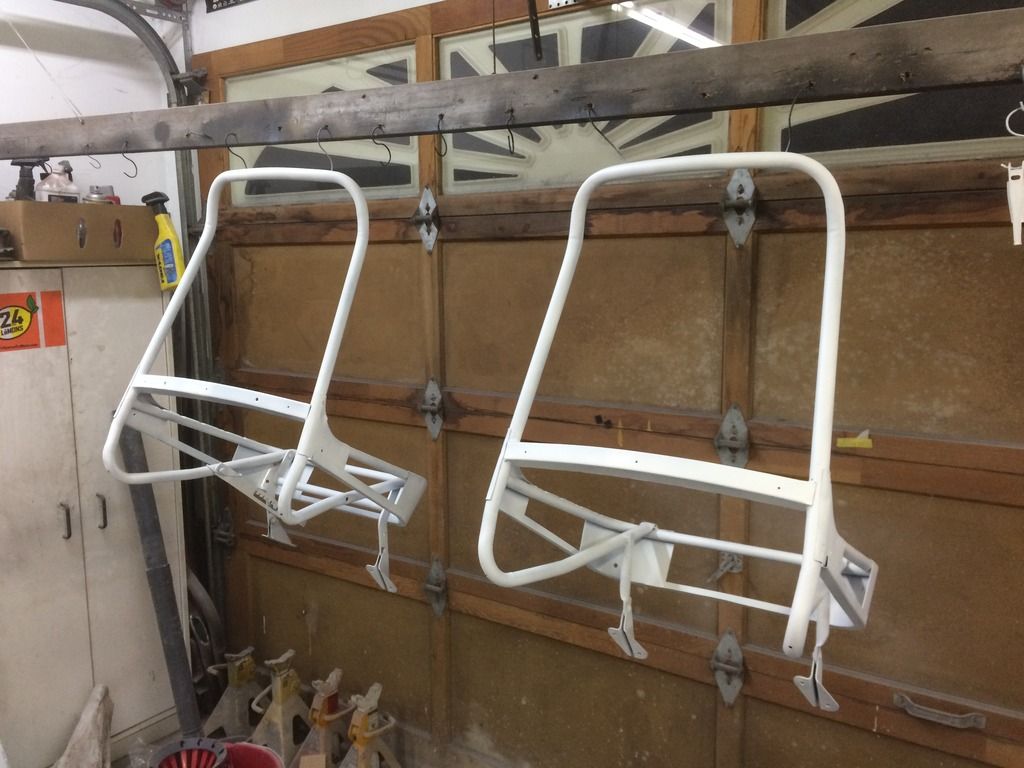
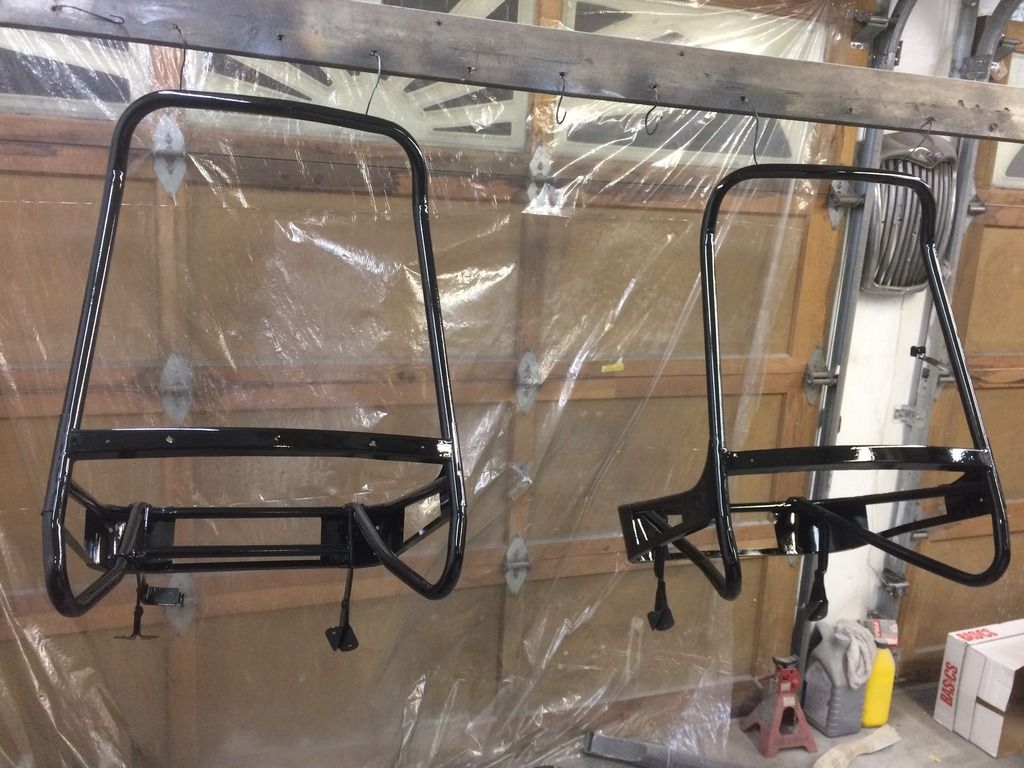
The new seat diaphragms arrived from Mini-spares, so naturally, I took the frames to the blaster and got them all cleaned up, a coat of primer last night, and a shiny coat of paint tonight, perhaps I will upholster tomorrow in the warmth of the house!
- swindrum
- 998 Cooper
- Posts: 500
- Joined: Wed Dec 05, 2012 5:21 pm
- Location: Victoria BC Canada
Re: My Austin Countryman Project
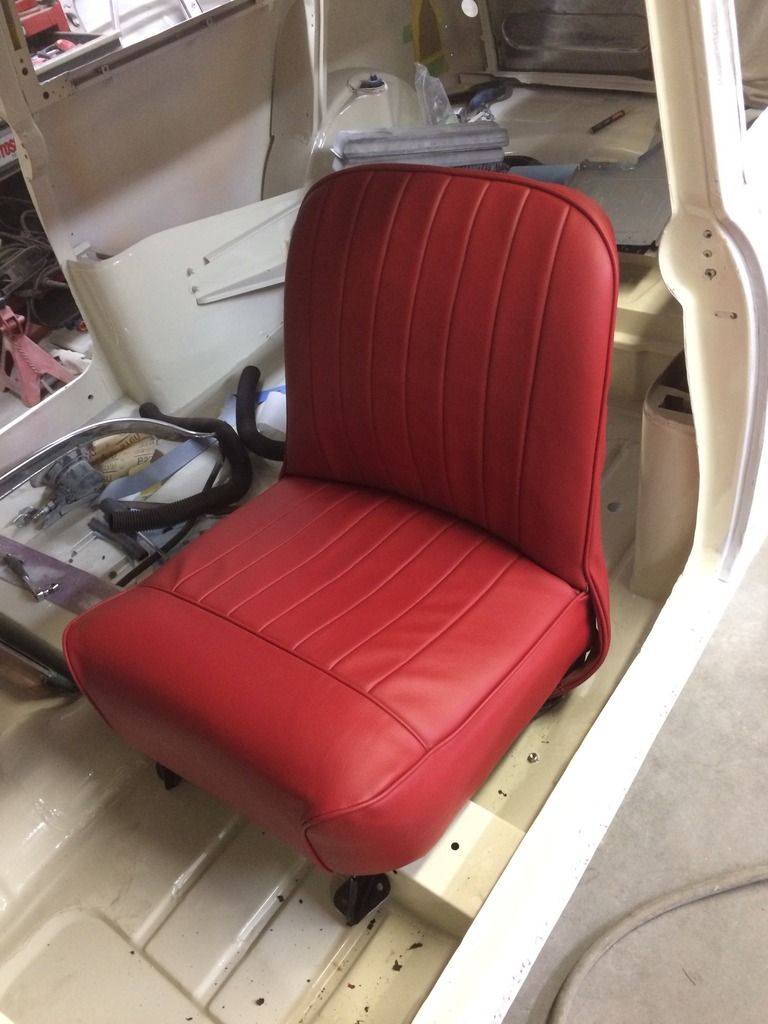
Was able to work on one of the seats, the newton covers look very nice. It is a bit of a puzzle remembering how the vinyl wraps around he bars at the back. I only have a couple clips in place at the moment, in case I need to re-position anything...
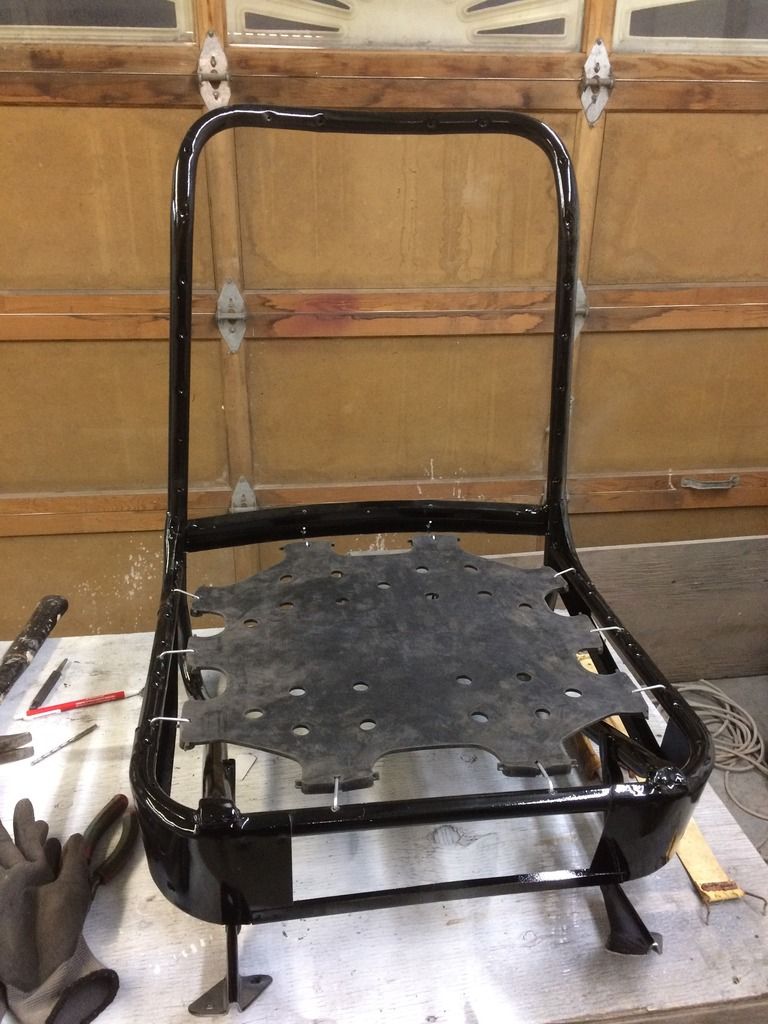
Seat base diaphragm in
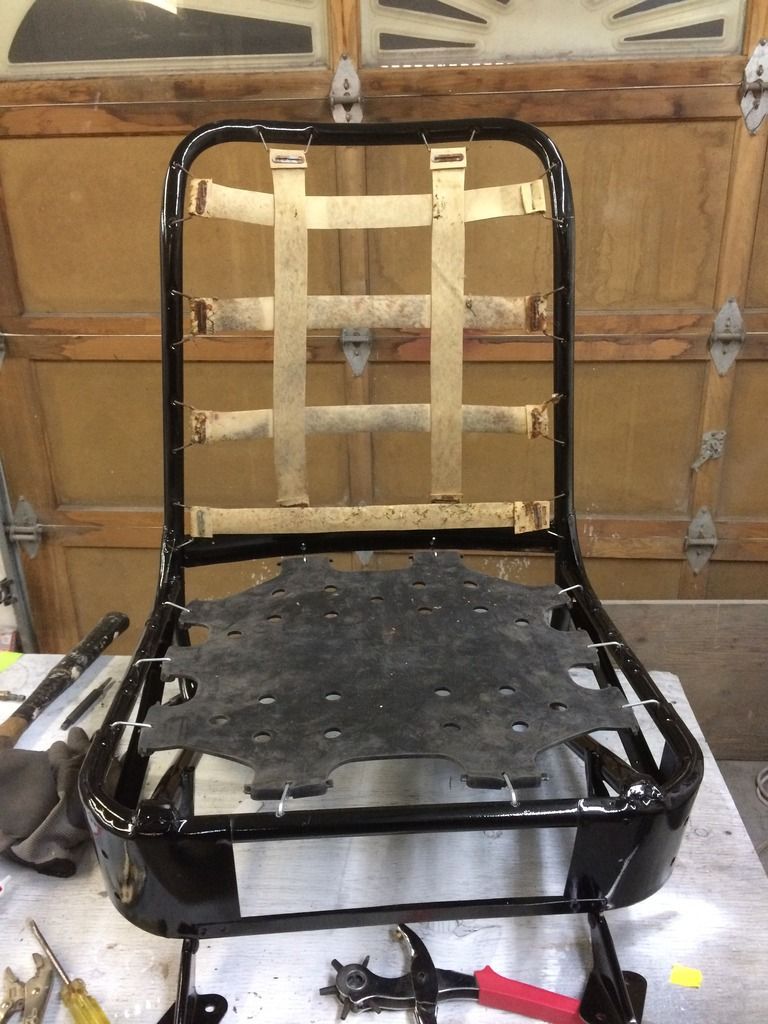
Rear webbing installed
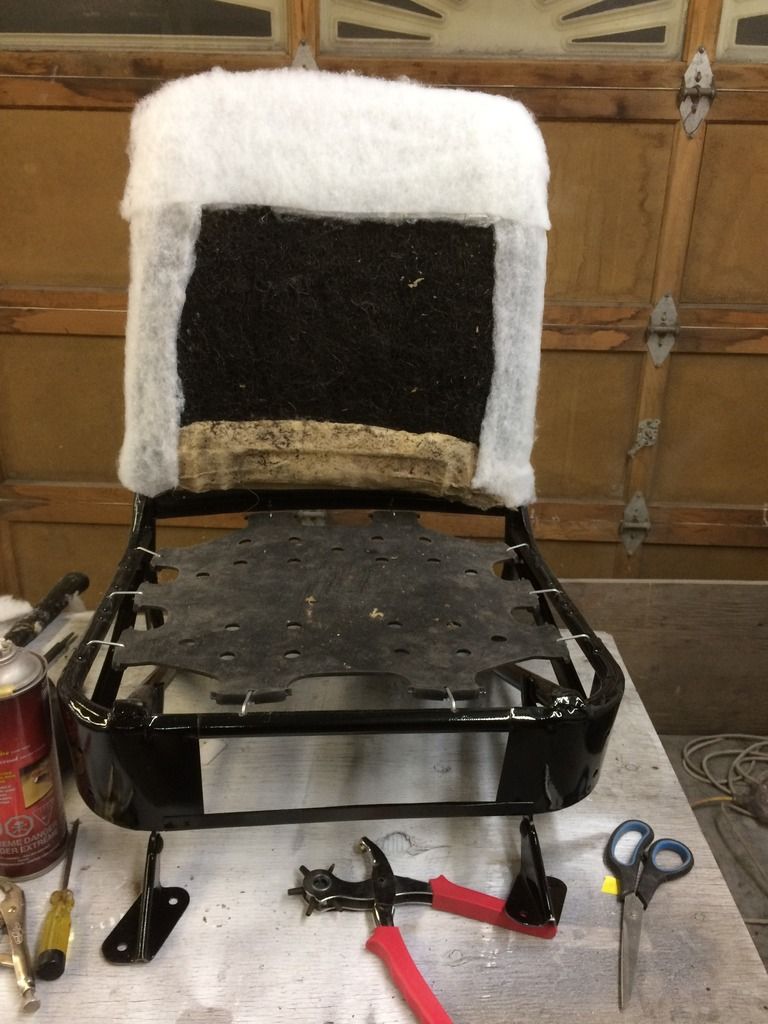
I couldn't find a suitable cotton type stuffing, so I used polyester
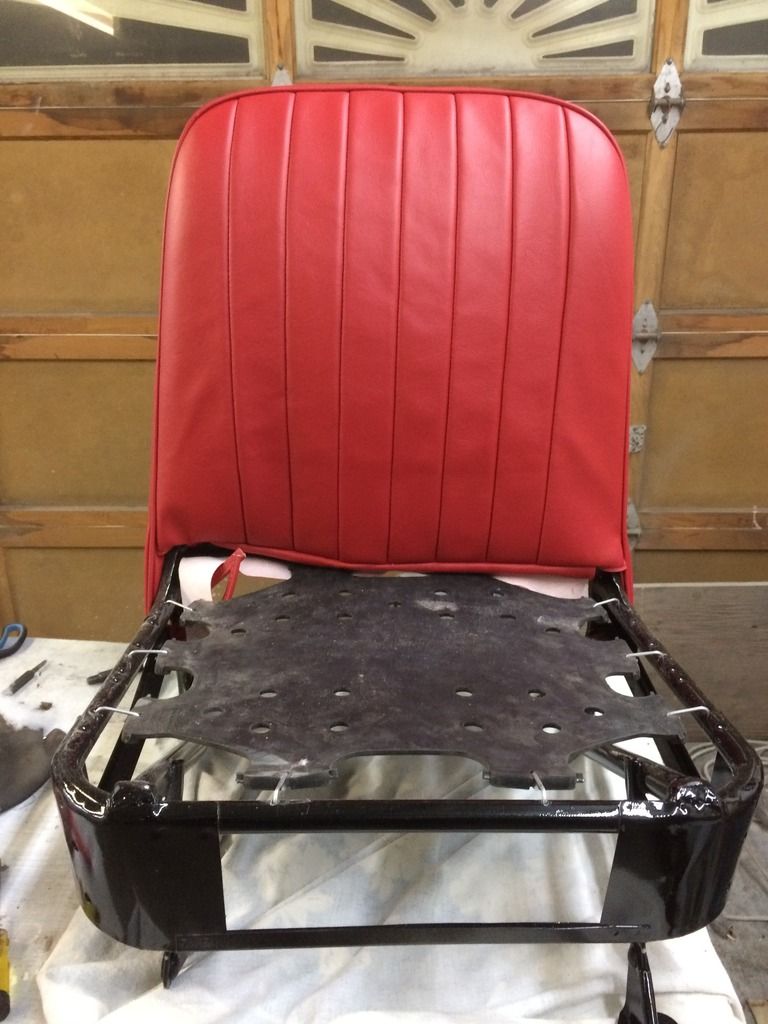
Back slid into place
Had to see how it looks... still some tugging and stretching to do, but I am happy!
Seat base diaphragm in
Rear webbing installed
I couldn't find a suitable cotton type stuffing, so I used polyester
Back slid into place
Had to see how it looks... still some tugging and stretching to do, but I am happy!
- swindrum
- 998 Cooper
- Posts: 500
- Joined: Wed Dec 05, 2012 5:21 pm
- Location: Victoria BC Canada
Re: My Austin Countryman Project
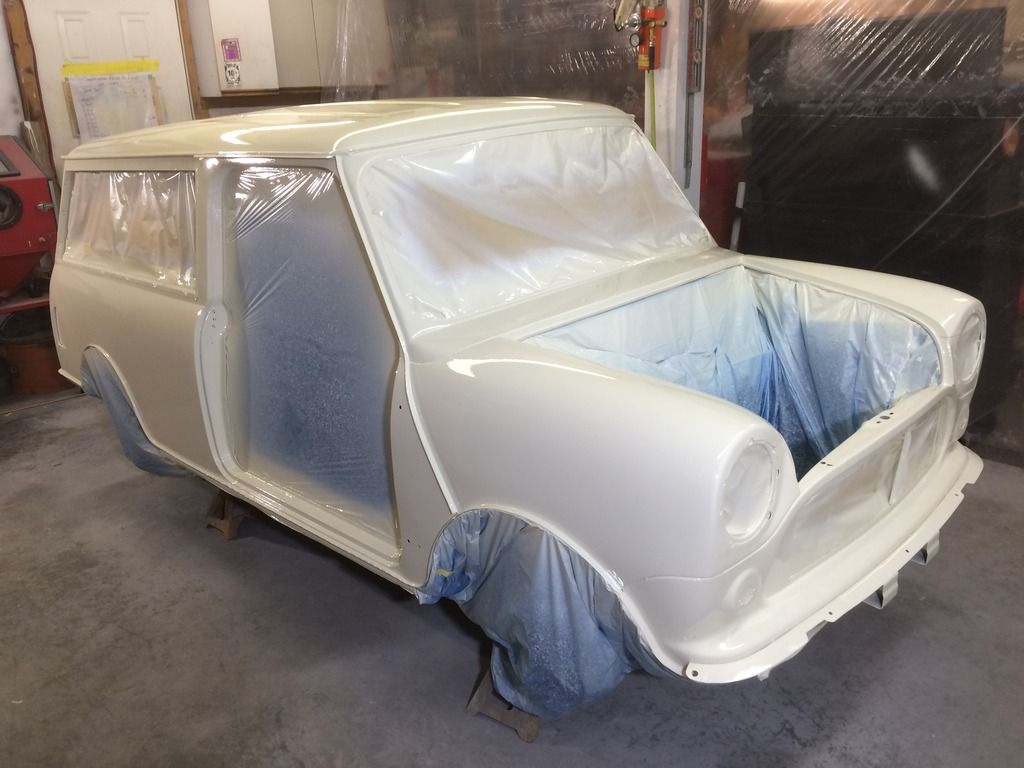
The weather "warmed up" (finally went above freezing) for a couple days, so on friday, I shot what was to be the final primer coat.
Saturday we quickly blocked out the primer and started washing everything out. Moved all my belongings out of the shop and hung up some plastic. washed the floor, walls, ceiling, light fixtures, garage door/tracks and anything else that could harbour dust.
Sunday morning put the heater on in the shop, and washed the car down a few more times. masked everything back up, washed the floor down again. by now it was supper time.
After supper, took a deep breath and headed to the shop.
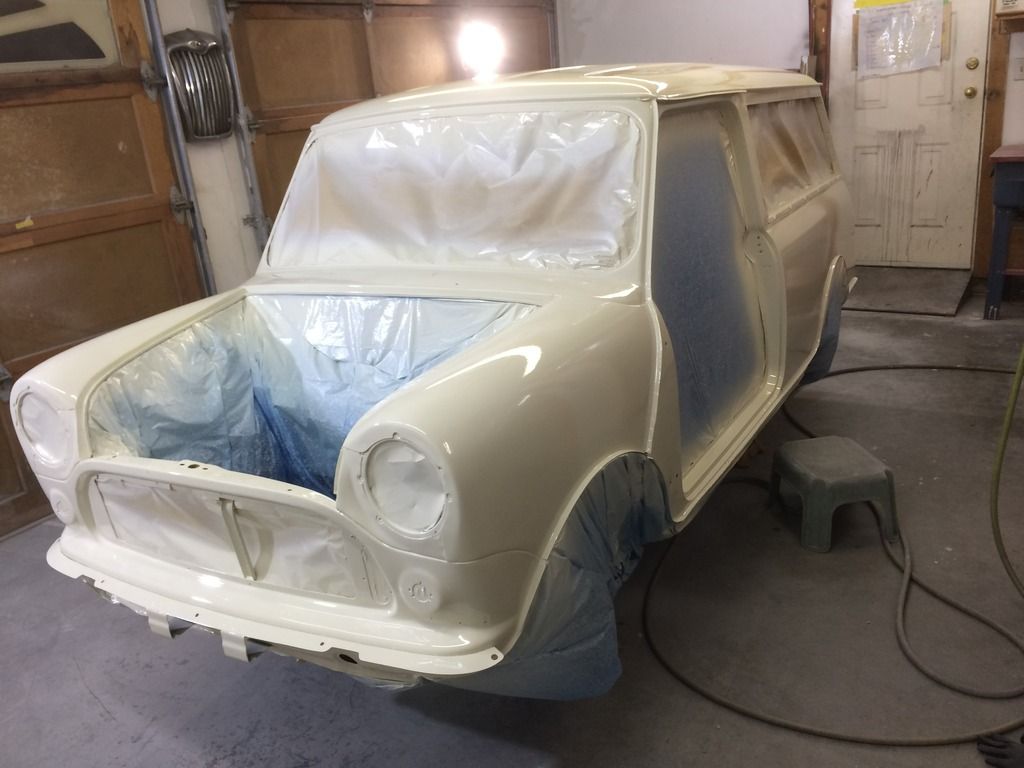
PAINT!
It will take some flatting, there are a couple dust specks, to be expected in a garage environment... but only one run!!
I am super happy!
-
- 998 Cooper
- Posts: 436
- Joined: Sat Jan 14, 2012 8:04 pm
- Location: Half way between Dublin and Belfast
- rich@minispares.com
- 1275 Cooper S
- Posts: 6806
- Joined: Thu Aug 08, 2013 3:16 pm
- Been thanked: 2 times
Re: My Austin Countryman Project
ive said it a thousand times on here, but I always look at a freshly painted shell and think 'happy days are ahead'
its all nice and clean work from now on and actually a pleasure to do
why oh why are all my projects still at the nasty dirty welding / grinding stage
its all nice and clean work from now on and actually a pleasure to do
why oh why are all my projects still at the nasty dirty welding / grinding stage
-
- Site Admin
- Posts: 19843
- Joined: Thu Jun 24, 2010 11:30 am
- Location: Away with the Faries
- Has thanked: 2 times
- Been thanked: 5 times
Re: My Austin Countryman Project
why oh why are all my projects still at the nasty dirty welding / grinding stage
Cos that's the bit you enjoy!
- rich@minispares.com
- 1275 Cooper S
- Posts: 6806
- Joined: Thu Aug 08, 2013 3:16 pm
- Been thanked: 2 times
Re: My Austin Countryman Project
its not..............mk1 wrote:why oh why are all my projects still at the nasty dirty welding / grinding stage
Cos that's the bit you enjoy!
its that bad I have had to start fixing your cars just to have a break from them!
-
- 998 Cooper
- Posts: 426
- Joined: Fri Jun 25, 2010 7:11 pm
- Location: Langley BC Canada
Re: My Austin Countryman Project
Well done Shaun !! Your making good progress!
When do you plan to have it completed ?? Minimeet west maybe ???
I can't wait to start on my traveller but a couple of other cars are ahead of it
Craig
When do you plan to have it completed ?? Minimeet west maybe ???
I can't wait to start on my traveller but a couple of other cars are ahead of it
Craig
- swindrum
- 998 Cooper
- Posts: 500
- Joined: Wed Dec 05, 2012 5:21 pm
- Location: Victoria BC Canada
Re: My Austin Countryman Project
So the weekend was busy, but I didnt get as much done as I would have liked, naturally...
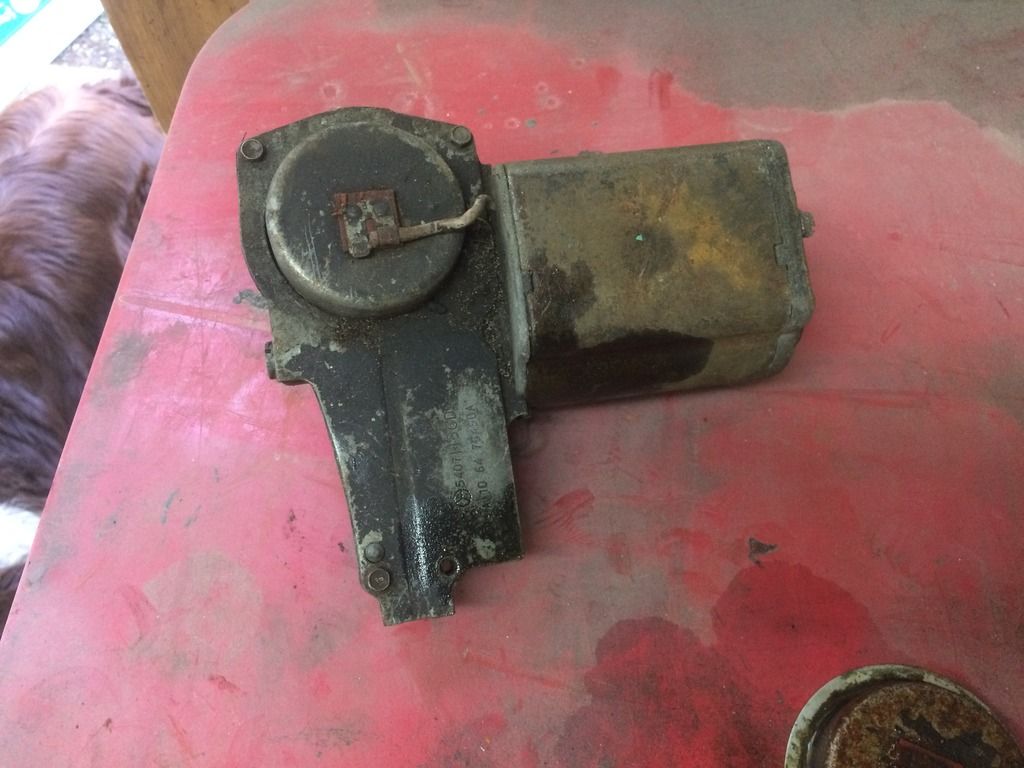
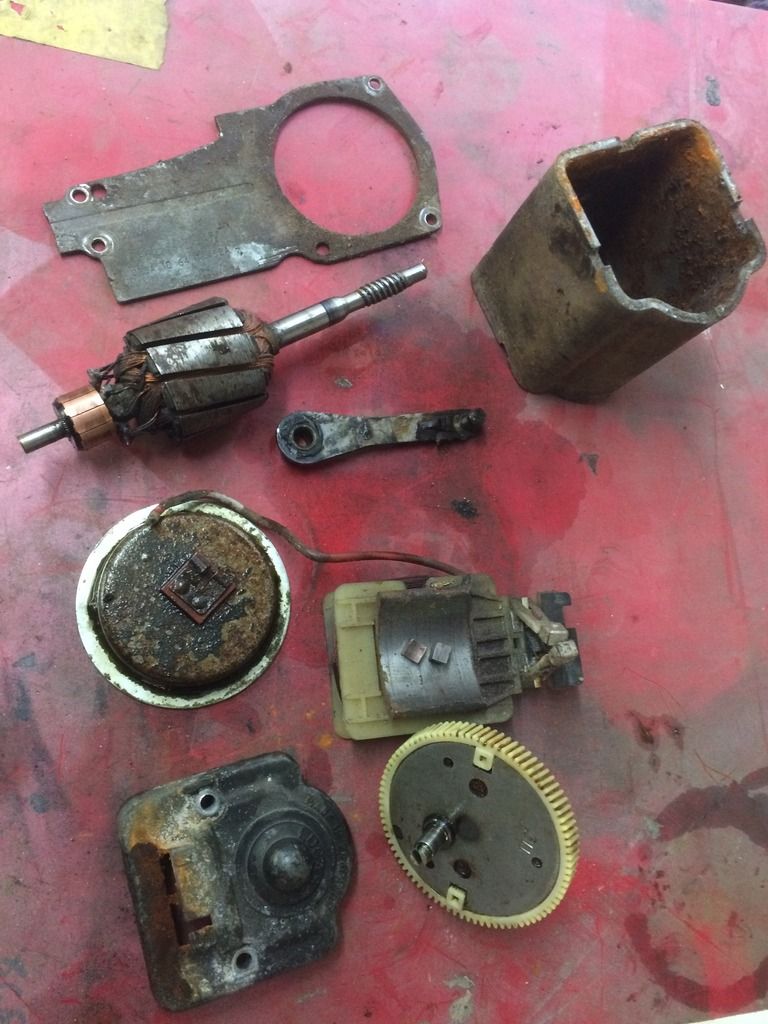
If anyone asks, when I wiper assembly decides it wants to fight you, it will take 4 1/2 hours to rebuild it. It seemed like anything that wanted to be stubborn, break, or just plain go wrong, did just that.
We started with a functional wiper motor
Dismantled it
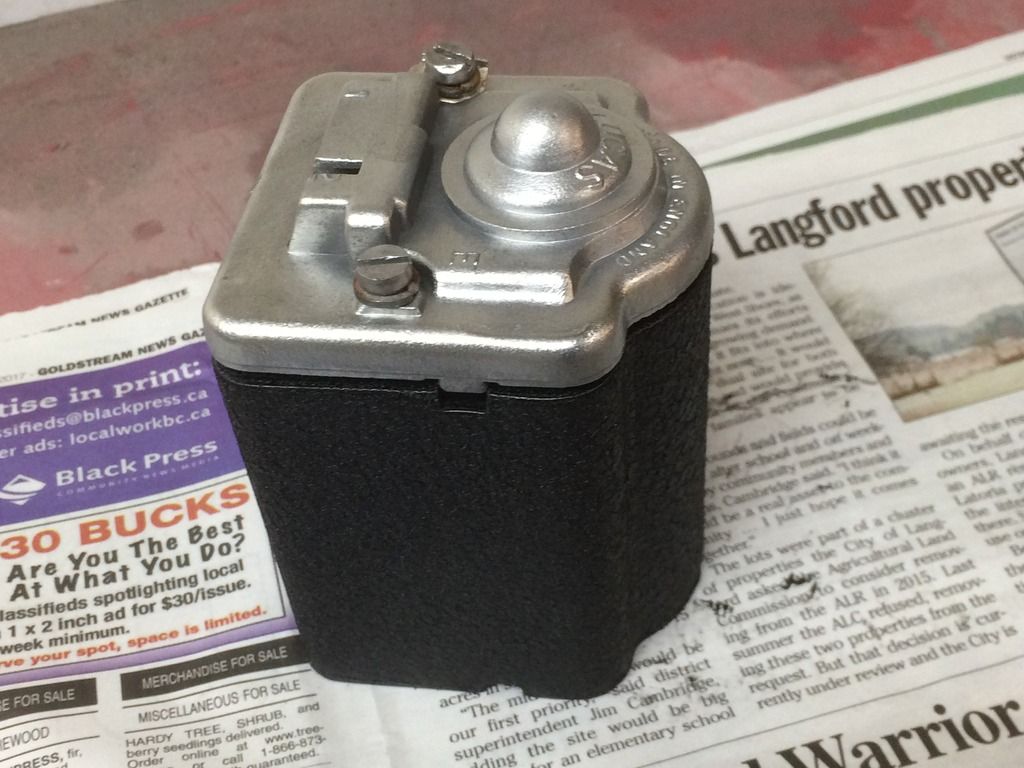
Cleaned, and bead blasted where necessary, added some wrinkle paint. The trick to the wrinkle paint is to warm the part, I used my heat gun and got it nice and toasty. Once the paint was applied, I sat the part in front of the garage heater. This photo represents 3 coats.
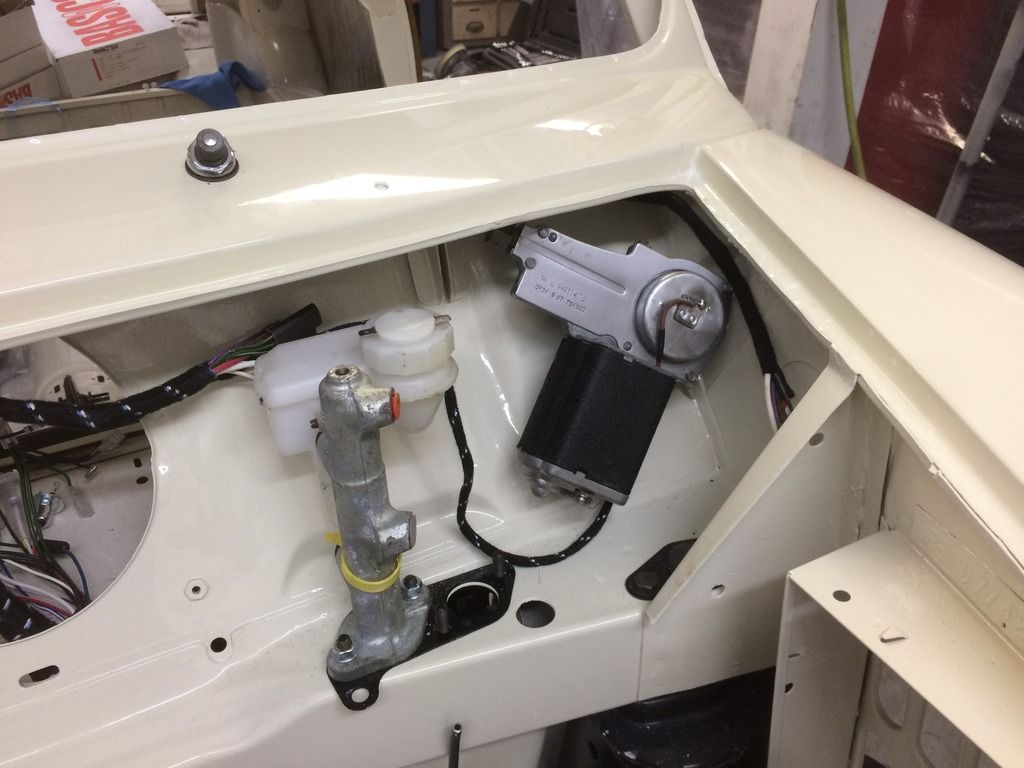
Wrestled it into the car
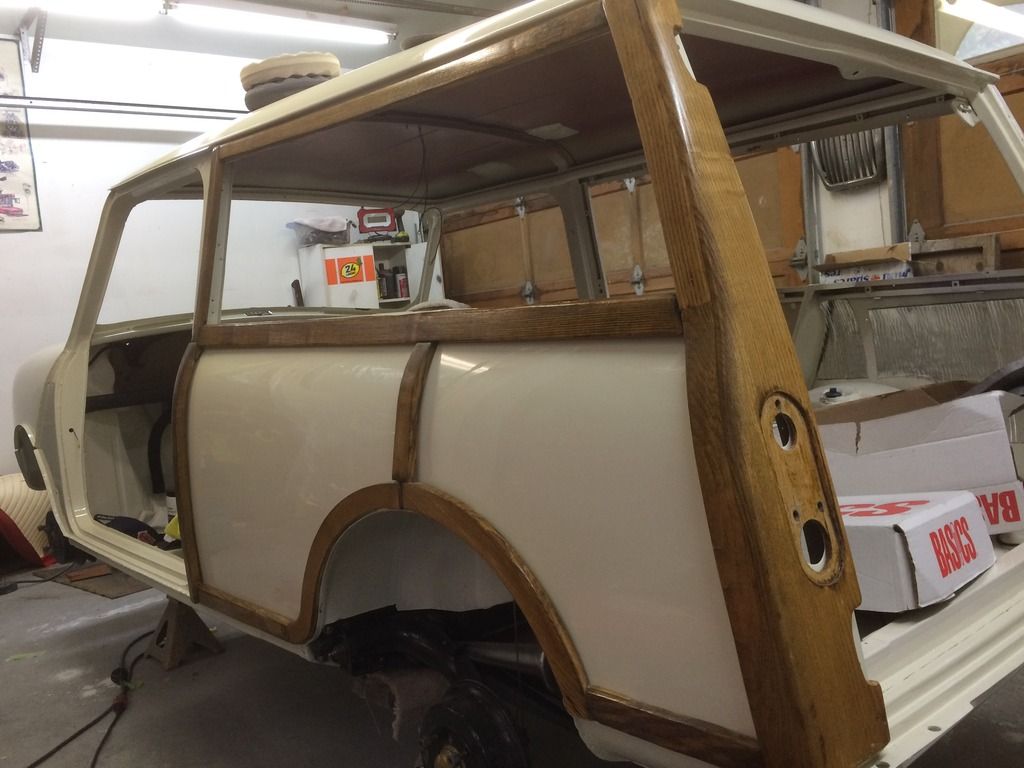
Also took some time to wet sand and polish, so naturally I needed to put the wood on the see how good it looks..
Started to re-cover the back seat as well, so hopefully some photos of that later in the week
-
- 1275 Cooper S
- Posts: 1526
- Joined: Thu Jul 01, 2010 11:20 pm
- Location: West of Offas Dyke.
-
- 850 Super
- Posts: 131
- Joined: Fri Nov 27, 2015 6:07 pm
- Location: The Rock, Southern Sweden.
Re: My Austin Countryman Project
Sorry, but have to ask:
Why that master cylinder?
Canadian spec or some other reason..?
Why that master cylinder?
Canadian spec or some other reason..?
- swindrum
- 998 Cooper
- Posts: 500
- Joined: Wed Dec 05, 2012 5:21 pm
- Location: Victoria BC Canada
Re: My Austin Countryman Project
I thought that master cyl might get some attention...
This car will ultimately be going to my best friend's father. We are doing a couple upgrades in the interest of safety, one of which being the GMC227 master and corresponding pedal box with the larger pedals, another being a speedometer in km/h.
Scott's dad is an enthusiast who has owned many beautiful British cars over the years, and can really appreciate them. He is in his 70s now, so I wanted to make it as comfortable and safe as I can.
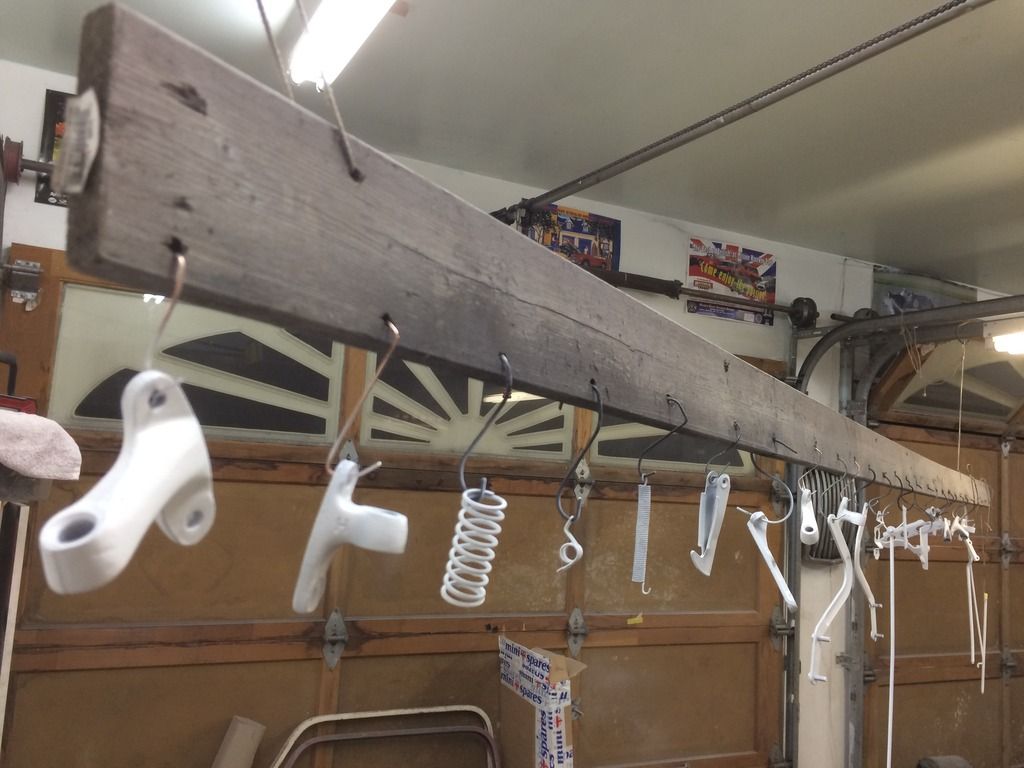
Last night was spent sorting all the small bits that hold the doors on, and the bonnet shut...
It is amazing how many individual pieces make up the hinges and latches!
Here are some of them in primer, tonight they get a colour coat.
-
- 998 Cooper
- Posts: 410
- Joined: Fri May 13, 2016 9:07 pm
- Location: Cheshire
-
- 998 Cooper
- Posts: 631
- Joined: Thu Sep 02, 2010 9:48 pm
- Location: Dorset
- Been thanked: 1 time
Re: My Austin Countryman Project
I need to ask why is the disassembled wiper motor dated 10-64 but the installed one is 9-67?
OK I'll get my anorak
Seriously this project is looking good.
OK I'll get my anorak
Seriously this project is looking good.