My Austin Countryman Project

Images & stories about our current projects, cars, engines & all sorts of other stuff.
Post Reply
User avatar
swindrum
998 Cooper
Posts: 500
Joined: Wed Dec 05, 2012 5:21 pm
Location: Victoria BC Canada

Re: My Morris Traveller Project

Post by swindrum »

NicholasUpton wrote:Be carful with the clean strip pads on the angle grinder, as they can act like a shrinking disc and cause panel distortion, that ends up being more work. We normally use holdtight 102 and water to scrub by hand after using the stripper, this will neutralize and protect the metal while you are doing body work.

Otherwise you are looking good. Keep the progress coming.
Very good tip! I keep the pad moving and don't sit it in any one spot for any length of time. So far, I have done all 4 doors and they are still nice and straight! :)

I am not sure what holdtight 102 is though...
I have been rinsing with lacquer thinners to remove the residue. I am loathe to put water near bare metal.

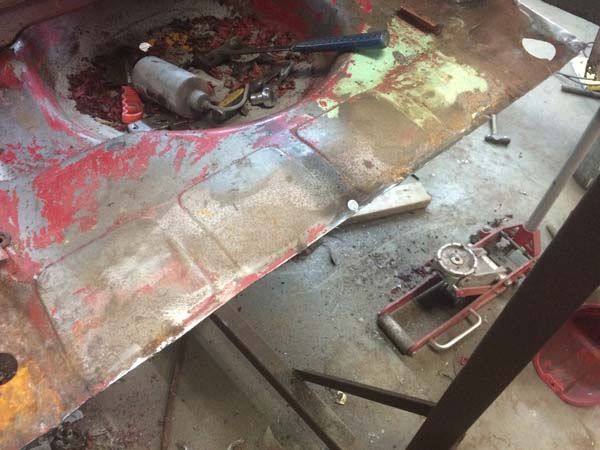
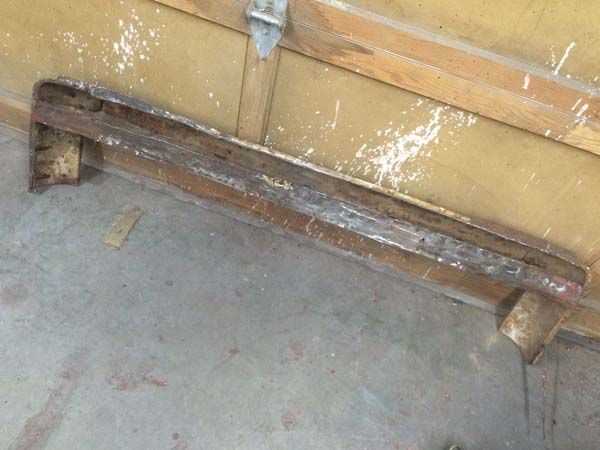
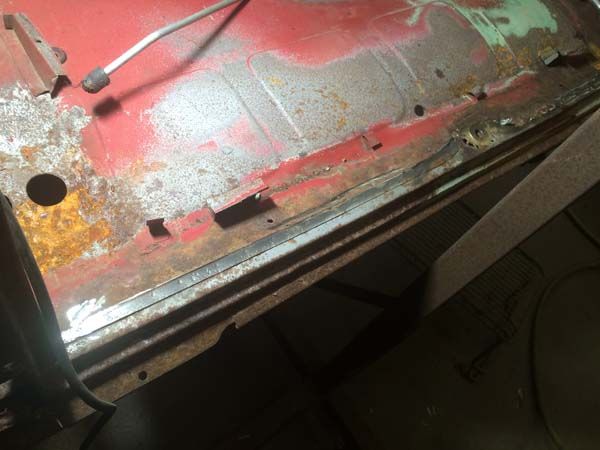
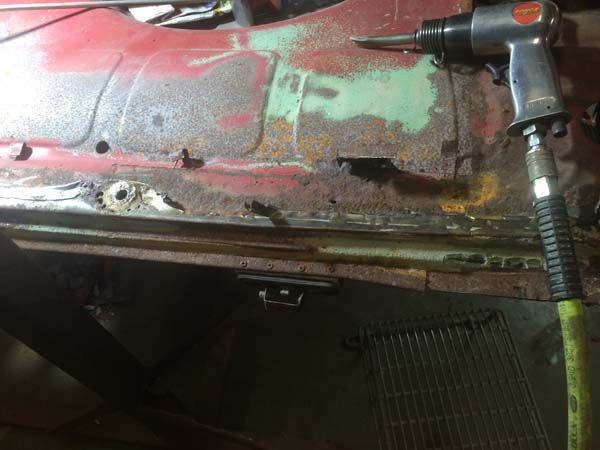
Last night's progress was around the back, there was some damage to the rear lip, loadspace support, and valance. I cut the damaged area out and started fitting the repair panels. I think I will replace the valance as well.

Here is the undamaged side prior to cutting, but with the loadspace support removed
Image

And the damaged side, note all of the filler to re-form the step and all of the brazing
Image
User avatar
swindrum
998 Cooper
Posts: 500
Joined: Wed Dec 05, 2012 5:21 pm
Location: Victoria BC Canada

Re: My Austin Countryman Project

Post by swindrum »

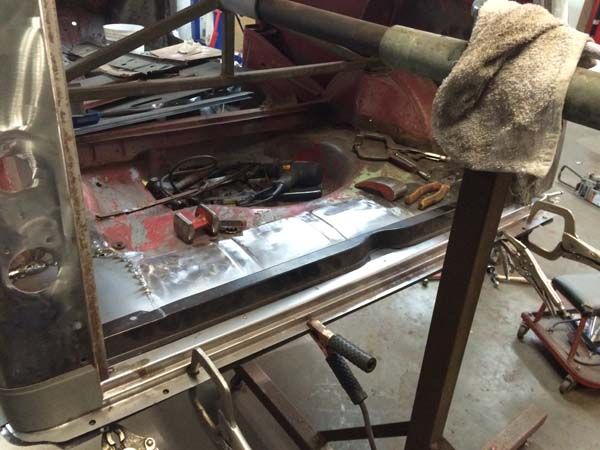
I realized that the only way to do this right would be to remove the rear valance and corners, then cut everything back to good metal.
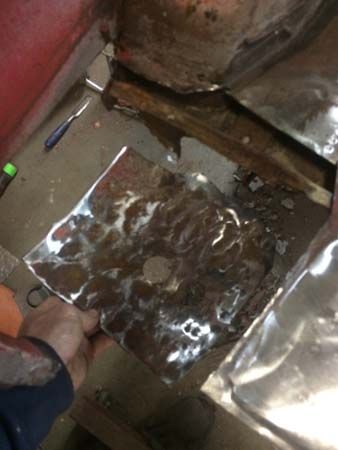
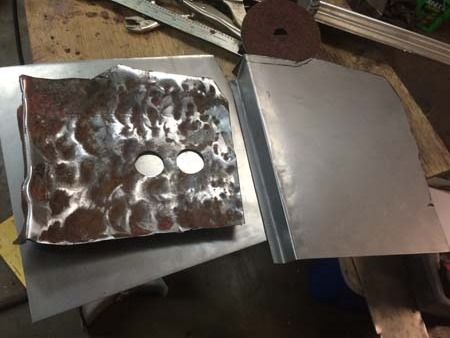
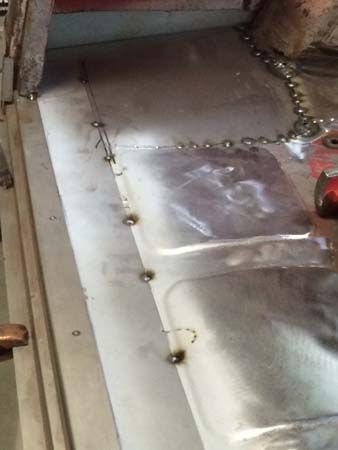
The panel where the internal tank had been installed had been pounded to allow the tank to fit, so that was cut out as well.
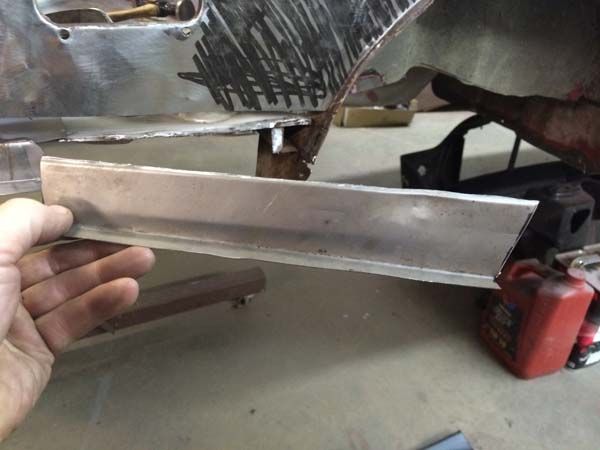
A panel was made to replace it.
Image

Image


Image

Old and new
Image
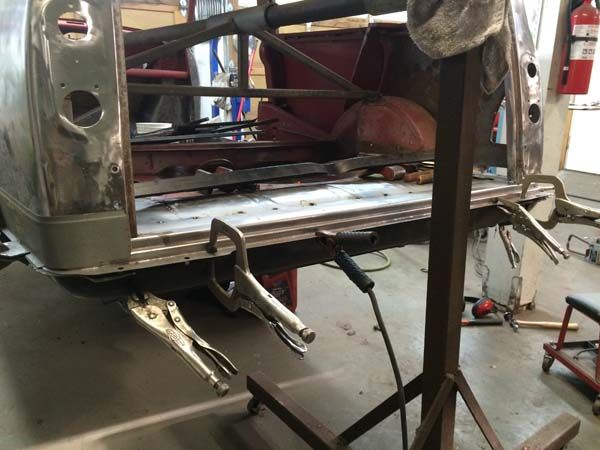
Tacked in
Image

Repair for right side inner corner
Image
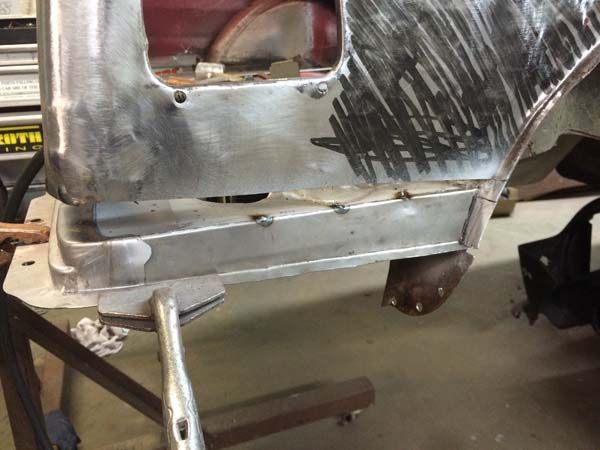
Fitted up with new rear step
Image

New rear valance and corners offered up
Image

Also trial fit of rear loadspace support
Image
User avatar
swindrum
998 Cooper
Posts: 500
Joined: Wed Dec 05, 2012 5:21 pm
Location: Victoria BC Canada

Re: My Austin Countryman Project

Post by swindrum »

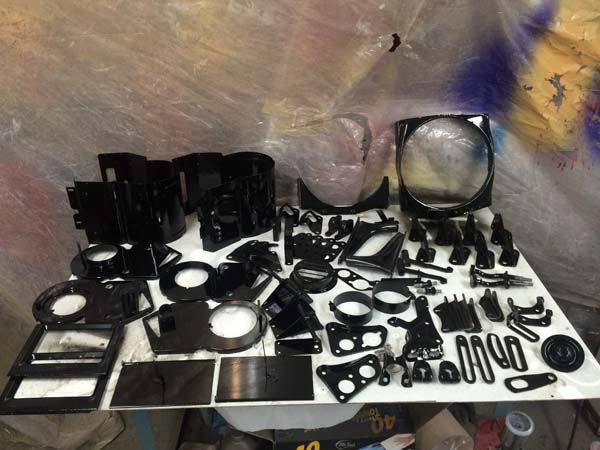
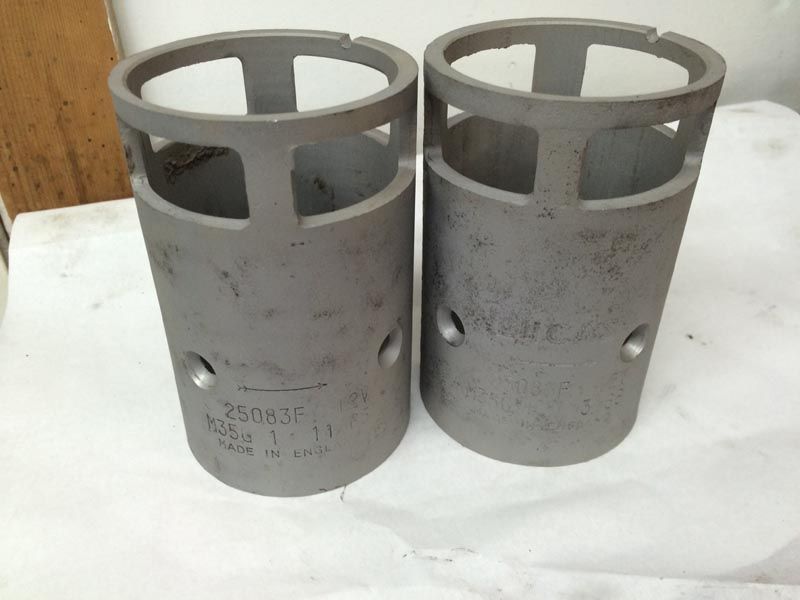
Over the weekend I had a request to paint a set of tanks for a Mk1 Cooper S

I decided that if I was mixing up a batch of paint and moving things around the shop, I would do some other things as well.

I grabbed everything that was in my "already been blasted" box next to the sandblaster, as well as a couple Mk1 heater assemblys I have been working on. One for the Countryman and one eventually for the Van


Image
User avatar
swindrum
998 Cooper
Posts: 500
Joined: Wed Dec 05, 2012 5:21 pm
Location: Victoria BC Canada

Re: My Austin Countryman Project

Post by swindrum »

Well, work has slowed to a crawl, or more accurately, a hobble... We had a death in the family, which is always a hard time, and then 2 weeks ago I broke my kneecap and buggered my leg in a cyclocross crash...
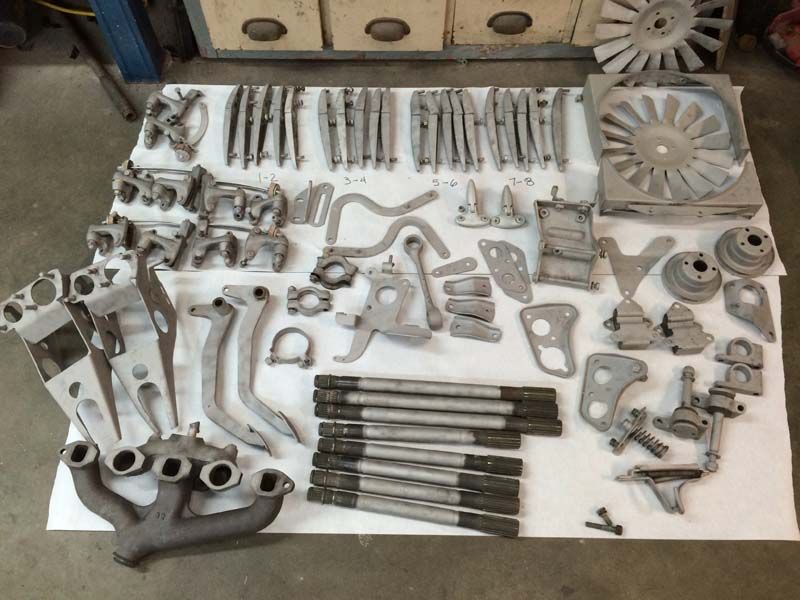
Not all has been lost, I have taken this time to do some cataloging and inventory and ordering parts I thought I had.
I have been able to weight-bear as of this weekend, so have been standing in front of the sandblasting cabinet. Have gotten loads cleaned up
User avatar
swindrum
998 Cooper
Posts: 500
Joined: Wed Dec 05, 2012 5:21 pm
Location: Victoria BC Canada

Re: My Austin Countryman Project

Post by swindrum »

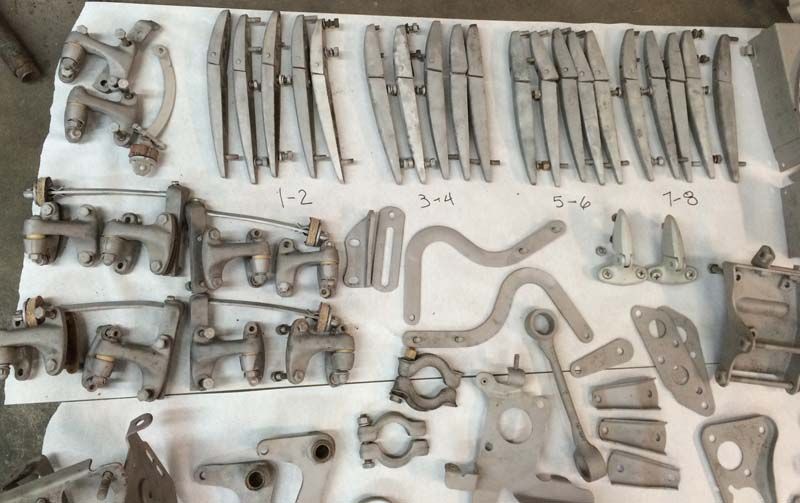
I realized I forgot to post a photo!
Image

I didn't realize I had 5 sets of external hinges, so pretty excited about that. I have ordered hinge pin kits and the bushing tool. So the Traveller, the Cooper, and the Van will have fresh hinges.
Image
User avatar
woodypup59
1275 Cooper S
Posts: 1525
Joined: Thu Jun 24, 2010 5:28 pm
Location: London UK
Has thanked: 2 times
Been thanked: 13 times

Re: My Austin Countryman Project

Post by woodypup59 »

How many door hinges do you need on this car ? :D
User avatar
swindrum
998 Cooper
Posts: 500
Joined: Wed Dec 05, 2012 5:21 pm
Location: Victoria BC Canada

Re: My Austin Countryman Project

Post by swindrum »

woodypup59 wrote:How many door hinges do you need on this car ? :D
It's the very rare Countryman Limousine, seats 12... :D
User avatar
swindrum
998 Cooper
Posts: 500
Joined: Wed Dec 05, 2012 5:21 pm
Location: Victoria BC Canada

Re: My Austin Countryman Project

Post by swindrum »

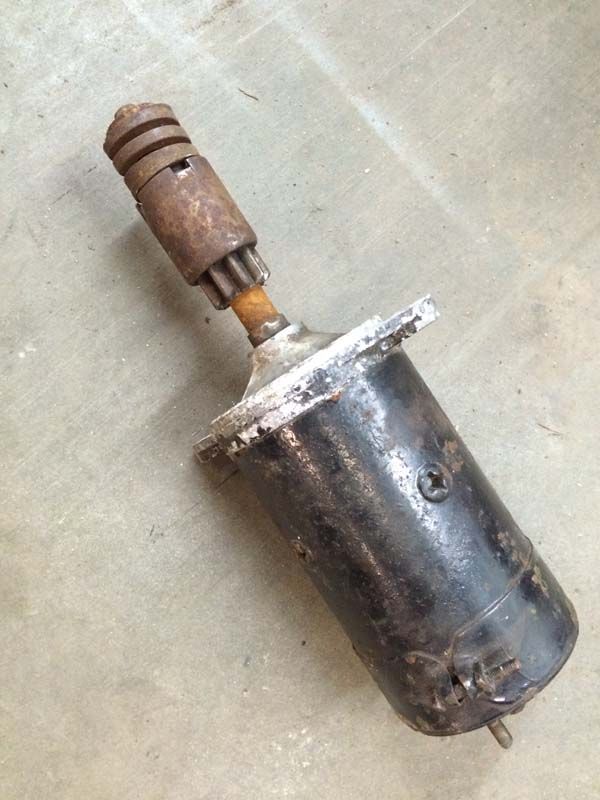
So, in my effort to find things to do while my knee heals up. I set about testing and inventory-ing my starters. I figure I will see if I have the correct date codes for the cars I have here, I need a 62 for the 850, a 63 for the 997, a 65 for the Countryman and a 68 for the van.

So far I have found
11-54 (Morris Minor?)
05-63 (997 Cooper)
12-64
12-64
09-65 (Countryman)
11-65
03-66 (Possibly spoken for)
09-68 (Van)
01-69
02-69
04-69
03-70
09-73
04-75
28-75
44-78

So I have come up short for a 62 and a 63, but I suppose it isn't super important.

So I set about taking one apart in preparation for restoring
In the past, I have always just found suitable replacements when a starter goes bad, so I have never bothered rebuilding them. So it will be a learning experience.

Come with me on this journey of wonder, won't you?

Image

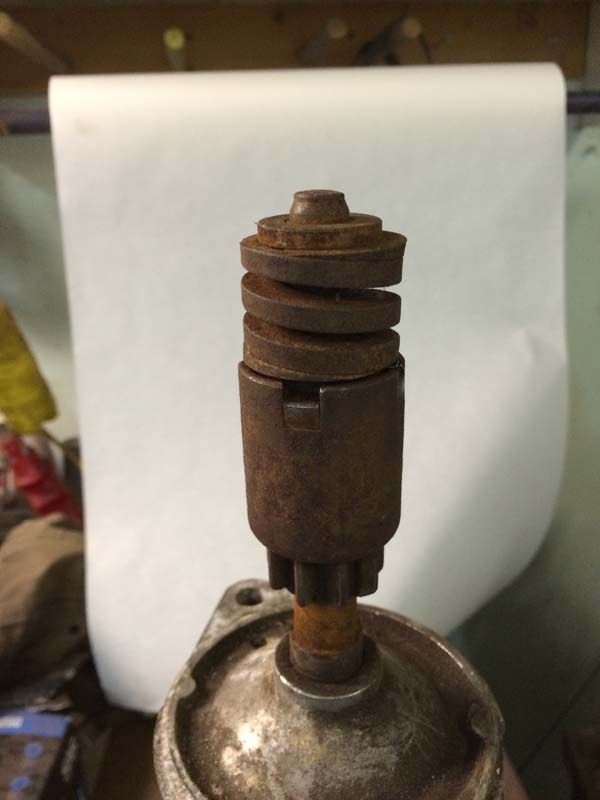
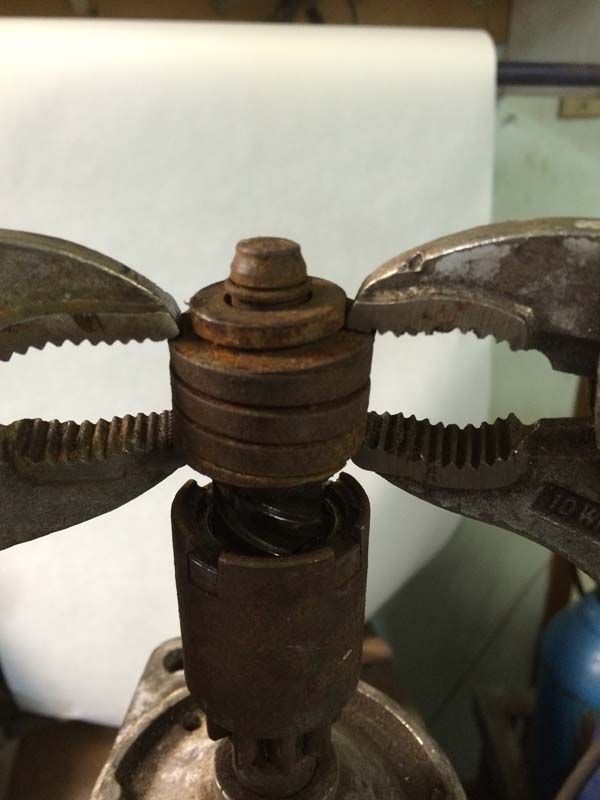
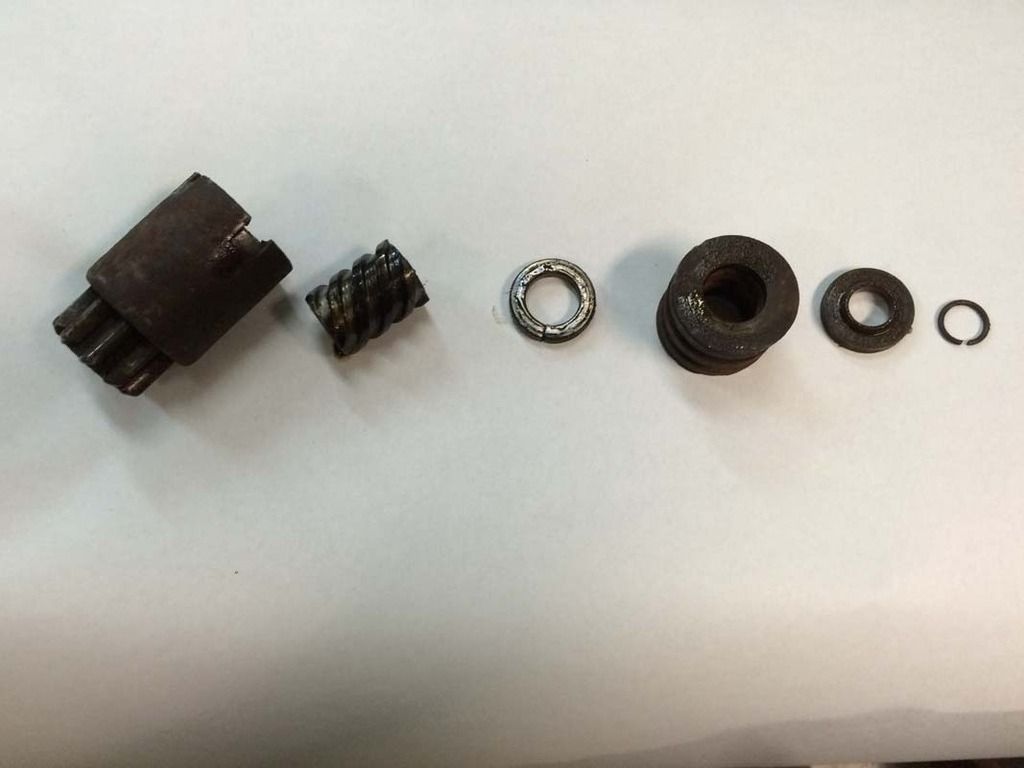
So first off is bendix removal, this was all new to me so I made it up as I went along

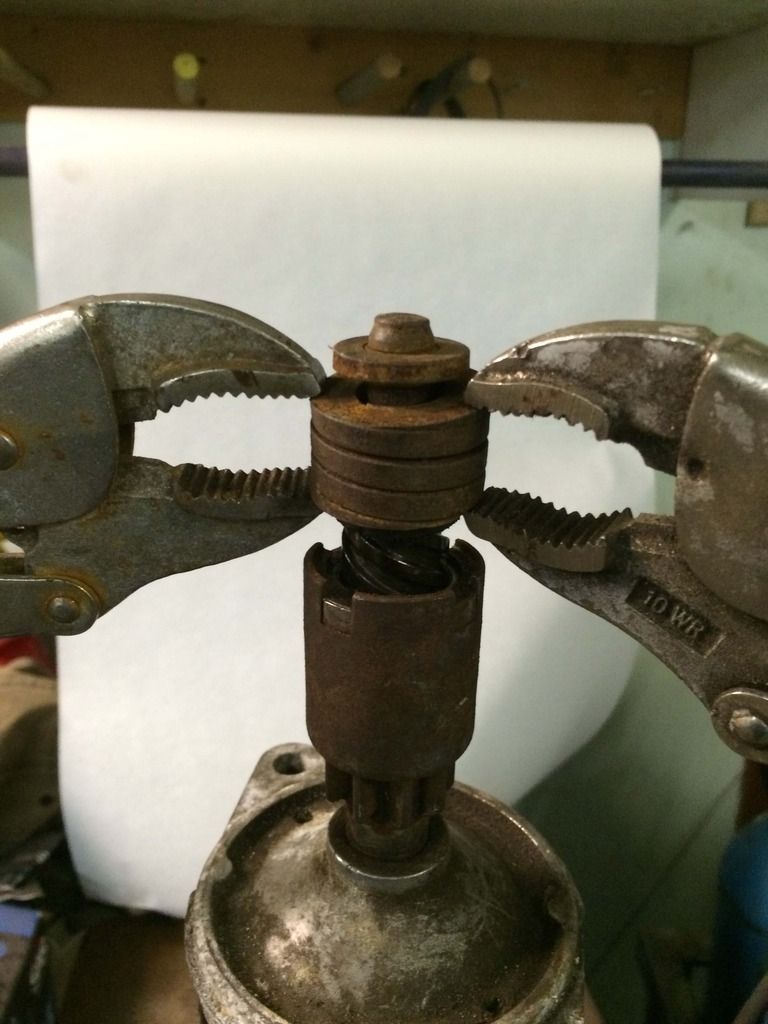
You will need to be able to squish the spring in order to remove the c clip that keeps the retainer

Image

I am sure there is an easy way to do this, but I settled on Vise-grips, they do the job, but, be aware they do come flying of at light speed every so often

Image

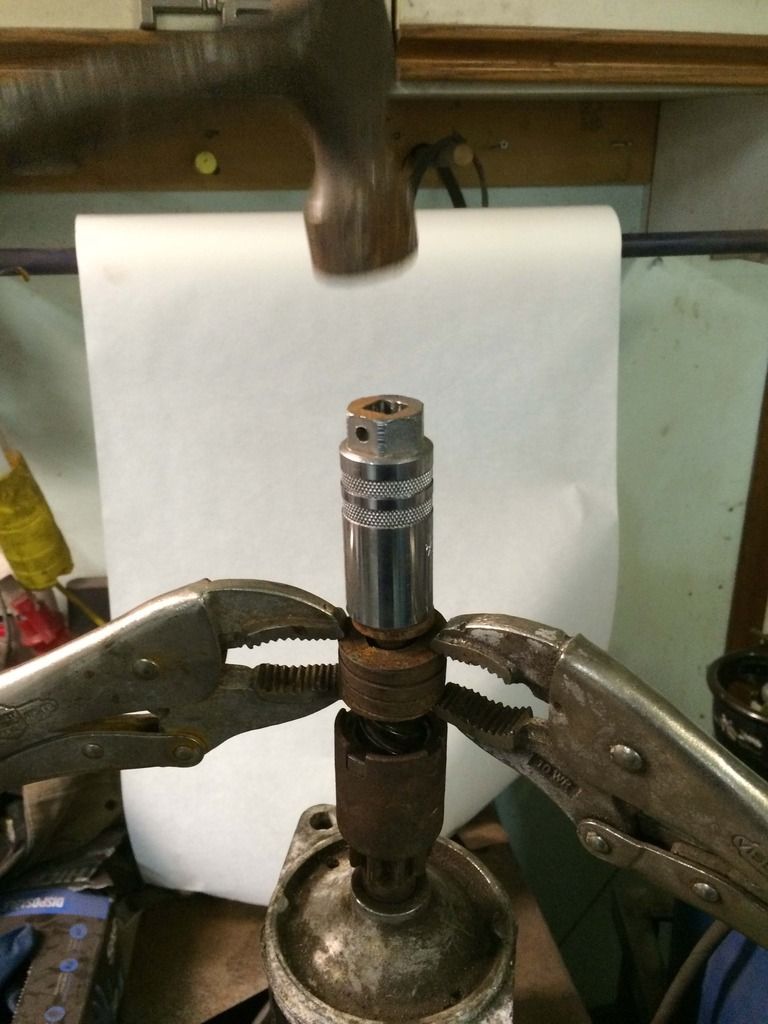
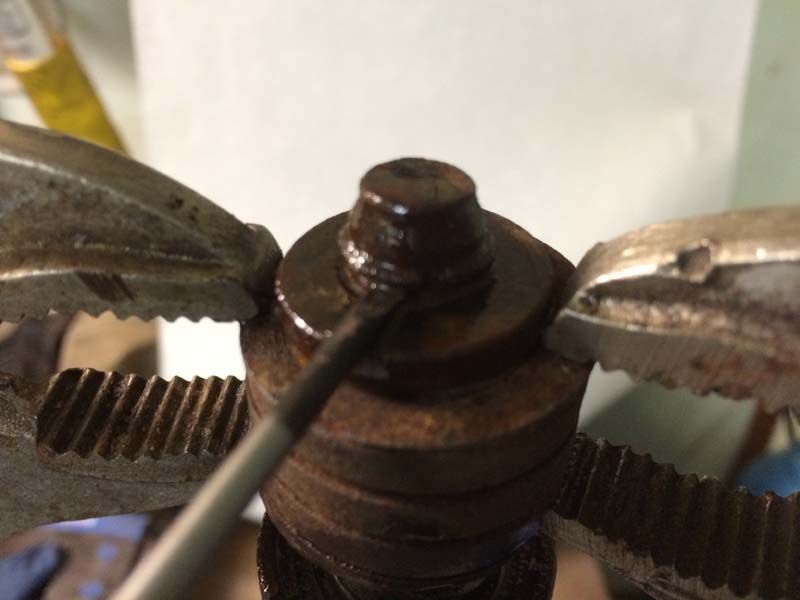
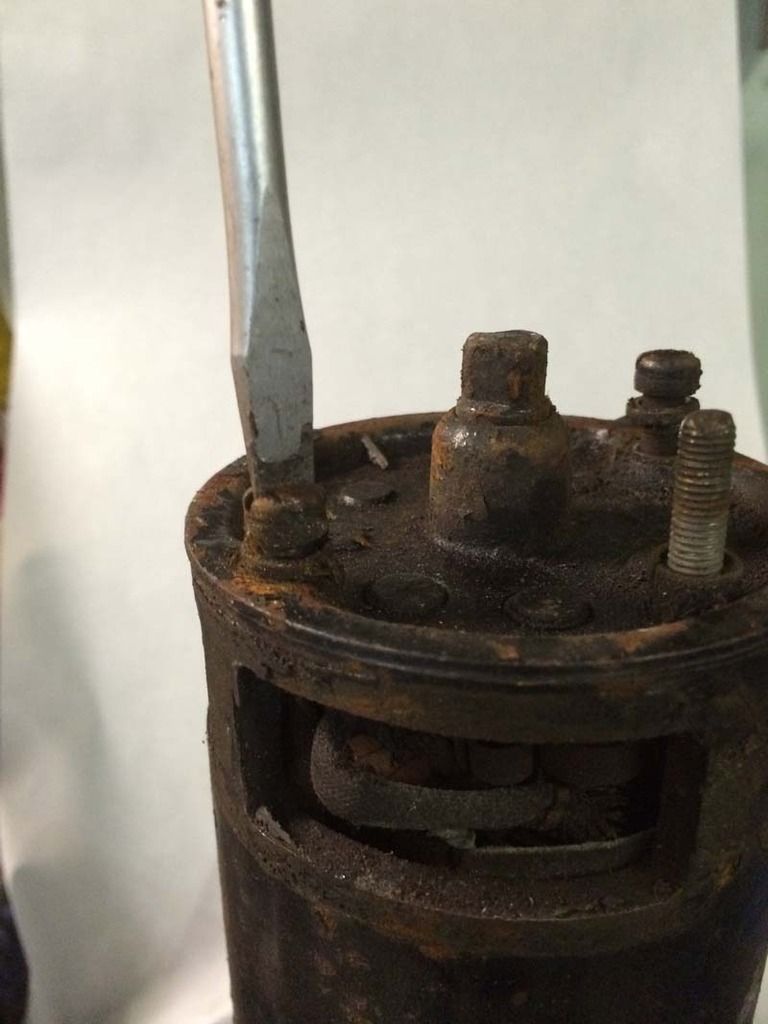
The retainer will be stuck, so I used a spark plug socket and a hammer to gently tap it, exposing the c-clip

Image

Image

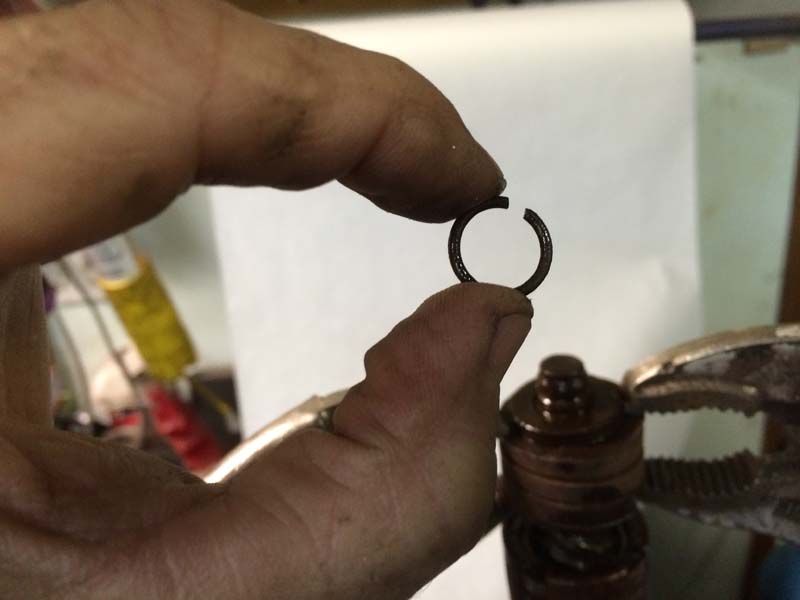
Which I then pried off with a small screwdriver, keep your fingers clear in case the vise grips let go...

Image

Image

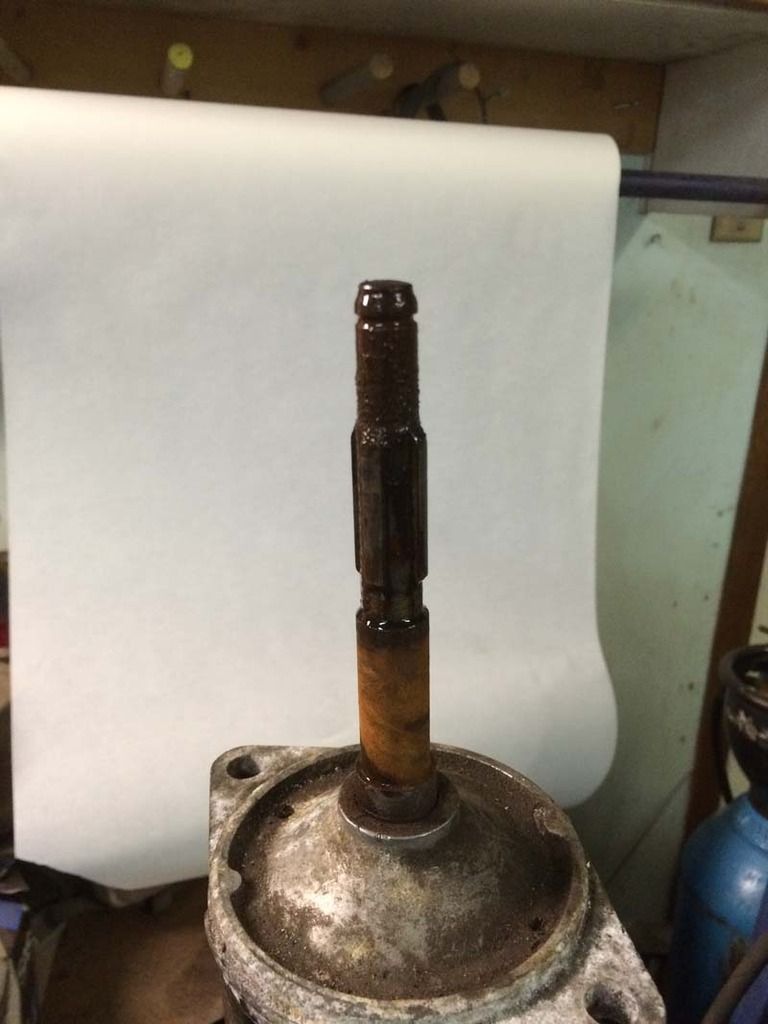
Then the entire bendix should come away from the shaft

Image

Image

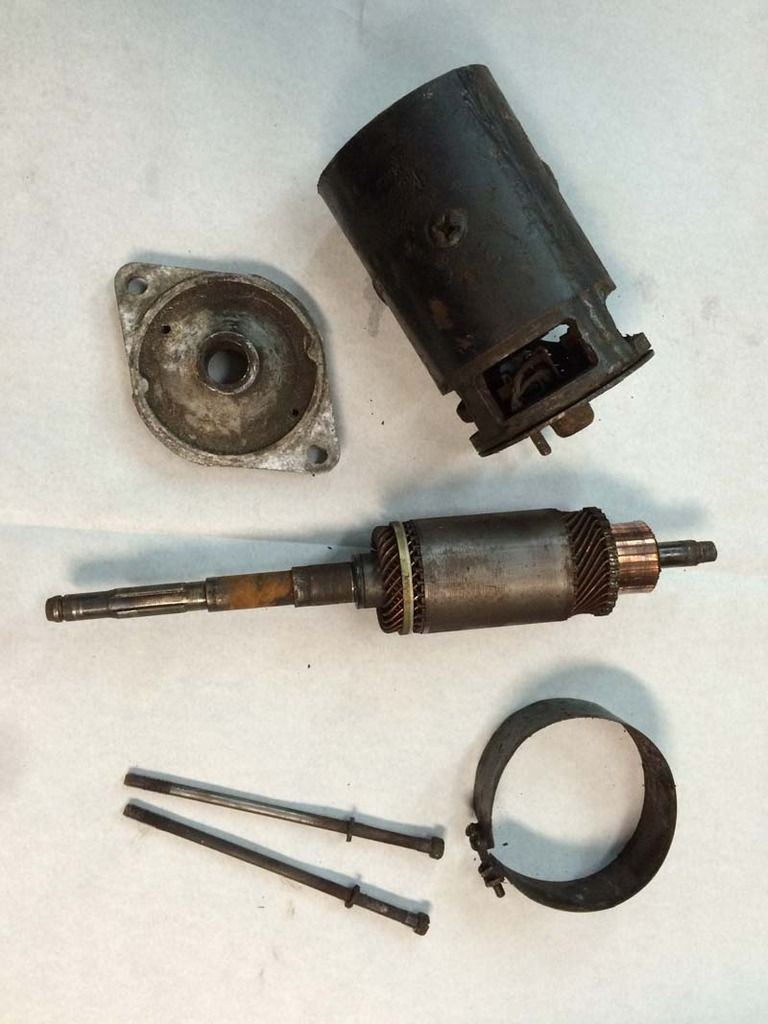
Next, remove the 2 long bolts

Image

The armature will pull out, be careful not to damage the windings

Image

Once it was all apart, I cleaned up the shafts and splines on the wire wheel, the next stop is the auto electrics place to test the armature(s), I plan on taking a bunch in (all the Mk1's) and getting them checked.
Last edited by swindrum on Thu Nov 26, 2015 10:19 pm, edited 1 time in total.
User avatar
smithyrc30
1275 Cooper S
Posts: 1383
Joined: Thu Feb 05, 2015 8:40 am

Re: My Austin Countryman Project

Post by smithyrc30 »

You are a braver man than me.

I use an old screw type valve spring compressor.....
java gt
998 Cooper
Posts: 436
Joined: Sat Jan 14, 2012 8:04 pm
Location: Half way between Dublin and Belfast

Re: My Austin Countryman Project

Post by java gt »

I was given a bendix spring removal tool many years ago,have still to use it. :D
User avatar
swindrum
998 Cooper
Posts: 500
Joined: Wed Dec 05, 2012 5:21 pm
Location: Victoria BC Canada

Re: My Austin Countryman Project

Post by swindrum »

java gt wrote:I was given a bendix spring removal tool many years ago,have still to use it. :D
I do have about 12 more starters here... :P
Although the Vise-grip method seems to be working fine, but I am sure once I become complacent it will bite me...
User avatar
Dr.Mabo
998 Cooper
Posts: 496
Joined: Wed Jun 27, 2012 1:05 pm
Location: Germany
Been thanked: 2 times

Re: My Austin Countryman Project

Post by Dr.Mabo »

Make sure there is no bearing play on the shaft.

I have a lovely reconditioned starter which turns freely without load but with some play in the shaft.
When it is installed and engaged to the fly wheel, the shaft is pushed to one side within the housing. Thus the starter can't turn freely anymore and doesn't has enough power to start the engine. Due to the fault symptoms I was searching on the wrong palce for a long time. The system behaves like a flat batterie but eventually it was the reconditioned starter.

so long
the Doc
so long
the Doc

My previous project:
http://mk1-forum.net/viewtopic.php?f=6&t=28477
Craig
998 Cooper
Posts: 426
Joined: Fri Jun 25, 2010 7:11 pm
Location: Langley BC Canada

Re: My Austin Countryman Project

Post by Craig »

Swindrum , if you would like a spring compressing tool let me know and I would be happy to send you one ! FOC.

Would need your address of course .

Craig
Craig
998 Cooper
Posts: 426
Joined: Fri Jun 25, 2010 7:11 pm
Location: Langley BC Canada

Re: My Austin Countryman Project

Post by Craig »

Here's the starter tool :D

Just made from a couple of 1" Flat washers and a couple of 1/4 NF nuts.

Craig
You do not have the required permissions to view the files attached to this post.
User avatar
swindrum
998 Cooper
Posts: 500
Joined: Wed Dec 05, 2012 5:21 pm
Location: Victoria BC Canada

Re: My Austin Countryman Project

Post by swindrum »

Craig wrote:Here's the starter tool :D

Just made from a couple of 1" Flat washers and a couple of 1/4 NF nuts.

Craig
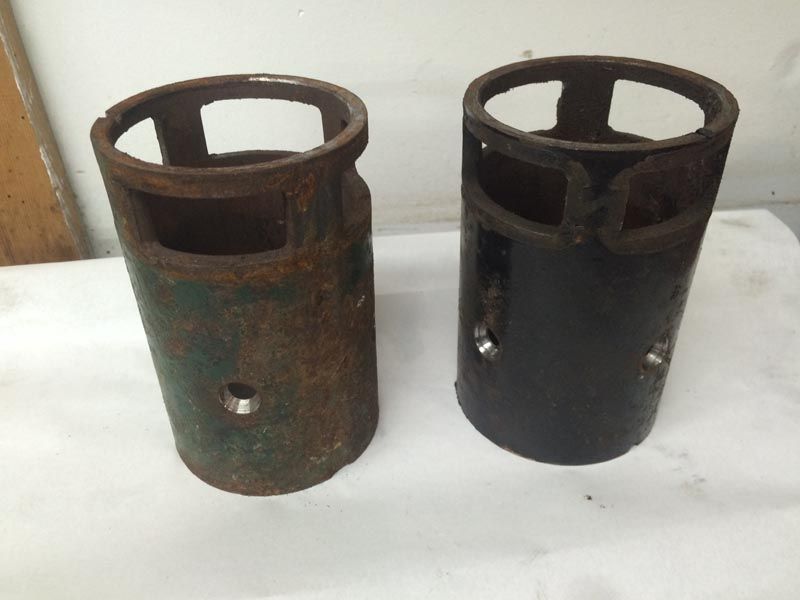
Well, that is very clever! I got 5 armatures tested over the weekend and they all tested good!
Blasted the cases and will hopefully get some paint on them this week.

Image

Image
User avatar
swindrum
998 Cooper
Posts: 500
Joined: Wed Dec 05, 2012 5:21 pm
Location: Victoria BC Canada

Re: My Austin Countryman Project

Post by swindrum »

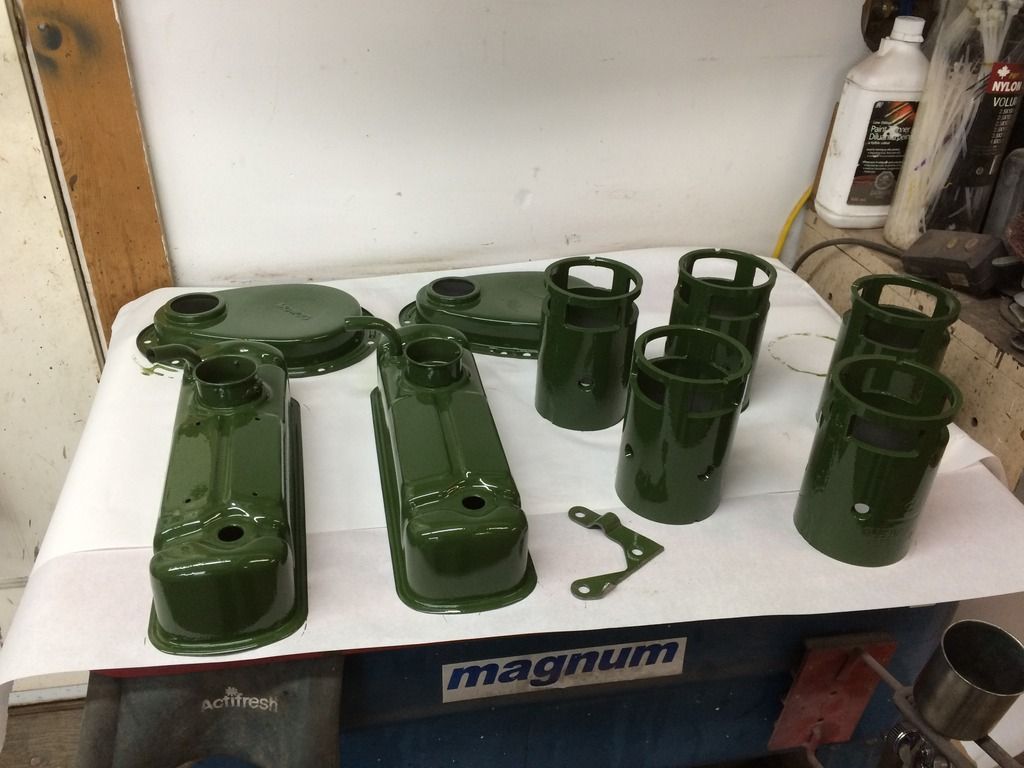
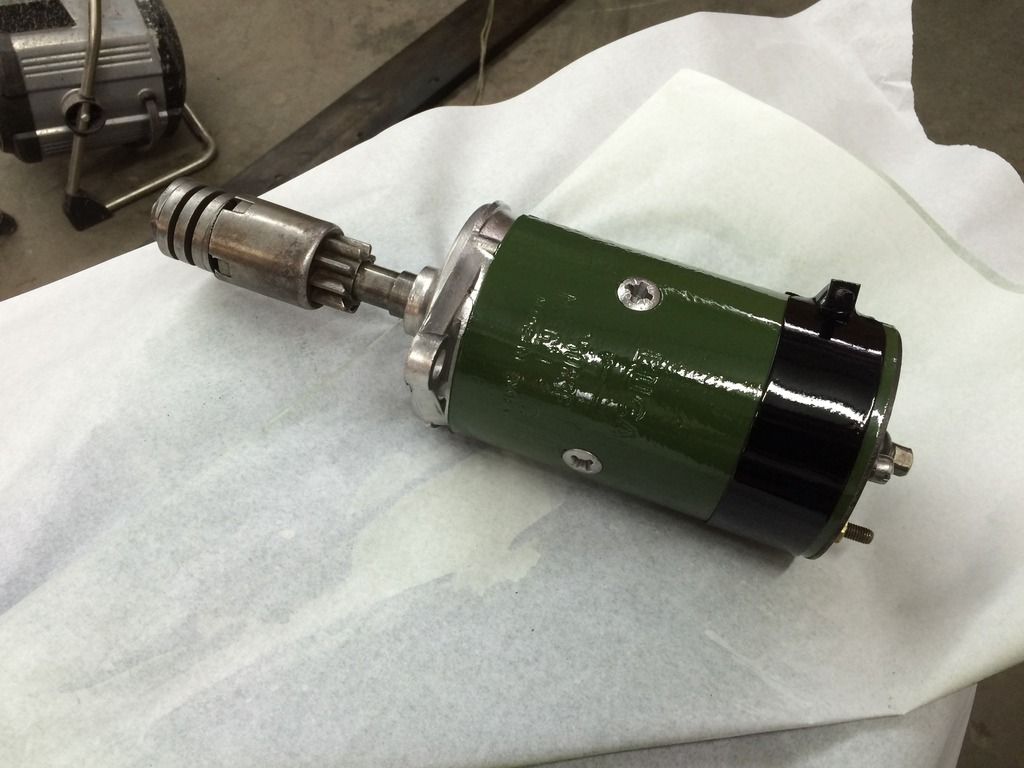
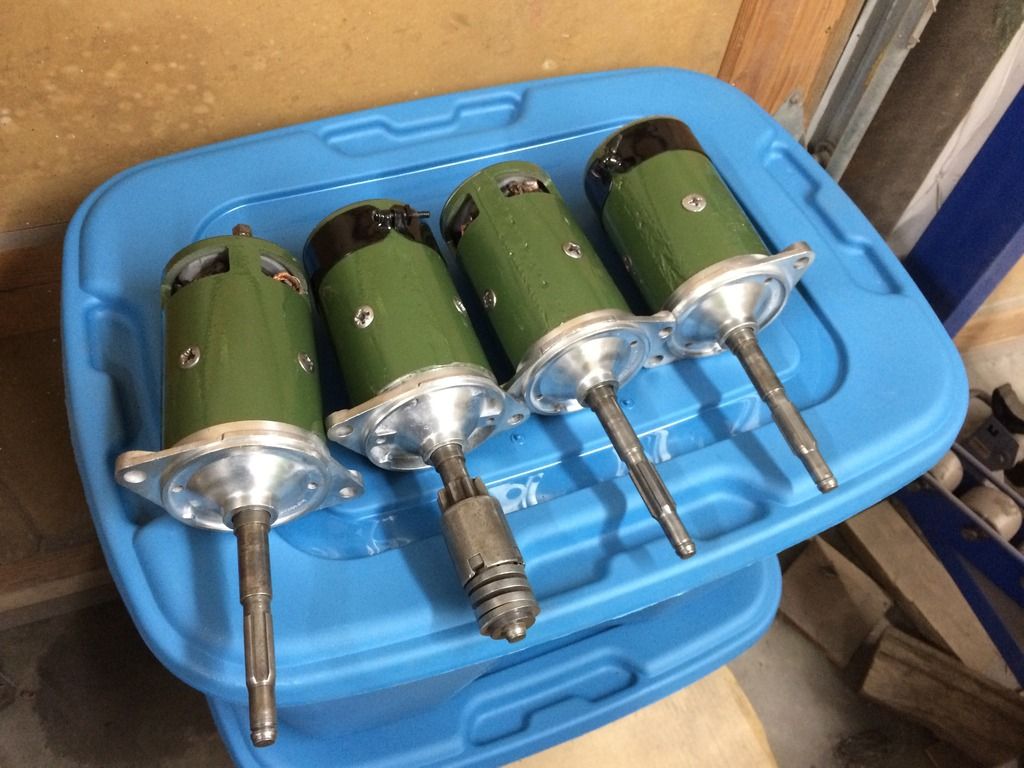
Bought a pint of medium bronze green the other day and set about paining up a few bits, including the starter bodies. I realise that the factory assembled the entire drivetrain assembly and painted it all at once, but I like how these starters look when painted and polished as individual parts... :)

Image

Image

Image
Gareth Brandt
998 Cooper
Posts: 432
Joined: Sun Mar 24, 2013 7:19 pm
Location: Sweden

Re: My Austin Countryman Project

Post by Gareth Brandt »

That's porn.............................
JC T ONE
1275 Cooper S
Posts: 3180
Joined: Fri Aug 13, 2010 5:25 am
Location: Denmark

Re: My Austin Countryman Project

Post by JC T ONE »

Gareth Brandt wrote:That's porn.............................


Agree 8-)
User avatar
swindrum
998 Cooper
Posts: 500
Joined: Wed Dec 05, 2012 5:21 pm
Location: Victoria BC Canada

Re: My Austin Countryman Project

Post by swindrum »

Awe shucks, thanks...

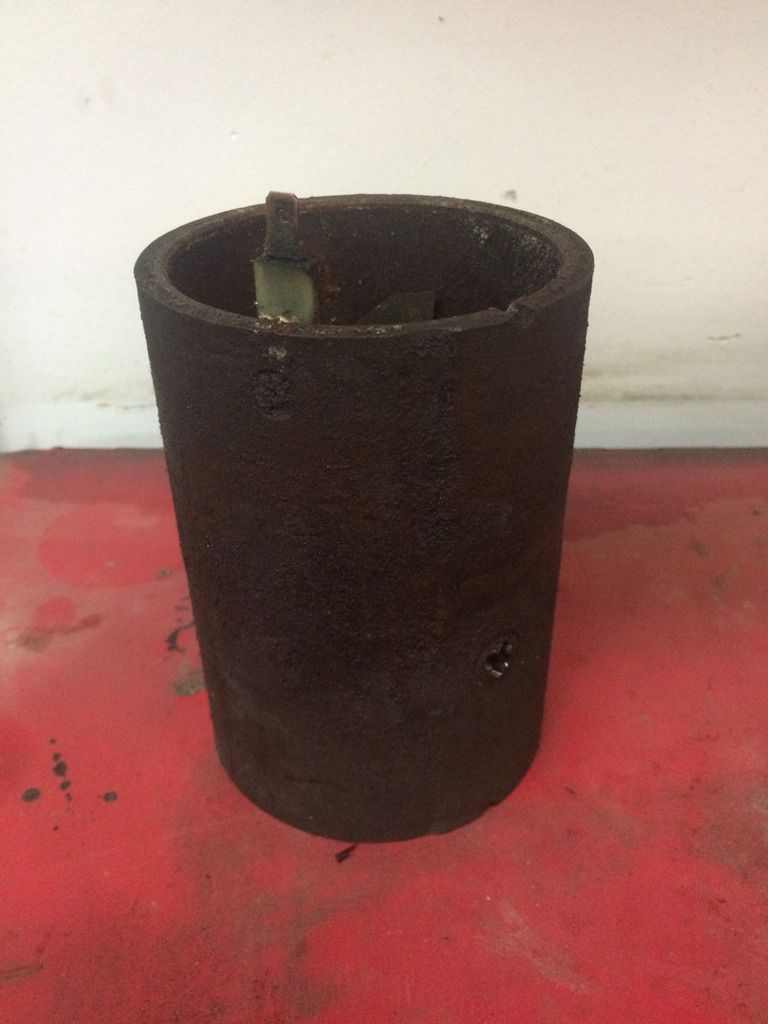
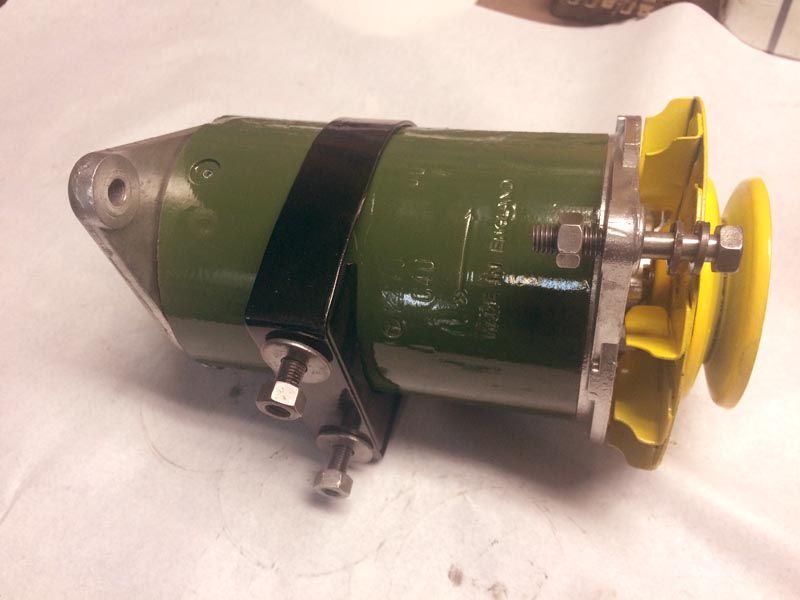
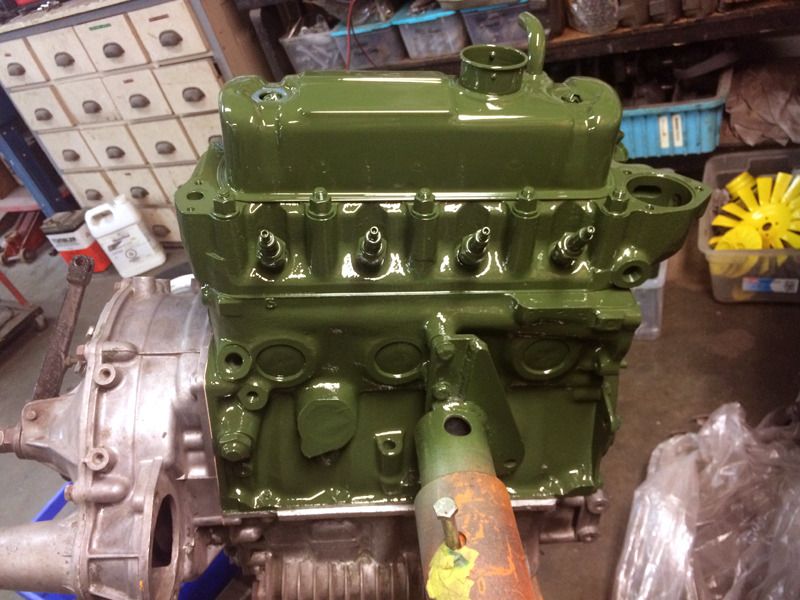
I painted a couple Dynamo cases and a few other engine bits as well as a 998 Cooper engine. Everything looks pretty nice. Today I was able to assemble one of the Dynamos and finish dis-assembling the rear trailing arms. All the bits went into the blaster and will be painted in the next few days. Once this round of stuff is painted, I will be back to grinding and welding and making dust.

My knee has been healing up nicely, so I am hoping to return to the body work this week . I want to get the welding sorted before Christmas
User avatar
swindrum
998 Cooper
Posts: 500
Joined: Wed Dec 05, 2012 5:21 pm
Location: Victoria BC Canada

Re: My Austin Countryman Project

Post by swindrum »

Dynamo before

Image

Dynamo after

Image

998 Cooper Engine

Image
Post Reply