No problem Ian, I think it is relatively new, not sure if it's in their catalogue?STG95F wrote:HI Callum . Thanks for the reply .
Is it a new panel M-Machine started doing recent ?
Ian
Mk2 Cooper
-
Callum
- 998 Cooper
- Posts: 469
- Joined: Thu Sep 25, 2014 9:01 pm
Re: Mk2 Cooper
-
Callum
- 998 Cooper
- Posts: 469
- Joined: Thu Sep 25, 2014 9:01 pm
Re: Mk2 Cooper
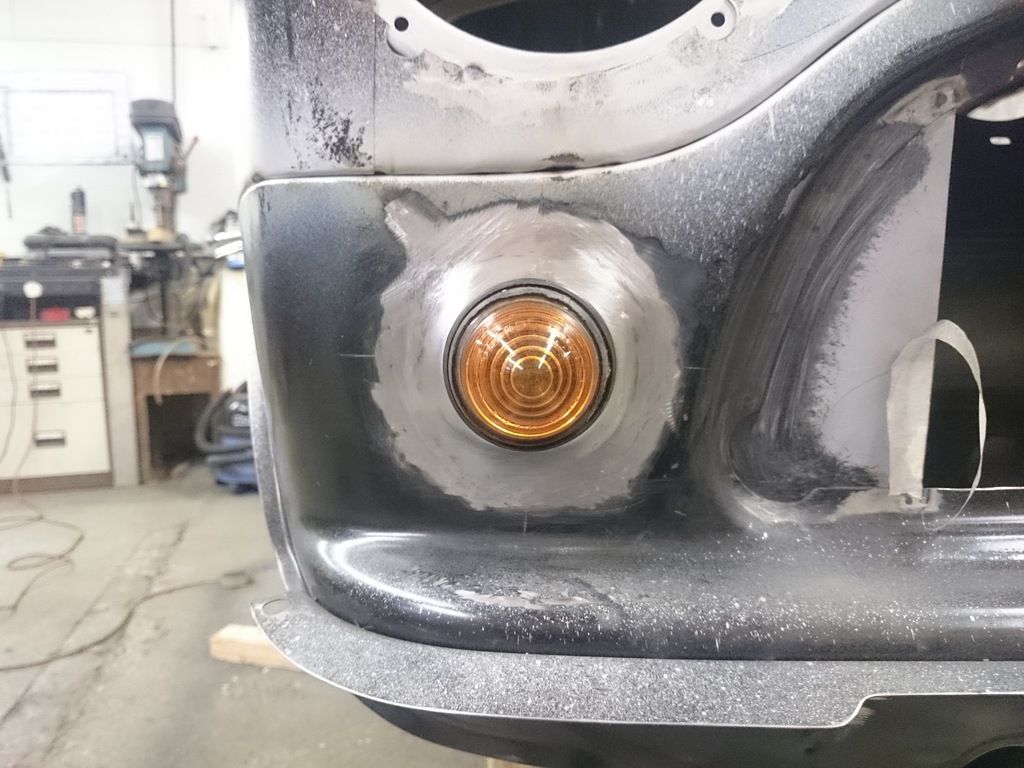
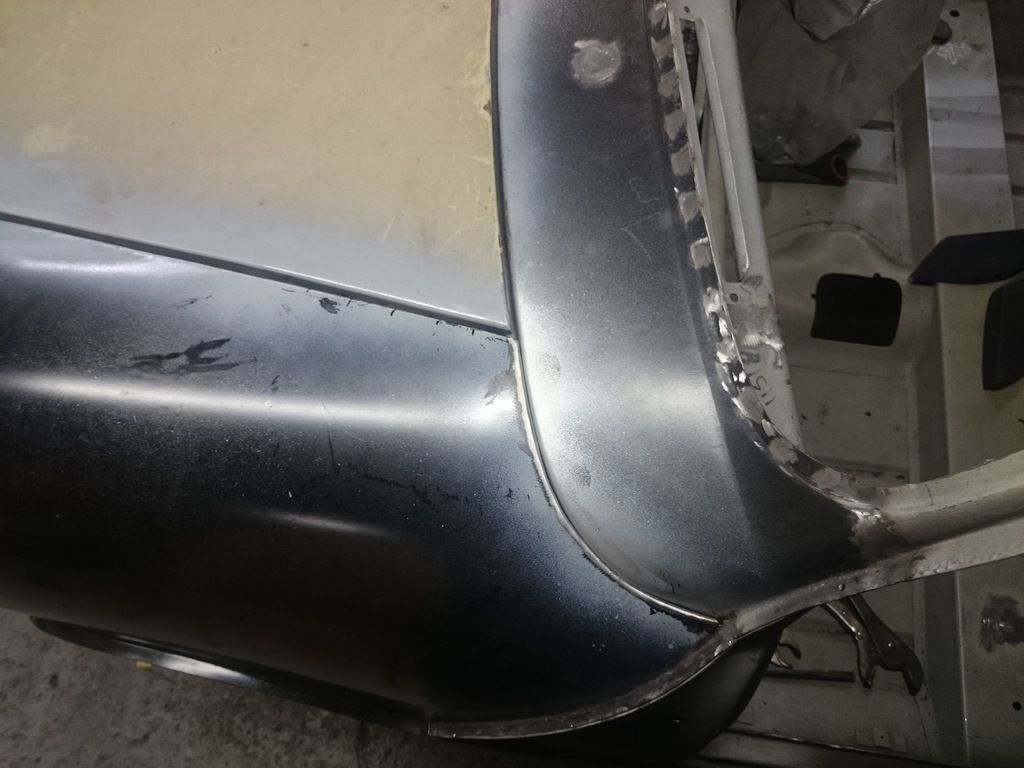
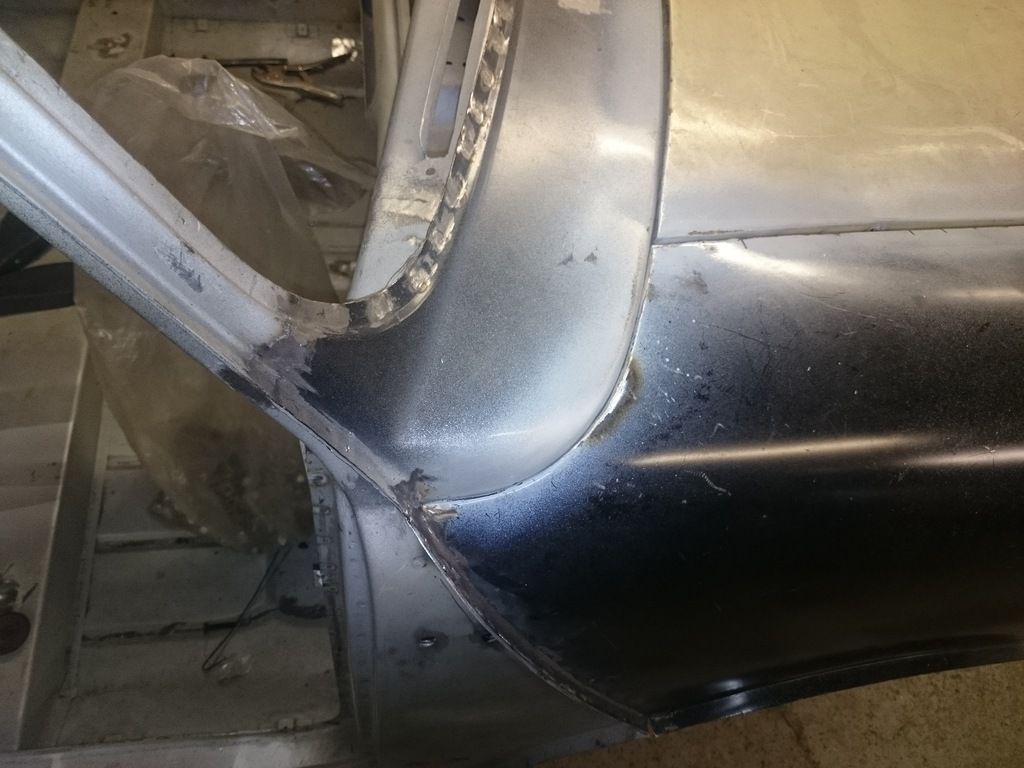
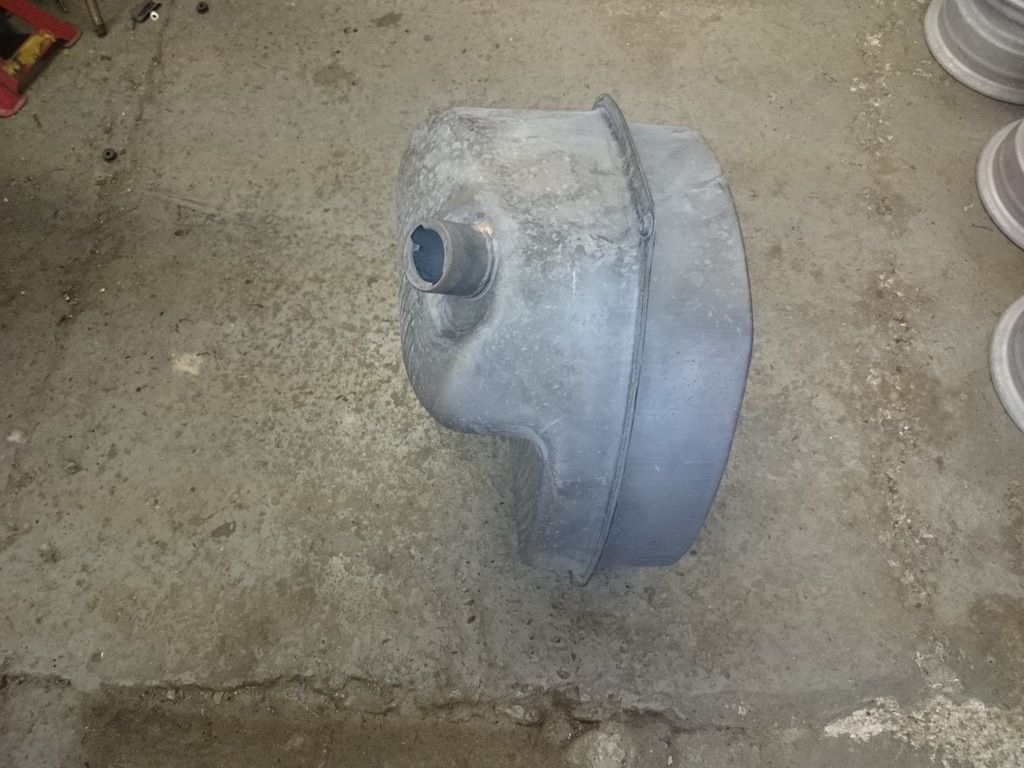
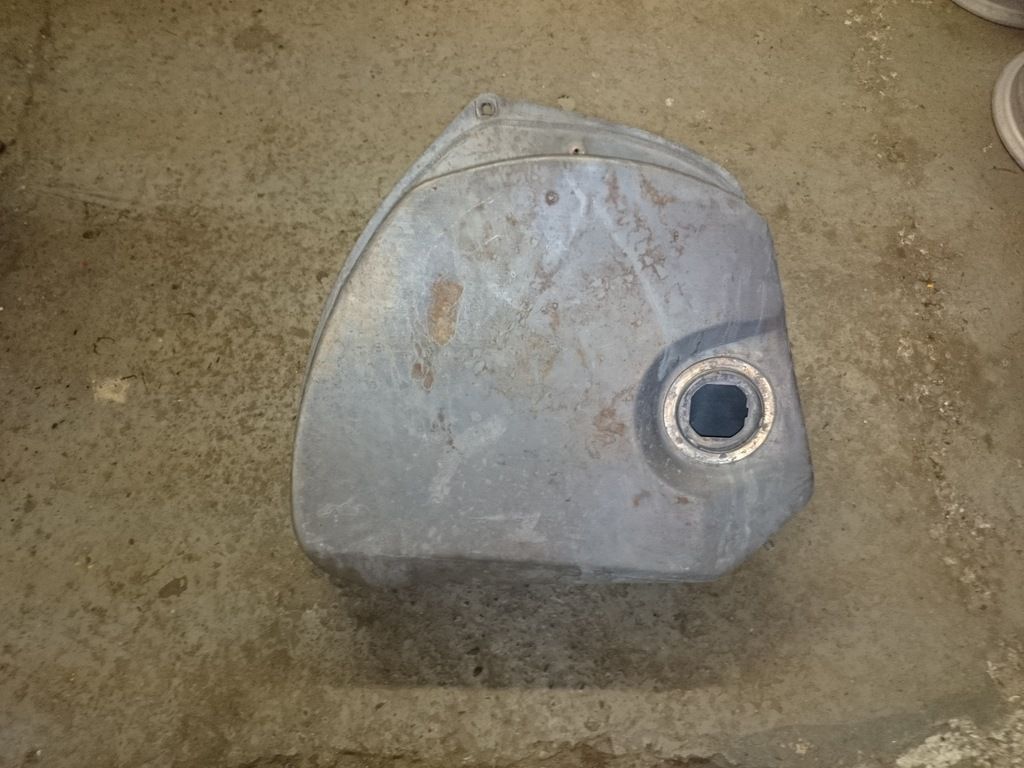
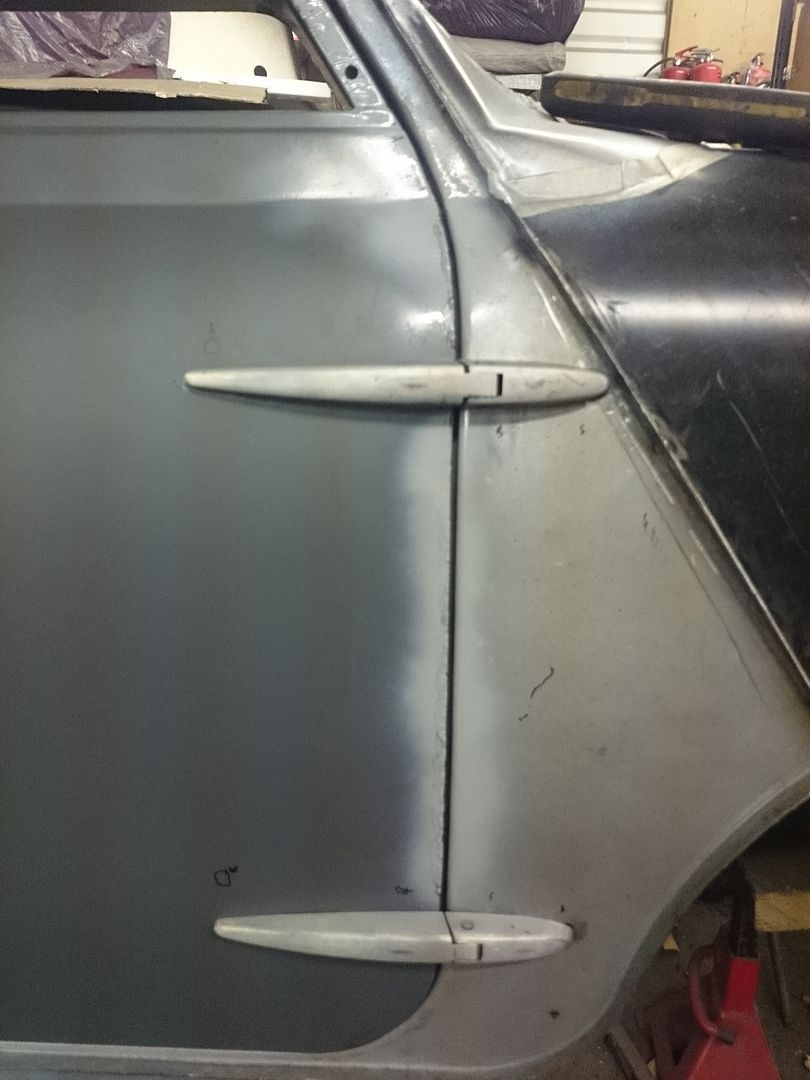
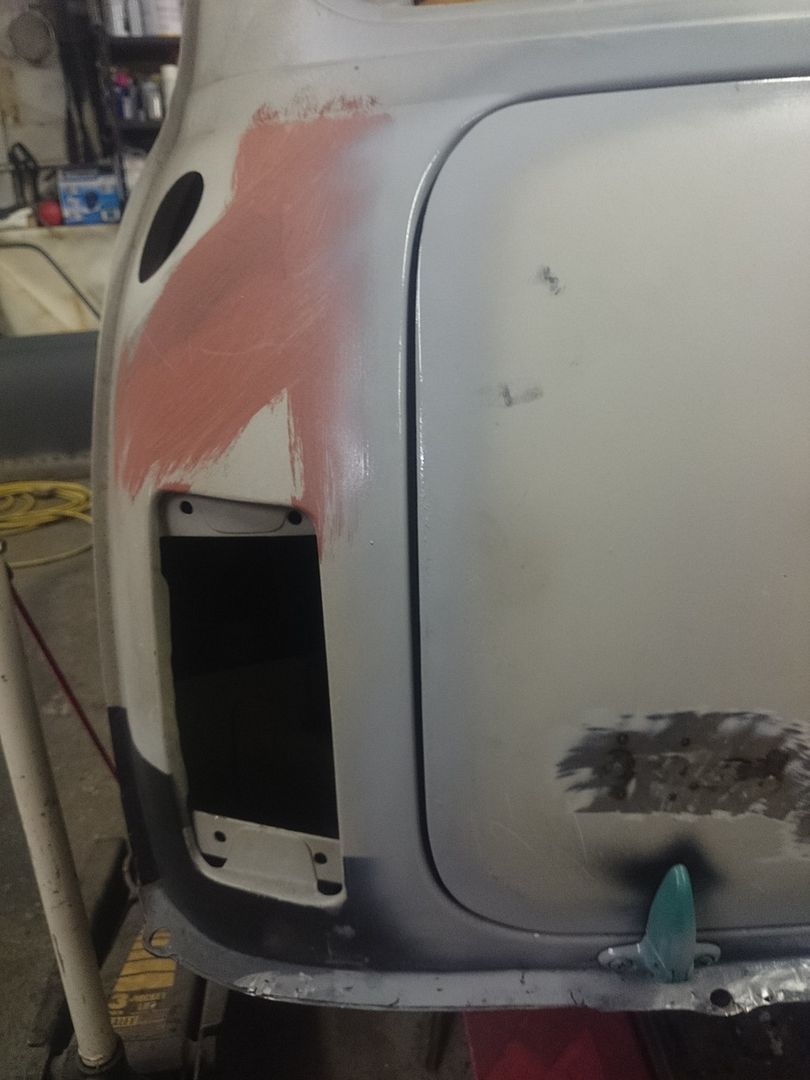
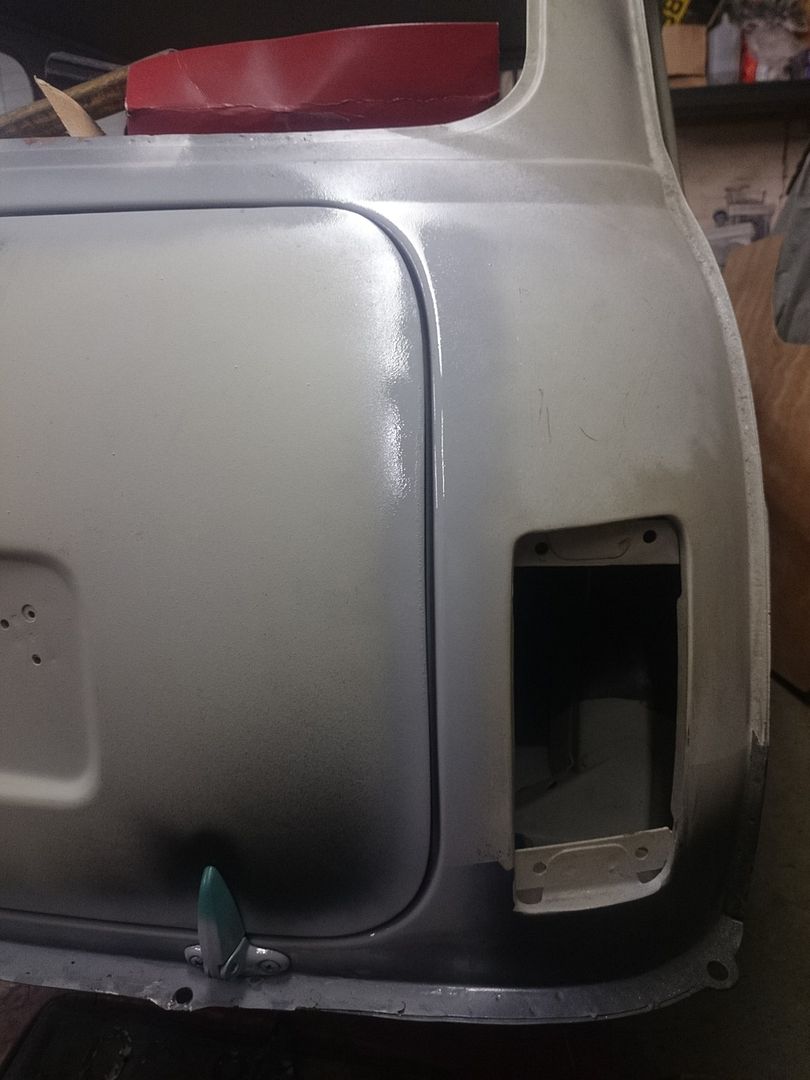
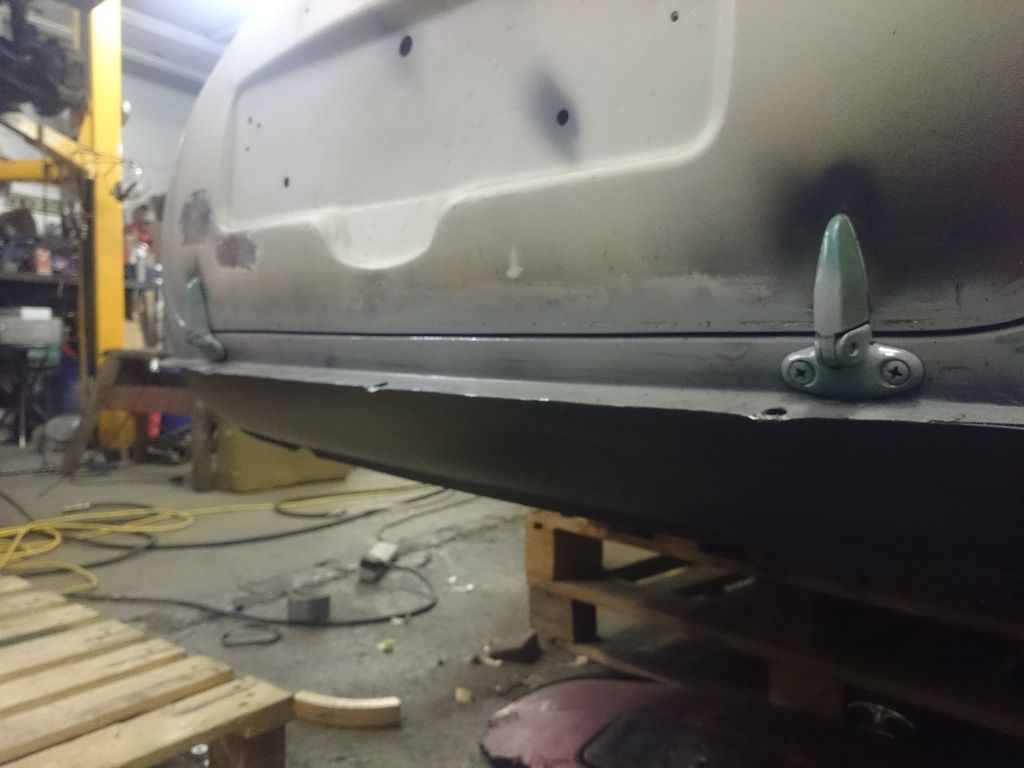
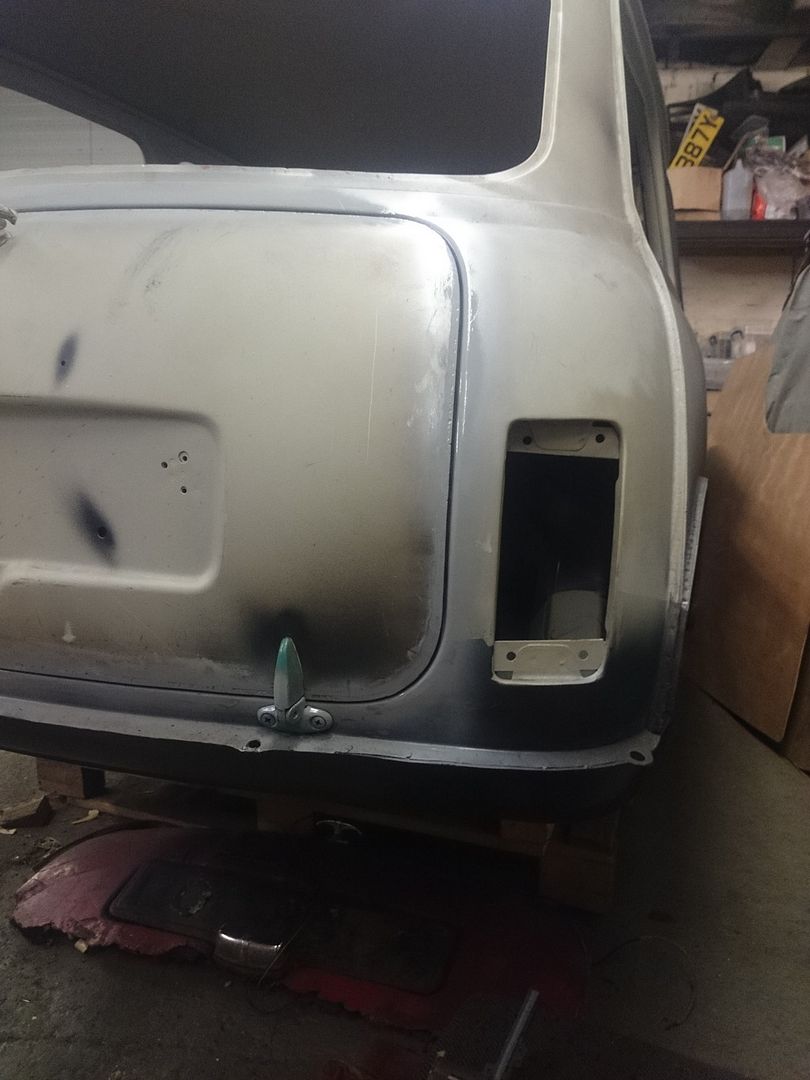
Got the other indicator plinth finished today.
Before
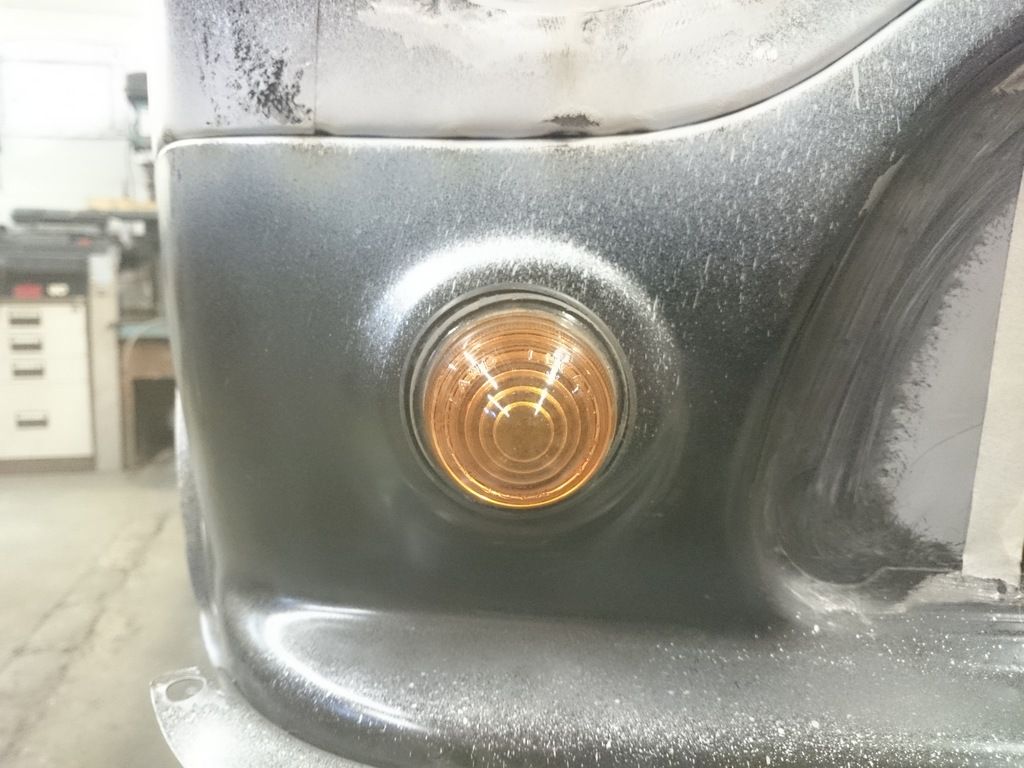
After
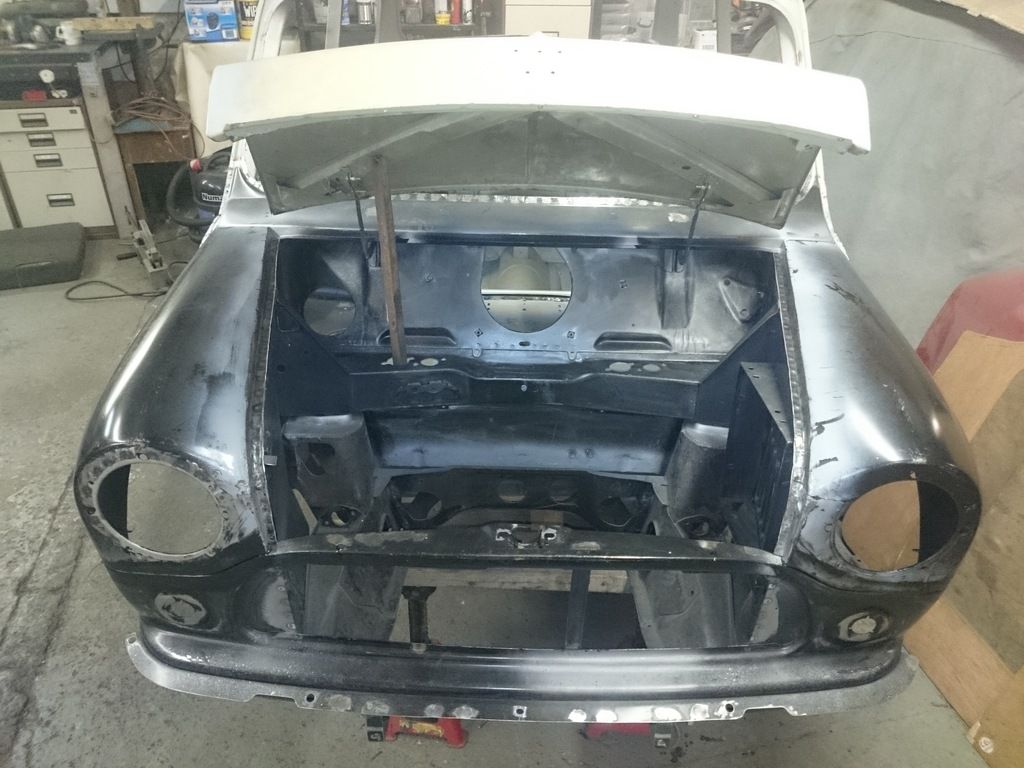
My primer arrived last week so i managed to get the inner wings and the inside of the front panel and wings painted, should be ready to weld on next week.
Before

After

My primer arrived last week so i managed to get the inner wings and the inside of the front panel and wings painted, should be ready to weld on next week.
-
Callum
- 998 Cooper
- Posts: 469
- Joined: Thu Sep 25, 2014 9:01 pm
Re: Mk2 Cooper
A mini is born! Front end is mostly welded on, couple of bits that were hard to access still to do once its back on the spit.
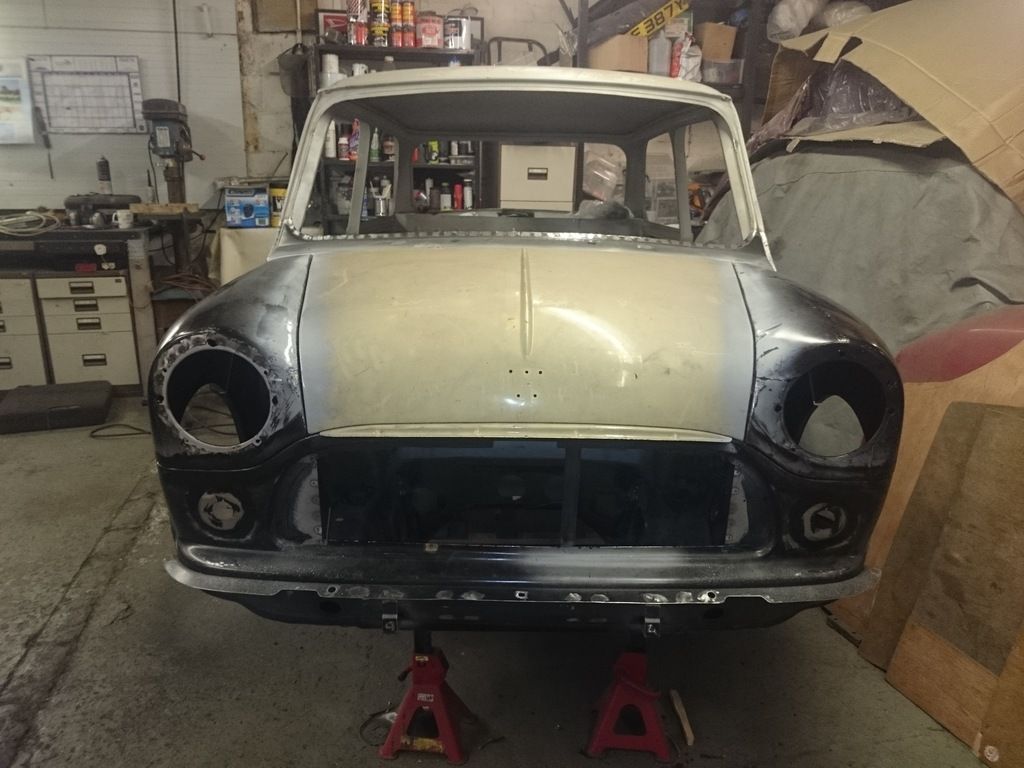
Will get the doors bolted on next and sort the gaps out


Will get the doors bolted on next and sort the gaps out
-
Callum
- 998 Cooper
- Posts: 469
- Joined: Thu Sep 25, 2014 9:01 pm
Re: Mk2 Cooper
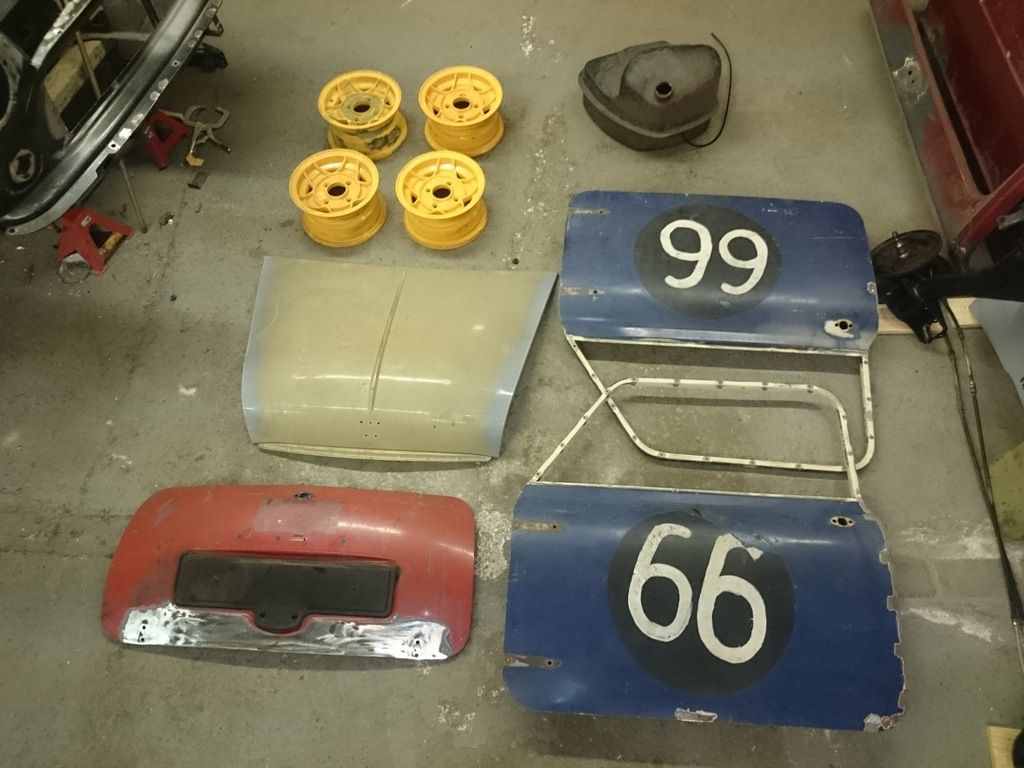
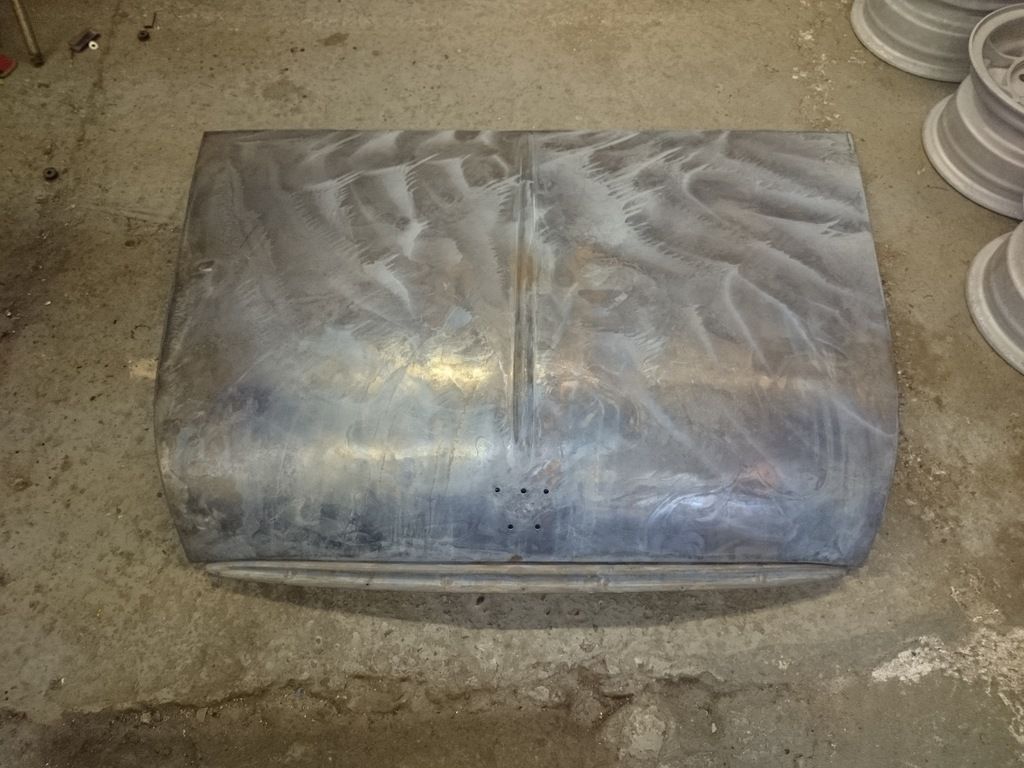
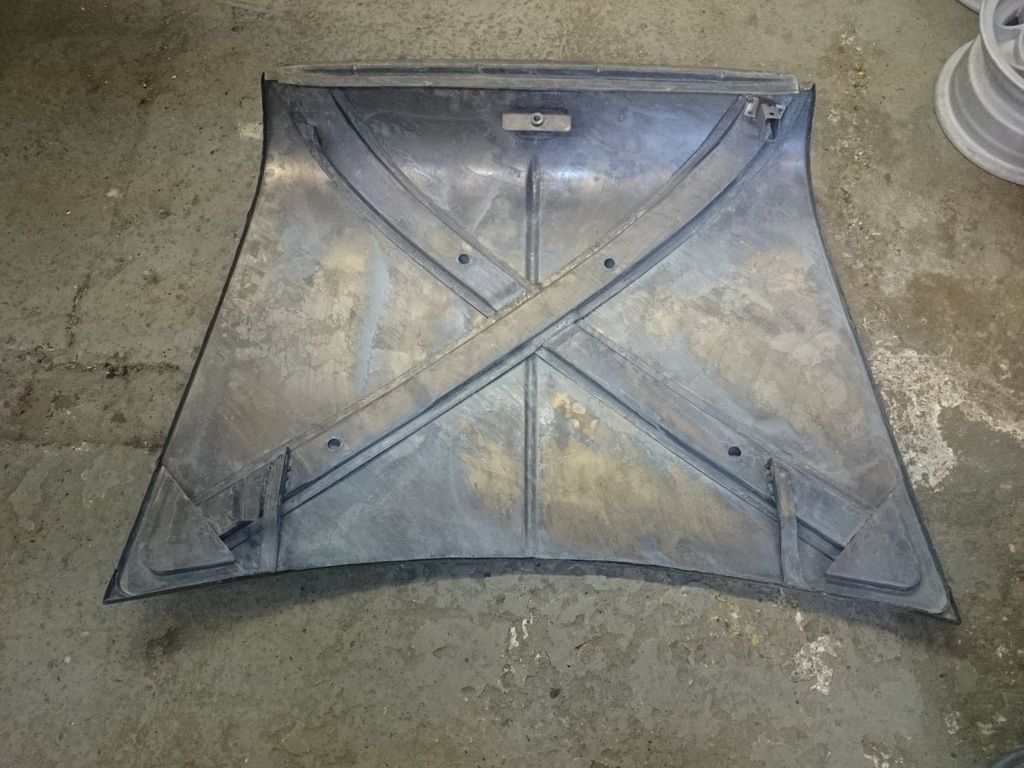
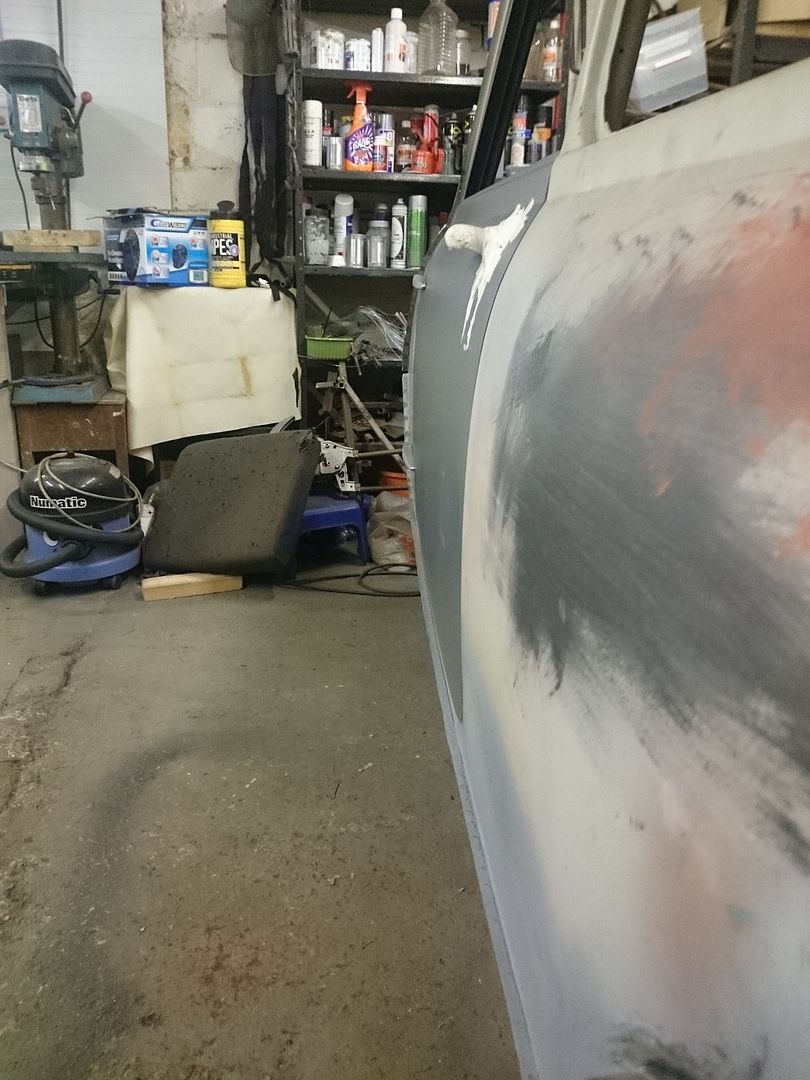
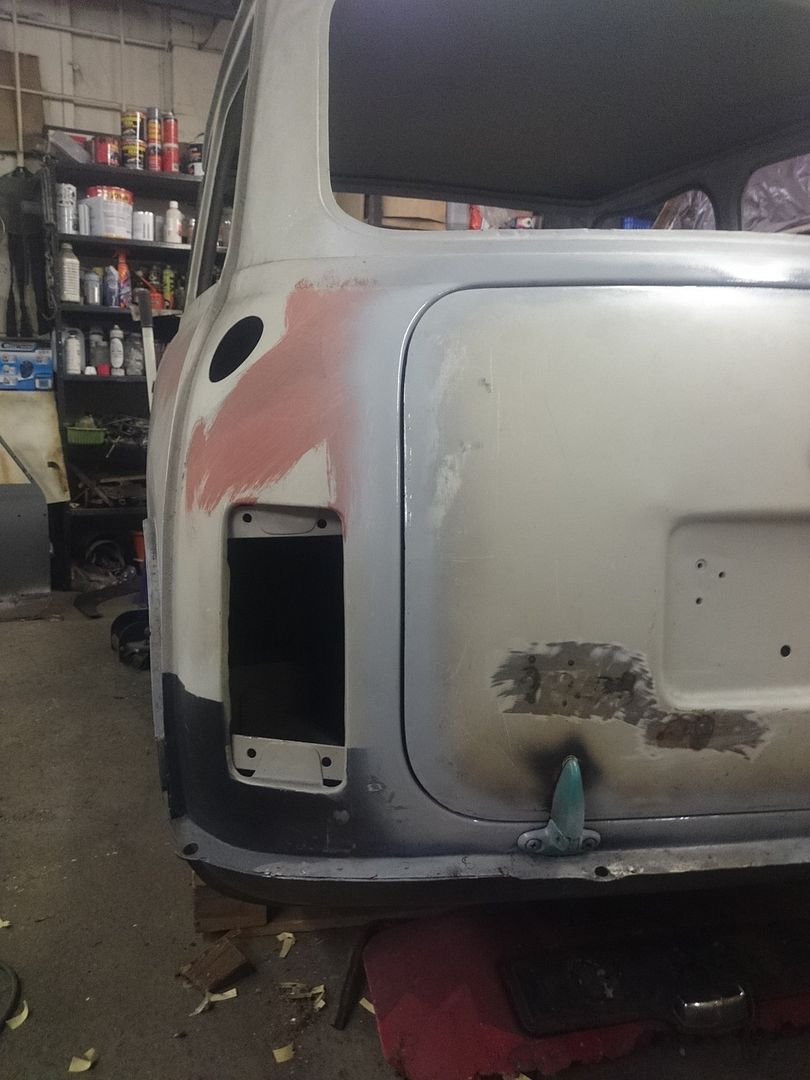
Cheers for the comments. Not had much to update really due to work and holidays but getting back to it again now. I had a load of parts acid dipped at the start of the month. Very happy with how it all came back, the bonnet and bootlid dont need any repairs, the doors are still on their original skins and only the driver's side needs a couple of small patches so chuffed with them.
Before
After
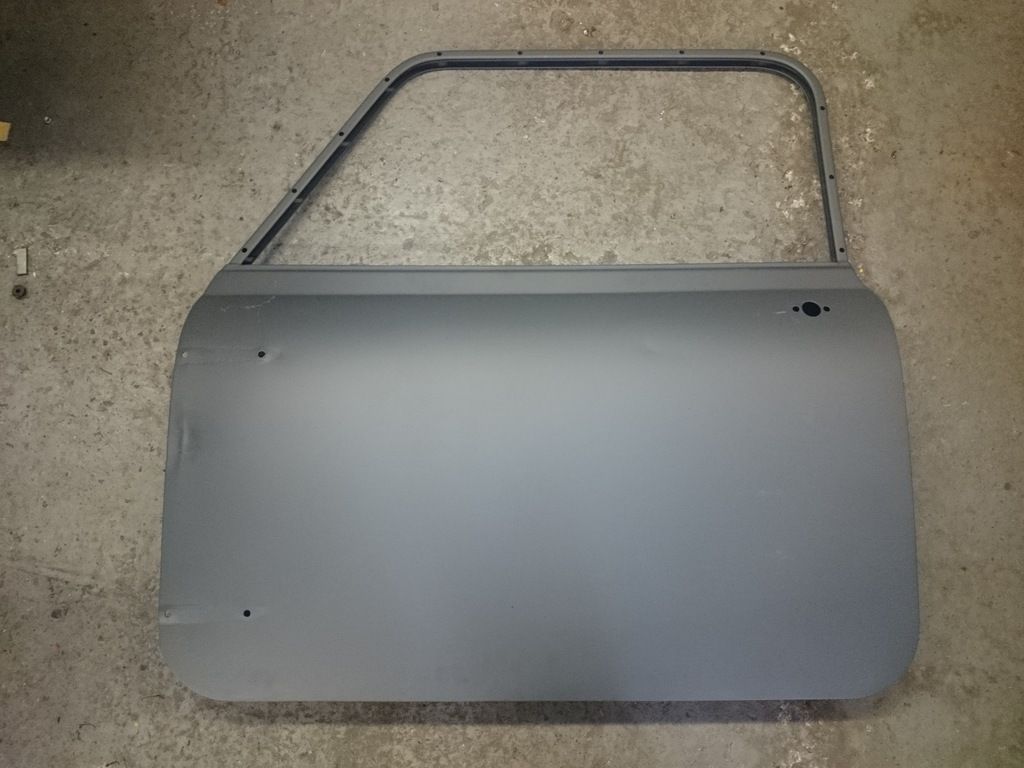
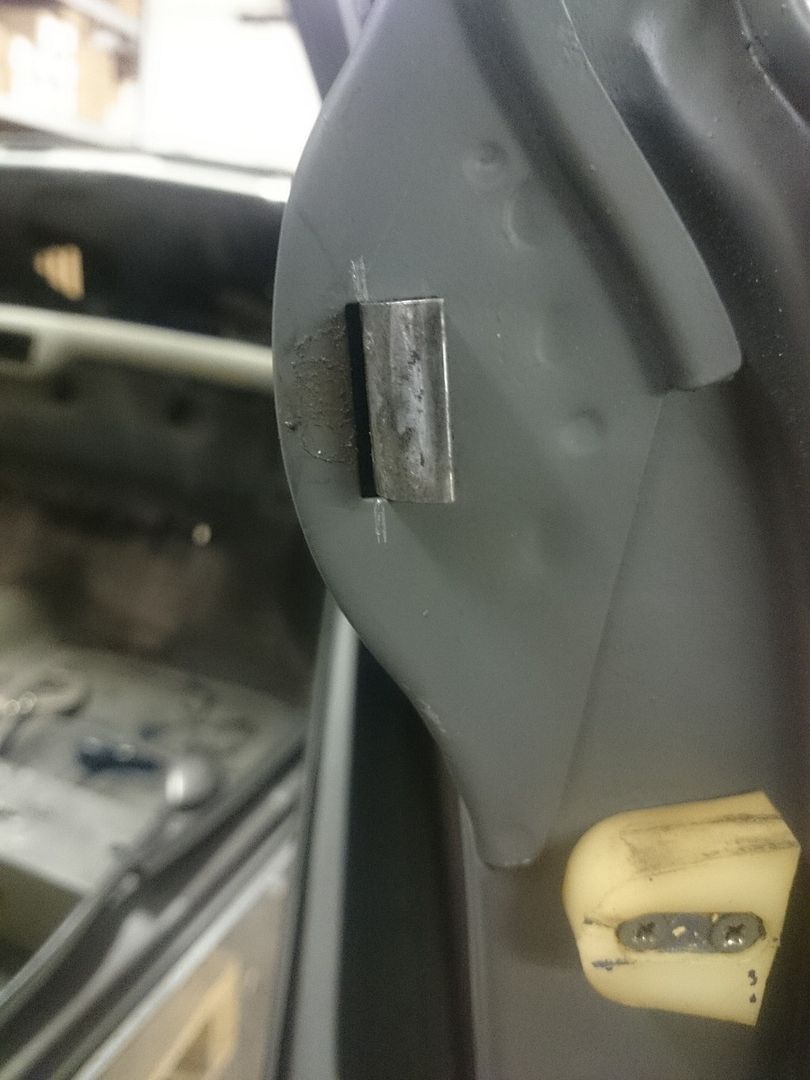
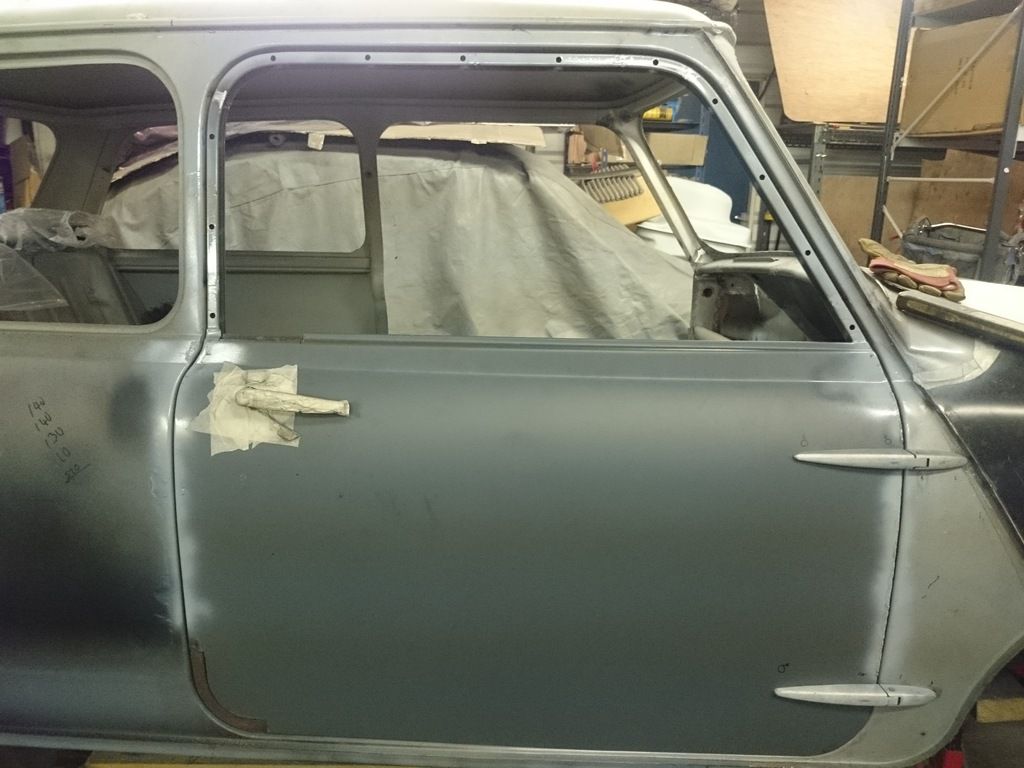
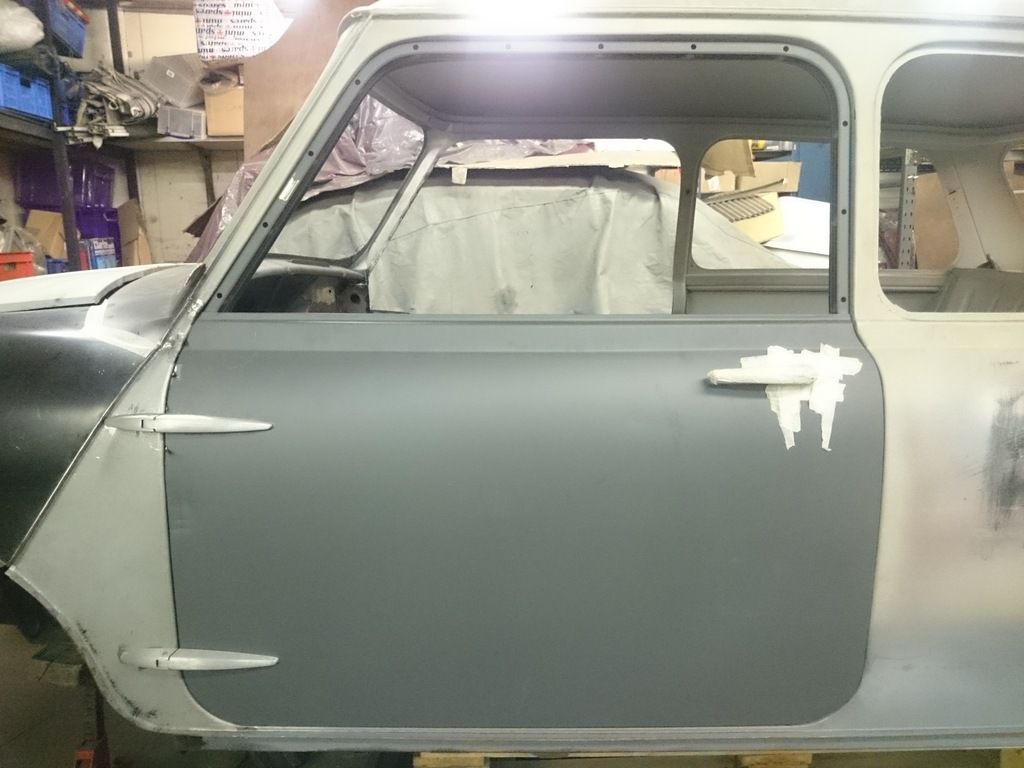
I spent today playing with the drivers door and it fits quite nice now, had to add some weld then file it back where there latch comes through the door as i think the latch is worn and sloppy meaning the door would pop out slightly when shut
Before
After
The gaps need sorting now which is the next job but the door tucks in nice on the bottom corner.

Cheers
Before

After


I spent today playing with the drivers door and it fits quite nice now, had to add some weld then file it back where there latch comes through the door as i think the latch is worn and sloppy meaning the door would pop out slightly when shut
Before

After

The gaps need sorting now which is the next job but the door tucks in nice on the bottom corner.


Cheers
-
Tupers
- 998 Cooper
- Posts: 654
- Joined: Sat May 19, 2012 5:38 pm
- Location: Newton Abbot
- Been thanked: 7 times
Re: Mk2 Cooper
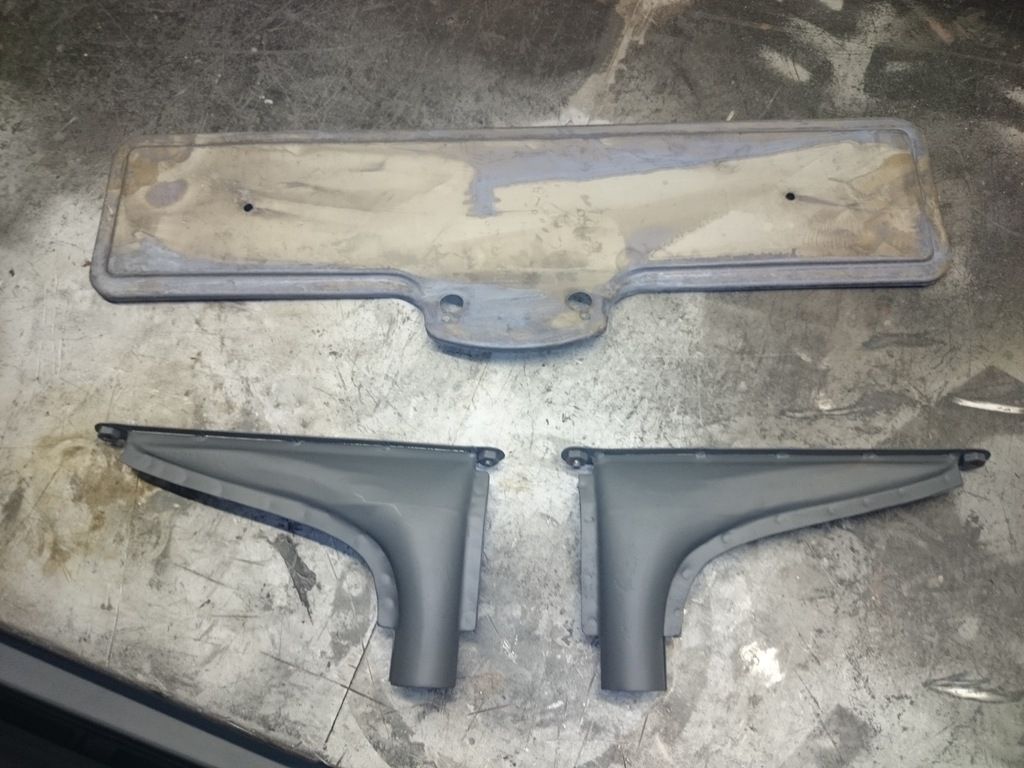
You've done a lovely job of letting in those smaller indicator perches. The scuttle gaps are purdy as well.
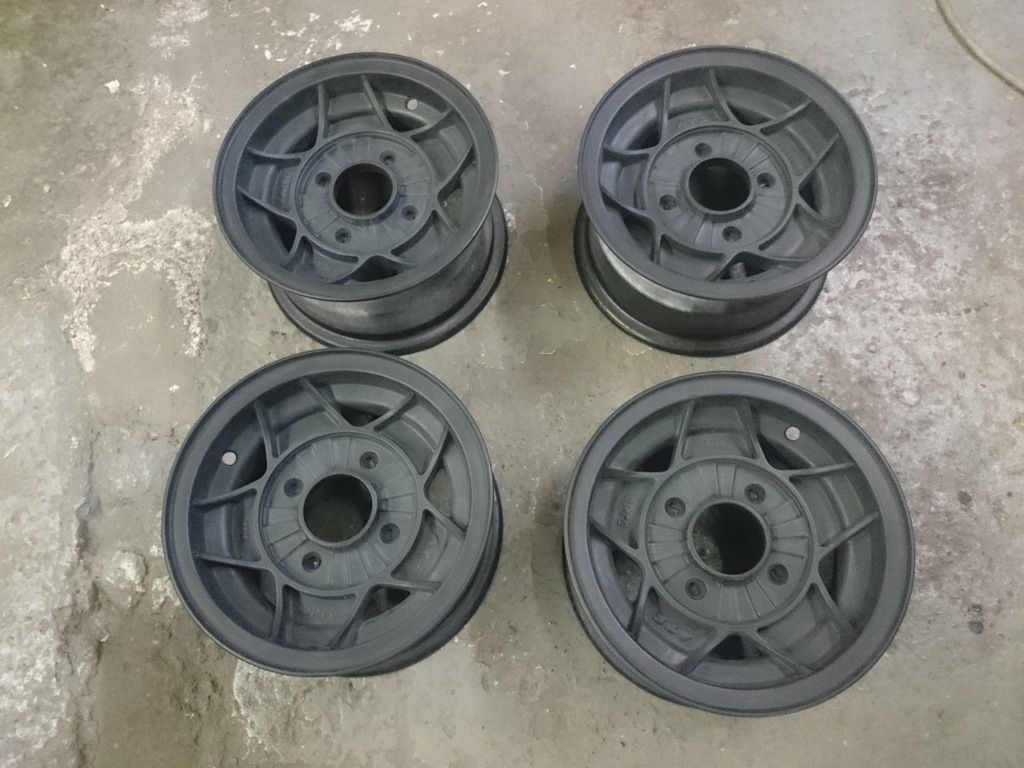
Are the ATS Classics going on?
Are the ATS Classics going on?
-
Callum
- 998 Cooper
- Posts: 469
- Joined: Thu Sep 25, 2014 9:01 pm
Re: Mk2 Cooper
Thanks Brian yes very pleased with the bootlid not a spot of rust on itBRI MK1 wrote:Glad your happy with your bootlid car is looking good cheers Brian.
-
Callum
- 998 Cooper
- Posts: 469
- Joined: Thu Sep 25, 2014 9:01 pm
Re: Mk2 Cooper
Cheers, I'm not sure yet I don't want arches and i don't know if they will fit without?Tupers wrote:You've done a lovely job of letting in those smaller indicator perches. The scuttle gaps are purdy as well.
Are the ATS Classics going on?
-
rolesyboy
- 1275 Cooper S
- Posts: 2352
- Joined: Fri Jun 25, 2010 10:57 am
- Location: Colchester, Essex
- Has thanked: 6 times
- Been thanked: 6 times
Re: Mk2 Cooper
Wow, Callum. You really are doing an incredible job of this car. I have seem this post and didn't realise it was you until I just spotted my old doors. They really are exceptional. Good luck. Will it be in colour and ready for Beaulieu in a fortnight?? Cheers. Mark
Rolesyboy
-
Tupers
- 998 Cooper
- Posts: 654
- Joined: Sat May 19, 2012 5:38 pm
- Location: Newton Abbot
- Been thanked: 7 times
Re: Mk2 Cooper
What width are they?Callum wrote: Cheers, I'm not sure yet I don't want arches and i don't know if they will fit without?
I've got a set for 5x10's my estate, you can just about get away without running arches but it really depends on my style you're going for.

-
Callum
- 998 Cooper
- Posts: 469
- Joined: Thu Sep 25, 2014 9:01 pm
Re: Mk2 Cooper
Thanks Mark I thought you might notice them, they are very good was worth the journey down. That was my aim to make it to Beaulieu this year but I think I will over run by just a few daysrolesyboy wrote:Wow, Callum. You really are doing an incredible job of this car. I have seem this post and didn't realise it was you until I just spotted my old doors. They really are exceptional. Good luck. Will it be in colour and ready for Beaulieu in a fortnight?? Cheers. Mark
-
Callum
- 998 Cooper
- Posts: 469
- Joined: Thu Sep 25, 2014 9:01 pm
Re: Mk2 Cooper
Tupers wrote: What width are they?
I've got a set for 5x10's my estate, you can just about get away without running arches but it really depends on my style you're going for.
They are 5x10 so i might get away with them then
-
Callum
- 998 Cooper
- Posts: 469
- Joined: Thu Sep 25, 2014 9:01 pm
Re: Mk2 Cooper
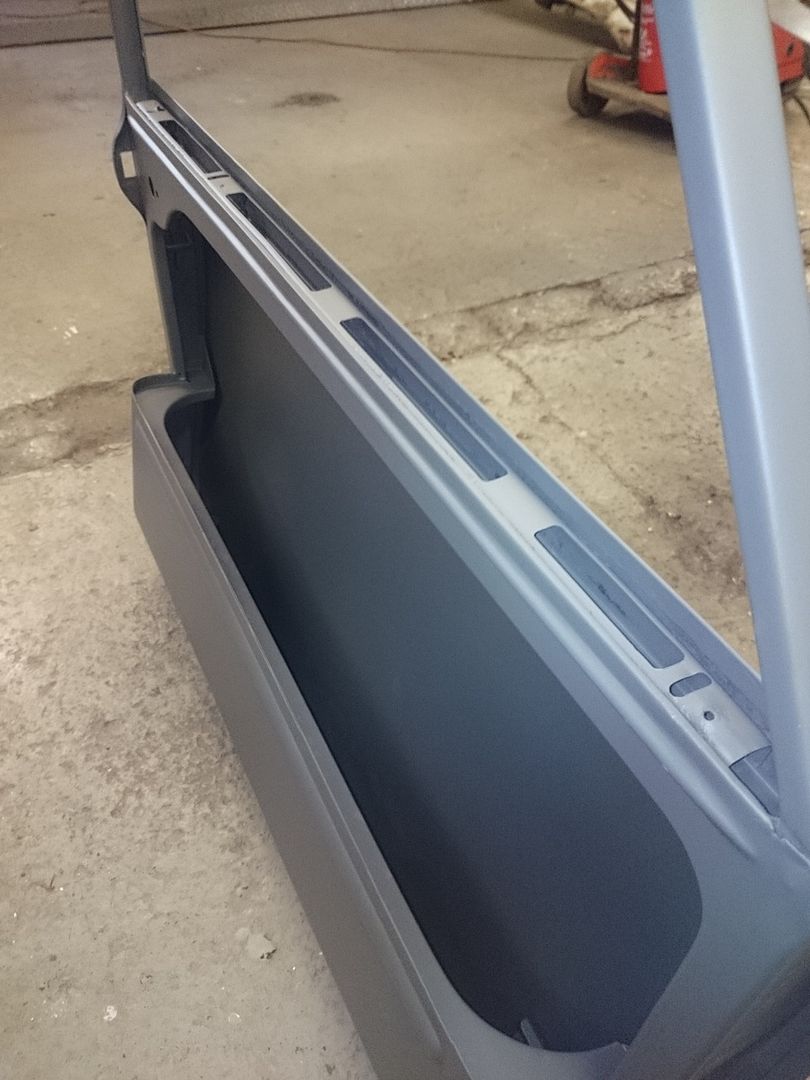
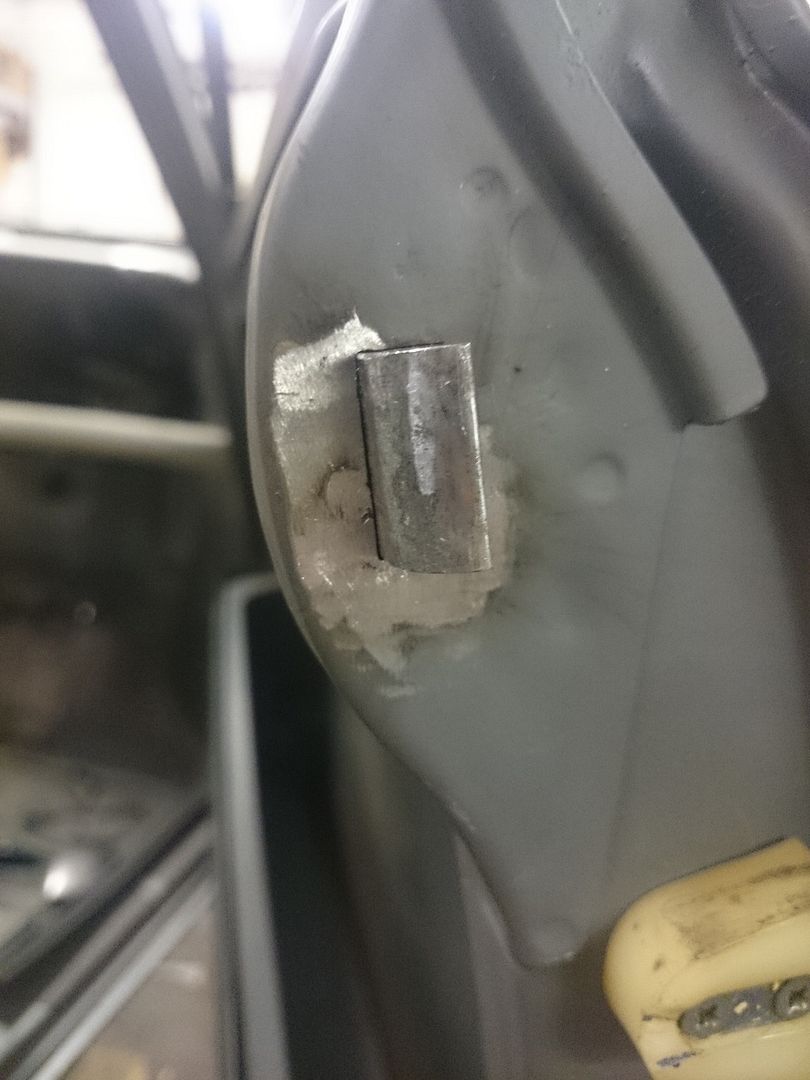
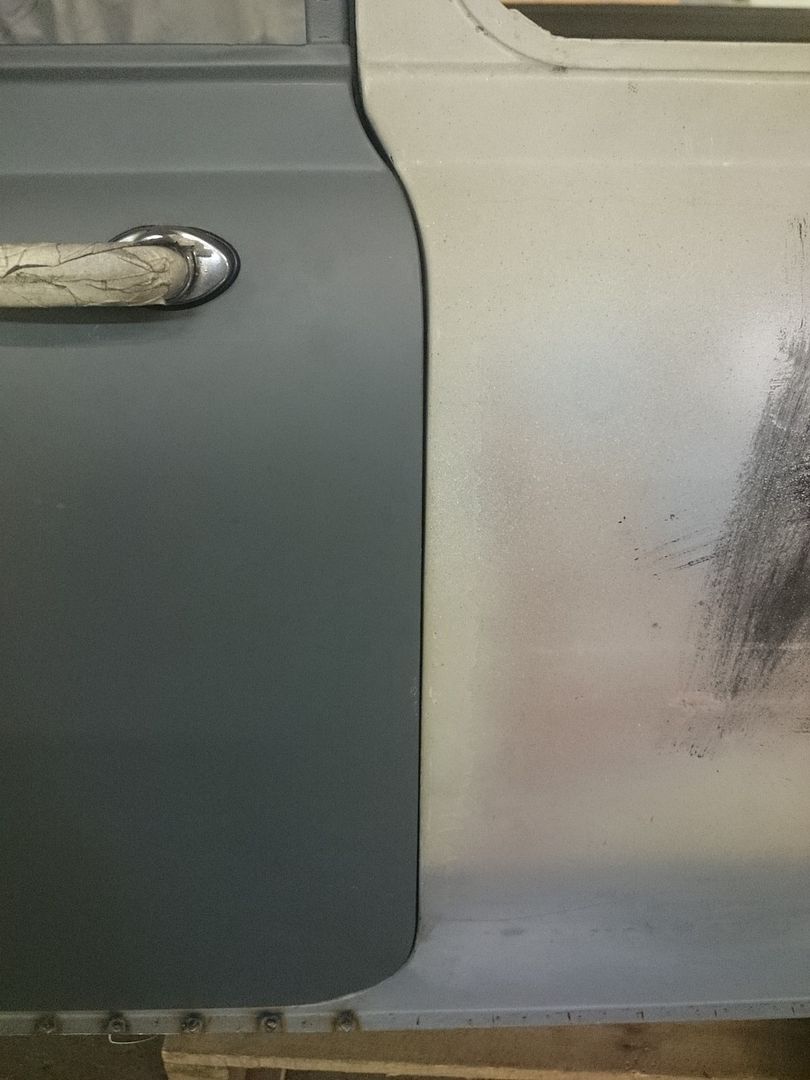
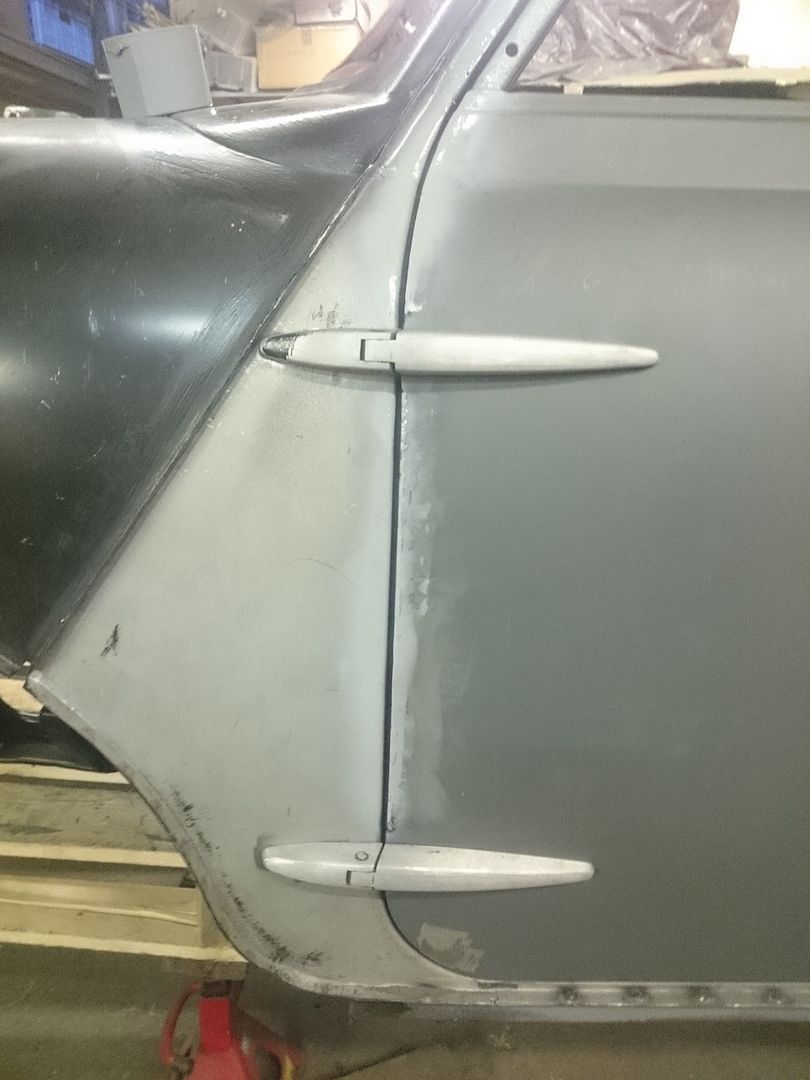
The drivers side door gaps are nearly done, just got to do both bottom corners which i will have to leave for now as the doors have got to go back to be dipped again as i found a small lump of rust in the rear bottom corner
I tackled the upper frame first, the gap at the top was way too big so only fix was to cut the frame and let a peice in
Before
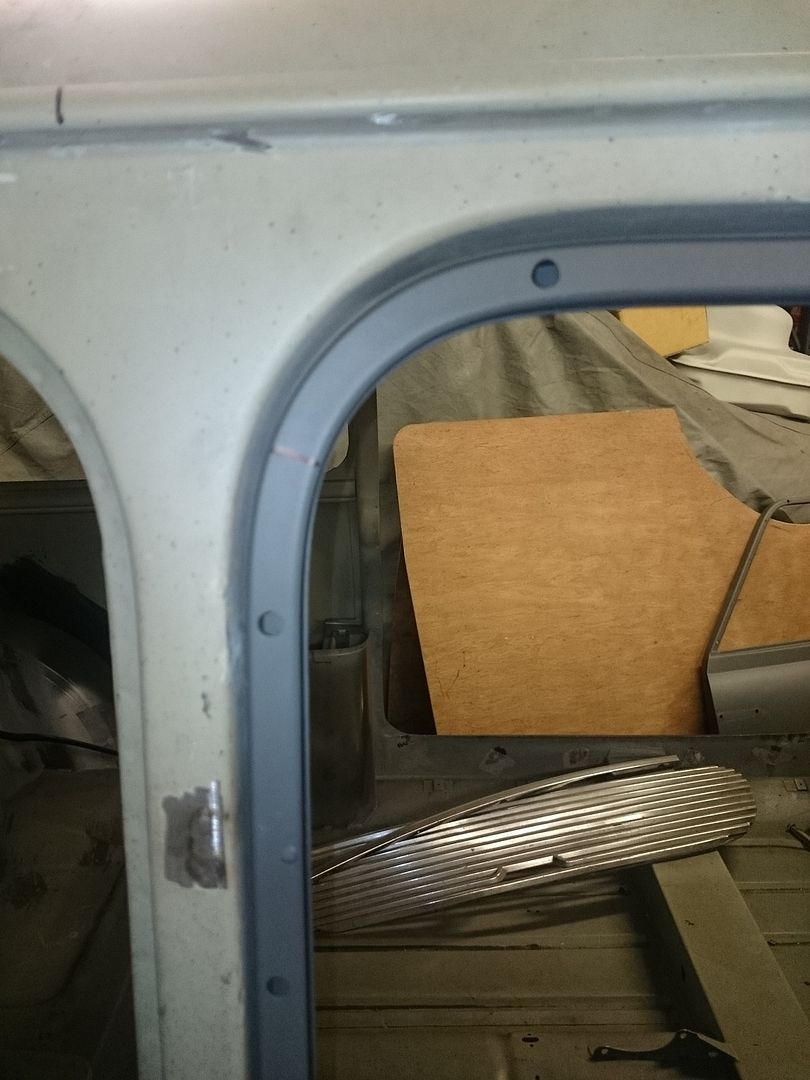
Cut and the gap corrected
Welded
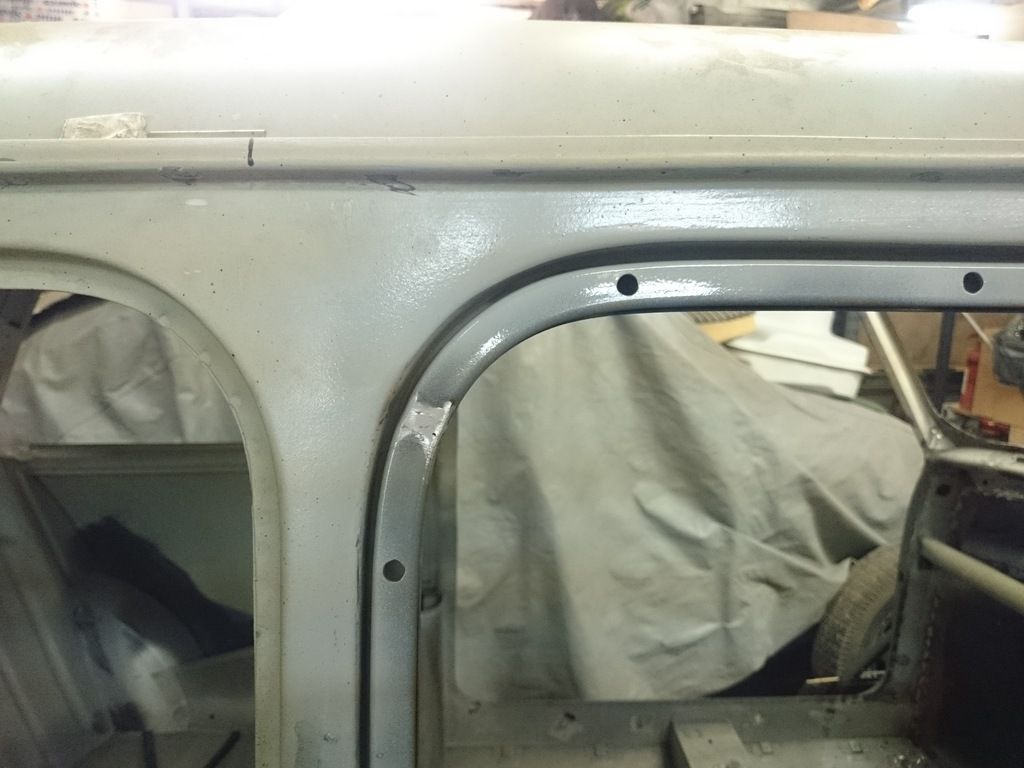
The door apature needs filler now as it lifts up towards the rear of the door.
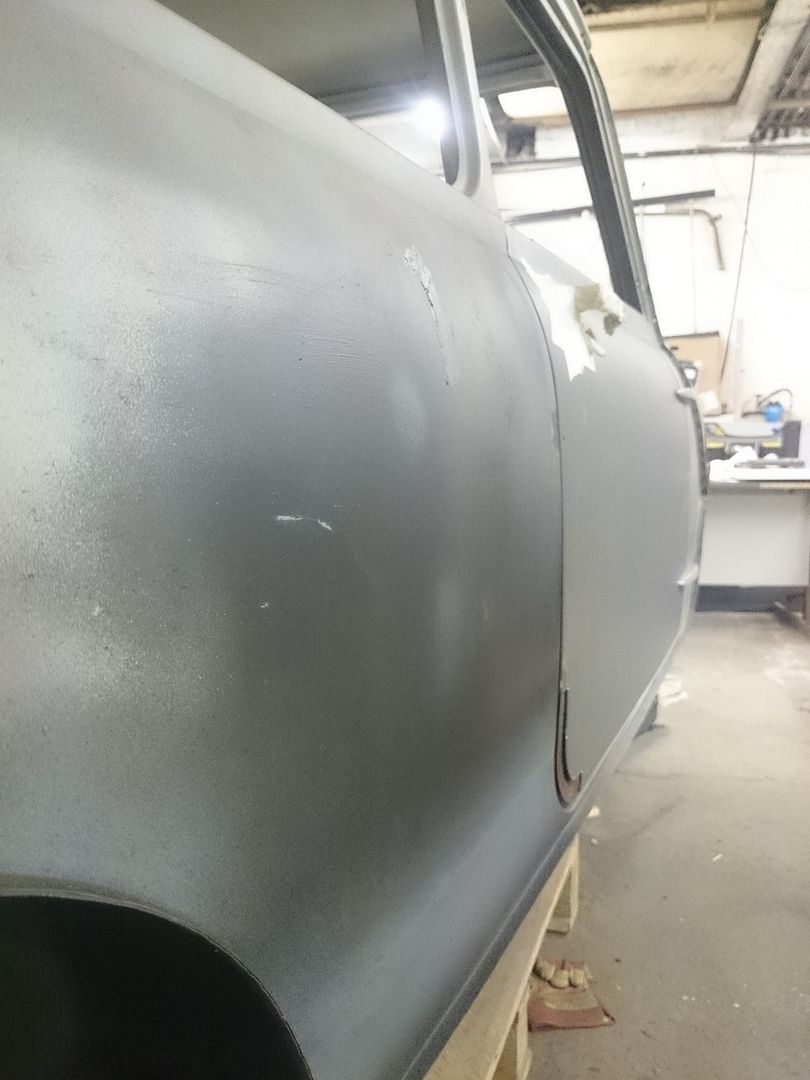
The rear of the door needed a bit of work
Before
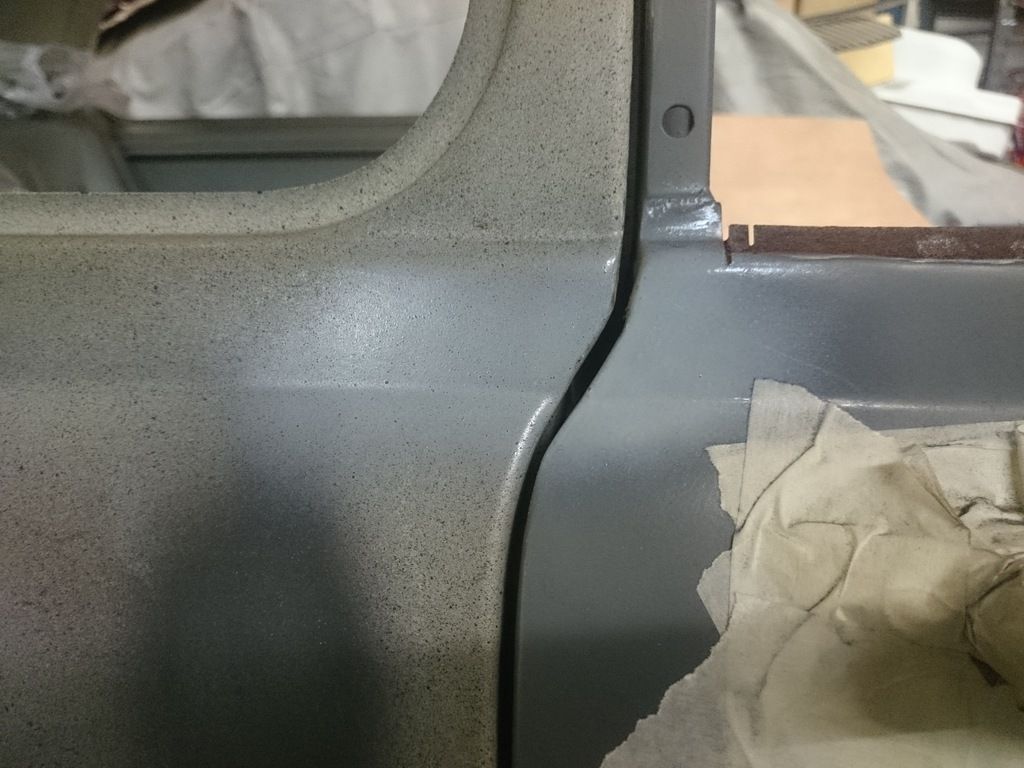
After
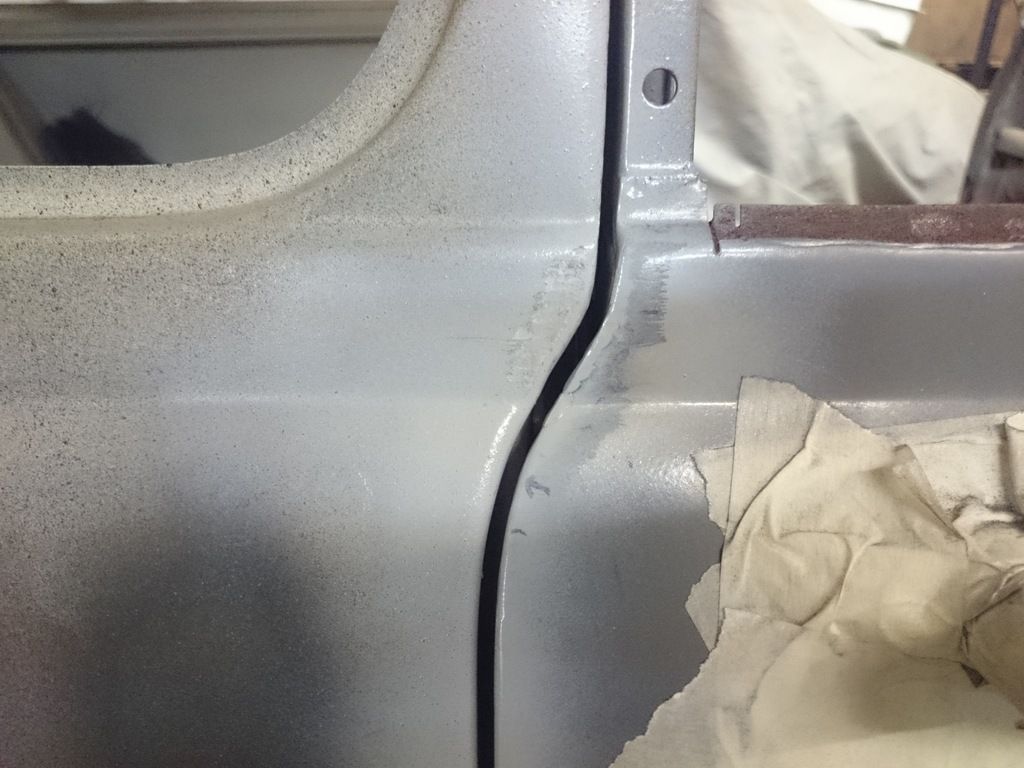
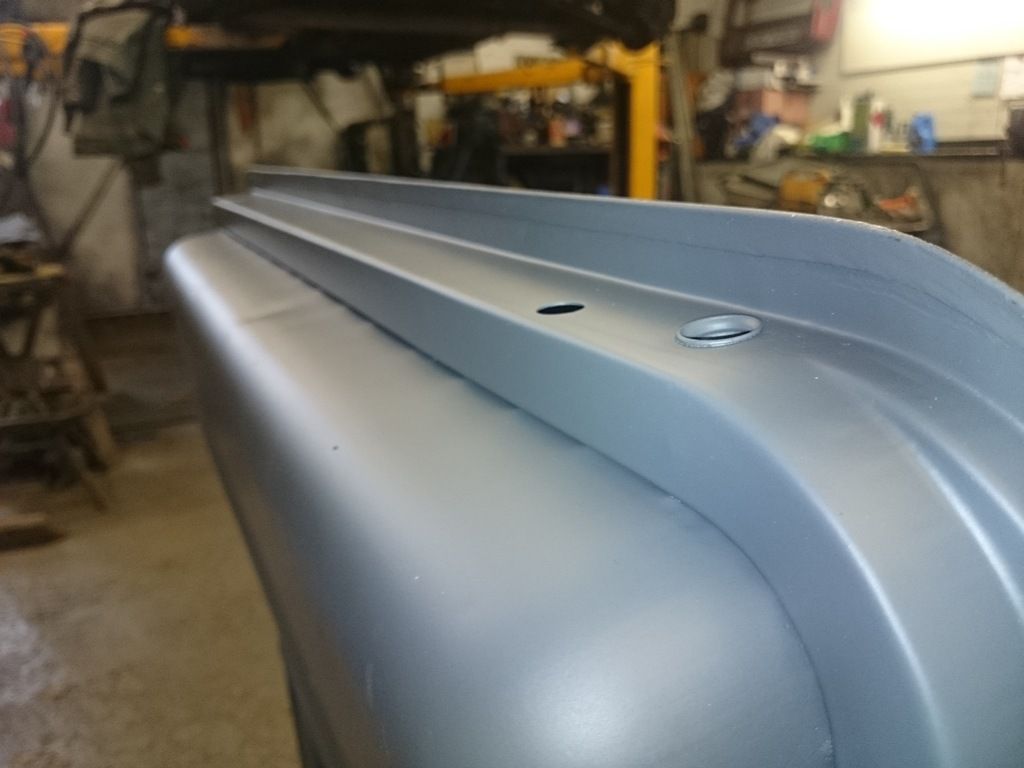
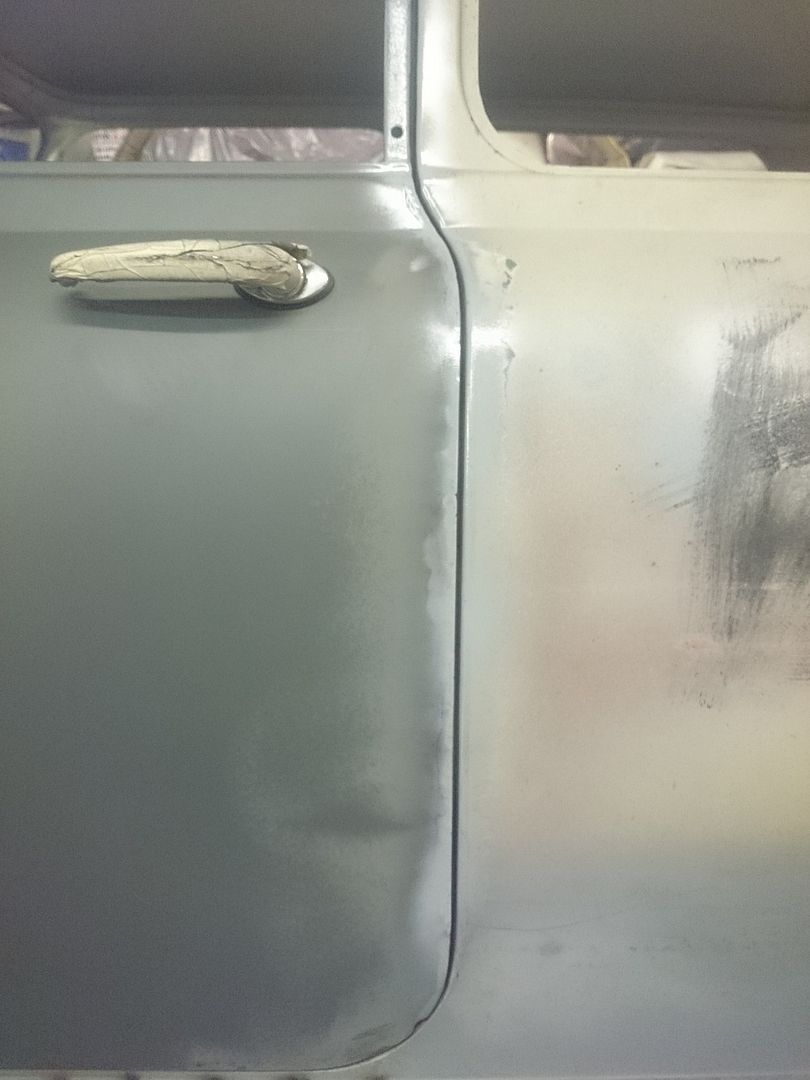
The front required the most, was too tight at the top, too big in the middle and then going tight again towards the bottom
Before
After
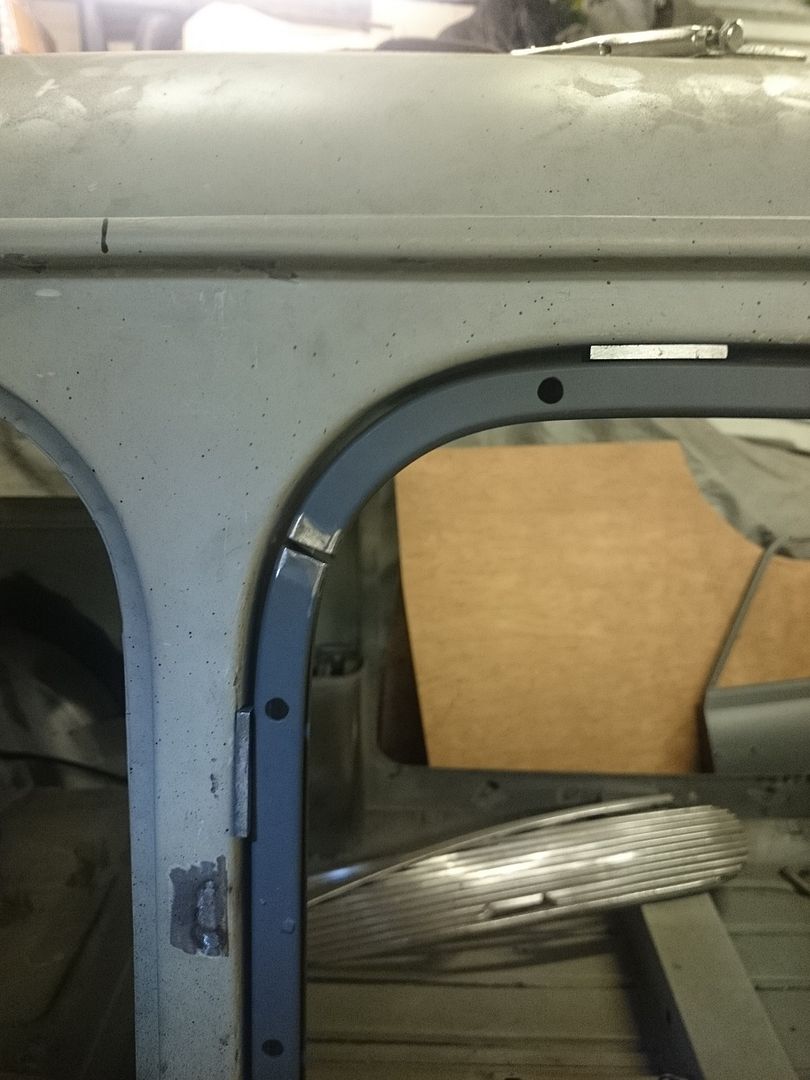
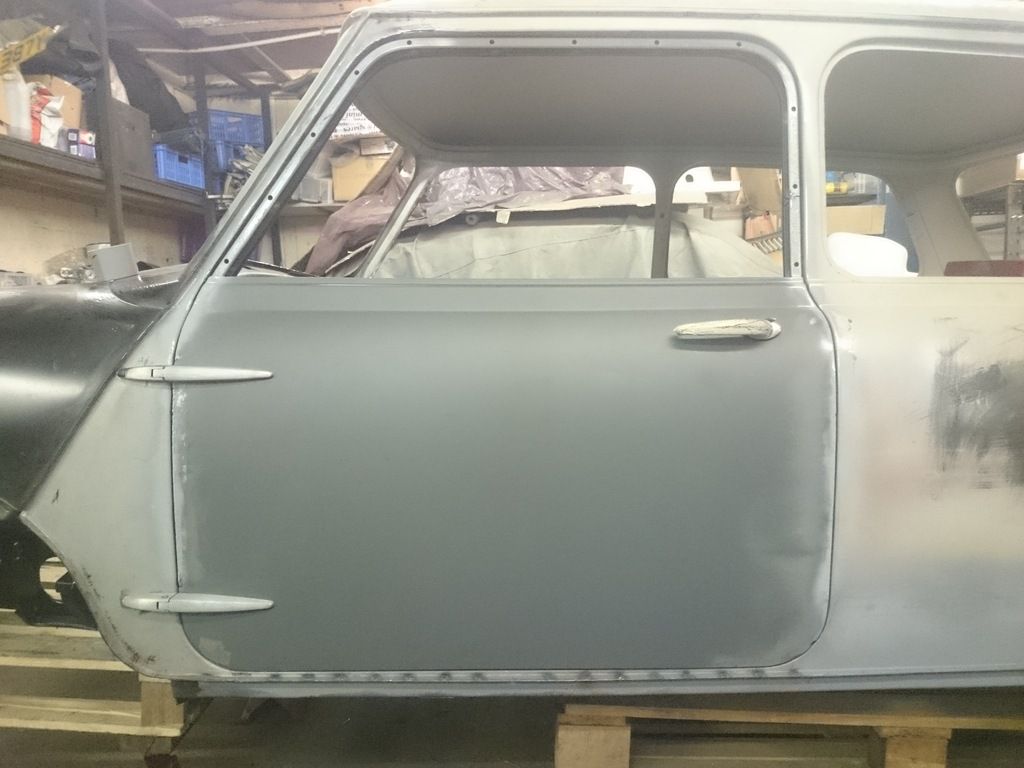
How it looks together
Will turn it round and start the passenger side now. Cheers
I tackled the upper frame first, the gap at the top was way too big so only fix was to cut the frame and let a peice in
Before

Cut and the gap corrected

Welded

The door apature needs filler now as it lifts up towards the rear of the door.
The rear of the door needed a bit of work
Before

After

The front required the most, was too tight at the top, too big in the middle and then going tight again towards the bottom
Before

After

How it looks together

Will turn it round and start the passenger side now. Cheers
-
Callum
- 998 Cooper
- Posts: 469
- Joined: Thu Sep 25, 2014 9:01 pm
Re: Mk2 Cooper
Thanks Mark I am very pleased with how it's turned outmk1 wrote:Worth all the work, that door is a cracking fit.
-
Callum
- 998 Cooper
- Posts: 469
- Joined: Thu Sep 25, 2014 9:01 pm
Re: Mk2 Cooper
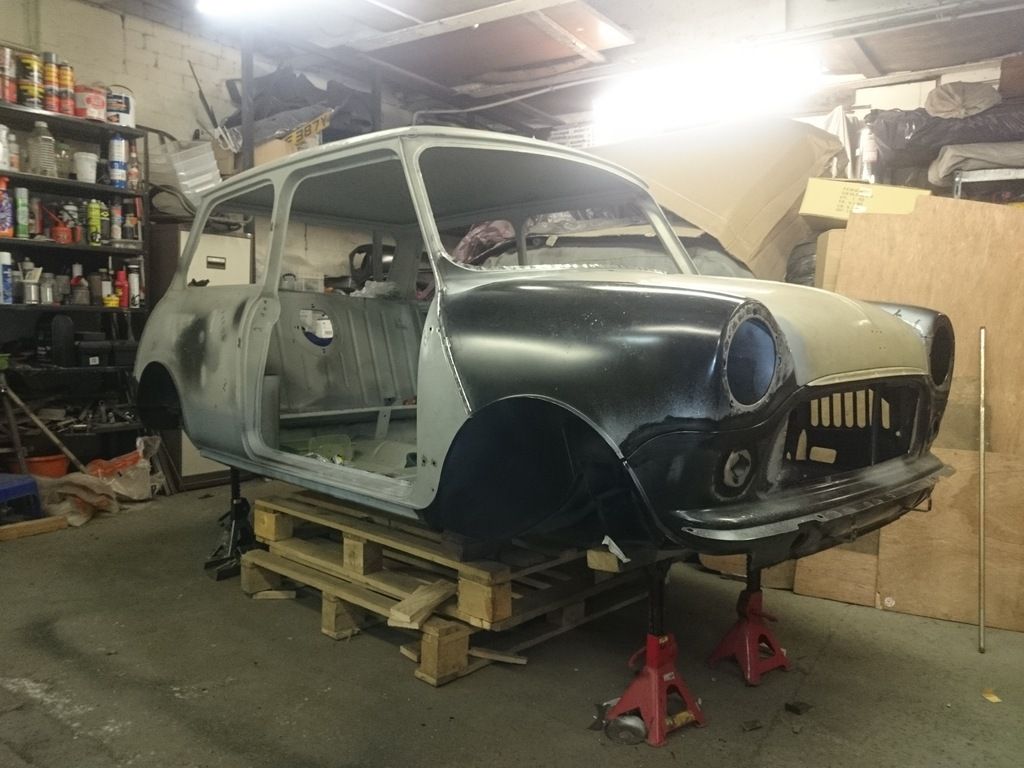
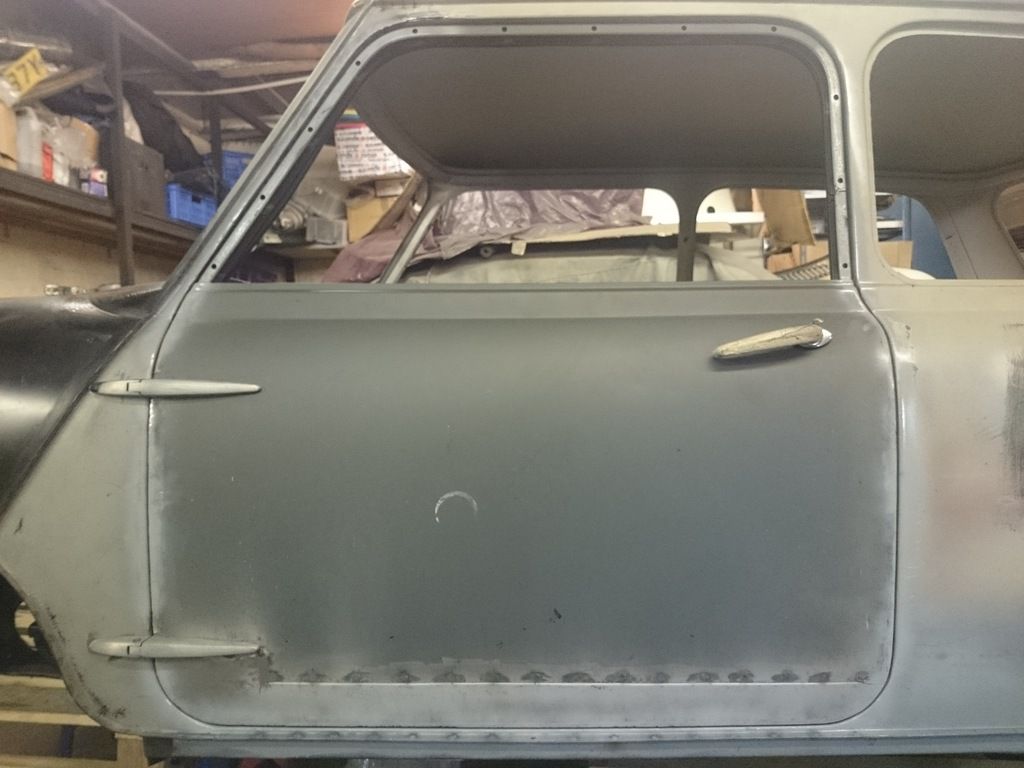
Turned the mini around today and got the passenger side bolted on, the gaps are pretty shit but the door shuts well and tucks in nice at the bottom
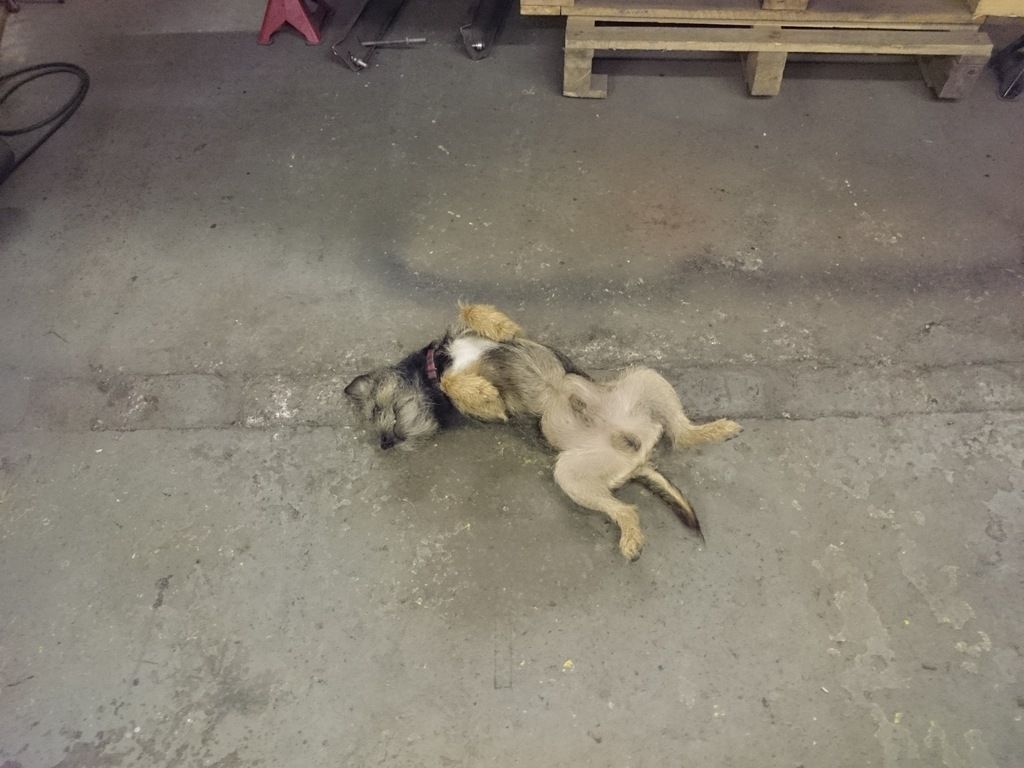
Had a little helper today
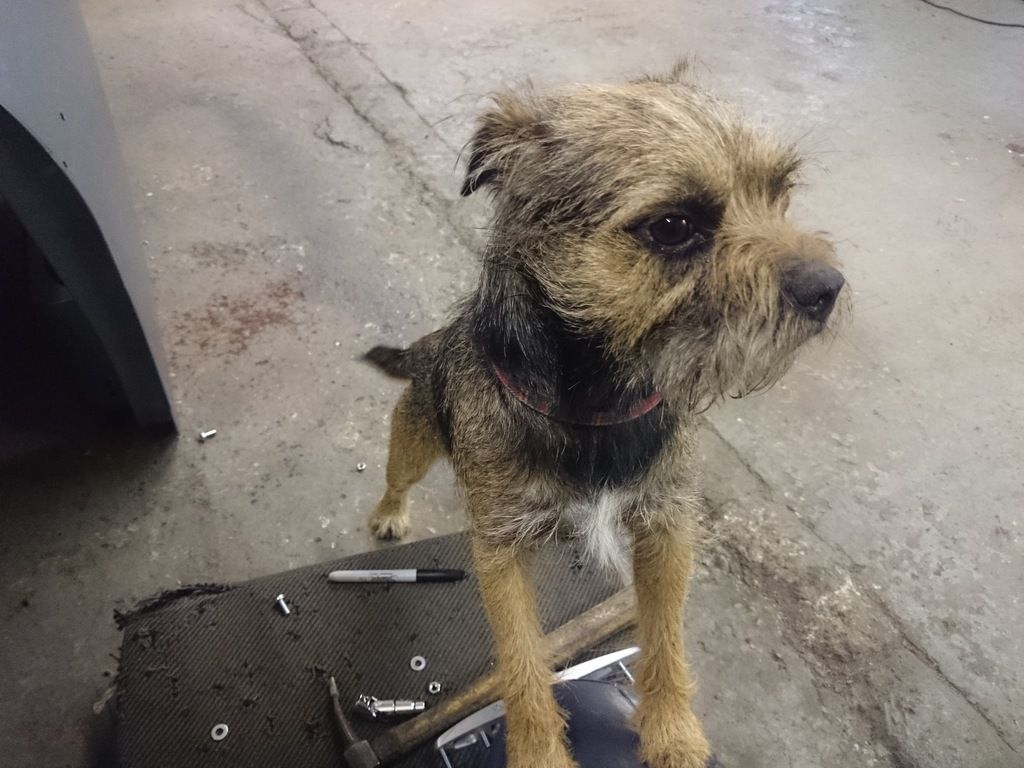
Although he did bugger all most of the day


Had a little helper today

Although he did bugger all most of the day

-
coopers1968
- 850 Super
- Posts: 184
- Joined: Sat Dec 06, 2014 4:17 pm
Re: Mk2 Cooper
its always good to have a non moaning helping hand in the garage whilst at work 
well done on your amazing restoration project
well done on your amazing restoration project
You do not have the required permissions to view the files attached to this post.
Morris mini 1275cc 65'
Austin mini cooper s 1275cc 68'
Austin mini Super deluxe 850cc 69'
Austin mini cooper s 1275cc 68'
Austin mini Super deluxe 850cc 69'
-
Callum
- 998 Cooper
- Posts: 469
- Joined: Thu Sep 25, 2014 9:01 pm
Re: Mk2 Cooper
Not had much time on the mini recently as I have had to do some work on the house, but managed a few hours this week so carried on with the passenger door gaps, got them nearly finished today.
They were close at the front and nearly touching at the back, a lot better now but still needs a bit of work.
Before
After
Got to finish the bottom and the upper frame but the door apature needs some filler first so will have to wait to finish that
They were close at the front and nearly touching at the back, a lot better now but still needs a bit of work.
Before


After


Got to finish the bottom and the upper frame but the door apature needs some filler first so will have to wait to finish that
-
Callum
- 998 Cooper
- Posts: 469
- Joined: Thu Sep 25, 2014 9:01 pm
Re: Mk2 Cooper
When I started gap at the bottom of the door I noticed more rust in the seam so the doors went back to be dipped again. Came back with a few small holes so I decided to take the door bottoms off so I could make some repairs, glad I did as they were very thin. In hind sight I probably should of just put new skins on.


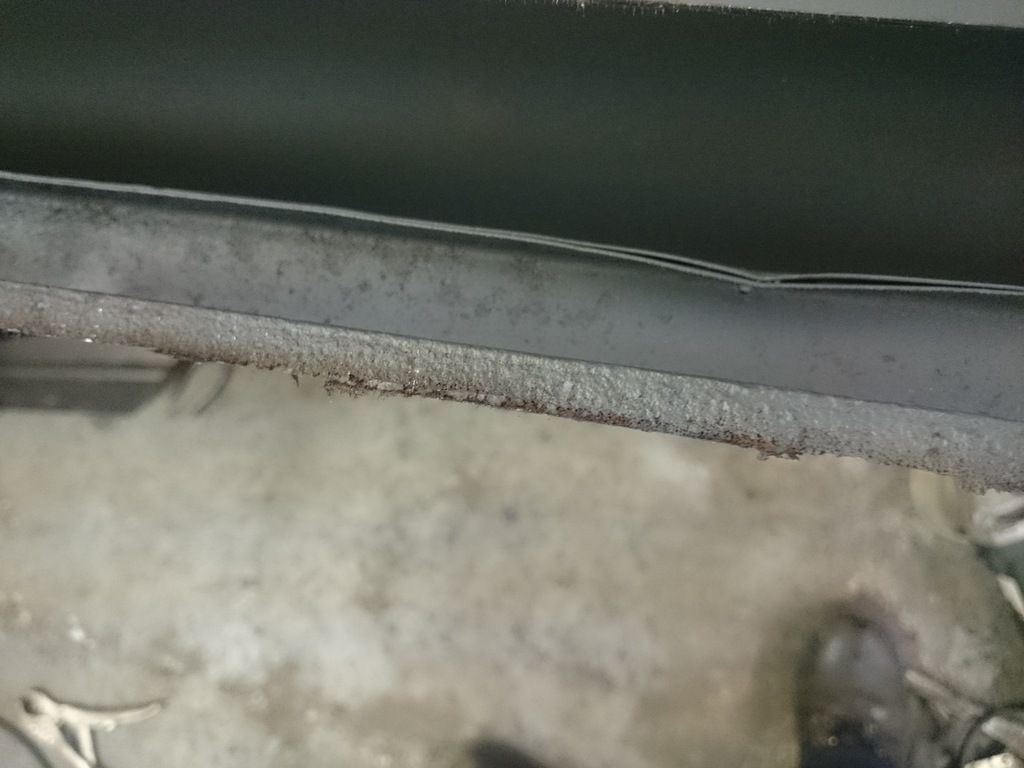
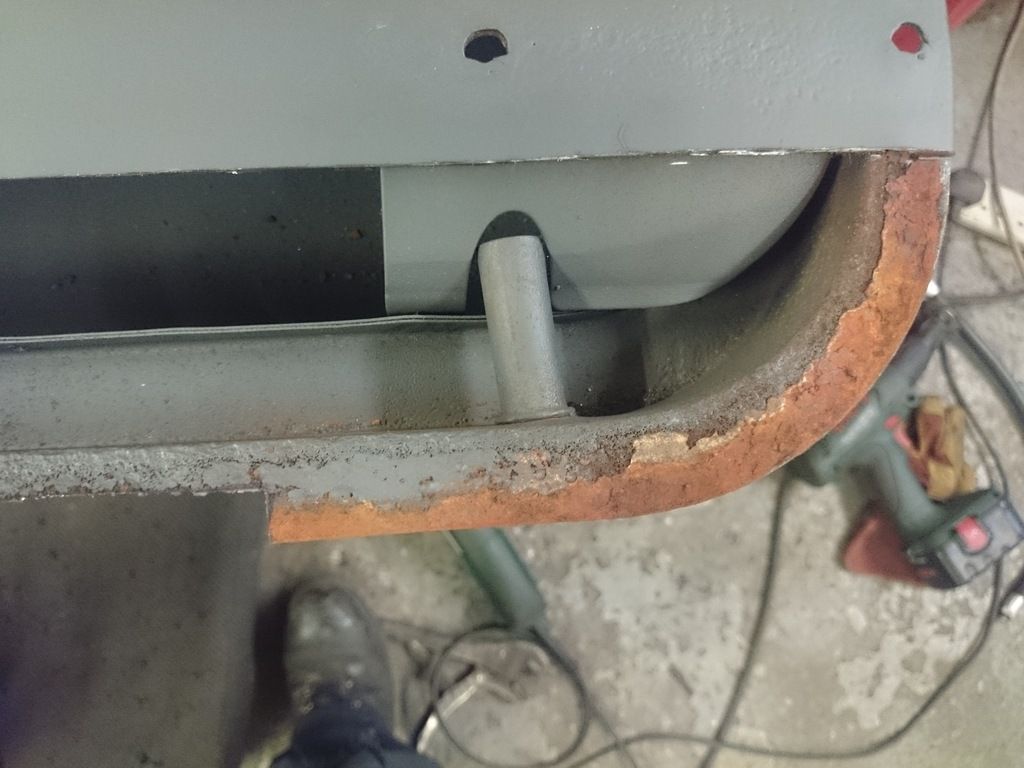
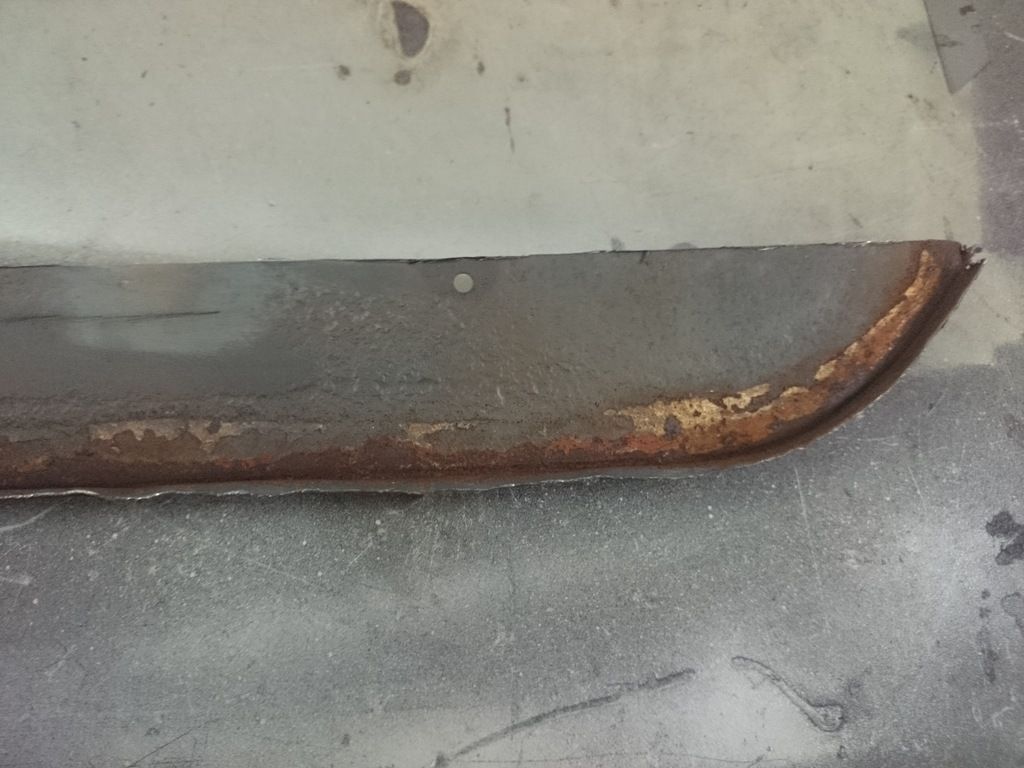
With the frame repaired i made the door skin bottom, decided to joggle the joint and plug weld to avoid distortion. Seen this done on the quarter panel bottoms so thought it would be ok on the door as well, anyone see any issues with this?


With the frame repaired i made the door skin bottom, decided to joggle the joint and plug weld to avoid distortion. Seen this done on the quarter panel bottoms so thought it would be ok on the door as well, anyone see any issues with this?

-
Callum
- 998 Cooper
- Posts: 469
- Joined: Thu Sep 25, 2014 9:01 pm
Re: Mk2 Cooper
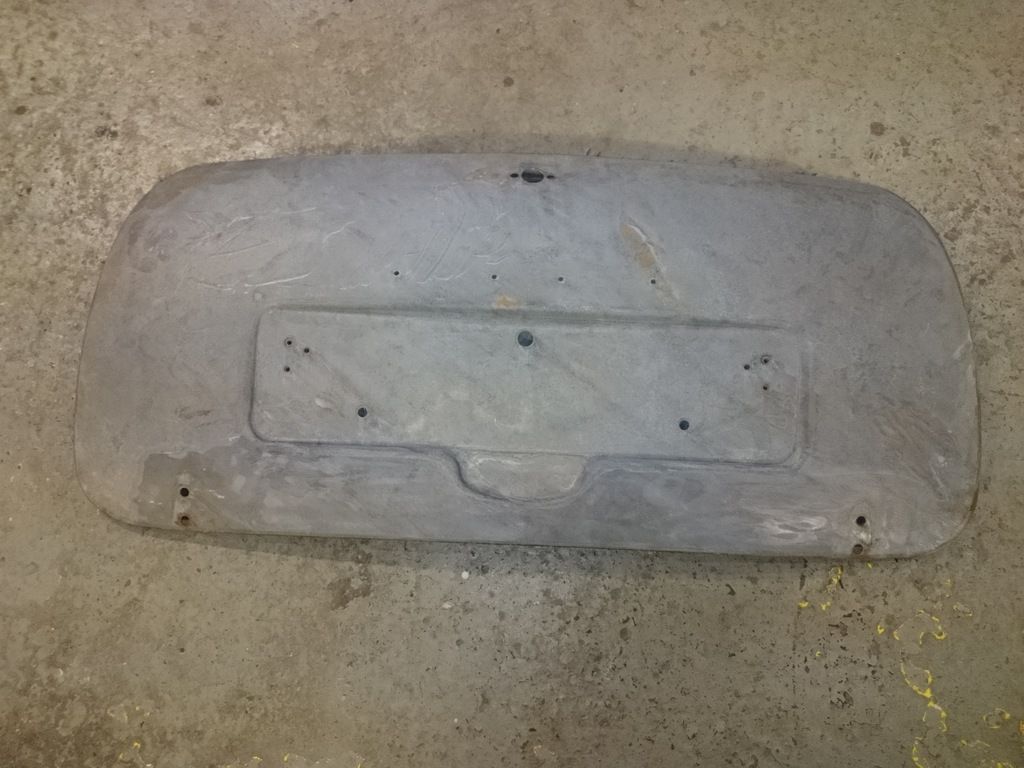
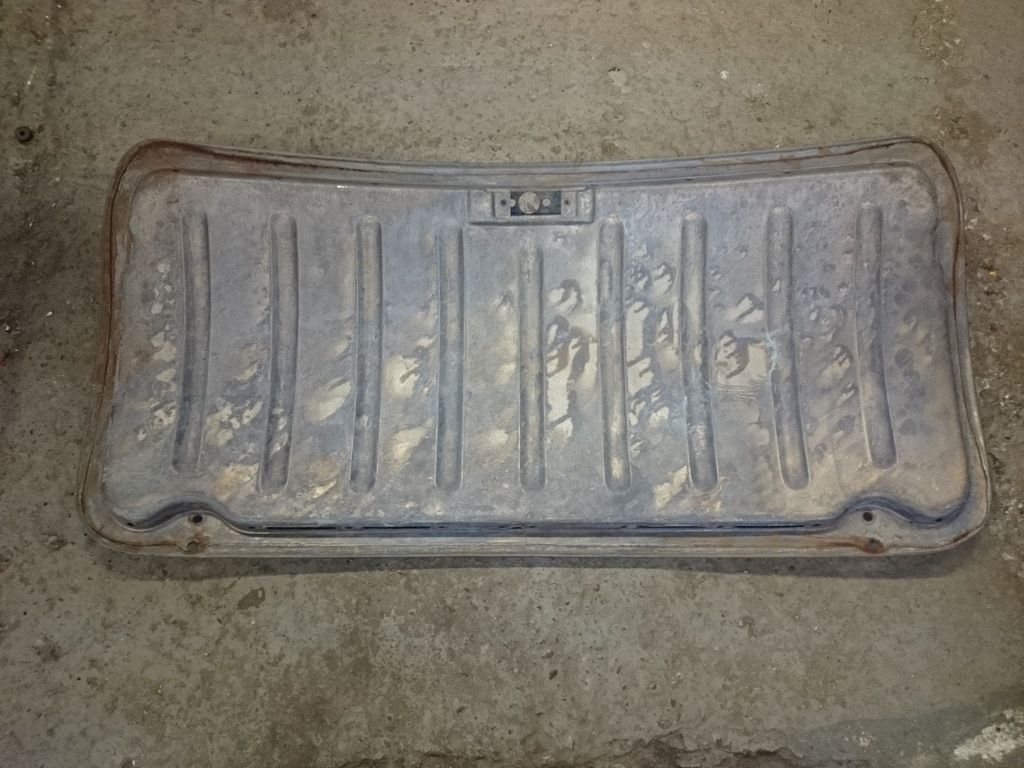
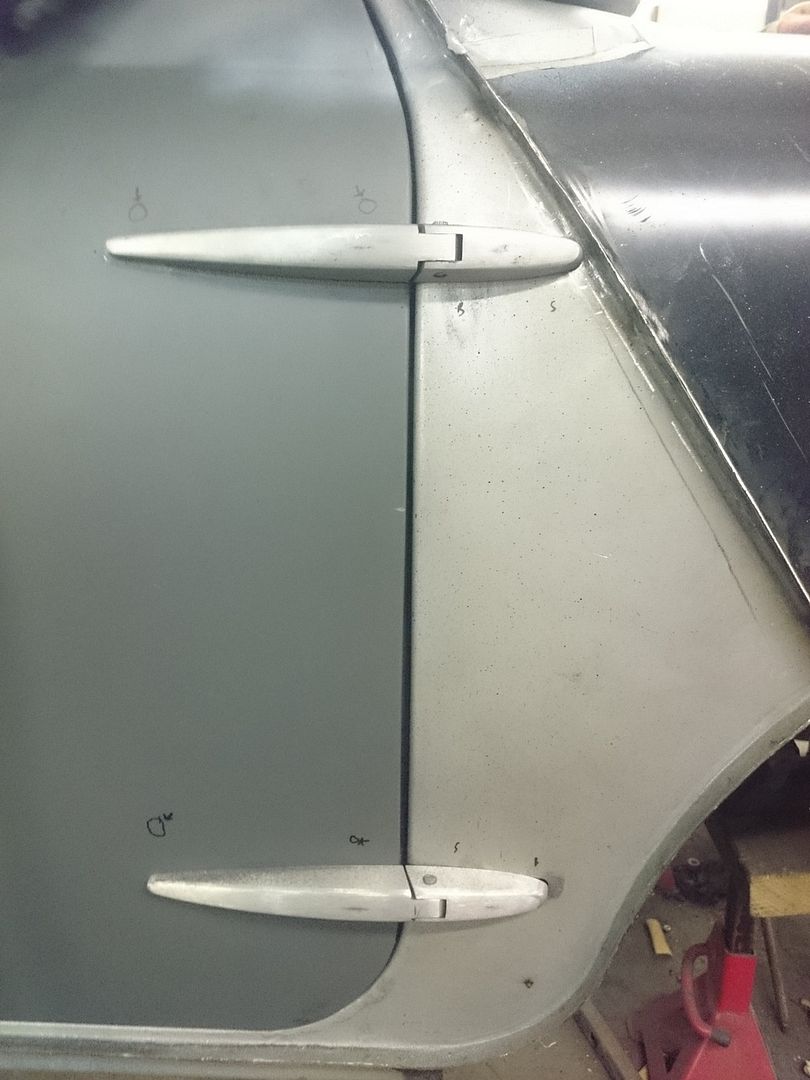
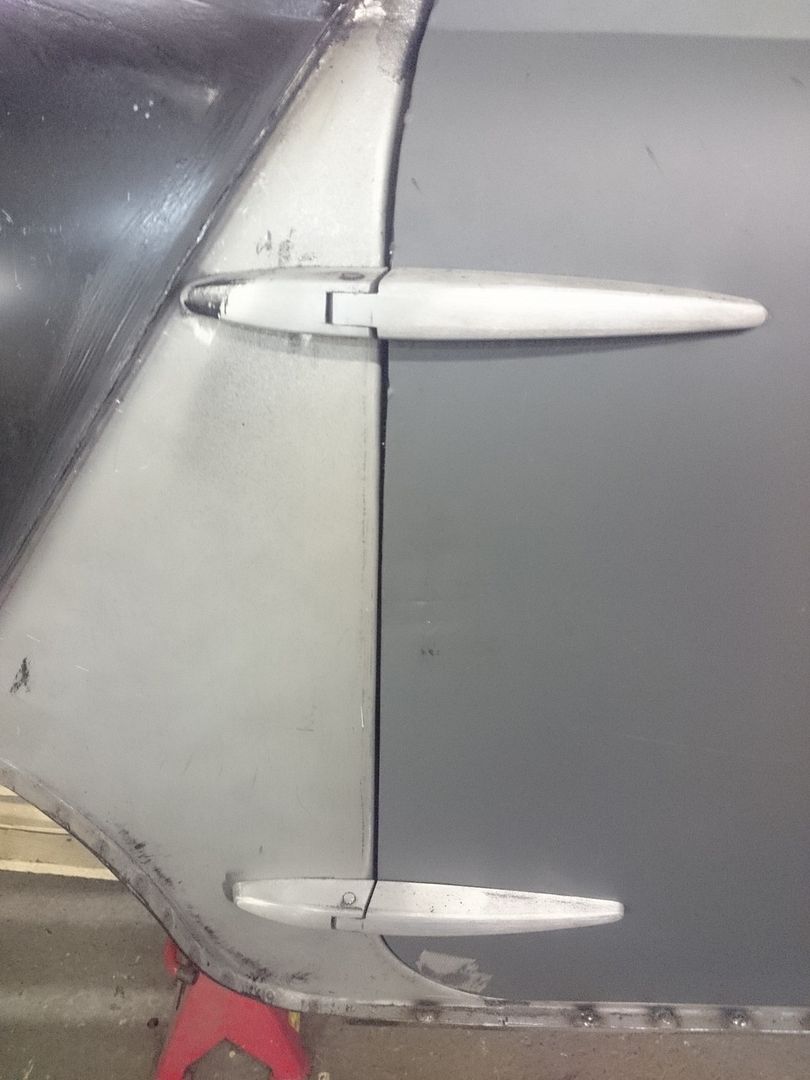
Been working on the bootlid recently, it required a bit of brute force to twist it slightly so that all the corners seal fully on the rubber. Then i started to even out all the gaps as they were all too big, could fit my fingers in the bottom.
Before
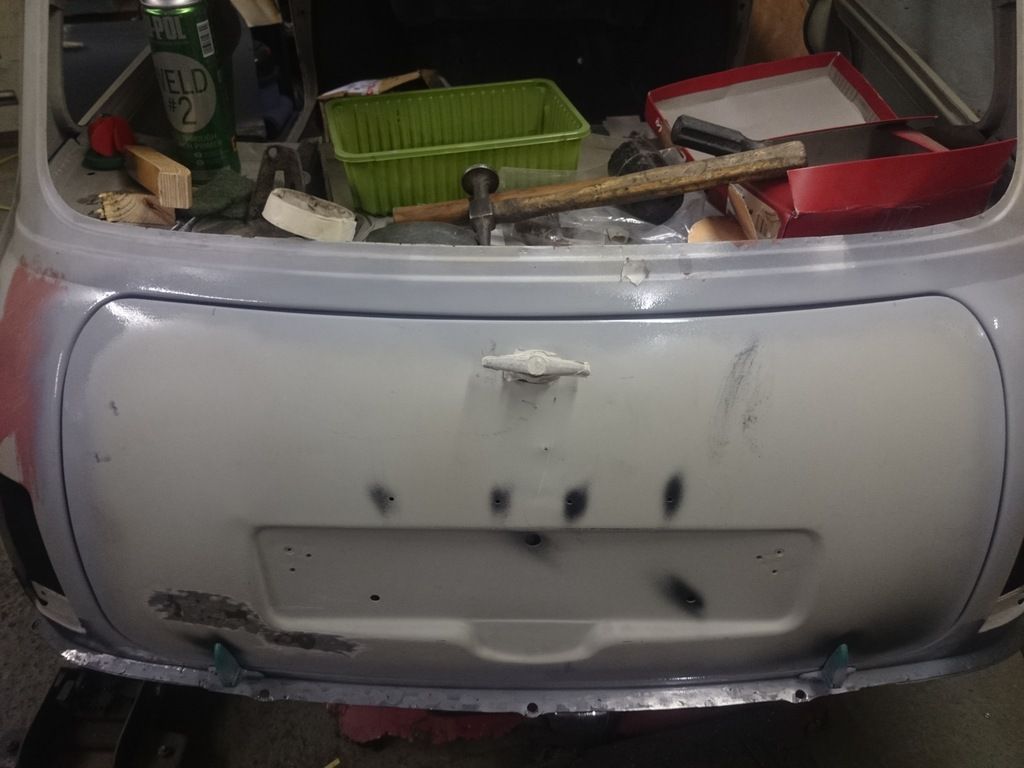
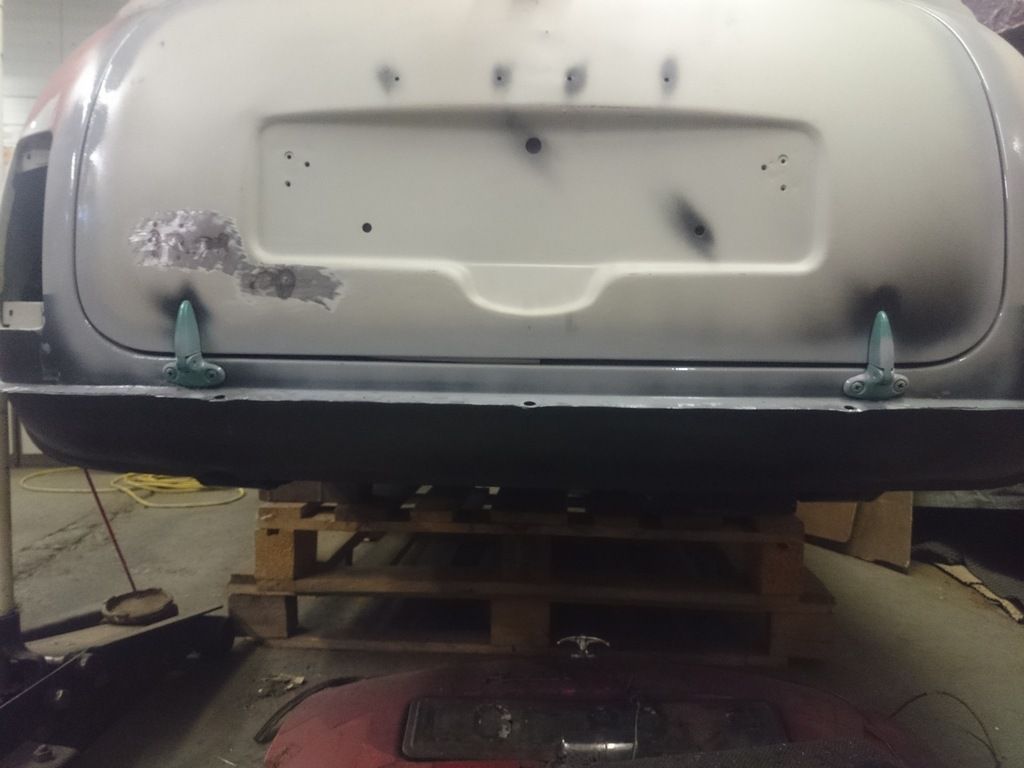
After

The bottom gap now looks a bit tight in the middle so will double check that tomorrow, might just be the light. Shouldn't be much more welding now
Before


After


The bottom gap now looks a bit tight in the middle so will double check that tomorrow, might just be the light. Shouldn't be much more welding now