Project “will it go again..?” 1961 Austin Seven Deluxe Restoration
- gs.davies
- Site Admin
- Posts: 1622
- Joined: Fri Oct 26, 2012 2:29 pm
- Location: Essex, UK
- Has thanked: 14 times
- Been thanked: 30 times
- Contact:
Project “will it go again..?” 1961 Austin Seven Deluxe Restoration
Or should this be called just 'Mentalism'?
A good friend of mine owns a rather lovely Rover P4, ex-concourse winner and he offered me this brilliant bit of advice. Don't see the restoration as a huge job to be done all at once, just think little bits at a time, always forward, relentlessly. Sort of a 'relentless incrementalism'..
Wise words indeed, but can I get this lovely car which I've owned for half my life and used to drive as a daily back in the 90's back on the road where it belongs? Who knows?
Anyway, the basics:
Built in November '61, despatched the same day as a Tartan Red Austin Seven Deluxe with optional heater (!) and registered two weeks later after being sold from F.G Smiths of Goodmayes. The first owner, name unknown and so the second owner told me, had loads of trouble with the coil spring clutch and the leaky primary gear oil seals. So, second owner in his fifteen years or so of ownership instead of doing the decent thing and getting a 'deva bush' conversion done, presumably just put up with it as the car still wears it original wet flywheel set up. Things were no better when it was my daily; 19 years old and abjectly unable to perform a wheelspin..
It's got it's original 850 engine, which last ran some fifteen years ago, it has it's original floors, inner wings and front panel and a lovely collection of terribly welded bodge up patches all over it.
When I got it, it was very very tidy indeed, having been treated to a respray by the previous owner who also made a nice job of the retrim of the seat facings in what looks to be velour from an XR3. Unfortunately, they bird-poop-welded-on oversills, leaving the rear inner sill and heelboard joint dangerously weak. I only really noticed when the door used to pop open during 'vigorous' cornering! So, I took it off the road and replaced it with a very sadly missed Rover Cooper 1.3i (J242HMF - if you know anything about it, what happened to it as it got Cat B'd in 2010 , where it is, or where it's remains lie, please let me know..)
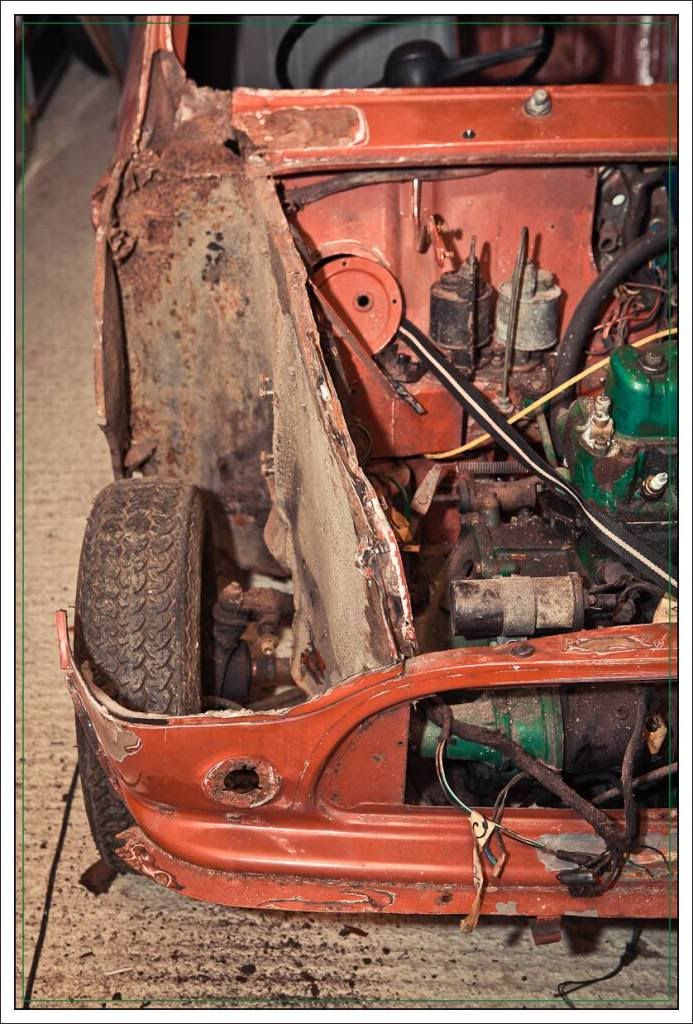
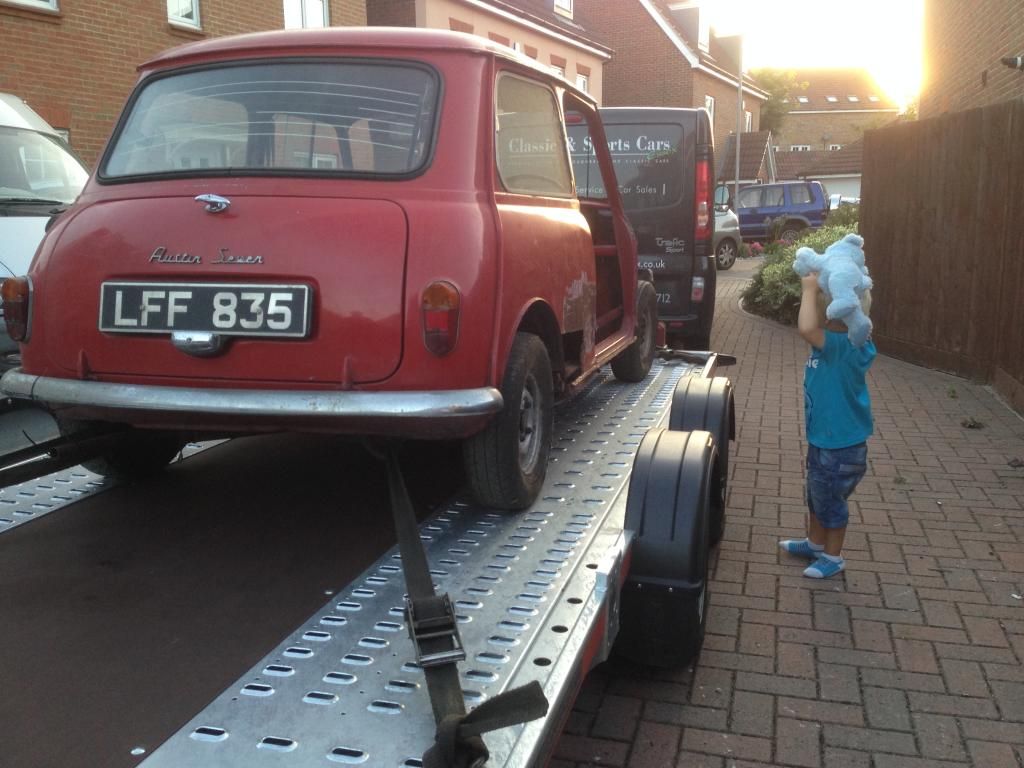
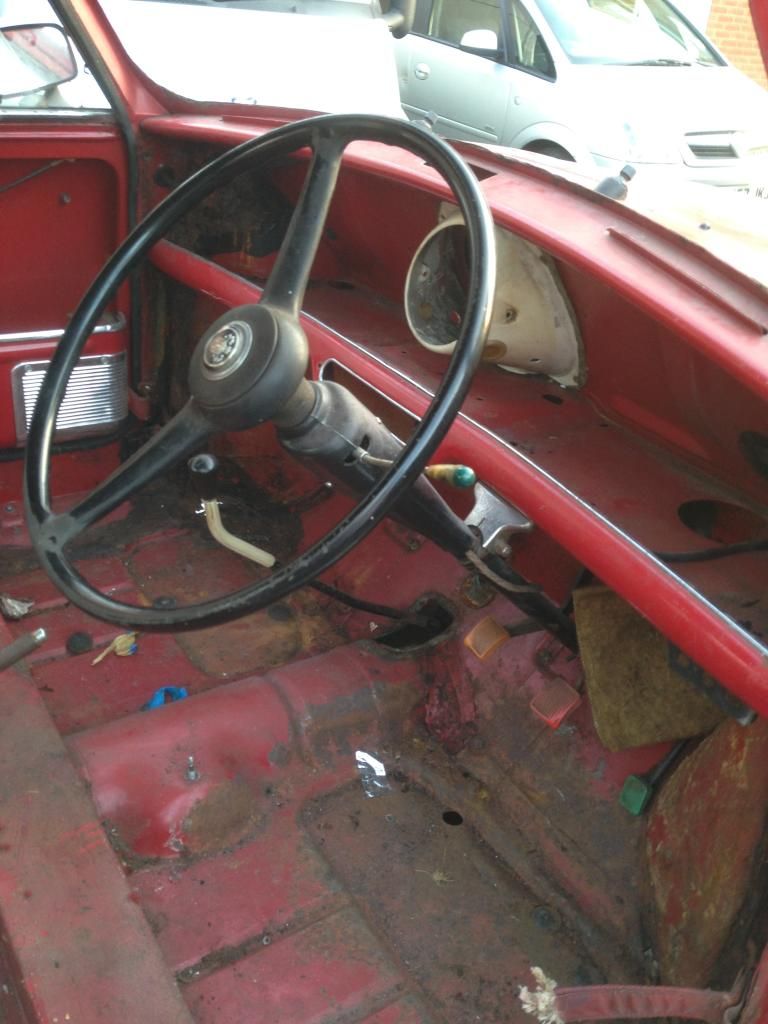
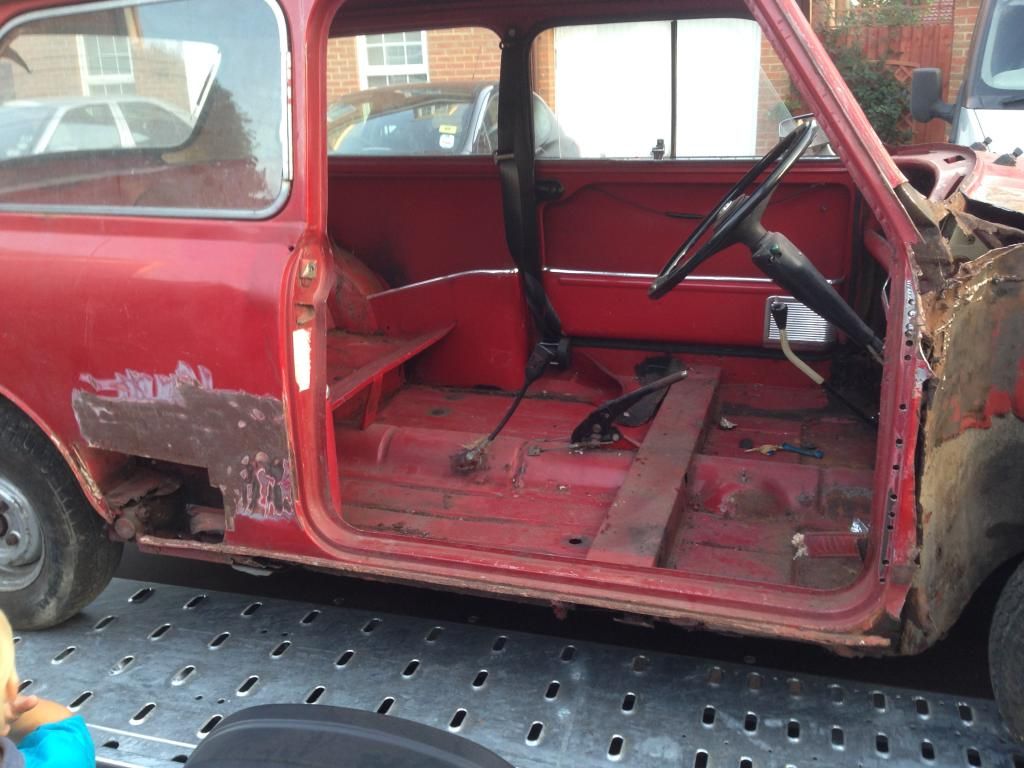
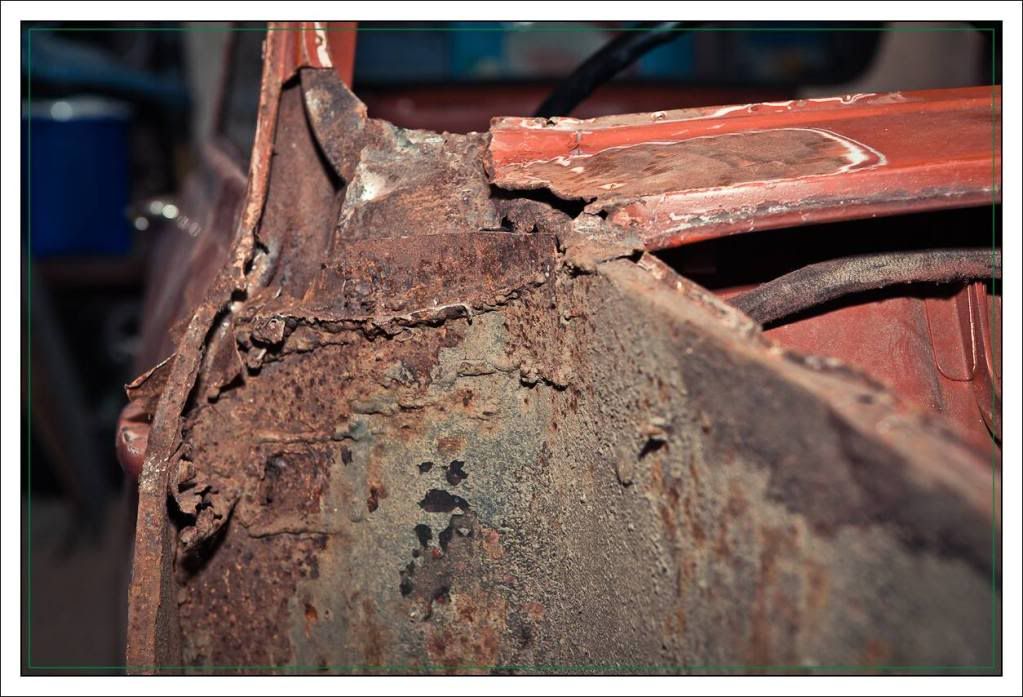
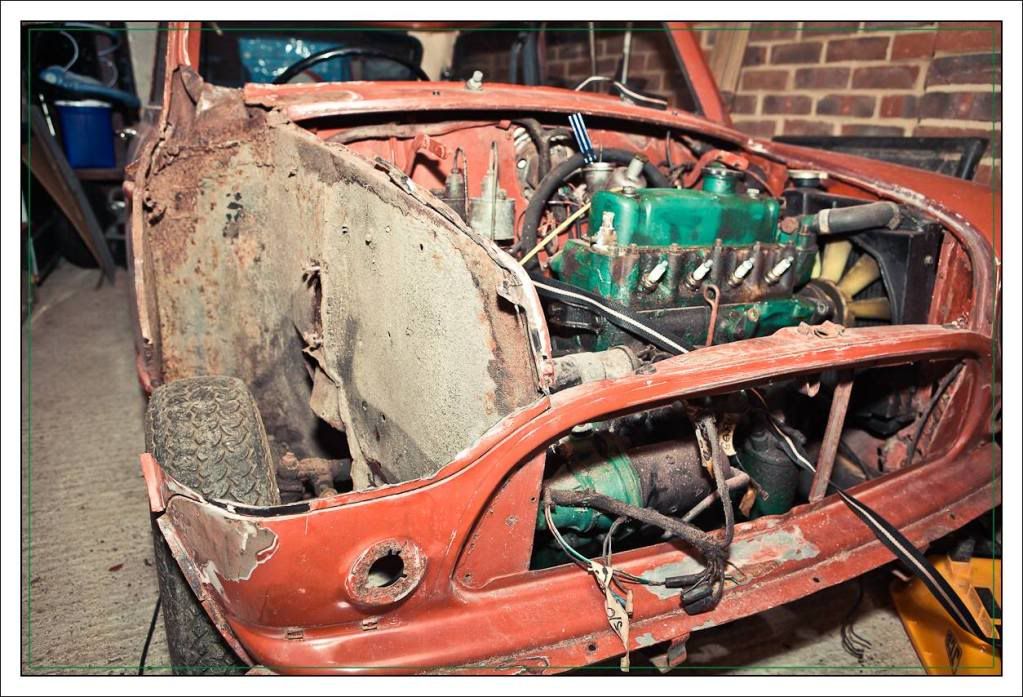
Since then it's been moved around with me from house to house, in and out of lockups, vandalised, used as a shed, had things dropped on it, bits go missing and all the usual. But now it's time has come. I've made a start. Here's some pictures..
Near Side looks quite good, and isn't really that bad. Would probably sail through an MOT
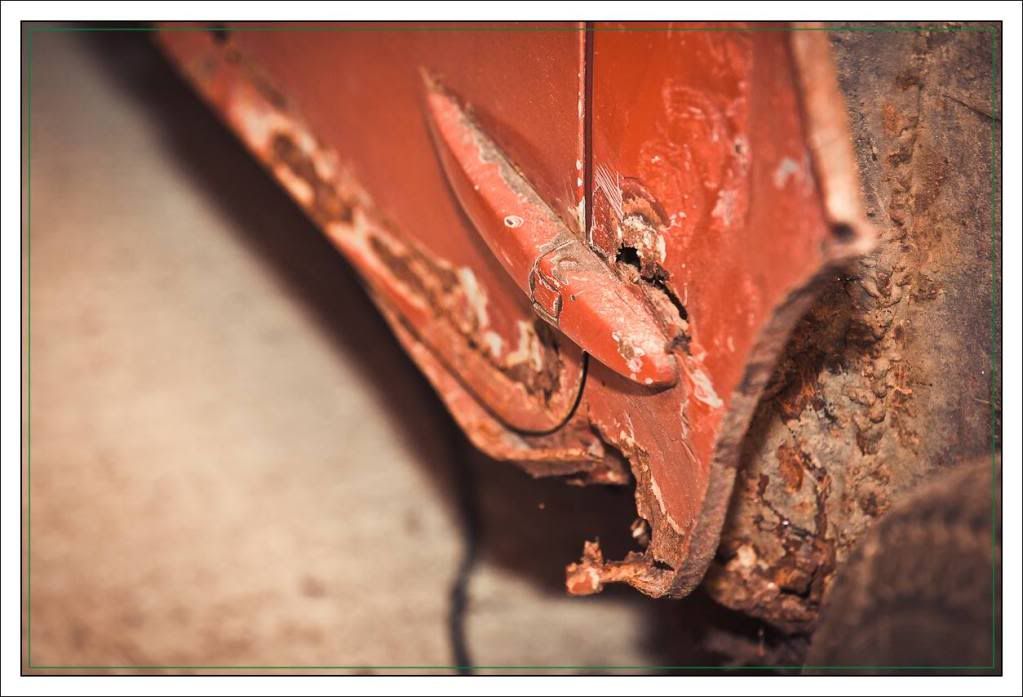
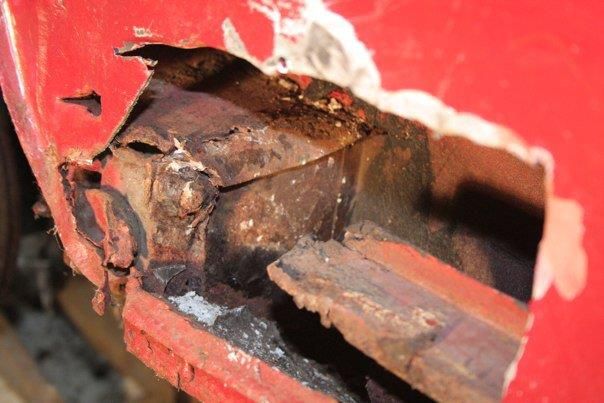
The offside isn't so clever however - the aforementioned vandal attack left the scars on the door and A panel, and the other vandal who fitted oversills has had his 'work' laid bare through the hole chopped in the rear quarter (actually, I removed an off cut from an old Castrol can here..
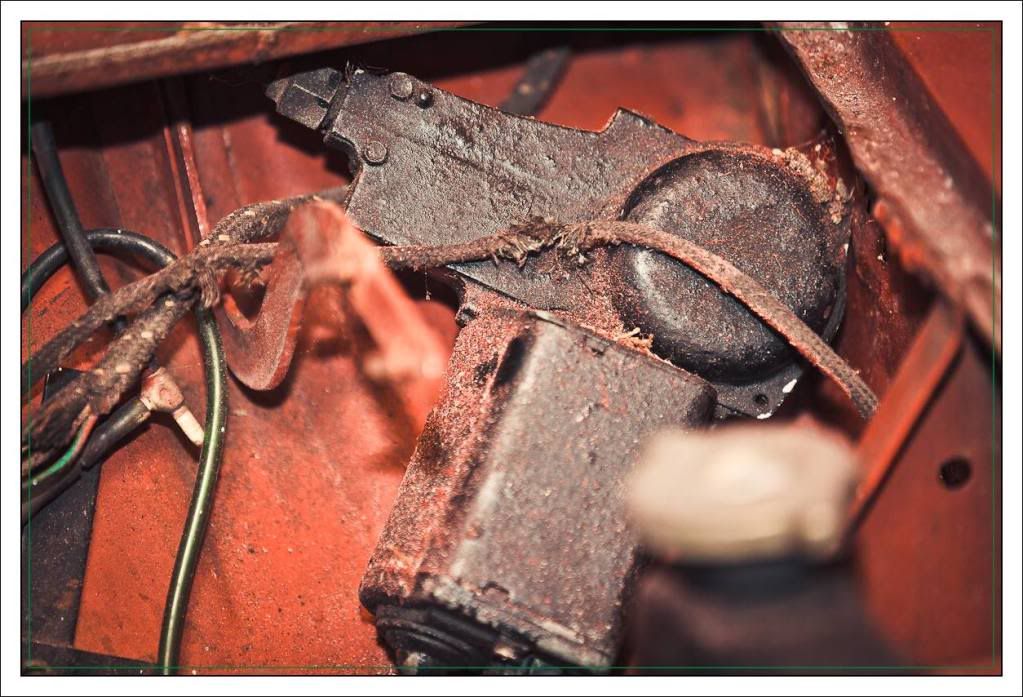
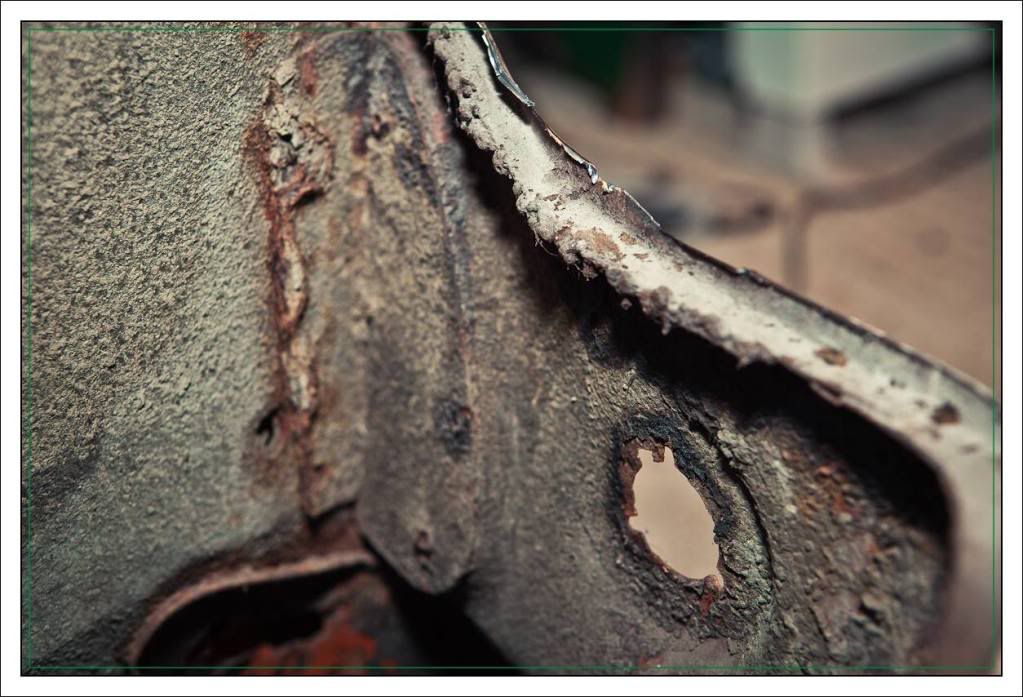
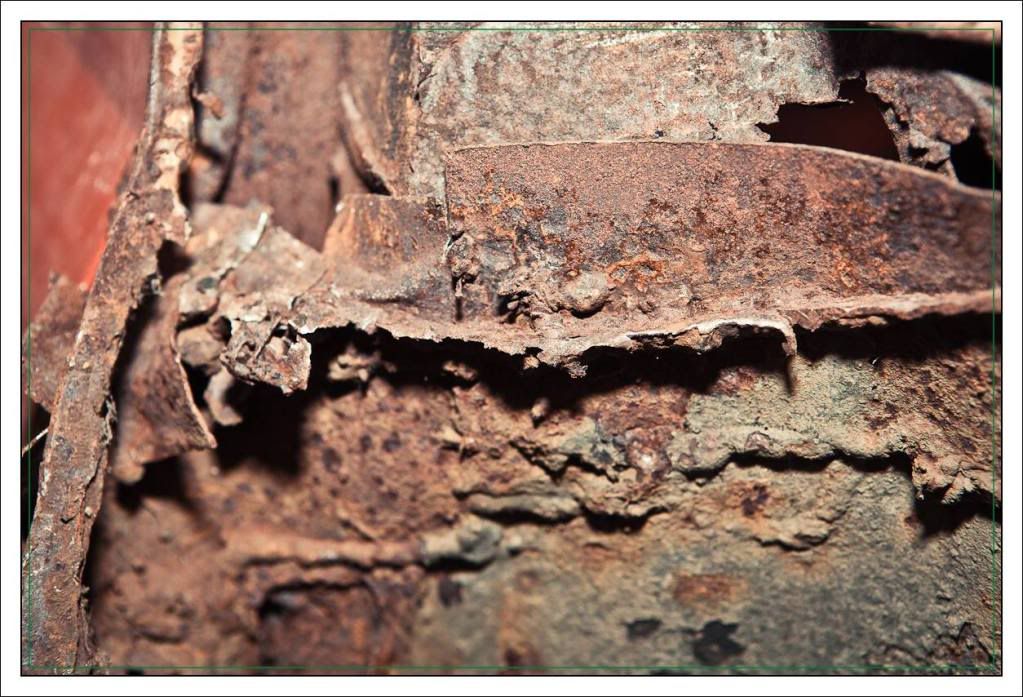
The remnants of a once proud and rather important bit of Longbridge's finest metalwork..
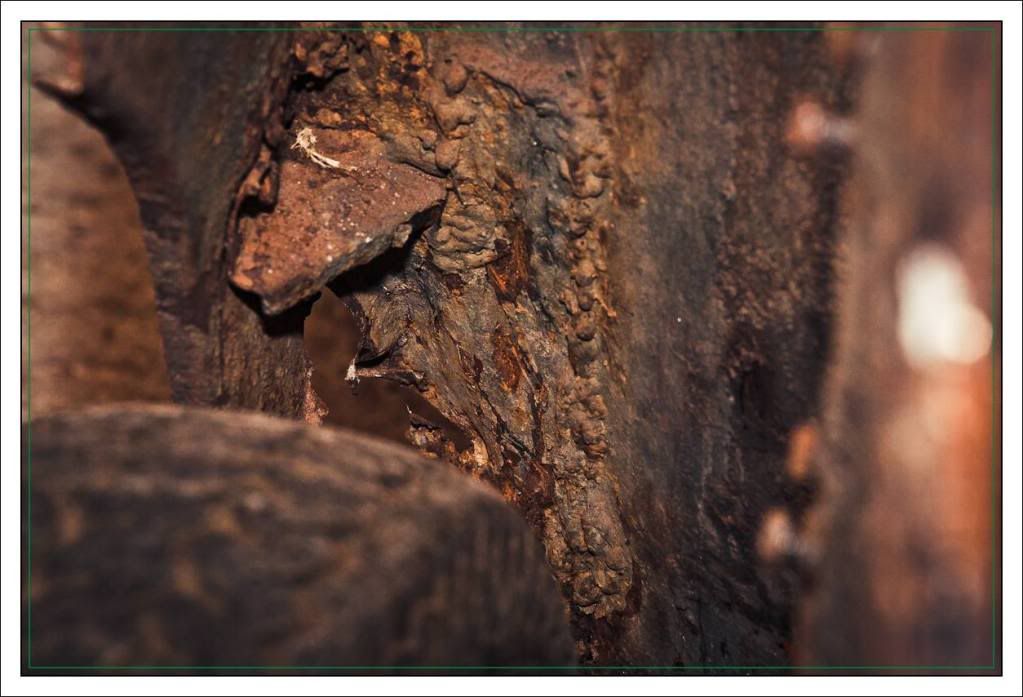
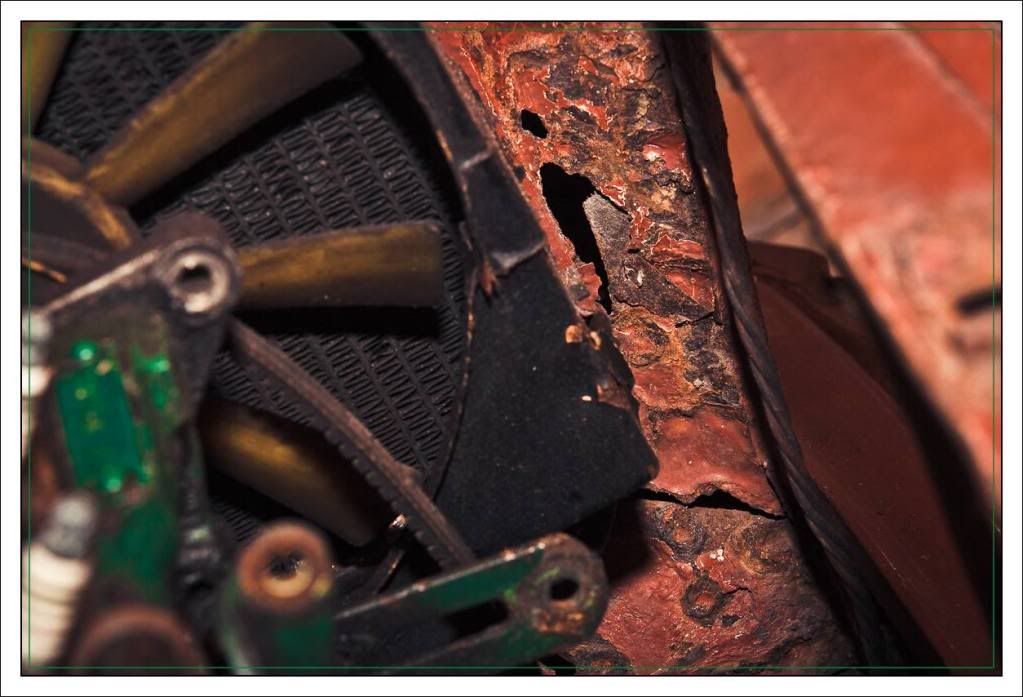
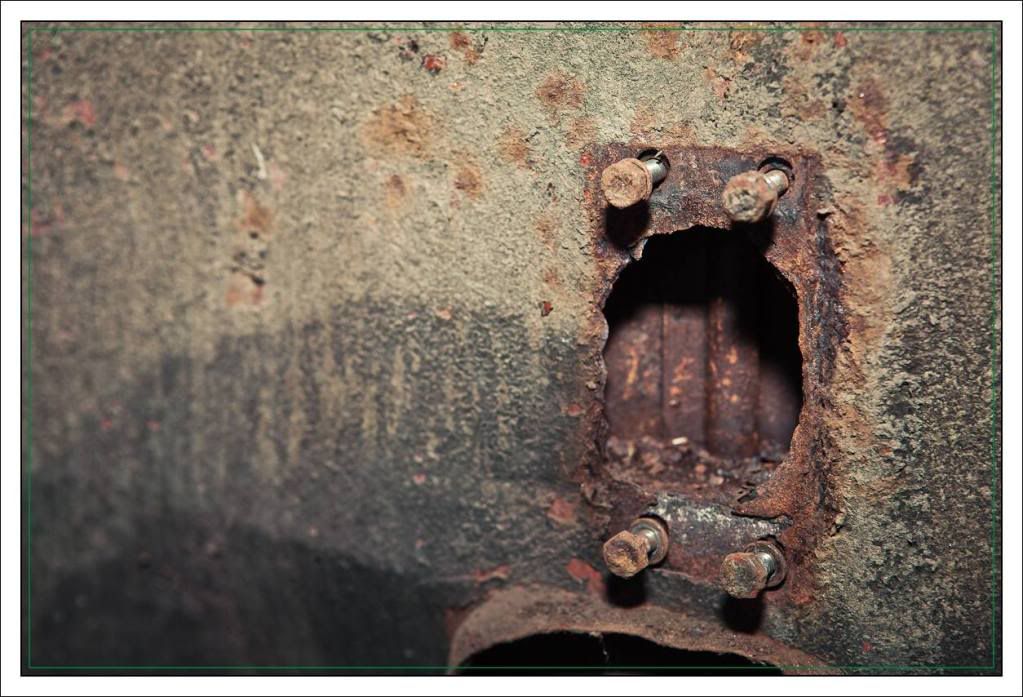
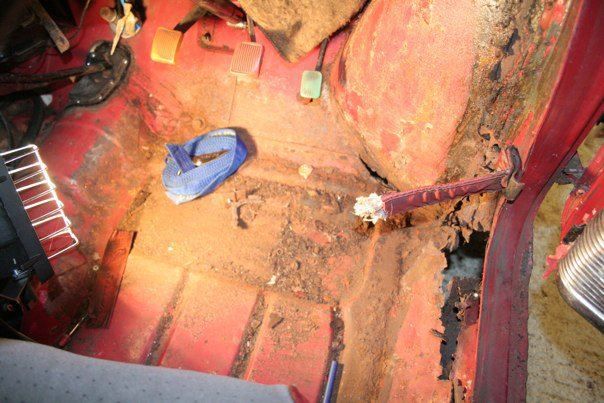
Must have had an 'L' plate on it at some time - Red to Stop and Green to Go. Lovely drain hole in the side of the footwell where an inner sill and A post once was..
Such a shame it's not a '59; I've heard they don't have to concern themselves with MOT's anymore!
Anyway, more to follow..
Last edited by gs.davies on Fri Jun 17, 2022 12:51 pm, edited 1 time in total.
- slowboy
- 998 Cooper
- Posts: 510
- Joined: Thu Jan 13, 2011 8:14 pm
- Location: sat down
- SteveG
- 998 Cooper
- Posts: 374
- Joined: Thu Jun 24, 2010 7:59 pm
- miniminor
- 1275 Cooper S
- Posts: 813
- Joined: Thu Sep 27, 2012 6:49 pm
- Location: Upside down behind the TV
- Been thanked: 2 times
Re: Relentless Incrementalism - A 1961 Austin Seven Restorat
That will keep you entertained for a while, interested to see it progress.
"Get the wheels in line, Get the wheels in line with it! ..... and then slam your brakes on or we'll be in the cabin ! "
1963 Morris Mini Minor Superdeluxe
2014 Freelander 2 SD4
1963 Morris Mini Minor Superdeluxe
2014 Freelander 2 SD4
-
- 1275 Cooper S
- Posts: 3180
- Joined: Fri Aug 13, 2010 5:25 am
- Location: Denmark
Re: Relentless Incrementalism - A 1961 Austin Seven Restorat
Good looking car
Not too bad regarding rust .
- gs.davies
- Site Admin
- Posts: 1622
- Joined: Fri Oct 26, 2012 2:29 pm
- Location: Essex, UK
- Has thanked: 14 times
- Been thanked: 30 times
- Contact:
Re: Relentless Incrementalism - A 1961 Austin Seven Restorat
Progress!
The garage has finally reached an acceptable temperature and accordingly I put the goggles on and cut off what remained of the a panels, managed to get the hinges released from underneath a ton of crap patch welding and I set about drilling out the inner wing to a post join. Oddly enough, the car looks a whole lot better for having some cleaner edges and some of the worst rot chopped out and I now understand how the a post is formed (and thus how it should be repaired)
Panels required;
-heritage inner wing
-inner a post stiffener
-inner a panel
-outer a panel
Bits to fabricate
-repair to top dash rail
-inner wing to front panel bracket repairs
-front panel to wing seam and local pin holes
Tomorrow will bring more of the same as well as some pictures for anyone doing the same. And maybe a trip out to get some gas, some wire and a sheet of 1mm steel for practise and the local repairs. Next week should see an order going off to Mini Machine for new metal!
The front panel's future remains in the balance - it will require some remediation work to several areas; the lip where the wing meets beneath the headlamp, the brackets that join the inner wing as well as straightening here and there. It's original though and the full skirt panels are quite expensive... I'm aiming to leave as much of the original car intact as possible and I'm only going to this extent on this side as the a panels were damaged by vandals years ago. The other side will be much less intrusively repaired..
- gs.davies
- Site Admin
- Posts: 1622
- Joined: Fri Oct 26, 2012 2:29 pm
- Location: Essex, UK
- Has thanked: 14 times
- Been thanked: 30 times
- Contact:
Re: Relentless Incrementalism - A 1961 Austin Seven Restorat
Update:
I haven't the time or the skill to make anything like a proper job of this, so it's shortly going to find itself on a trailer and heading off to Classic and Sports Cars Essex for a full nut and bolt job.
Can't wait!
I'll keep this thread updated with progress from the workshop. Tentatively aiming for London to Brighton next year..
-
- 998 Cooper
- Posts: 436
- Joined: Sat Jan 14, 2012 8:04 pm
- Location: Half way between Dublin and Belfast
Re: Relentless Incrementalism - A 1961 Austin Seven Restorat
That's looks like a minter compared to mine,you have metal to weld onto.I have to use the lost art of air welding to put mine back together.
- gs.davies
- Site Admin
- Posts: 1622
- Joined: Fri Oct 26, 2012 2:29 pm
- Location: Essex, UK
- Has thanked: 14 times
- Been thanked: 30 times
- Contact:
Re: Relentless Incrementalism - A 1961 Austin Seven Restorat
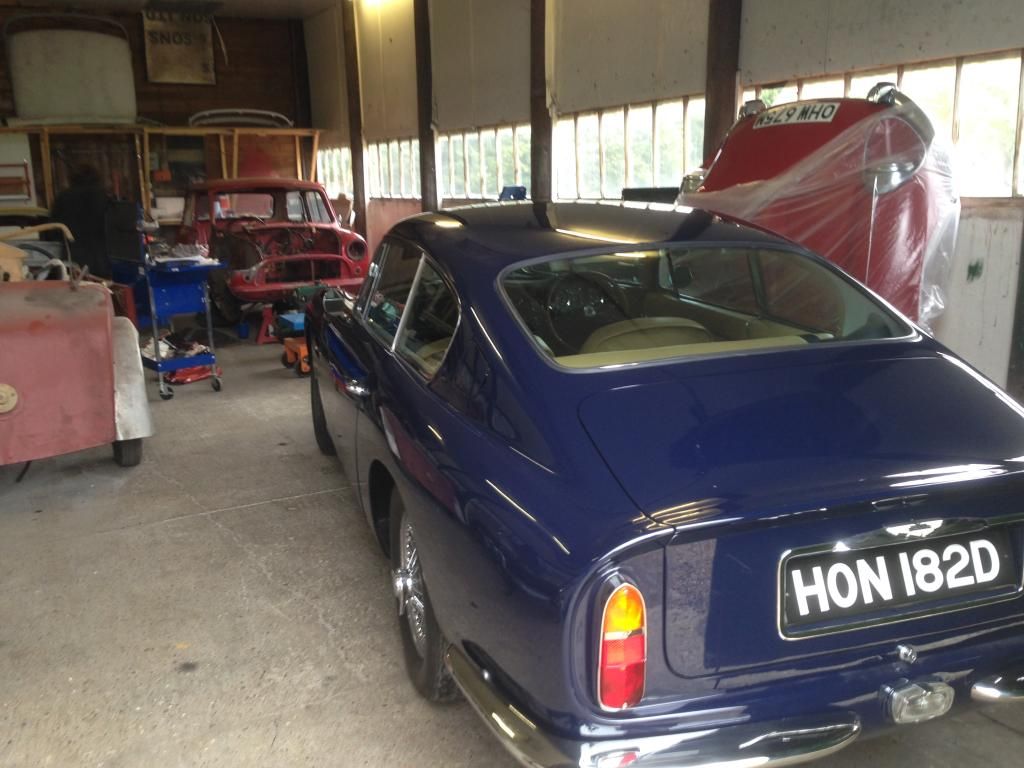
Right it's been a long time getting to this stage, what with one thing and another, but now it's finally gone off to the restoration place to be done! I'll keep this thread updated with progress, but here's a few pics of the current state of it..
Aiming to get a shell that I can piece everything back onto in the spring next year - aiming to drive it before 2015 is out. Doable? Who knows!?
- gs.davies
- Site Admin
- Posts: 1622
- Joined: Fri Oct 26, 2012 2:29 pm
- Location: Essex, UK
- Has thanked: 14 times
- Been thanked: 30 times
- Contact:
Re: Relentless Incrementalism - A 1961 Austin Seven Restorat
Visited the car yesterday and the strip down is well under way. The engine was out when I got there and by the time I got home from the visit the front subframe was out too. Tomorrow I'll be making m-machines day with an order for virtually all of a Mini In CKD form and upon receipt the metal magicians will start work.
Shopping list looks brutal
-complete floor
-complete boot floor
-complete front end from bulkhead forward, inner wings too
-a panels inner and outer
-body side o/s
-door skin and frame repair
-inner a post stiffeners
-all the associated stiffeners and what have you for the companion boxes..
I also expect drip rails will have to be added as they're a bit mouldy underneath, I fear that metal in the surrounding areas might also be suspect.
My wallet aches.
Still, at least the cars keeping good company lurking in the back of one of Jason's sheds..
Found this amongst some bit in the garage.. I wonder how I'd do on ebay..
There is also talk of Downtonising the engine ; has anyone got any experience of the Richard Longman heads that are available through Somerfords?
-
- 1275 Cooper S
- Posts: 2315
- Joined: Fri Jun 25, 2010 10:57 am
- Location: Colchester, Essex
- Has thanked: 2 times
- Been thanked: 1 time
Re: Relentless Incrementalism - A 1961 Austin Seven Restorat
Hi, you might want to drop me a private message before you order your panels. I might have a good solution for you locally. Cheers. Mark
Rolesyboy
- gs.davies
- Site Admin
- Posts: 1622
- Joined: Fri Oct 26, 2012 2:29 pm
- Location: Essex, UK
- Has thanked: 14 times
- Been thanked: 30 times
- Contact:
Re: Relentless Incrementalism - A 1961 Austin Seven Restorat
The engine and subframes are coming back at the weekend and will need dismantling cleaning up and reassembling. What's the best way to refinish subframes, suspension components and engines?
-
- 1275 Cooper S
- Posts: 2315
- Joined: Fri Jun 25, 2010 10:57 am
- Location: Colchester, Essex
- Has thanked: 2 times
- Been thanked: 1 time
Re: Relentless Incrementalism - A 1961 Austin Seven Restorat
Hi Gareth, powder coat subframe and paint the rest in 2 pack after blast clean. Did you get my text? Mark
Rolesyboy
- gs.davies
- Site Admin
- Posts: 1622
- Joined: Fri Oct 26, 2012 2:29 pm
- Location: Essex, UK
- Has thanked: 14 times
- Been thanked: 30 times
- Contact:
Re: Relentless Incrementalism - A 1961 Austin Seven Restorat
Thanks Mark, yes I did get your text, didn't get a chance to reply last night when I eventually got home, sorry.
Further chat with my resto guy has left me thinking that the safest way to do this is to go with a new set of panels from M-Machine. That way I have some comeback if there are fit issues and being that we're going to work with smaller assemblies rather than the whole chunk already welded together, the leeway for making them fit is greater. My restorer is also less comfortable 'warranting' someone elses welding.
That said, if I were tackling the work myself, I'd definitely consider it. Thanks for the offer anyway.
Cheers
Gary
-
- 1275 Cooper S
- Posts: 2315
- Joined: Fri Jun 25, 2010 10:57 am
- Location: Colchester, Essex
- Has thanked: 2 times
- Been thanked: 1 time
Re: Relentless Incrementalism - A 1961 Austin Seven Restorat
No problem. Good luck anyway.
Rolesyboy
- gs.davies
- Site Admin
- Posts: 1622
- Joined: Fri Oct 26, 2012 2:29 pm
- Location: Essex, UK
- Has thanked: 14 times
- Been thanked: 30 times
- Contact:
Re: Relentless Incrementalism - A 1961 Austin Seven Restorat
Looks like my last post here got lost, anyway..
Massive panel delivery and the guys at Classic and Sports Cars Essex have made a start.
Complete Floor
Complete Boot Floor
Complete Front End
Scuttle
Bodyside
Door Skins
Etc etc etc, all the usual..
However, I have question;
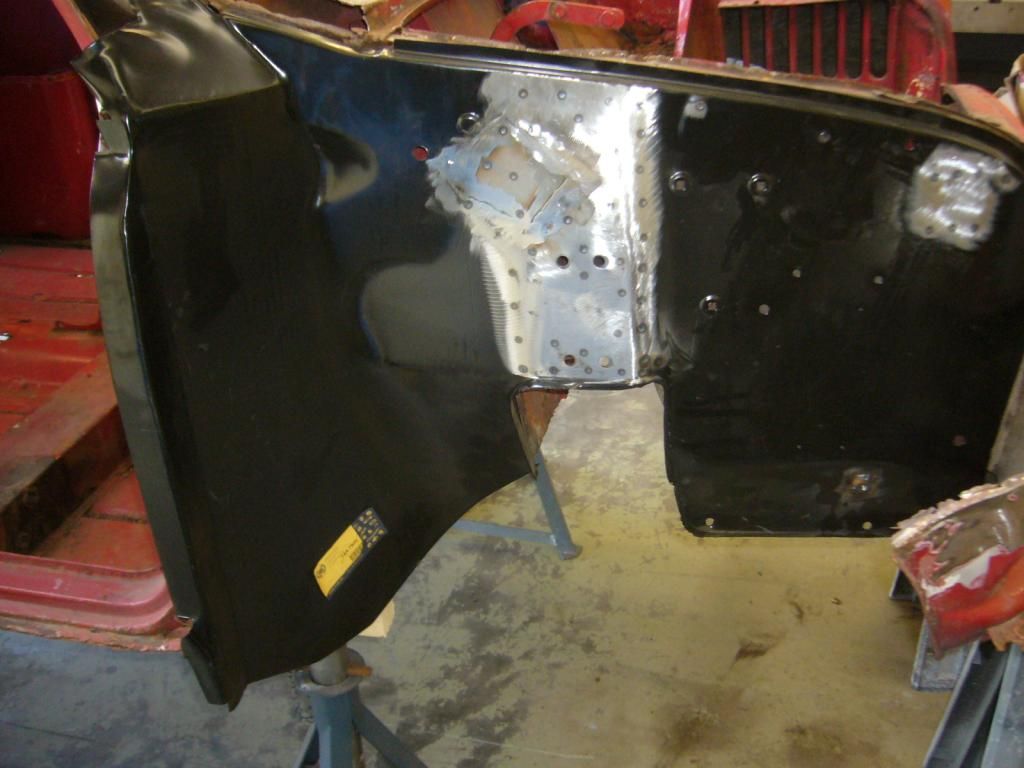
I bought the inner wings from M-Machine and as expected they've been 'detailed' to 1961 spec. I'm not really sure how much accuracy to have expected though, looks like the inner wings still have the indent inside of the bulkhead line and on the offside, I've got a triangular series of raised holes which aren't there on my car. M-Machine explaned that they do detail them, but not all the way, raising the question of 'what's the point?'
Looks like I'll have to get the bodyshop to carry on reworking the inner wings..
Anyone else experienced this?
Re: Relentless Incrementalism - A 1961 Austin Seven Restorat
Looking good going full on concourse with it?
- gs.davies
- Site Admin
- Posts: 1622
- Joined: Fri Oct 26, 2012 2:29 pm
- Location: Essex, UK
- Has thanked: 14 times
- Been thanked: 30 times
- Contact:
Re: Relentless Incrementalism - A 1961 Austin Seven Restorat
Thanks Chalkie. It was never the original intention but yes probably!Chalkie wrote:Looking good going full on concourse with it?
- gs.davies
- Site Admin
- Posts: 1622
- Joined: Fri Oct 26, 2012 2:29 pm
- Location: Essex, UK
- Has thanked: 14 times
- Been thanked: 30 times
- Contact:
Re: Relentless Incrementalism - A 1961 Austin Seven Restorat
I had a pleasant evening in the garage last night messing about with the engine. I've got to split it from the box so I can get it off the rather nice engine trolley it's been delivered back to me on so I set about lifting the head and getting the flywheel off.
It's the early coil sprung clutch and I don't have a tool to de-compress the springs. Looks like a fairly easy thing to have machine shop turn something up though. Has anyone got any drawings of what the three screws needed to do this would look like. I've used one many years ago when the car was on the road last time I change the oiled up clutch plate but that was part of a hired kit and of course, my puller doesn't have that part with it.
I also took a look at the pistons - looks like it's relatively recently been rebuilt, pistons are +40 so I think that makes the engine 876cc (oh I could really feel that extra displacement when I last drove it!)
All the waterways are totally gunged up with rust and scale so I don't think there's anything I can do short of completely stripping it and sending the block off for a chemical clean. It was so bad that the thermostat housing disintegrated when I gave it a sharp tug. The water pump has seized almost solid too. And of course, while it's all apart and in a shop with facilities for a chemical clean, it'd be rude not to look at cam bearings for a 948 cam wouldn't it?
Is it best if there's no bore wear lip to have a hone and fit some new rings given that this engine hasn't turned in some eighteen years? Or should I just leave it?
Which leads me to the crankshaft; I have the early thin tail shaft with a wet primary gear. What's best to do here? Change it for a later crank, dry primary and diaphragm clutch if I can find suitable parts? Block the oil feed up and have a new dry bush fitted to the existing primary? Or is there a way of setting these up so that they don't leak? I'm presuming that the journals are good and would just want a set of shells, though of course, that's up for grabs once it's all apart.
Finally, cylinder head; it's got the standard head on it at the moment, but I have at my disposal an unmolested 12G202. Is it best while the engine's apart to skim a bit off the top of the block to help raise the CR or should all of that be done on the head? I'd want to go no further than having some unleaded seats put into the 202 and a skim.
Gary